Cocos Creator游戏开发教程 学习笔记
-
声明:全文 根据 B站博主阿发你好 的视频教程学习并记录。笔记持续学习更新中......
-
B站博主阿发你好 的网址:Cocos Creator游戏开发教程_60集教学视频_哔哩哔哩_bilibili https://www.bilibili.com/video/BV1sA411Y7x4?p=1
-
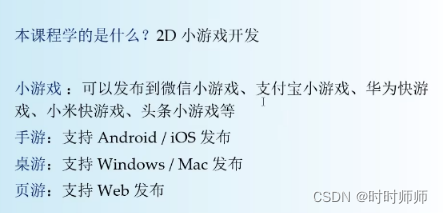
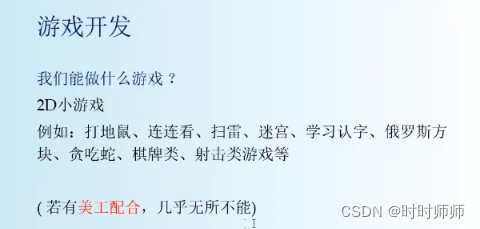
课程内容:学完之后制作2D小游戏。制作不需要安装打开就可以玩的小游戏。
-
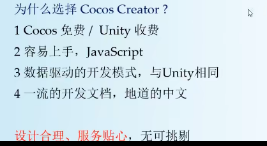
地道的中文,便于阅读、学习。
-
-
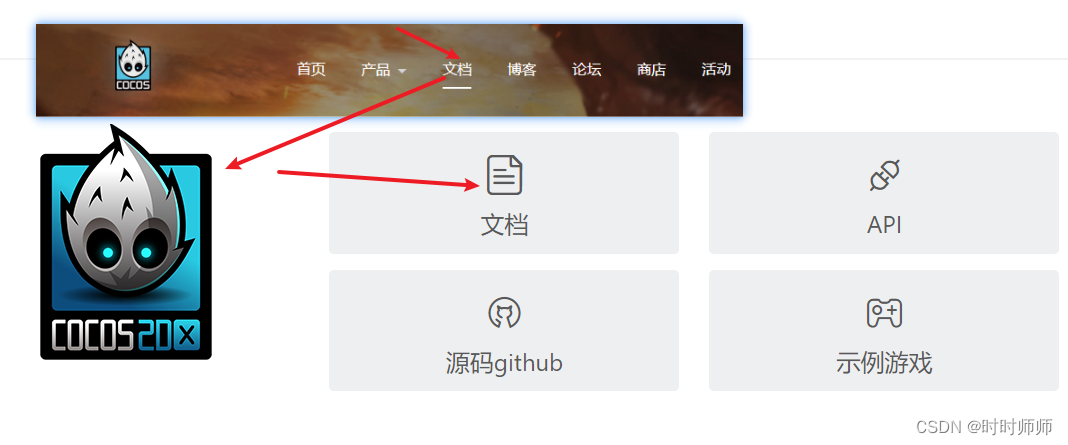
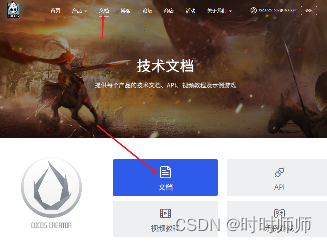
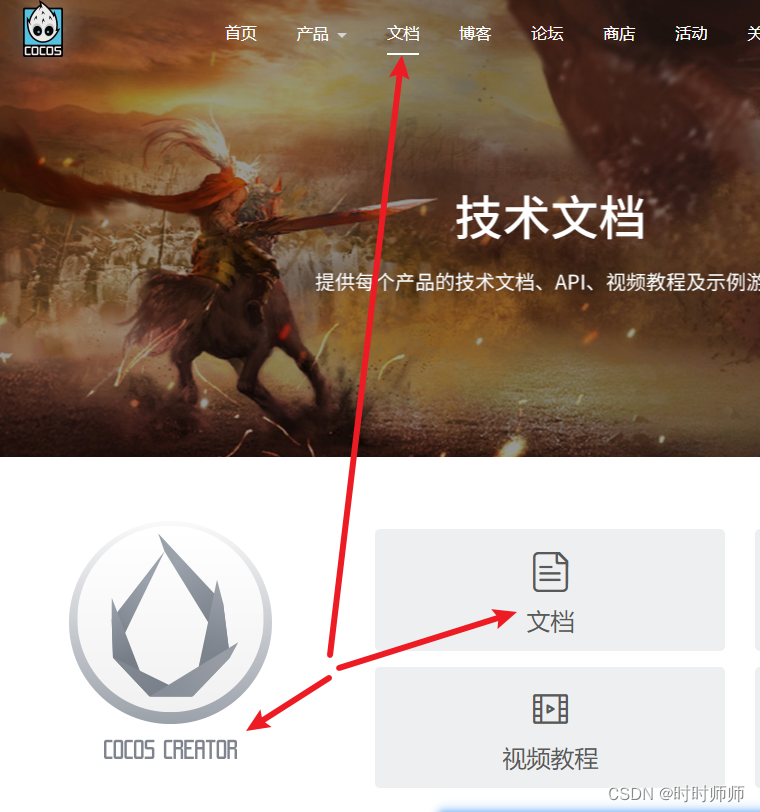
官网的开发文档:Introduction · Cocos Creator https://docs.cocos.com/creator/manual/zh/
打开之后就是这个:

-
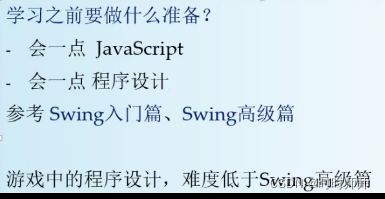
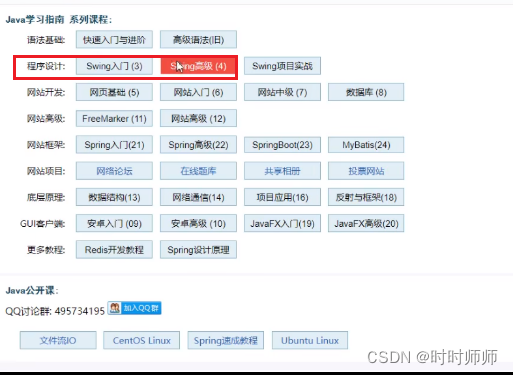
要会程序设计:Swing入门和Swing高级。这个要自学。
-
-
(发现下载需要付费10元。)
-
资料下载:

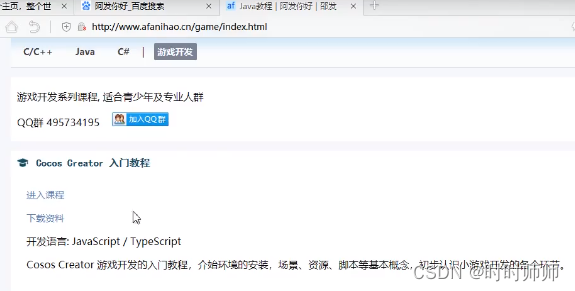
- Cocos Creator 开发环境安装_时时师师的博客-CSDN博客
3.1编辑器界面
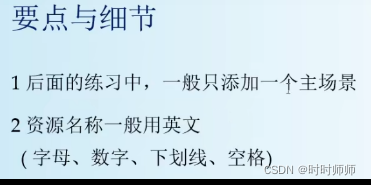
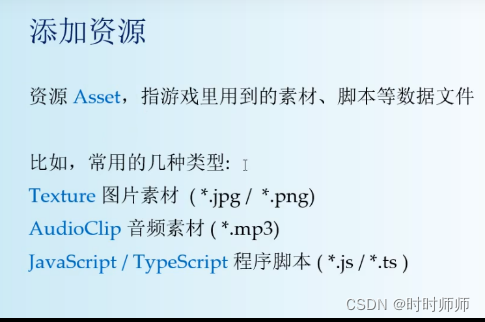
场景Scene
资源 Asset(Texture 图片素材;audioClip 音频素材;)
4.1场景编辑器
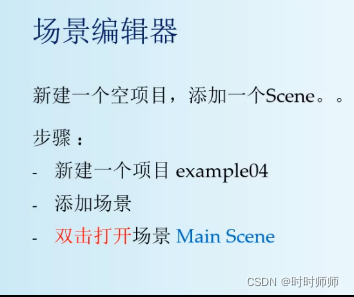

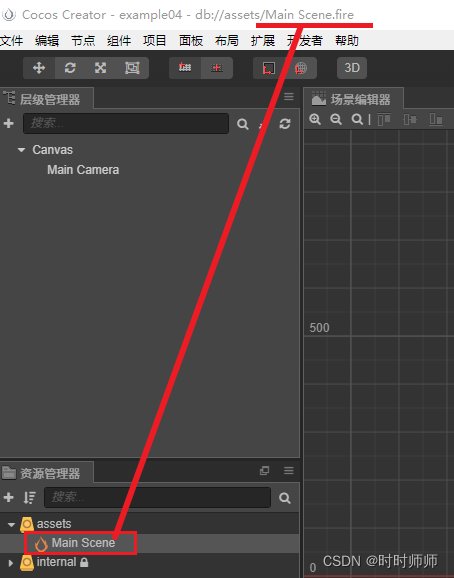
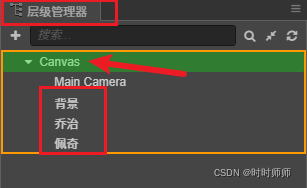
4.2添加节点
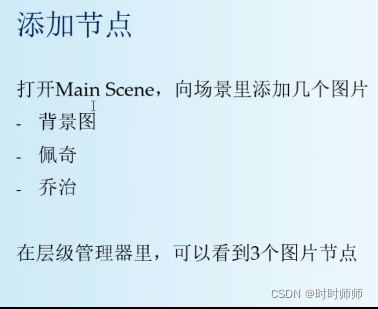
把图片拖拽进入Canvas下面。
Main Scene场景文件中使用json代码保存了图片的路径和名称。
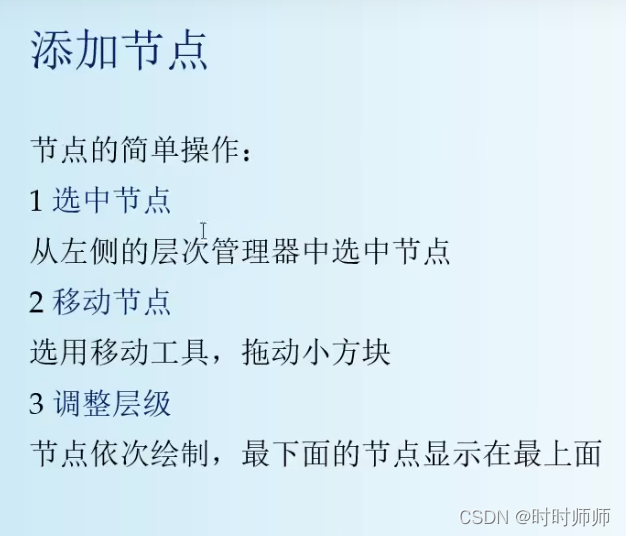
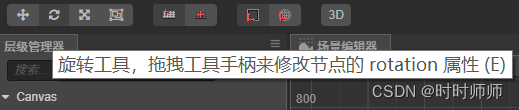
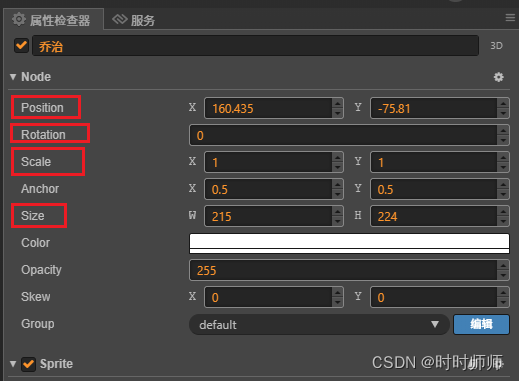
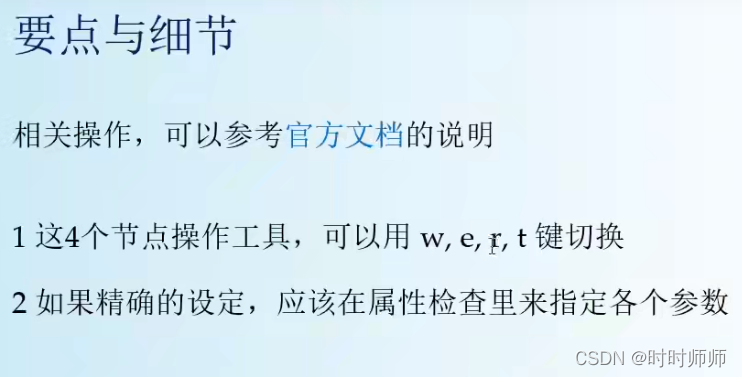
4.3节点的操作
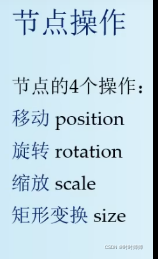
疑惑:缩放和矩形变换有什么区别?
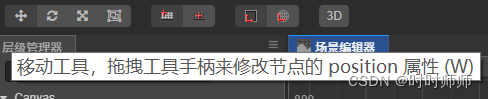
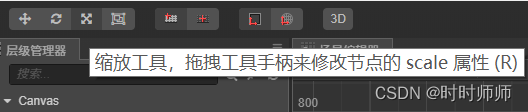
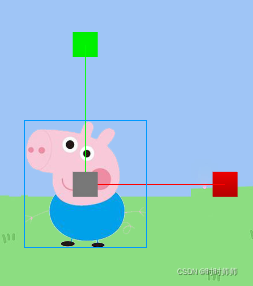


在属性检查器中设置才是一个精确的数值。
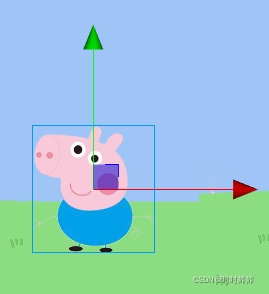
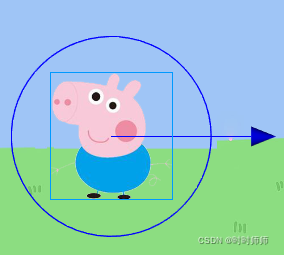
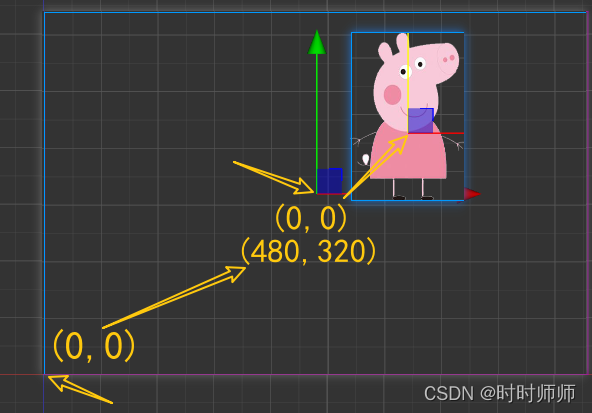
4.4位置与锚点
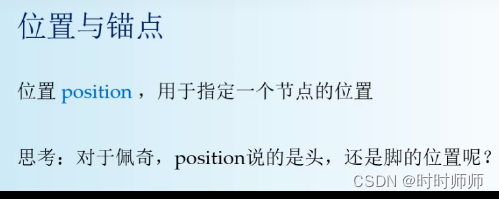
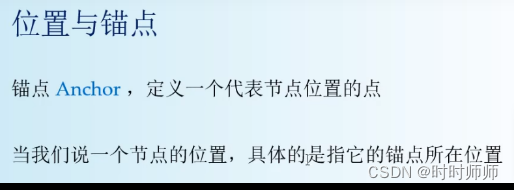
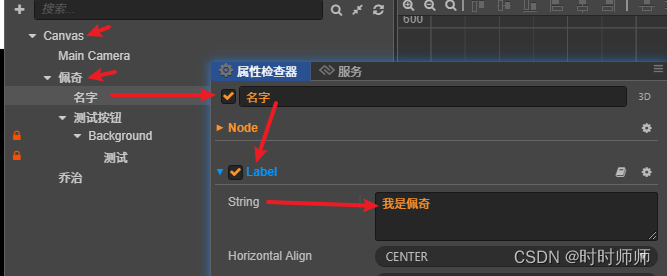
如下图,图片的坐标轴原点就是锚点(Anchor)。


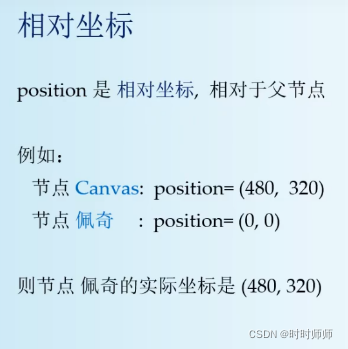
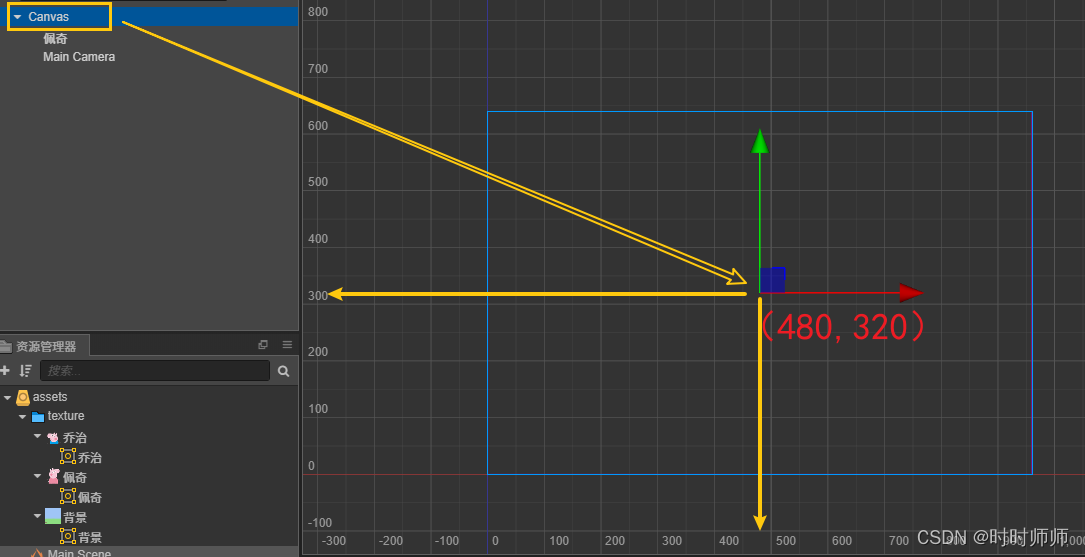
 相对坐标
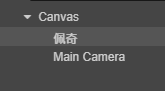
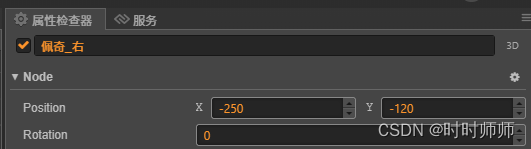
相对坐标父节点(Canvas)、子节点(佩奇、Main Camera)。
佩奇的坐标是相对于世界坐标系的原点Canvas的(480,320)这个点来定坐标的。佩奇的position和Canvas这个点重合时,position=(0,0)。
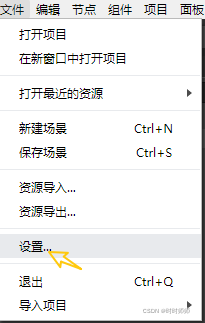
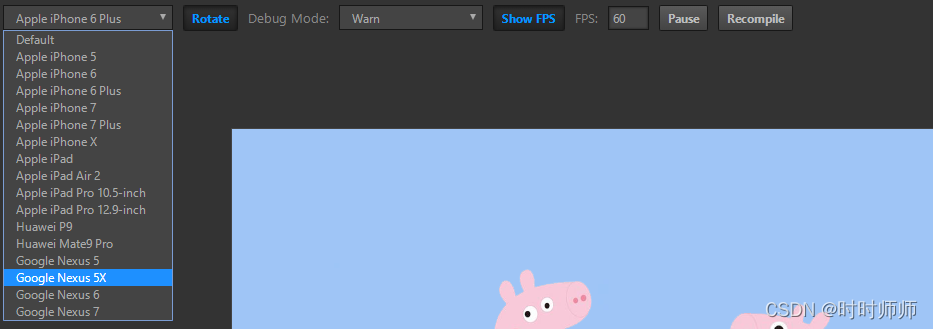
4.5 游戏的运行
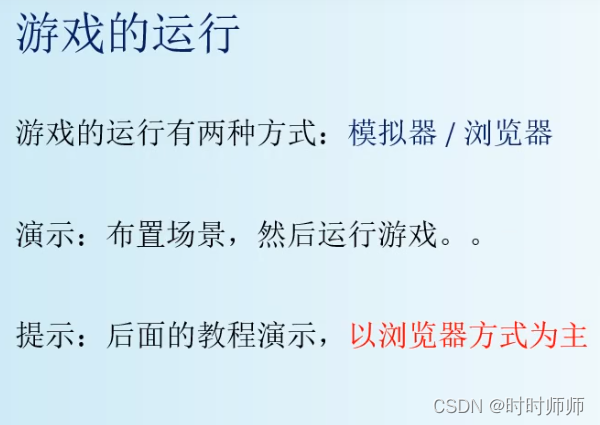
两种方式任选其一。

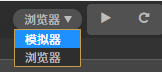
设置默认浏览器:
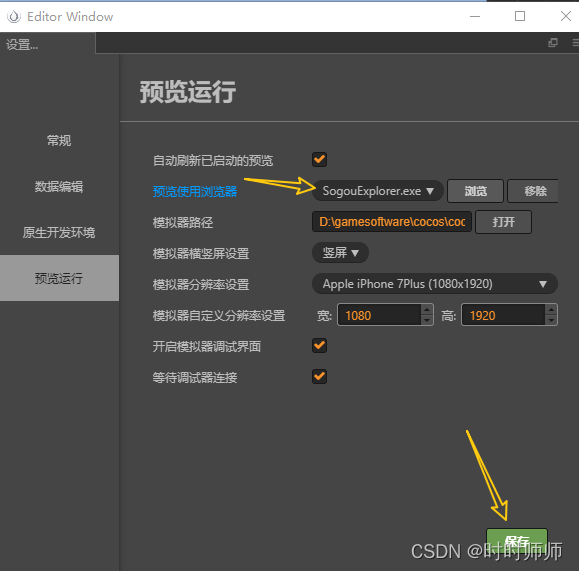
浏览器运行之后这里也可以选择设置中已有的功能。
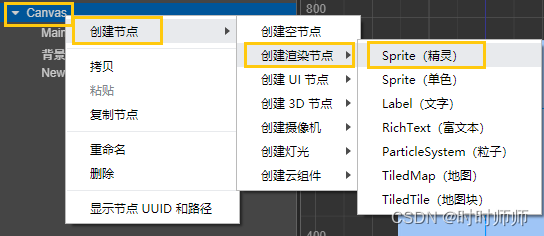
5.1添加图片节点

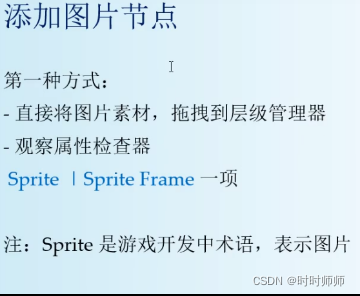

在右侧添加组件,这样就可以看到Sprite。
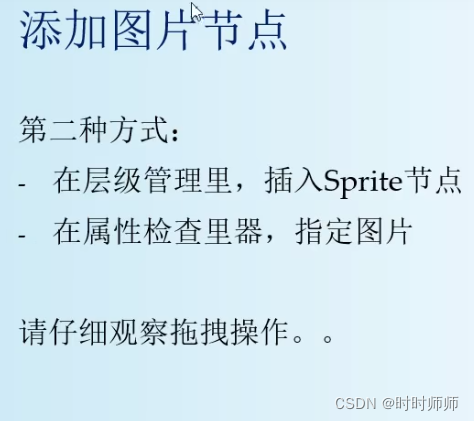
操作步骤:
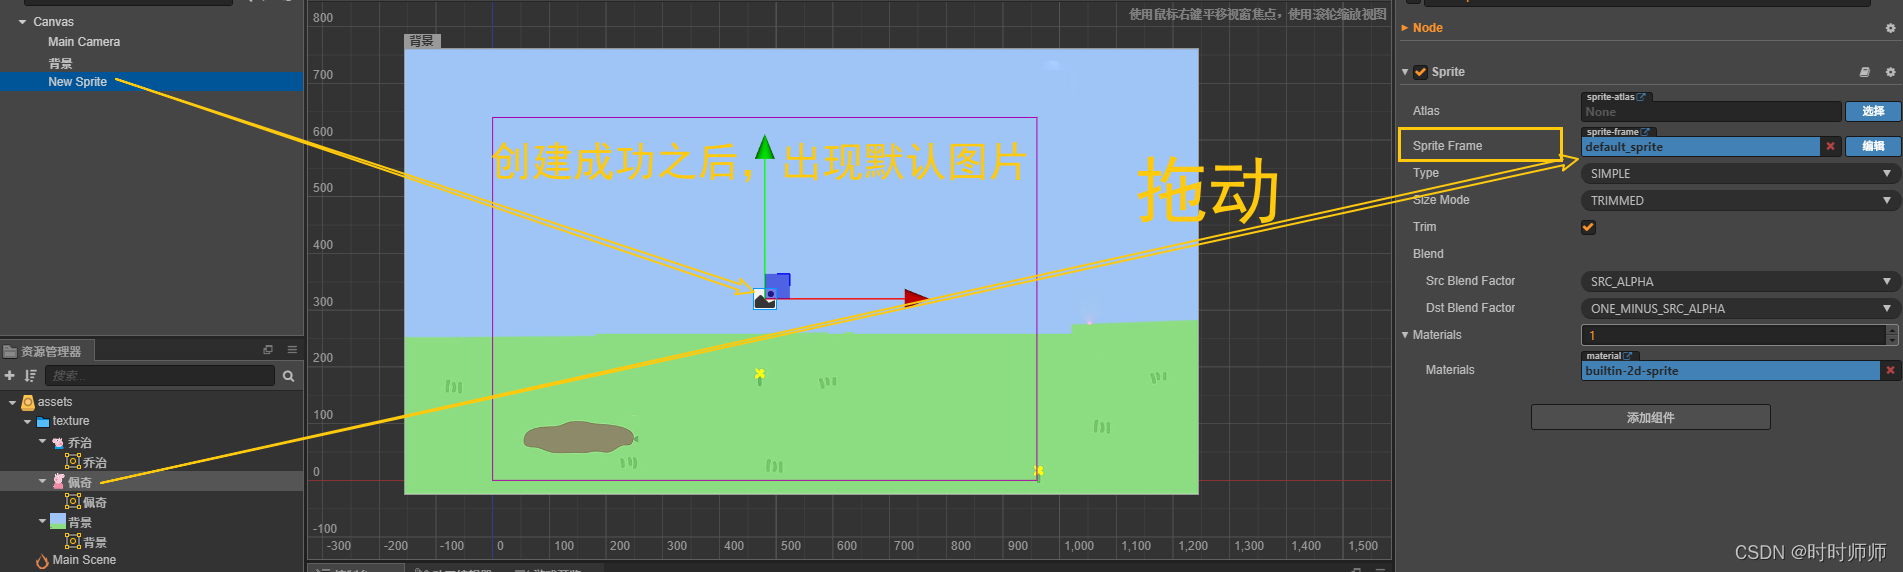
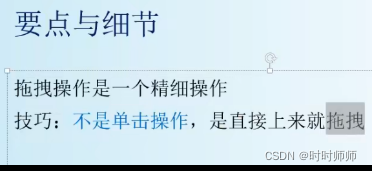
拖拽:鼠标移动到节点上,然后拖动到Sprite Frame就可以了,不要单击。
5.2 文本节点


右侧也可以选择添加组件来调整文本节点的细节:字体、颜色、大小、等等。
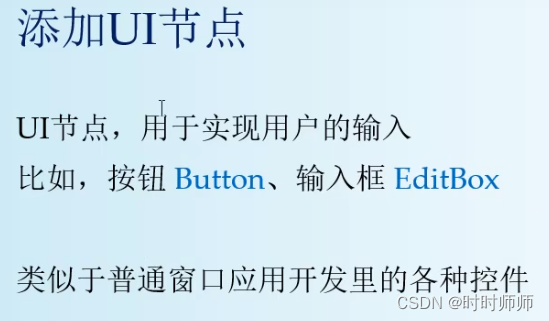
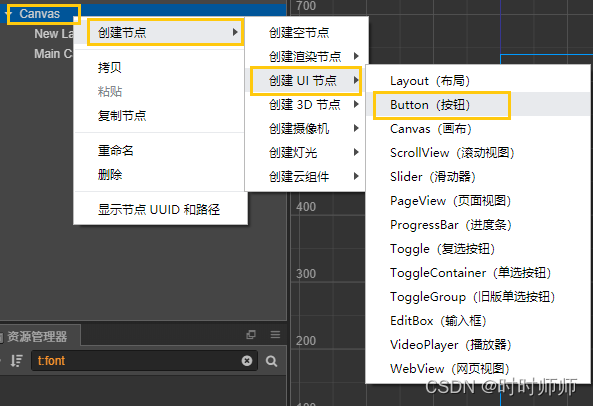
5.3添加UI节点
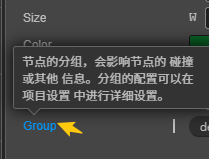
鼠标移到文字上:能显示这个属性的具体描述
创建一个输入框:
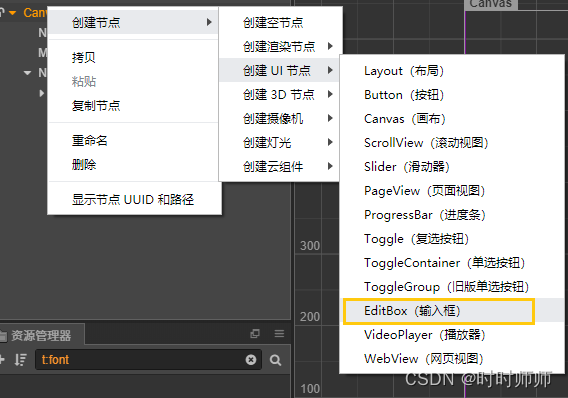
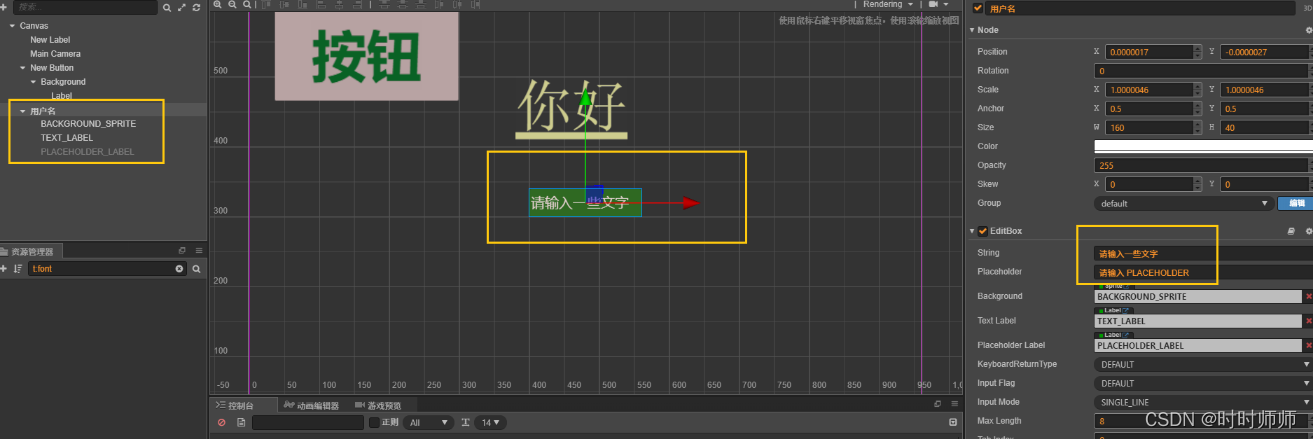
一些输入框的名字。
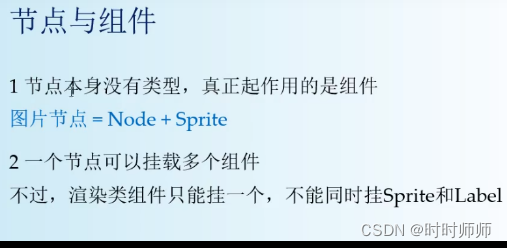
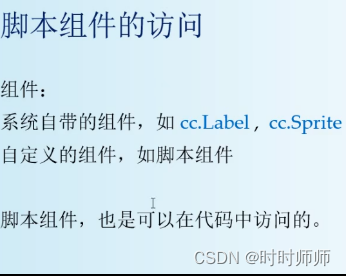
5.5节点与组件
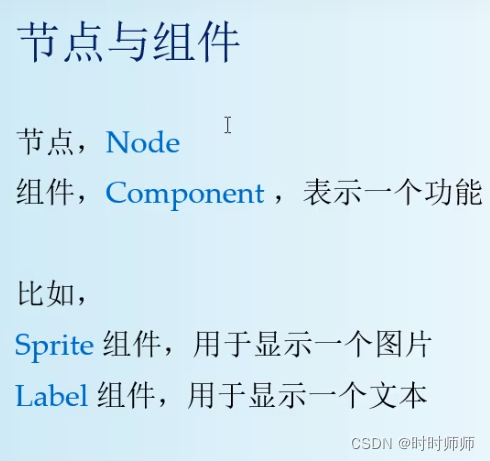
节点Node的功能是由它下面的XX组件(Sprite图片、Label文本等)来决定的。
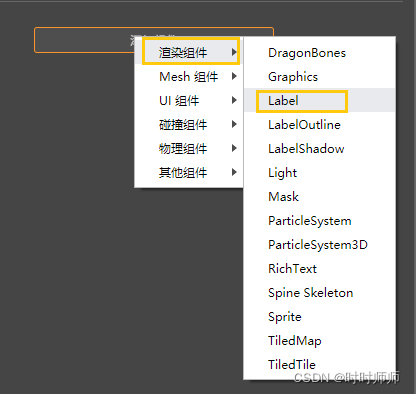
在右侧的“添加组件”中选择。 渲染类型组件只能选择一个。

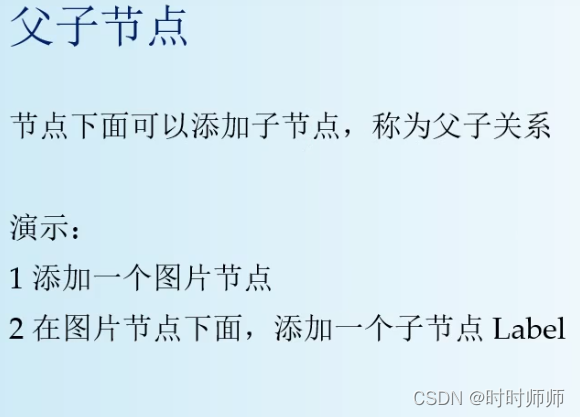
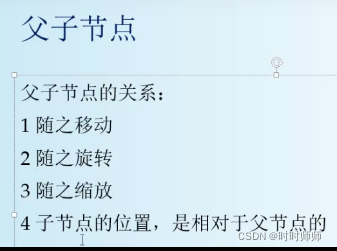
5.5父子节点

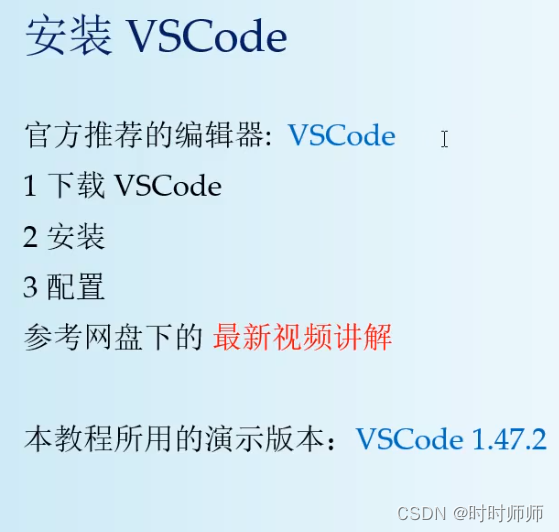
6.1 VSCode环境

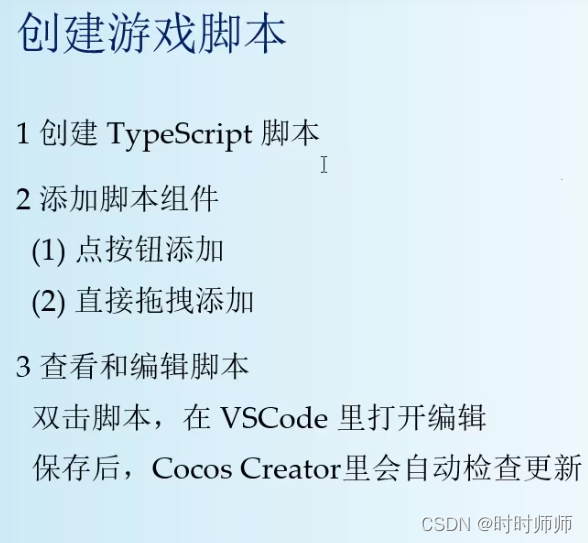
6.2创建游戏脚本
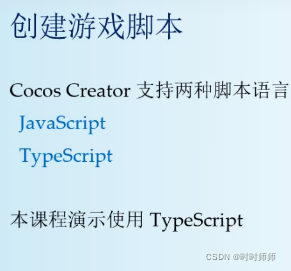
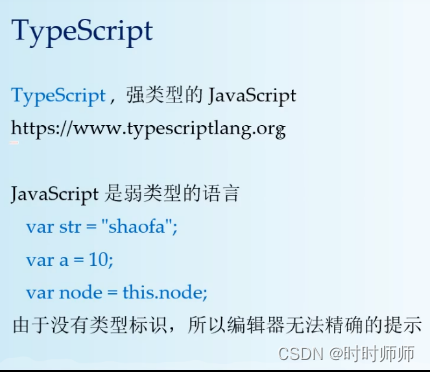
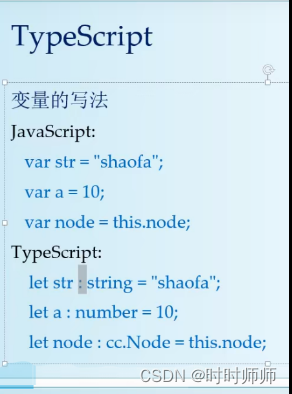
TypeScript其实就是JavaScript的加强版。
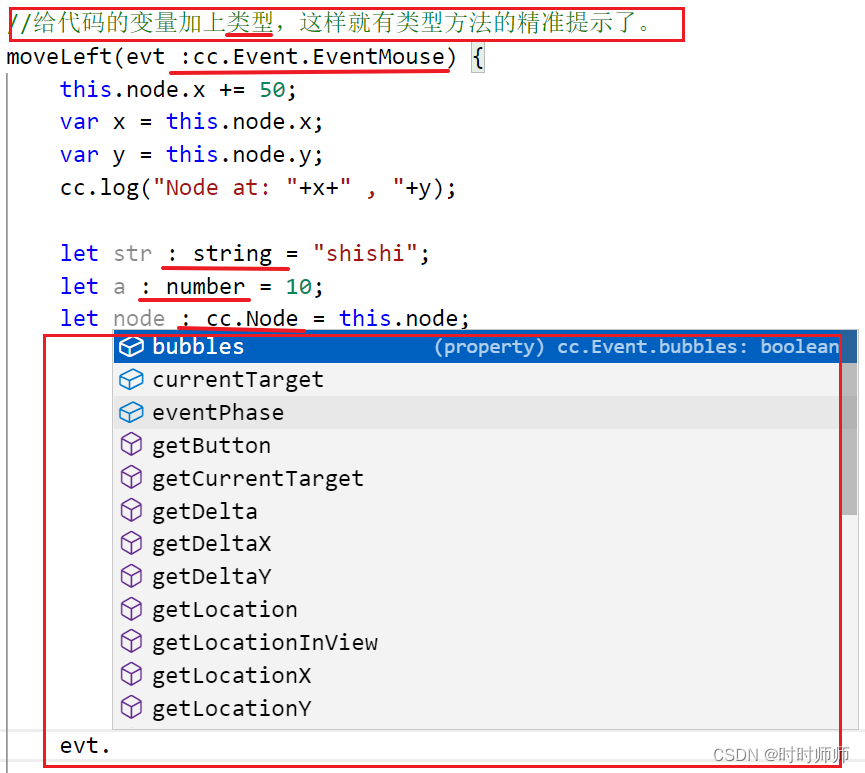
解释: JavaScript是无类型的,所以在编写的时候没有工具提示,比较麻烦。所以就发明了强类型的TypeScript,具有工具提示。
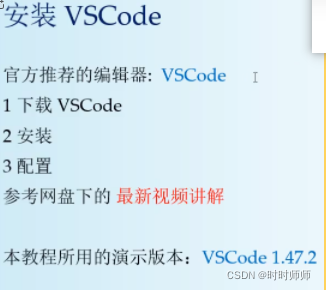
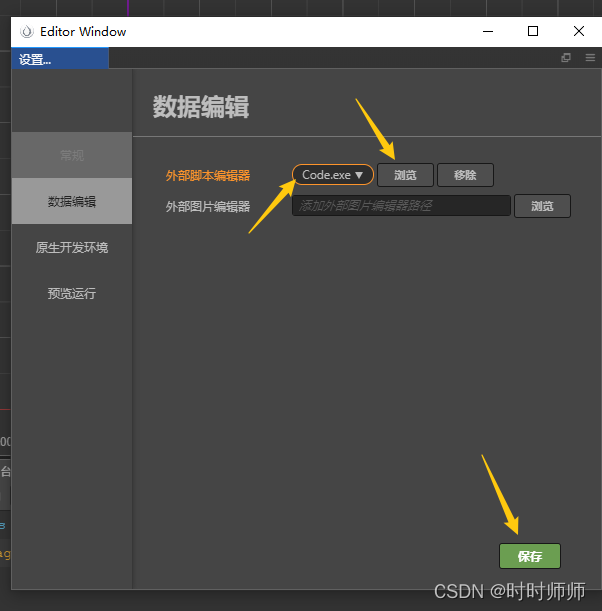
按照默认的VS Code 安装步骤,安装之后,在cocos中配置VS Code,浏览,然后搜索 VS Code,找到Code.exe。点击保存。
新建游戏脚本,就会自动打开VS Code。

假如输入状态紊乱,那么可以切换一下中文,或者切换到其他窗口,再切回来。

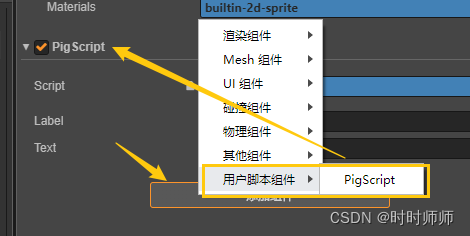
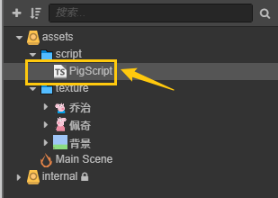
步骤演示:
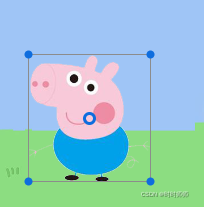
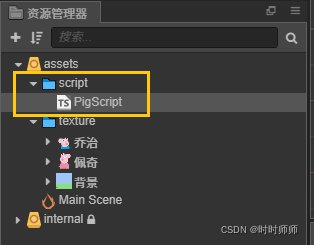
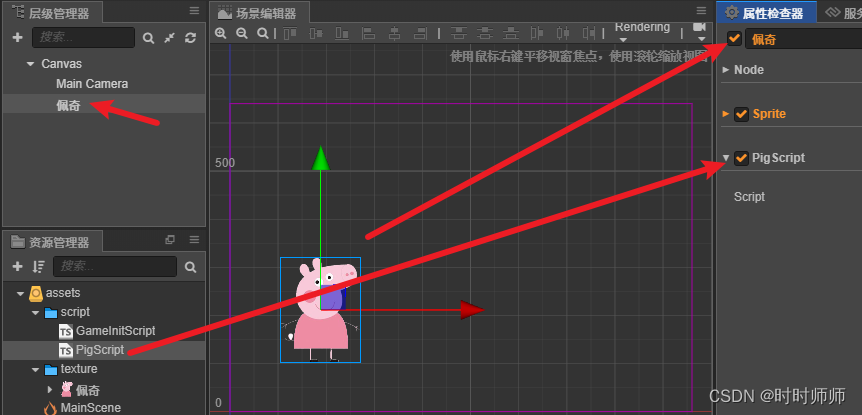
创建文件夹,然后点击选中图片佩奇,在右下角添加组件——用户脚本组件——Pigscript。
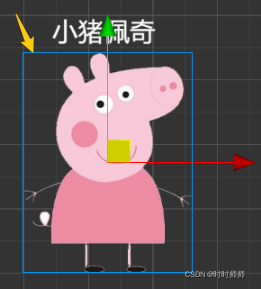
选中之后会出现蓝色的边框。
在cocos中不能直接编辑脚本,需要双击这个脚本,就会自动打开VS Code脚本窗口编辑。
在VS Code中编辑完成之后,Ctrl+S保存,cocos会自动刷新右侧的代码内容。

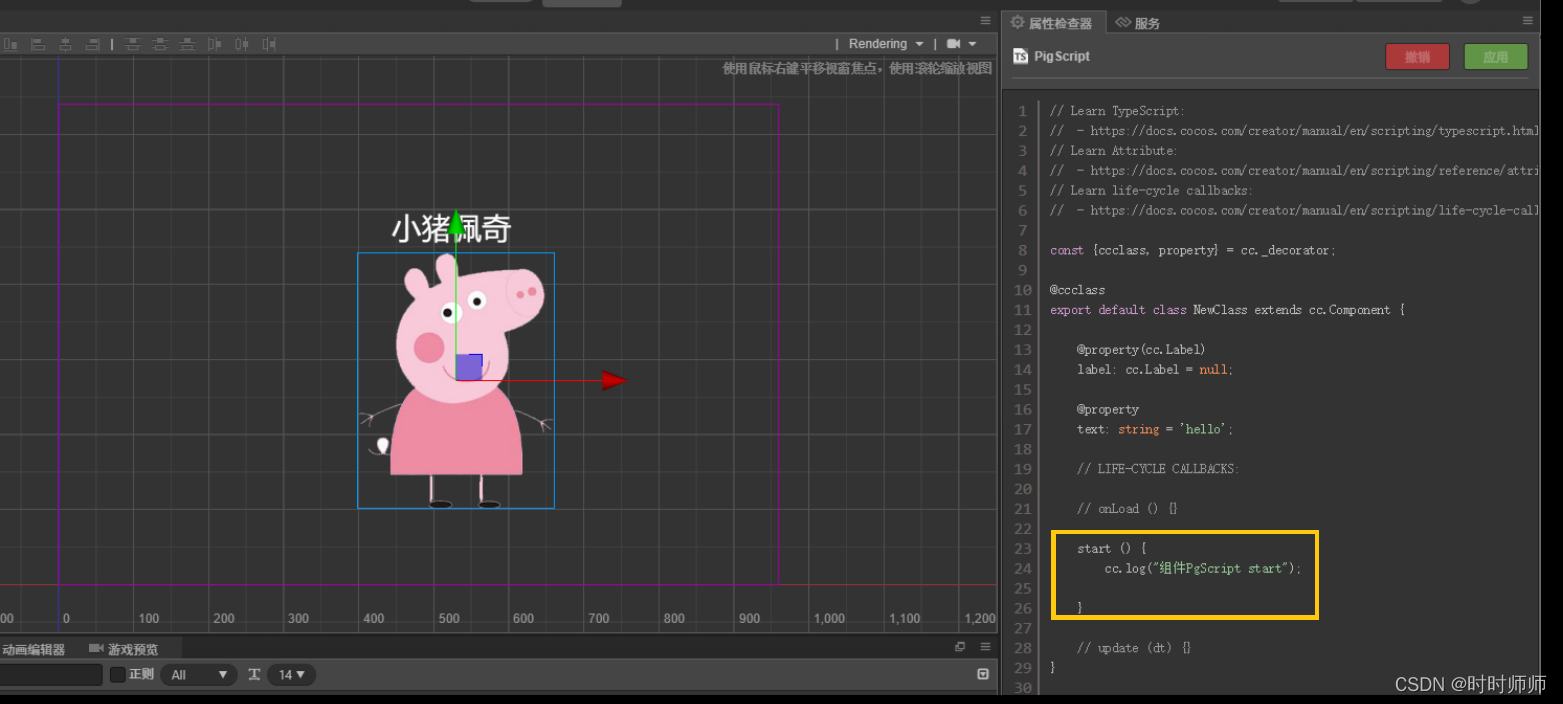

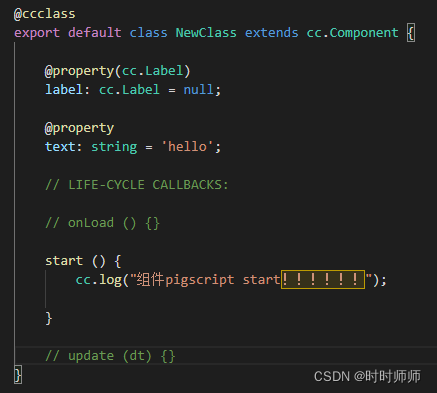
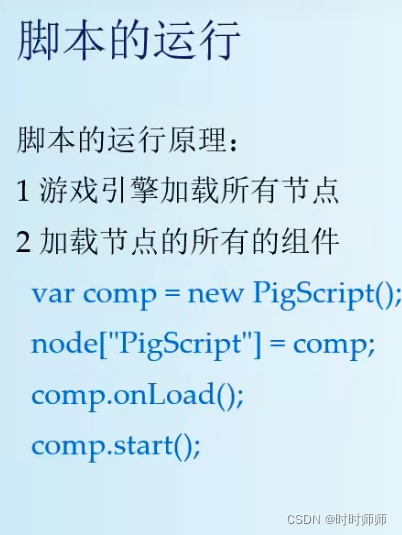
6.3 脚本的运行
双击打开脚本之后先关闭脚本窗口(因为这样打开的窗口,直接进行编辑有一个BUG,所以需要先把这个脚本关闭),然后在右侧重新找到代码打开,再进行编辑。

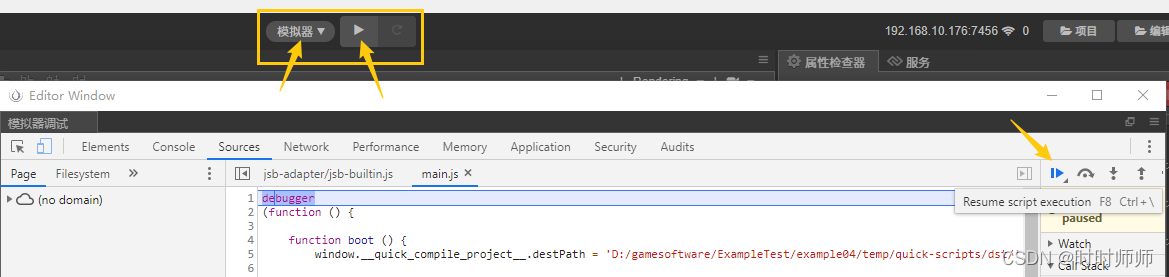
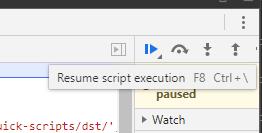
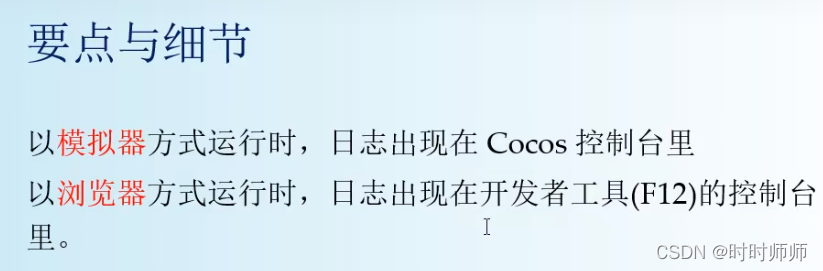
选择模拟器,还有下方的Resume script execution按钮(继续脚本执行),才能出现打印的日志。
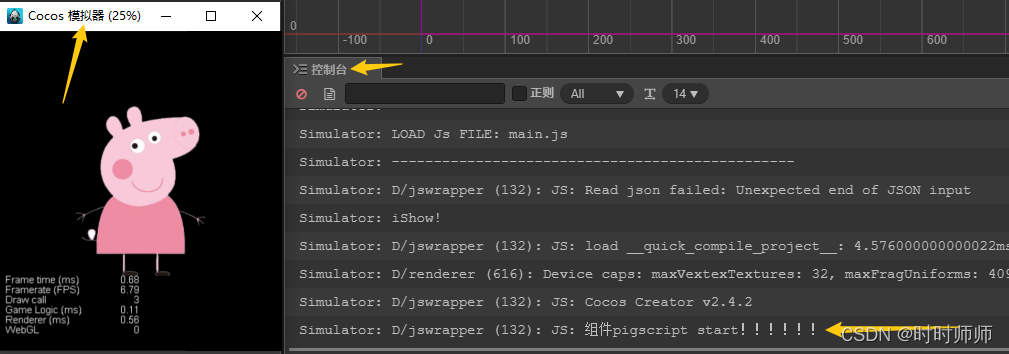
伪代码理解:
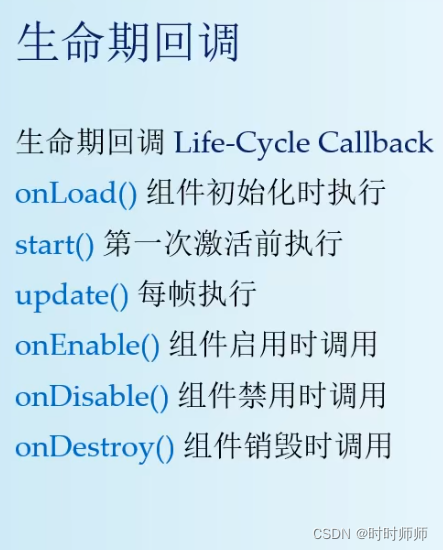
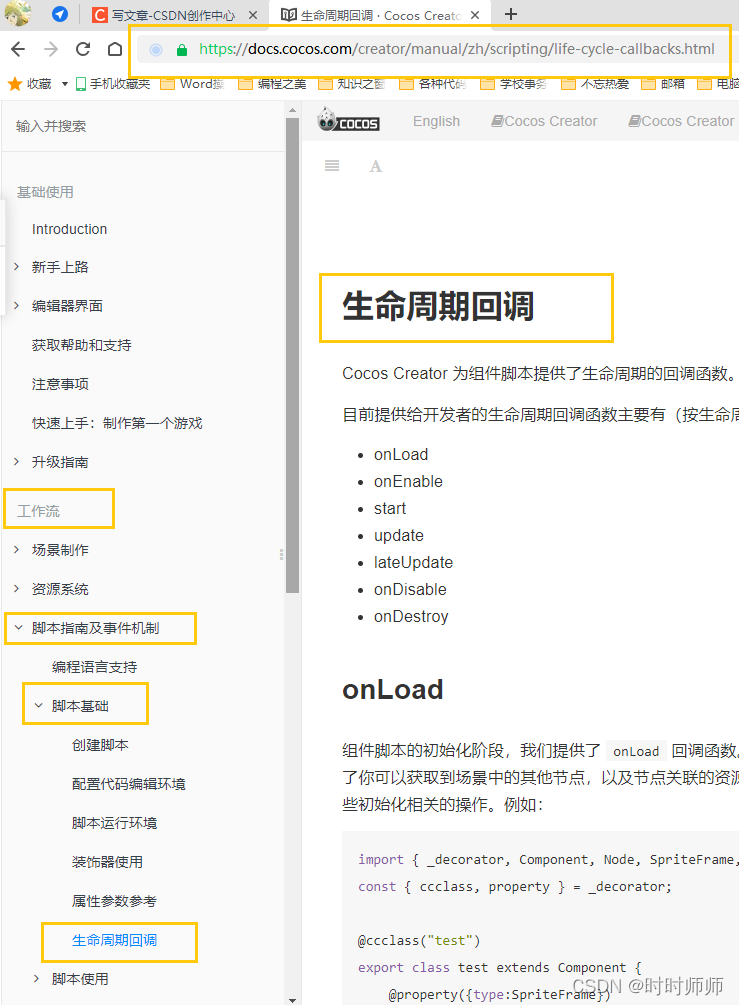
生命周期回调 · Cocos Creator https://docs.cocos.com/creator/manual/zh/scripting/life-cycle-callbacks.html
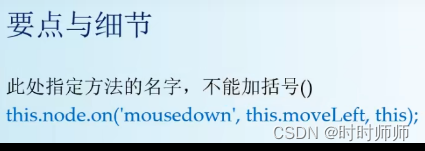
6.4 事件响应处理
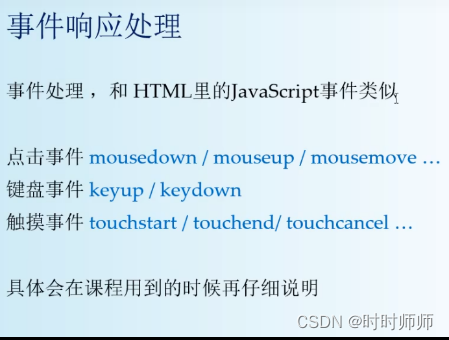

方法名不加()。并不是要调用它。
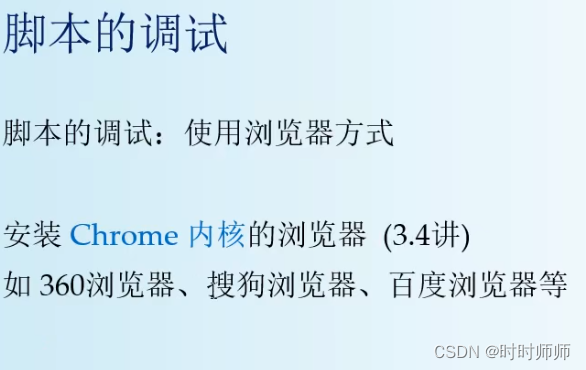
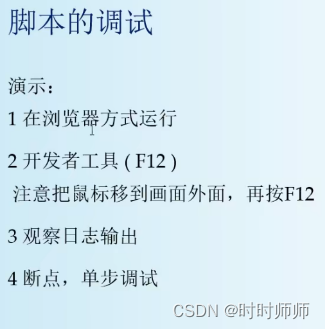
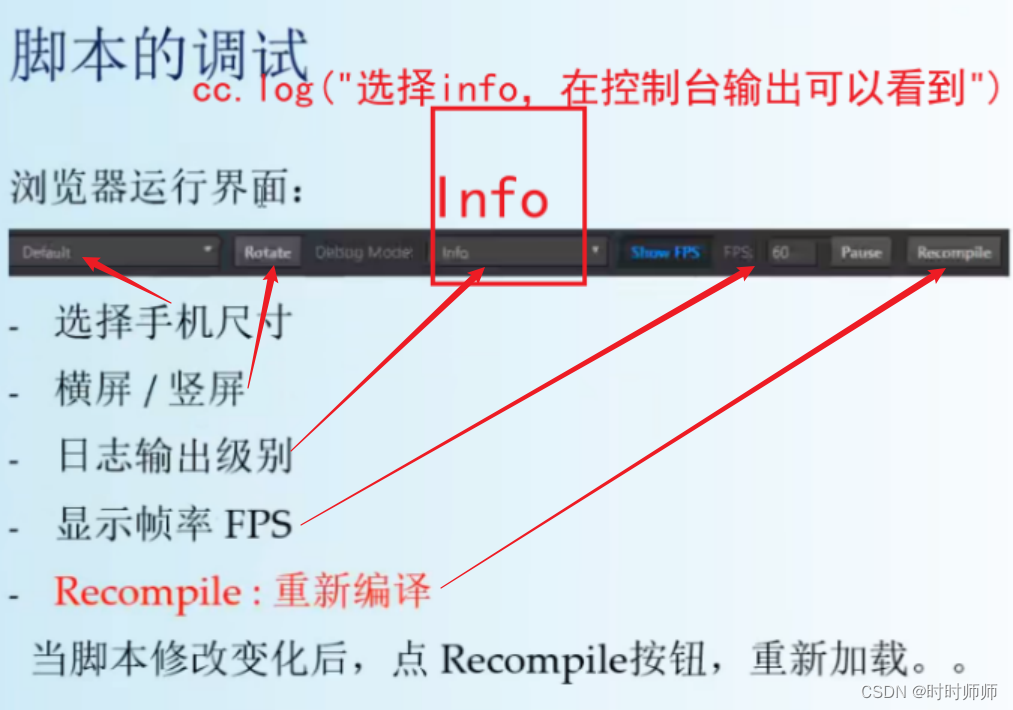
6.5脚本的调试

7.1 TypeScript 具体用法
官网地址: TypeScript: JavaScript With Syntax For Types. https://www.typescriptlang.org/zh/

这样如下图,就有提示了:
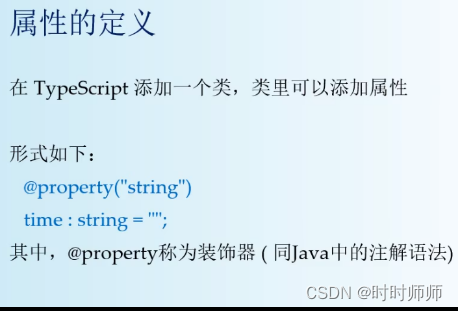
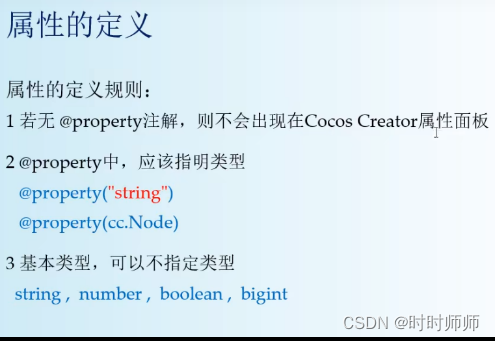
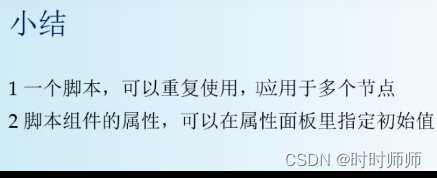
7.2 属性的定义

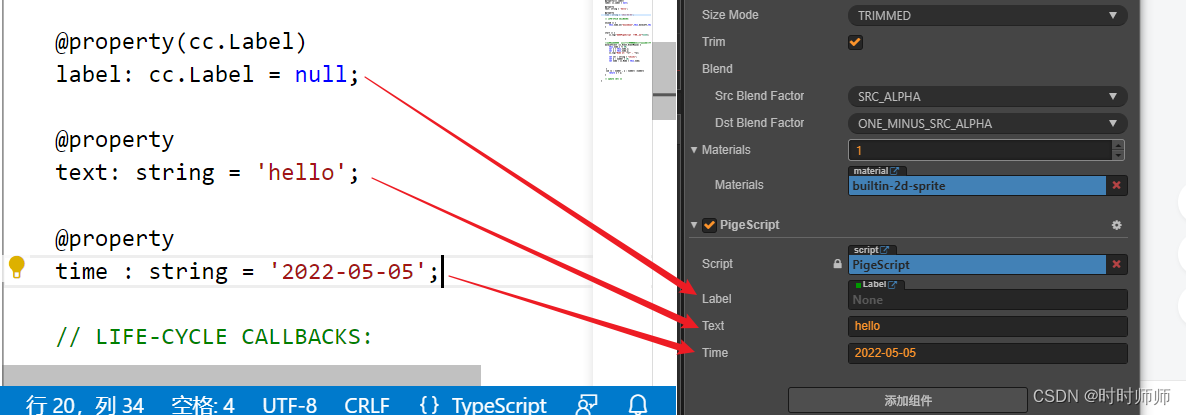
加了@property之后,用户脚本组件的PigeScript中就会自动加上这个time属性。开发者就可以从这个属性面板中进行初始化设置。但是这里的修改不会影响代码,只会影响编译结果。
7.3基本类型的属性
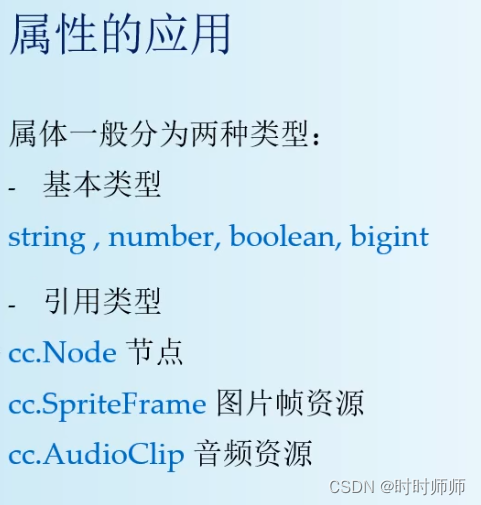
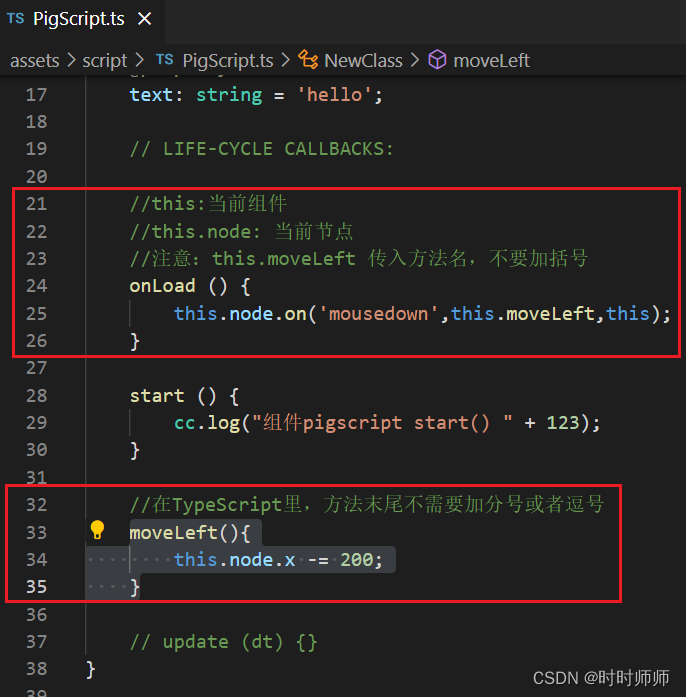
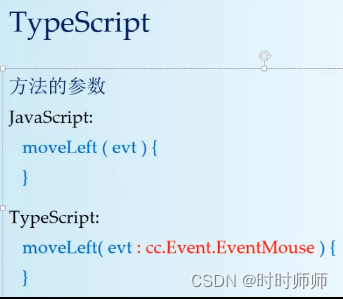
const {ccclass, property} = cc._decorator;@ccclassexport default class NewClass extends cc.Component { @property(cc.Label) label: cc.Label = null; // 每一步的大小,单位为像素。 @property step : number = 20 ; //行走方向 @property towardsLeft : boolean = true; // LIFE-CYCLE CALLBACKS: //调用move方法 onLoad () { this.node.on("mousedown",this.move,this); } start () { cc.log("组件PigeScript开始运行!"+1123); } // 在TypeScript里,方法的末尾不需要加分号或者逗号 move(evt : cc.Event.EventMouse){ if(this.towardsLeft){ this.node.x -= this.step;//向左走 }else{ this.node.x += this.step;//向右走 } }// update (dt) {}}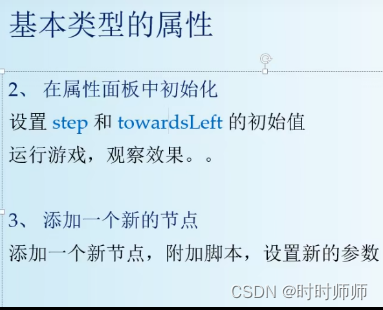
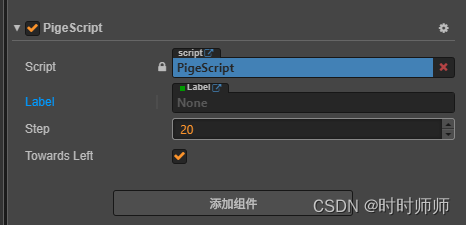
选择勾选(向左)或者不勾选(向右)属性“Towards Left”来控制方向。
新建的节点也可以通过添加组件使用这个PigeScript脚本的代码。
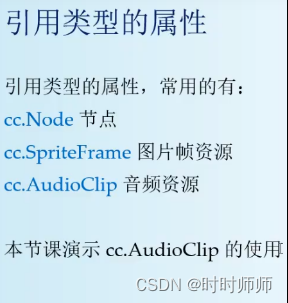
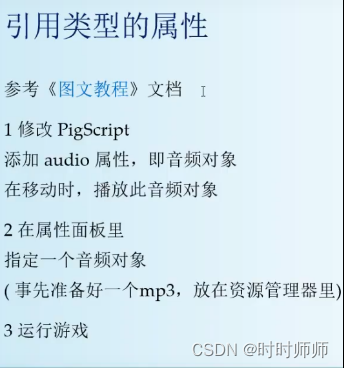
7.4引用类型的使用
全部代码:
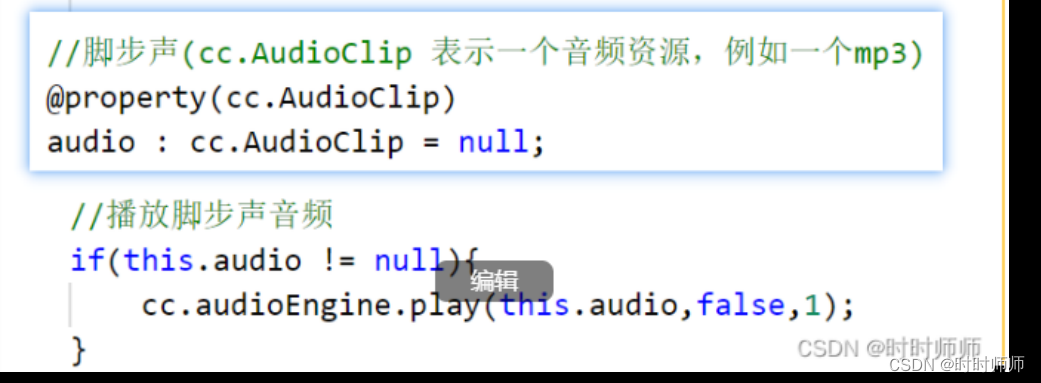
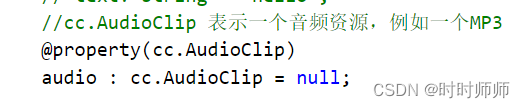
const {ccclass, property} = cc._decorator;@ccclassexport default class NewClass extends cc.Component { @property(cc.Label) label: cc.Label = null; // 每一步的大小,单位为像素。 @property step : number = 20 ; //行走方向 @property towardsLeft : boolean = true; //脚步声(cc.AudioClip 表示一个音频资源,例如一个mp3) @property(cc.AudioClip) audio : cc.AudioClip = null; // LIFE-CYCLE CALLBACKS: onLoad () { this.node.on("mousedown",this.move,this); } start () { cc.log("组件PigeScript开始运行!"+1123); } // 在TypeScript里,方法的末尾不需要加分号或者逗号 move(evt : cc.Event.EventMouse){ if(this.towardsLeft){ this.node.x -= this.step;//向左走 }else{ this.node.x += this.step;//向右走 } //播放脚步声音频 if(this.audio != null){ cc.audioEngine.play(this.audio,false,1); } }// update (dt) {}} 添加脚步声的关键代码: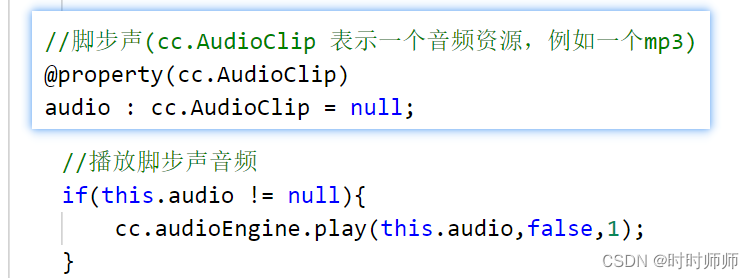
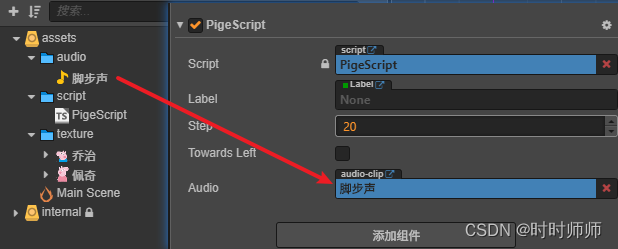
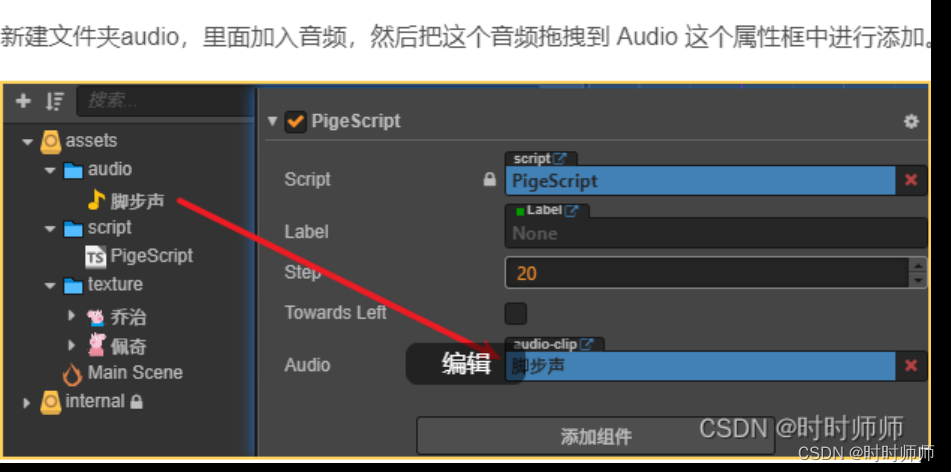
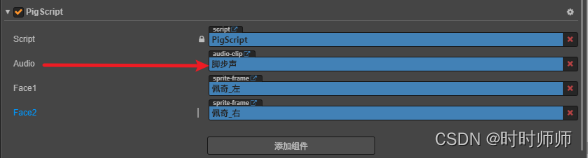
新建文件夹audio,里面加入音频,然后把这个音频拖拽到 Audio 这个属性框中进行添加。
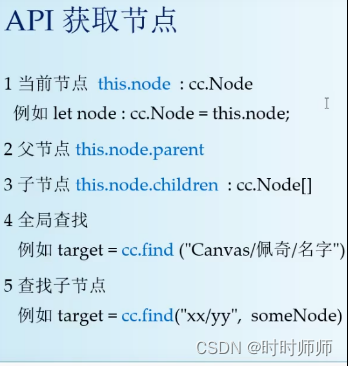
8.1API获取节点
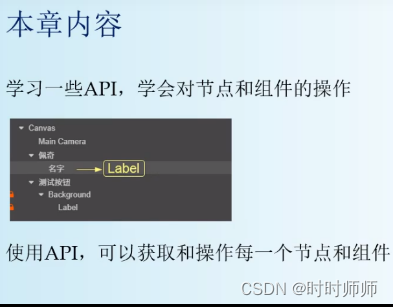
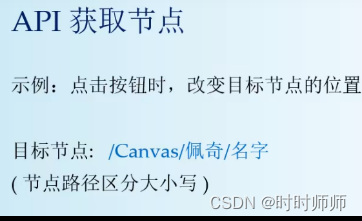
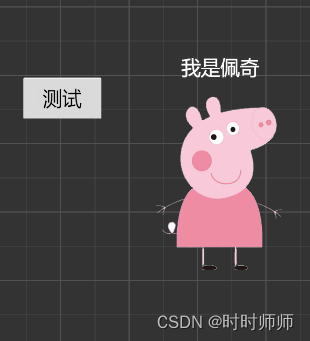
操作结果:点一下测试按钮,就能把名字放到佩奇的脚下。(点击测试按钮之前,名字在佩奇的头上。)
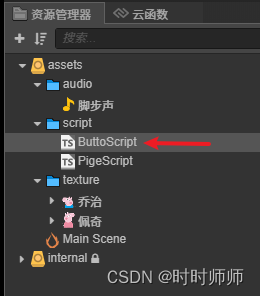
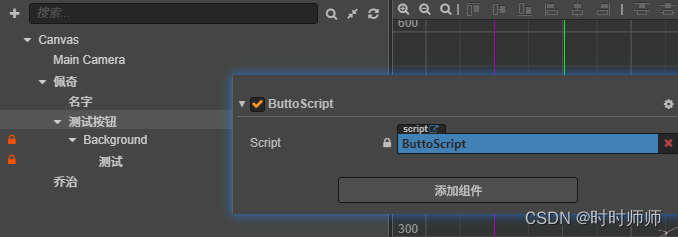
创建新脚本ButtonScript,添加给测试按钮。
代码:注意路径名称必须要区分大小写。
const {ccclass, property} = cc._decorator;@ccclassexport default class NewClass extends cc.Component { onLoad () {//鼠标点击事件 onClicked() this.node.on("mousedown",this.onClicked,this); } start () {} onClicked(){ let node : cc.Node = cc.find("Canvas/佩奇/名字");//找到路径 node.setPosition(0,-200);//使这个节点向下移动200px。 } // update (dt) {}} 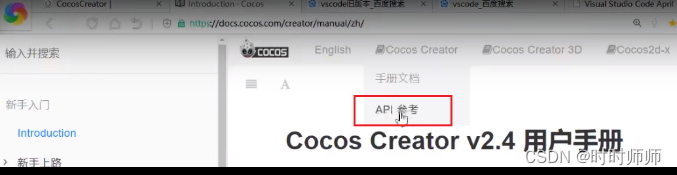
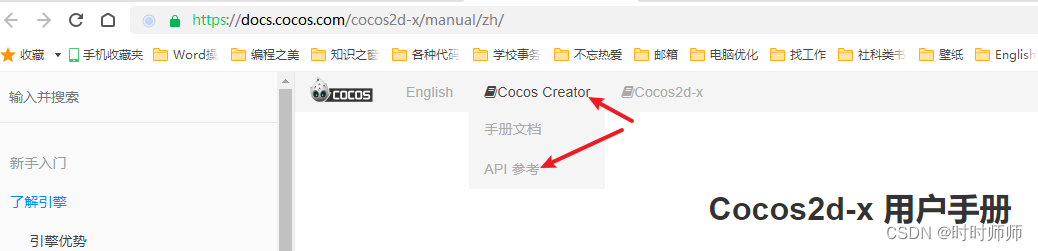
查看文档,寻找API。
8.2API获取组件
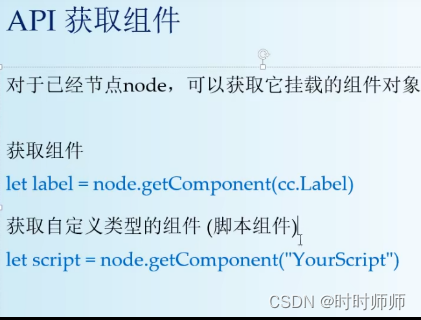

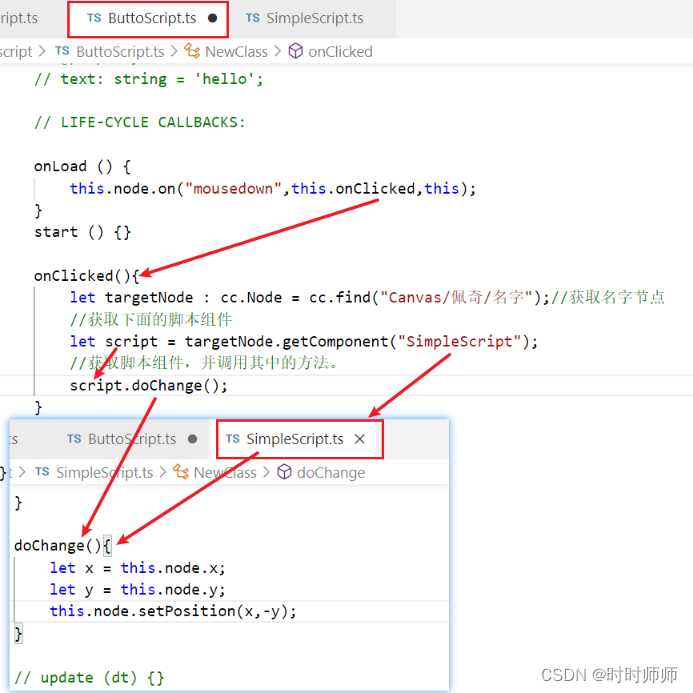
const {ccclass, property} = cc._decorator;@ccclassexport default class NewClass extends cc.Component { // LIFE-CYCLE CALLBACKS: onLoad () { this.node.on("mousedown",this.onClicked,this); } start () {} onClicked(){ let targetNode : cc.Node = cc.find("Canvas/佩奇/名字");//根据路径找到节点 名字 let label : cc.Label = targetNode.getComponent(cc.Label);//获取节点的组件Lable label.string = "小猪佩奇";//给属性string赋值 } // update (dt) {}}8.3脚本组件的访问
为节点“名字”添加组件SimpleScript。
在按钮的组件ButtoScript中找到节点“名字”并调用它的组件SimpleScript中的方法doChange()。
方法doChange():每次,点击测试按钮,都让节点“名字”的y位置的值为相反值。
P31 9.0小游戏:行走的佩奇
 B站的视频里没有详细介绍怎么制作,发现需要购买B站上阿发博主的学习资料才能看到详细教程。下面是详细制作教程的学习笔记。
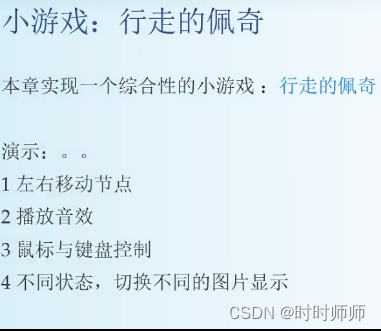
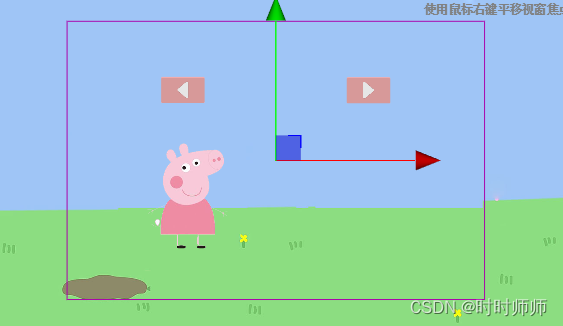
9.1 实例:行走的佩奇
9.2场景布局
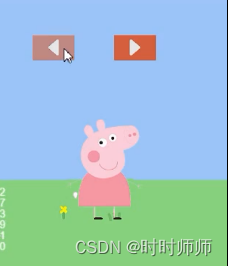
步骤如下:
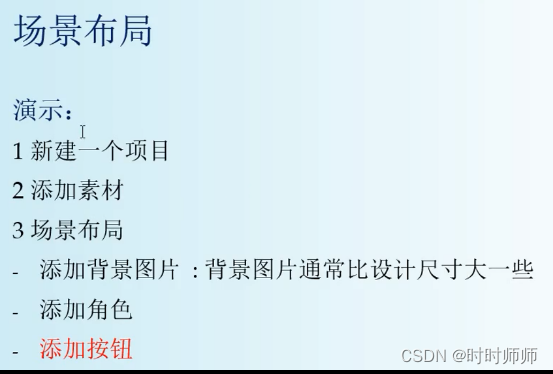
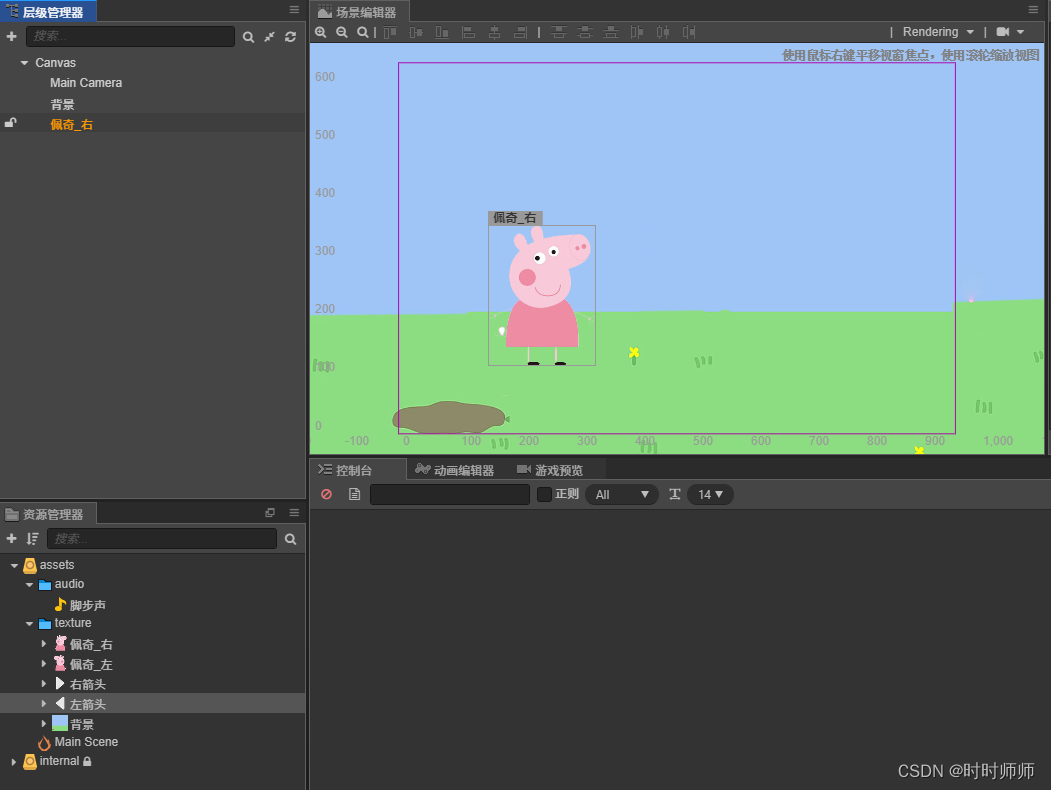
效果如图:
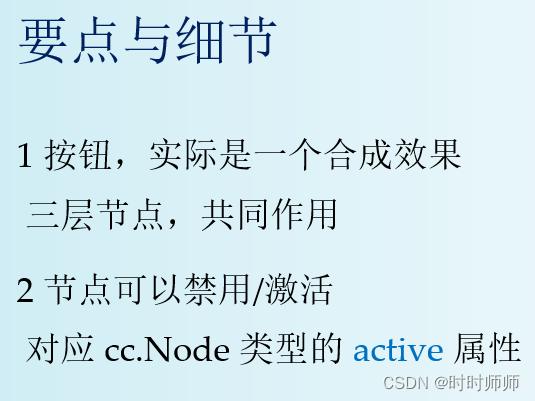
制作图片按钮:
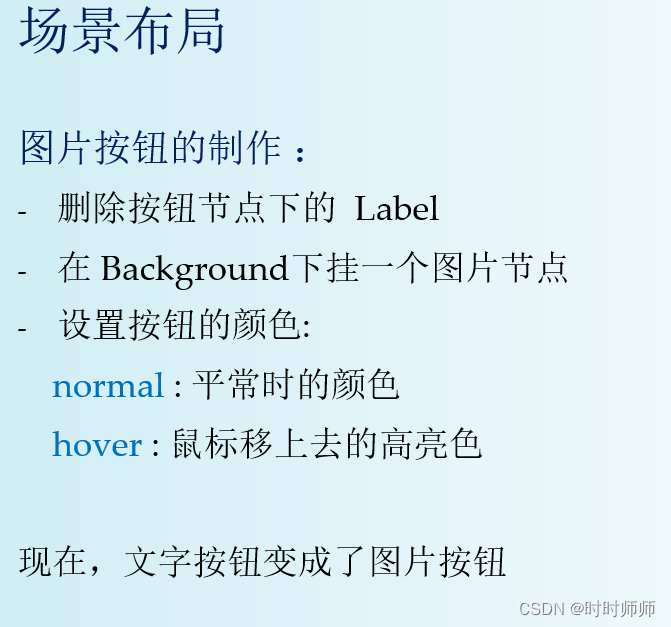
Label代表的就是按钮的文字button,可以删掉button换成图片。
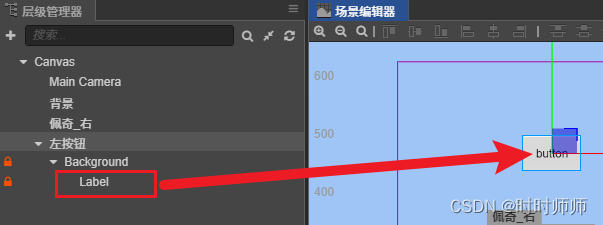
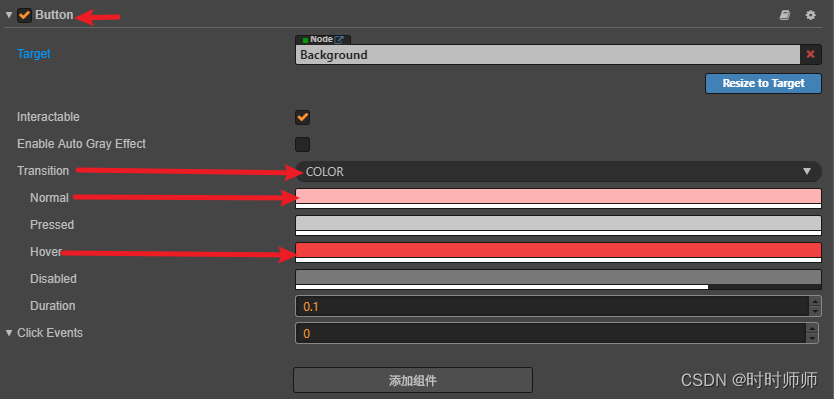
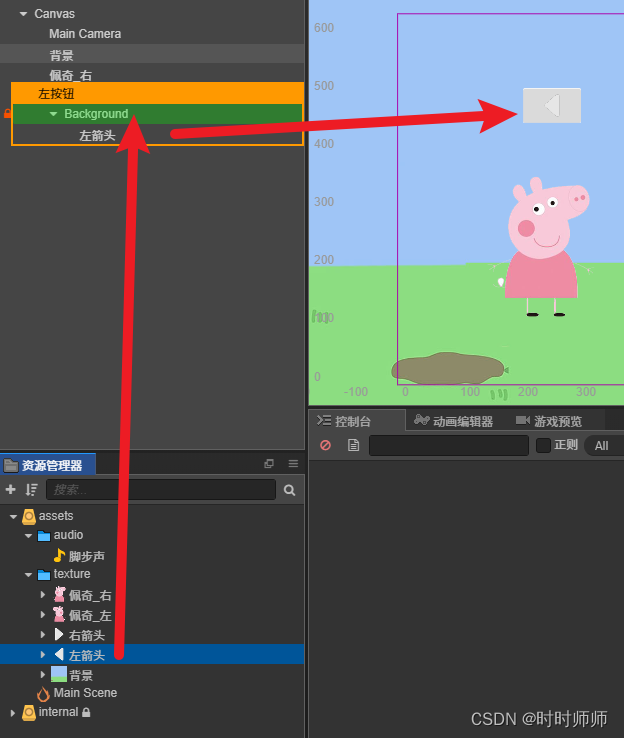 直接把图片拖动到Background下面就好了,右边就会直接显示这个图片。还可以修改按钮在不同鼠标状态下的的背景颜色。
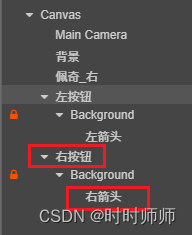
右按钮可以直接点击复制左按钮,然后修改名称并替换图片获得。然后移动位置即可。
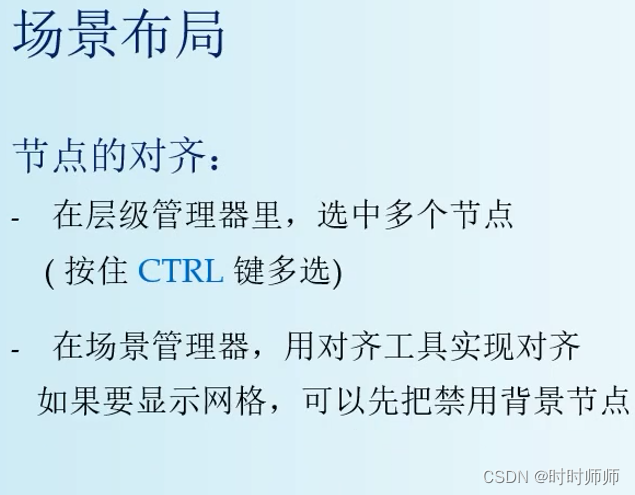
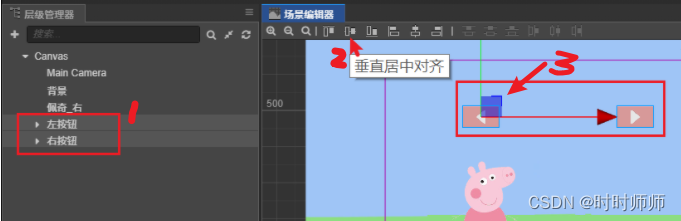
(如果想要调节两个按钮之间的间距,需要先调节间距,再调节水平对齐的状态。)
- 按下Ctrl键然后选中两个按钮,
- 使用场景编辑器中的工具“垂直居中对齐”来使两个按钮位于同一条水平线上。
- 然后点击移动点拖动按钮整体移动位置。
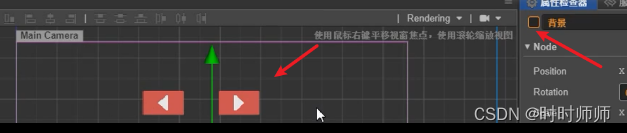
或者把背景图片勾掉禁用,暂时不显示,然后利用网格来实现对齐。
9.3键盘事件
点击佩奇这个组件,然后把这个脚本直接拖动到添加组件按钮里面,就可以直接添加脚本。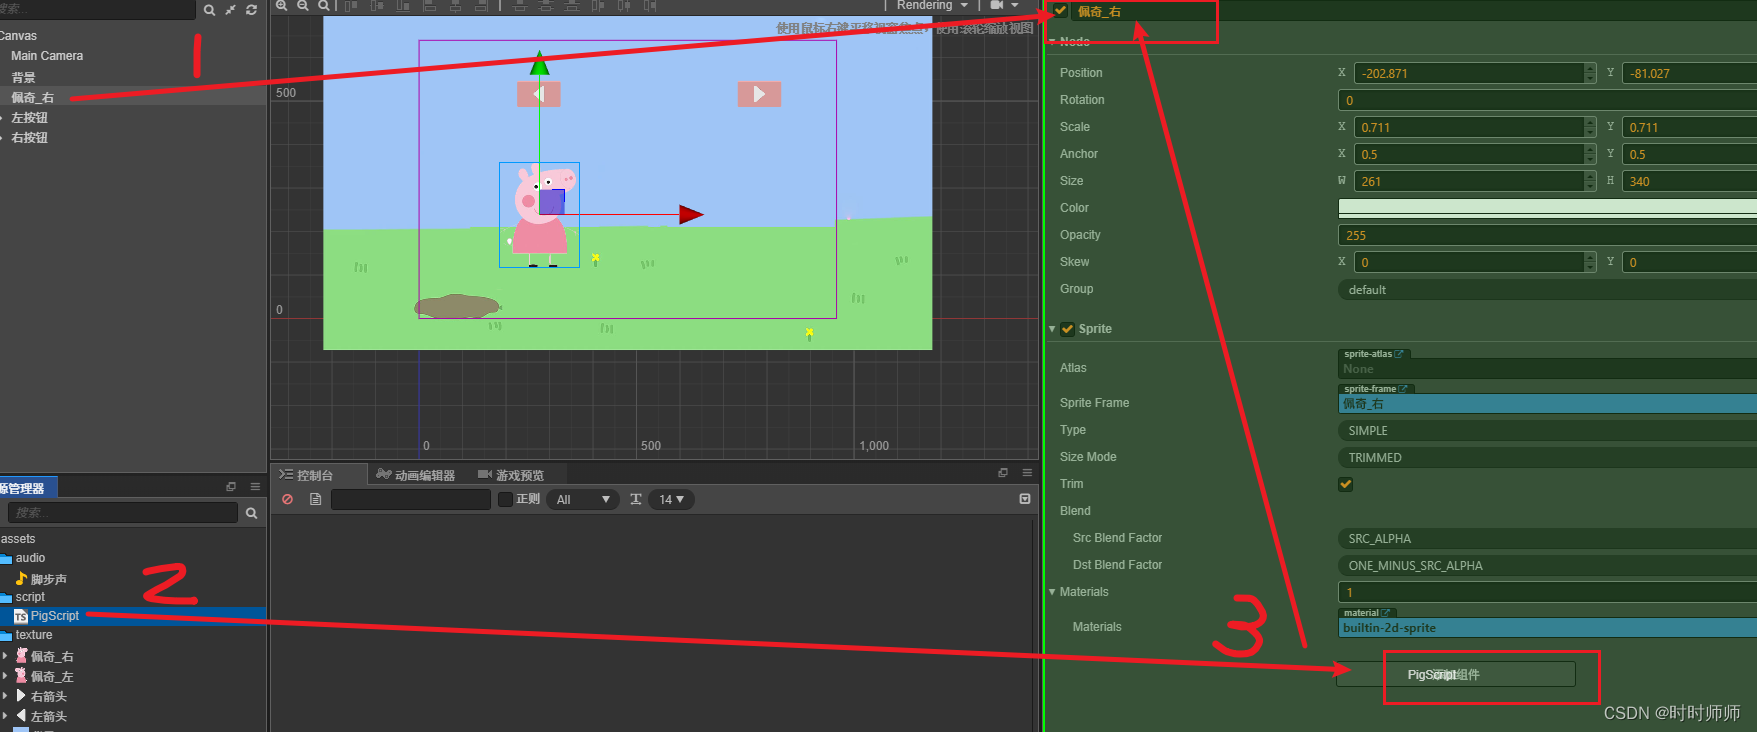
Ctri+S保存脚本,然后看看这个脚本。
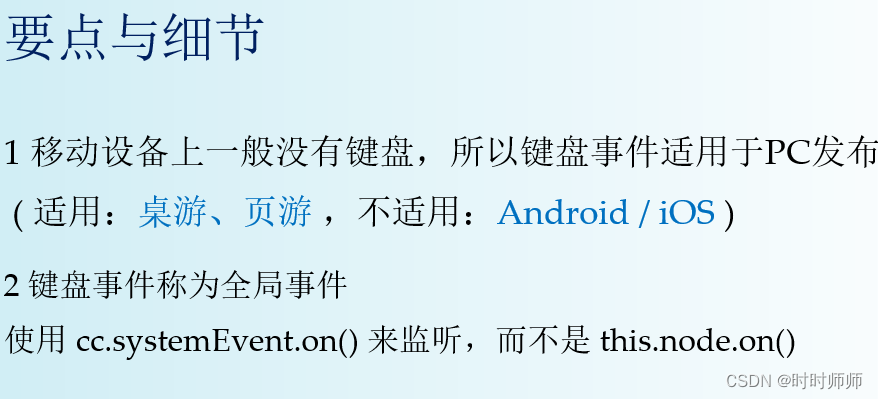
Left和Right就是左右箭头。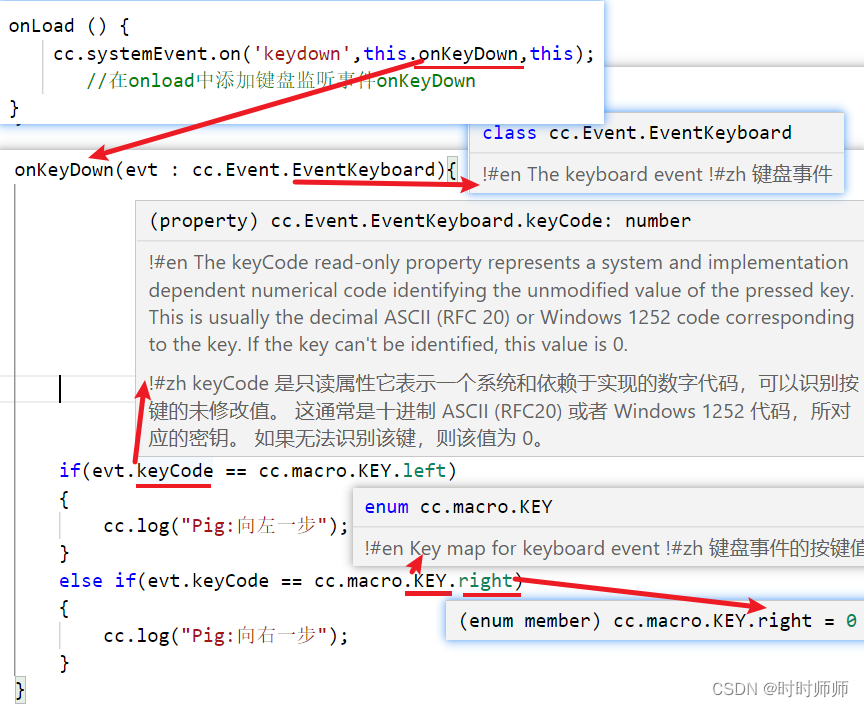
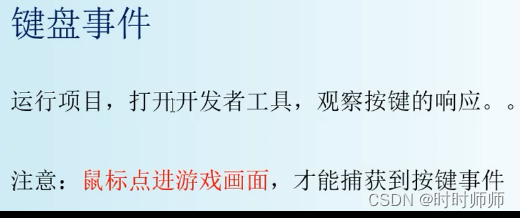
运行浏览器,看看这个脚本:需要先点击一下我们的游戏页面,让游戏捕捉到鼠标,然后点击键盘上的左右键才会出现打印日志。
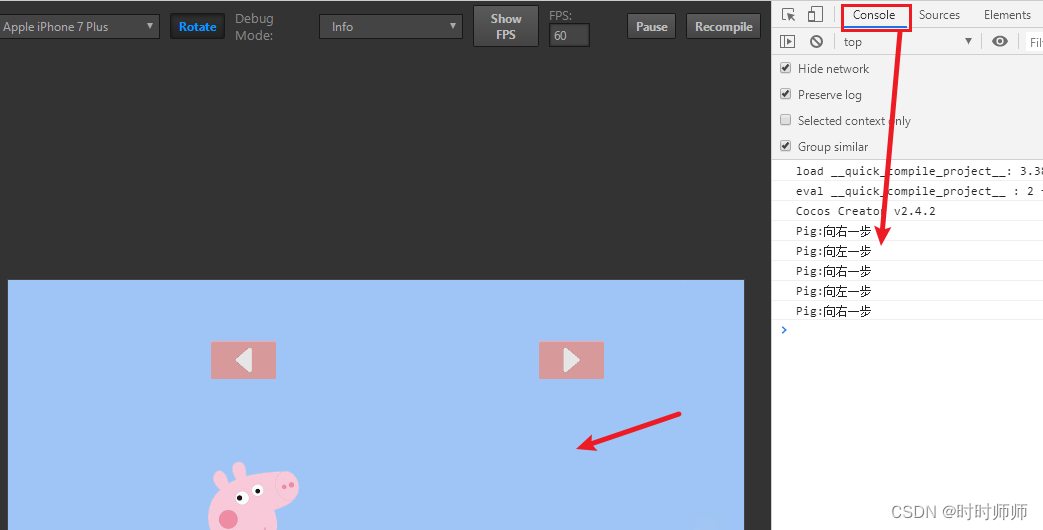
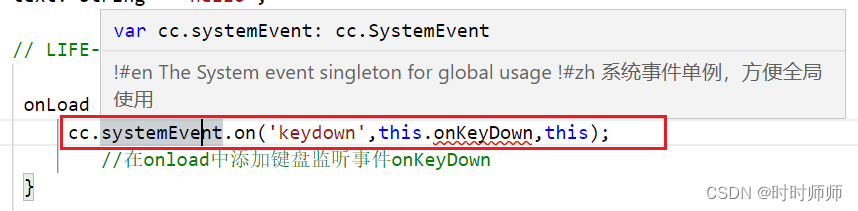
// Learn TypeScript:// - https://docs.cocos.com/creator/manual/en/scripting/typescript.html// Learn Attribute:// - https://docs.cocos.com/creator/manual/en/scripting/reference/attributes.html// Learn life-cycle callbacks:// - https://docs.cocos.com/creator/manual/en/scripting/life-cycle-callbacks.htmlconst {ccclass, property} = cc._decorator;@ccclassexport default class NewClass extends cc.Component { @property(cc.Label) label: cc.Label = null; @property text: string = 'hello'; // LIFE-CYCLE CALLBACKS: onLoad () { cc.systemEvent.on('keydown',this.onKeyDown,this); //在onload中添加键盘监听事件onKeyDown } start () { } onKeyDown(evt : cc.Event.EventKeyboard){//参数evt类型是cc.事件和键盘事件。 if(evt.keyCode == cc.macro.KEY.left) { cc.log("Pig:向左一步"); } else if(evt.keyCode == cc.macro.KEY.right) { cc.log("Pig:向右一步"); } } // update (dt) {}}
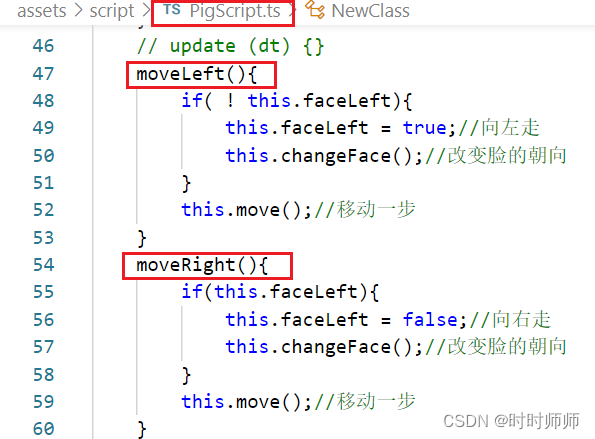
9.4角色的移动
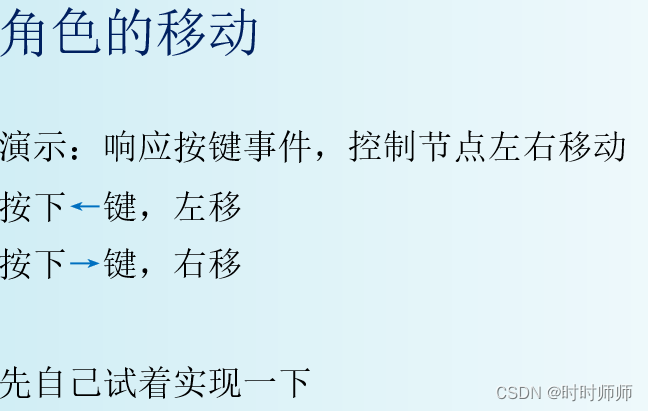
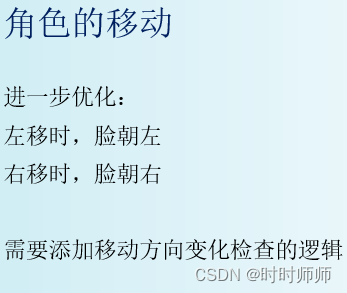
// Learn TypeScript:// - https://docs.cocos.com/creator/manual/en/scripting/typescript.html// Learn Attribute:// - https://docs.cocos.com/creator/manual/en/scripting/reference/attributes.html// Learn life-cycle callbacks:// - https://docs.cocos.com/creator/manual/en/scripting/life-cycle-callbacks.htmlconst {ccclass, property} = cc._decorator;@ccclassexport default class NewClass extends cc.Component { // @property(cc.Label) // label: cc.Label = null; // @property // text: string = 'hello'; //当前脸的朝向 : true,脸朝左;false,脸朝右。 faceLeft : boolean = true; // LIFE-CYCLE CALLBACKS: onLoad () { cc.systemEvent.on('keydown',this.onKeyDown,this); //在onload中添加键盘监听事件onKeyDown } start () {} onKeyDown(evt : cc.Event.EventKeyboard){ if(evt.keyCode == cc.macro.KEY.left) { cc.log("Pig:向左一步"); this.moveLeft(); } else if(evt.keyCode == cc.macro.KEY.right) { cc.log("Pig:向右一步"); this.moveRight(); } } // update (dt) {} moveLeft(){ if( ! this.faceLeft){ this.faceLeft = true; this.changeFace();//改变脸的朝向 } this.move();//移动一步 } moveRight(){ if( this.faceLeft){ this.faceLeft = false; this.changeFace();//改变脸的朝向 } this.move();//移动一步 } move(){if(this.faceLeft){ this.node.x -= 10;//向左移动}else{ this.node.x += 10;//向右移动} } changeFace(){ //改变脸的朝向 cc.log("改变行走方向,脸朝" + (this.faceLeft ? '左' : '右')); } }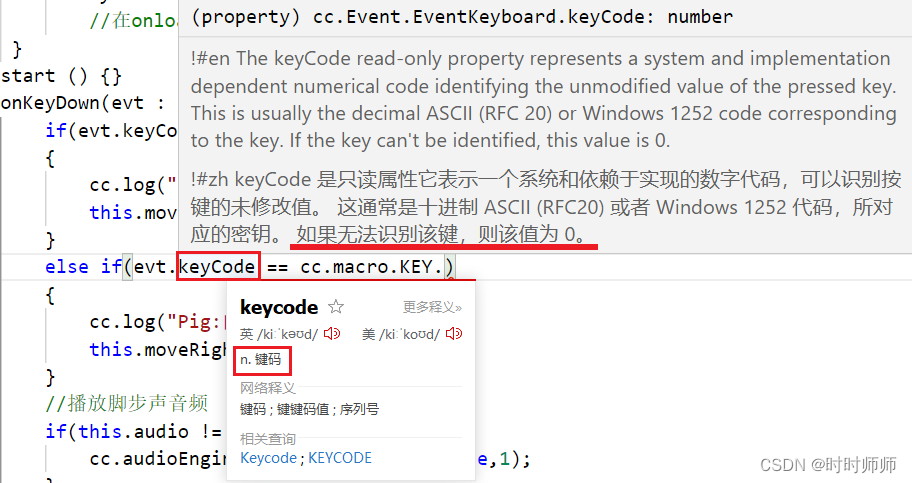

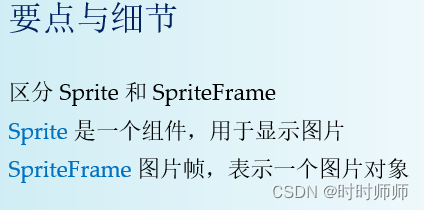
9.5动态显示图片 
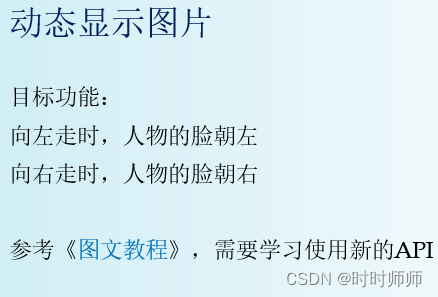
图文教程如下:
第一种方式:直接翻转(需要根据初始图片脸的朝向 分析代码)
this.node.scaleX = 0 - this.node.scaleX;比如,原来节点的 scale 为 (0.7 , 0.7 ) ,翻转后为 (-0.7, 0.7)。
但这并不是一个好办法,因为直正的人可能比较复杂,翻转之后可能穿帮。
changeFace(){ cc.log("改变行走方向,脸朝" + (this.faceLeft ? '左' : '右'));//大前提: 初始图片脸朝右 且 this.node.scaleX >0 if(this.faceLeft && (this.node.scaleX >0)||((!this.faceLeft) && (this.node.scaleX <0))) {//向左走 现在图片是脸朝右的,需要图片脸朝左 //向右走 现在图片是脸朝左的,需要图片脸朝右 this.node.scaleX = 0 - this.node.scaleX; }else{ //((this.faceLeft && (this.node.scaleX 0)))//向左走 现在图片是脸朝左的,不需要改变图片脸朝向 //向右走 现在图片是脸朝右的,不需要改变图片脸朝向 this.node.scaleX = this.node.scaleX; }} 第二种方式:(不需要判断初始图片脸的朝向。直接换图片,然后移动位置就可以了。)
1 准备素材
朝左、朝右两种状态的图片,放在资源管理器里。
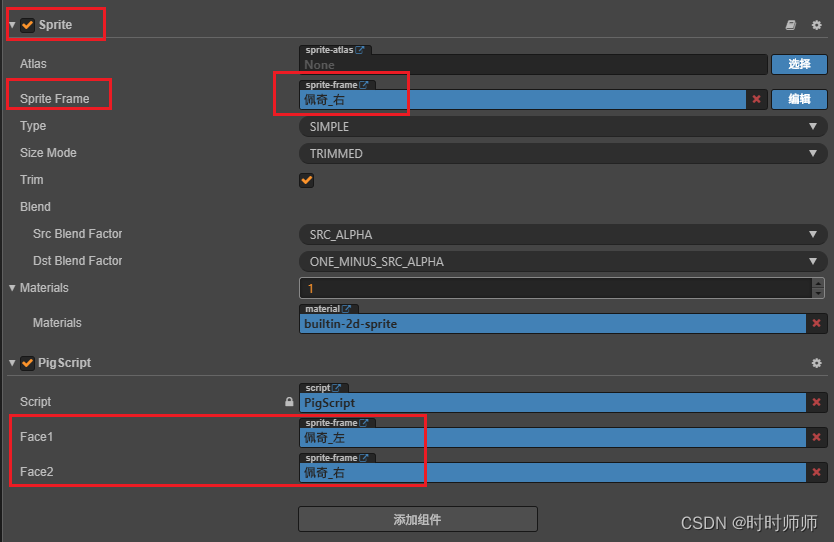
2 添加属性
// 两种状态的图片帧@property(cc.SpriteFrame)face1: cc.SpriteFrame = null;@property(cc.SpriteFrame)face2: cc.SpriteFrame = null;3 在Cocos Creator里,给face1 face2指定资源图片
4 动态切换图片
changeFace(){ cc.log("改变行走方向,脸朝" + (this.faceLeft ? '左' : '右')); // 获取 Sprite 组件 let sprite : cc.Sprite = this.node.getComponent(cc.Sprite); // 修改 Sprite 组件的 Sprite Frame 属性 //无论初始图片是脸朝左还是脸朝右,都没关系。 if(this.faceLeft){ sprite.spriteFrame = this.face1; //需要图片脸朝左 }else{ sprite.spriteFrame = this.face2; //需要图片脸朝右 }} 
9.6脚本的调用
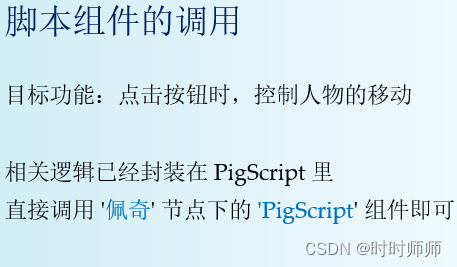
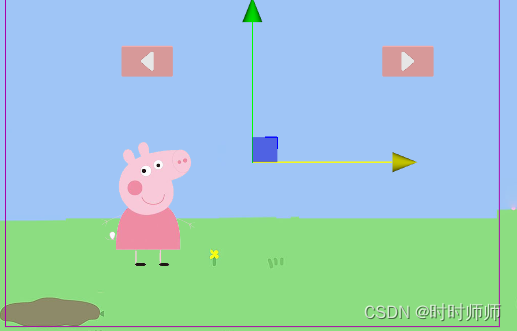
实现左右移动的按钮:
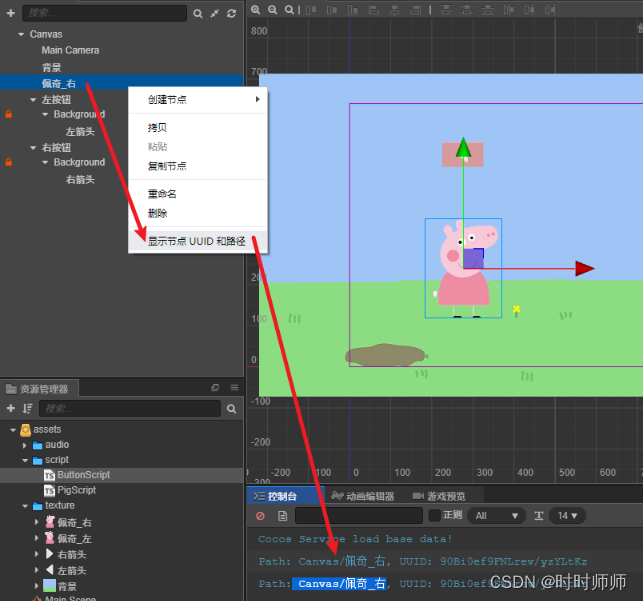
想办法在按钮ButtonScript.ts中调用PigScript.ts中的moveLeft()和moveRight()方法就可以了。找路径的时候可以使用显示节点的UUID和路径。
然后添加进按钮组件中。
注意右按钮的toLeft属性要去掉。

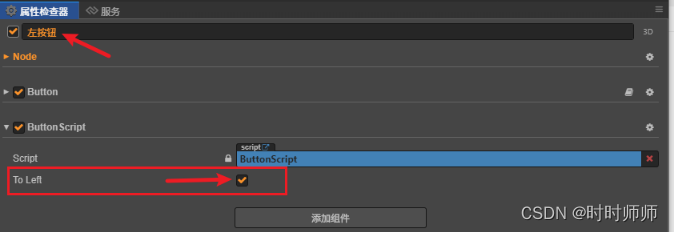
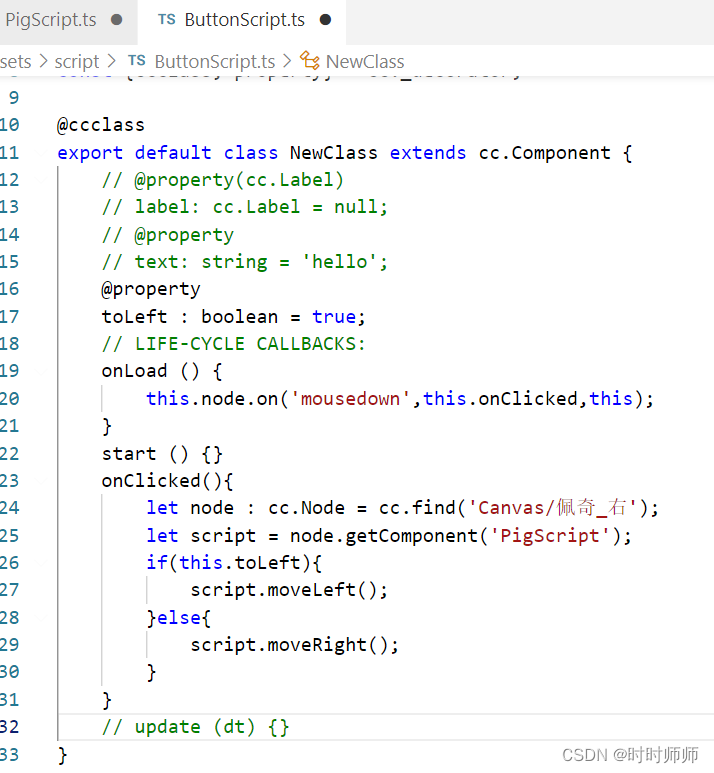
@propertytoLeft : boolean = true;// LIFE-CYCLE CALLBACKS:onLoad () { this.node.on('mousedown',this.onClicked,this);}start () {}onClicked(){ let node : cc.Node = cc.find('Canvas/佩奇_右'); let script = node.getComponent('PigScript'); if(this.toLeft){ script.moveLeft(); }else{ script.moveRight(); }}至此按钮功能实现了。
接下来需要为行走添加音效:
参照:

先在PigScript.ts中添加
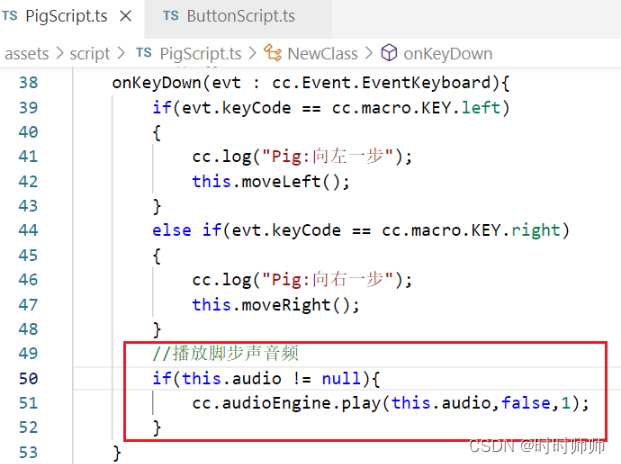
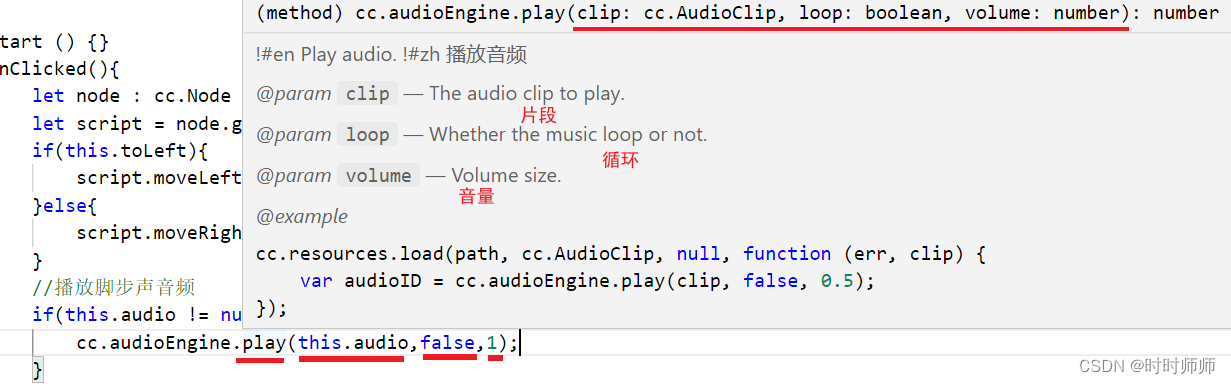
// Learn TypeScript:// - https://docs.cocos.com/creator/manual/en/scripting/typescript.html// Learn Attribute:// - https://docs.cocos.com/creator/manual/en/scripting/reference/attributes.html// Learn life-cycle callbacks:// - https://docs.cocos.com/creator/manual/en/scripting/life-cycle-callbacks.htmlconst {ccclass, property} = cc._decorator;//PigScript.ts@ccclassexport default class NewClass extends cc.Component { // @property(cc.Label) // label: cc.Label = null; // @property // text: string = 'hello'; //cc.AudioClip 表示一个音频资源,例如一个MP3 @property(cc.AudioClip) audio : cc.AudioClip = null; //当前脸的朝向 : true,脸朝左;false,脸朝右。 faceLeft : boolean = true; //两种状态的图片帧 @property(cc.SpriteFrame) face1 : cc.SpriteFrame = null; @property(cc.SpriteFrame) face2 : cc.SpriteFrame = null; // LIFE-CYCLE CALLBACKS: onLoad () { cc.systemEvent.on('keydown',this.onKeyDown,this); //在onload中添加键盘监听事件onKeyDown } start () {} onKeyDown(evt : cc.Event.EventKeyboard){ if(evt.keyCode == cc.macro.KEY.left) { cc.log("Pig:向左一步"); this.moveLeft(); } else if(evt.keyCode == cc.macro.KEY.right) { cc.log("Pig:向右一步"); this.moveRight(); } //播放脚步声音频 if(this.audio != null){ cc.audioEngine.play(this.audio,false,1); } } // update (dt) {} moveLeft(){ if( ! this.faceLeft){ this.faceLeft = true;//向左走 this.changeFace();//改变脸的朝向 } this.move();//移动一步 } moveRight(){ if(this.faceLeft){ this.faceLeft = false;//向右走 this.changeFace();//改变脸的朝向 } this.move();//移动一步 } //改变脸的朝向 move(){if(this.faceLeft){ this.node.x -= 10;//向左移动}else{ this.node.x += 10;//向右移动} } changeFace(){ cc.log("改变行走方向,脸朝" + (this.faceLeft ? '左' : '右')); // 获取 Sprite 组件// TODO: 为了优化效率,可以在onLoad()里就把这个 cc.Sprite引用给准备好 let sprite : cc.Sprite = this.node.getComponent(cc.Sprite); // 修改 Sprite 组件的 Sprite Frame 属性 //无论初始图片是脸朝左还是脸朝右,都没关系。 if(this.faceLeft){//向左走 sprite.spriteFrame = this.face1; //需要图片脸朝左 }else{//向右走 sprite.spriteFrame = this.face2; //需要图片脸朝右 } }// changeFace(){ // cc.log("改变行走方向,脸朝" + (this.faceLeft ? '左' : '右')); //大前提: 初始图片脸朝右 且 this.node.scaleX >0 // if(this.faceLeft && (this.node.scaleX >0) ||( (!this.faceLeft) && (this.node.scaleX <0) )) // { //向左走 现在图片是脸朝右的,需要图片脸朝左 //向右走 现在图片是脸朝左的,需要图片脸朝右 // this.node.scaleX = 0 - this.node.scaleX; // }else{ ((this.faceLeft && (this.node.scaleX 0)) ) // //向左走 现在图片是脸朝左的,不需要改变图片脸朝向 //向右走 现在图片是脸朝右的,不需要改变图片脸朝向 // this.node.scaleX = this.node.scaleX; // } // } }然后在ButtonScript.ts中添加音频,两个按钮都要添加:
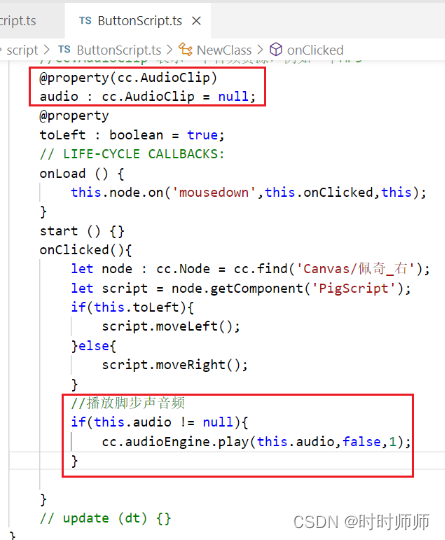

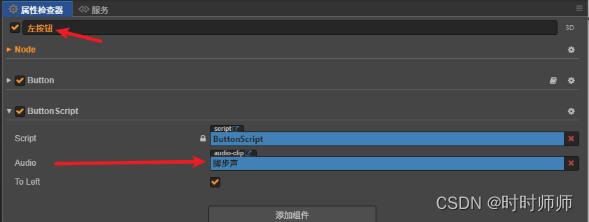
// Learn TypeScript:// - https://docs.cocos.com/creator/manual/en/scripting/typescript.html// Learn Attribute:// - https://docs.cocos.com/creator/manual/en/scripting/reference/attributes.html// Learn life-cycle callbacks:// - https://docs.cocos.com/creator/manual/en/scripting/life-cycle-callbacks.htmlconst {ccclass, property} = cc._decorator;//ButtonScript.ts@ccclassexport default class NewClass extends cc.Component { // @property(cc.Label) // label: cc.Label = null; // @property // text: string = 'hello'; //cc.AudioClip 表示一个音频资源,例如一个MP3 @property(cc.AudioClip) audio : cc.AudioClip = null; @property toLeft : boolean = true; // LIFE-CYCLE CALLBACKS: onLoad () { this.node.on('mousedown',this.onClicked,this); } start () {} onClicked(){ let node : cc.Node = cc.find('Canvas/佩奇_右'); let script = node.getComponent('PigScript'); if(this.toLeft){ script.moveLeft(); }else{ script.moveRight(); } //播放脚步声音频 if(this.audio != null){//audio engine音频引擎 cc.audioEngine.play(this.audio,false,1); } } // update (dt) {}}
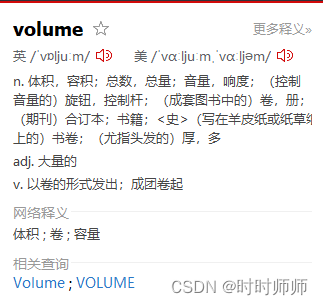
//播放音频var id = cc.audioEngine.play(path, loop, volume ); //参数path代表音频路径,loop代表是否循环, volume代表音量范围0~1.0//设置音频是否循环cc.audioEngine.setLoop(id, loop); //id代表由play获得的id,loop代表是否循环//获取音频的循环状态cc.audioEngine.isLoop(id); //id代表由play获得的id//设置音量(0.0 ~ 1.0)cc.audioEngine.setVolume(id, volume); //id代表由play获得的id, volume代表音量范围0~1.0//获取音量(0.0 ~ 1.0)var volume = cc.audioEngine.getVolume(id); //id代表由play获得的id//设置当前的音频时间cc.audioEngine.setCurrentTime(id, time); //id代表由play获得的id,time代表播放的当前位置(单位为秒)//获取当前的音频播放时间var time = cc.audioEngine.getCurrentTime(id); //id代表由play获得的id//获取音频总时长var time = cc.audioEngine.getDuration(id); //id代表由play获得的id//获取音频状态var state = cc.audioEngine.getState(id); //id代表由play获得的id//设置一个音频结束后的回调cc.audioEngine.setFinishCallback(id, function () {});//id代表由play获得的id,第二个参数是自己的回调哦//暂停正在播放音频cc.audioEngine.pause(id); //id代表由play获得的id//暂停现在正在播放的所有音频cc.audioEngine.pauseAll();//恢复播放指定的音频cc.audioEngine.resume(id); //id代表由play获得的id
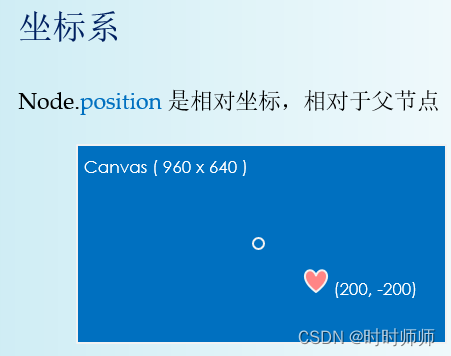
10.1坐标系
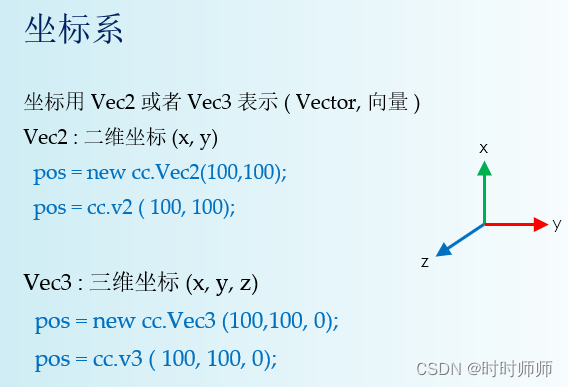
二维坐标: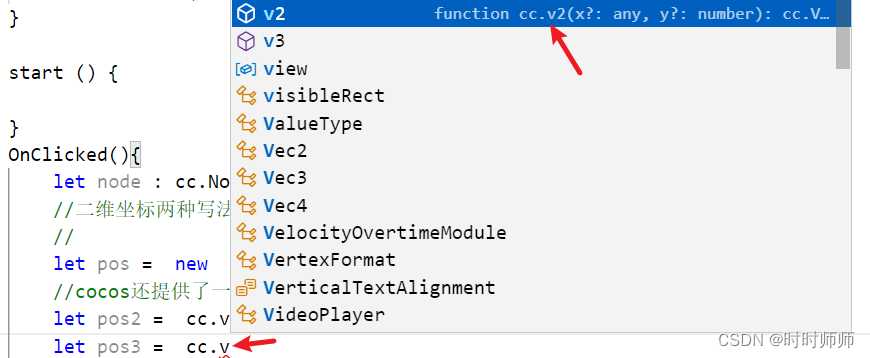
三维坐标:
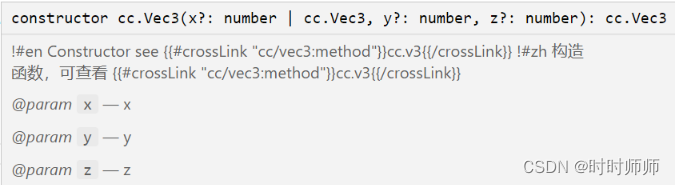
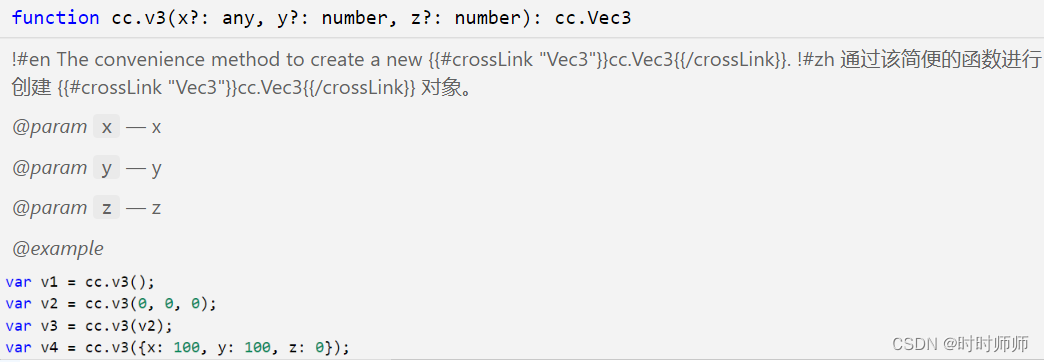
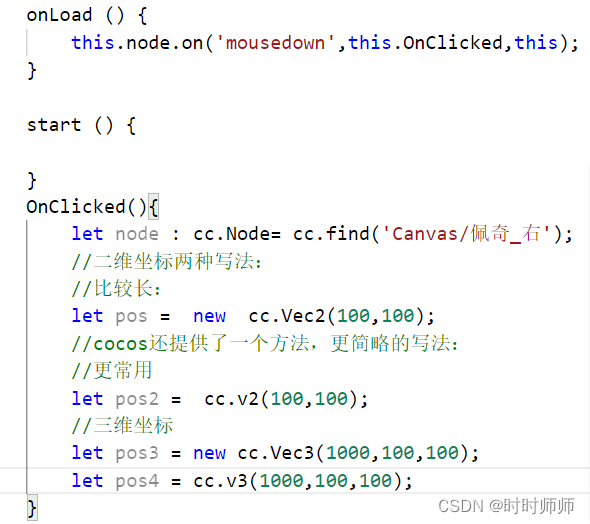
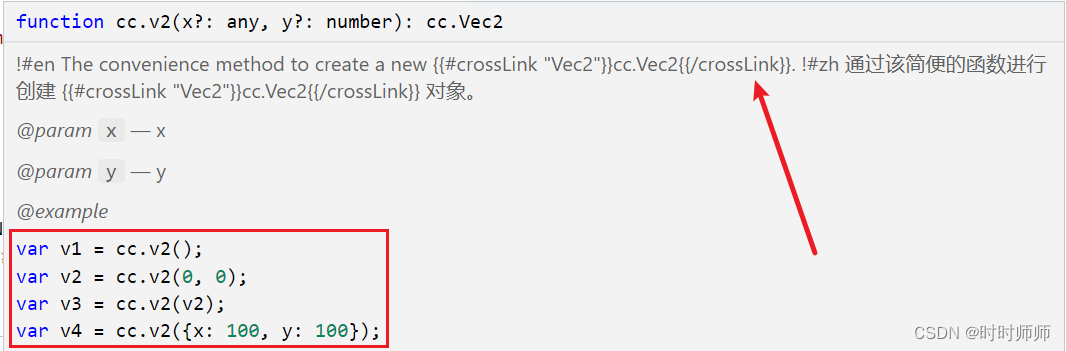
// Learn TypeScript:// - https://docs.cocos.com/creator/manual/en/scripting/typescript.html// Learn Attribute:// - https://docs.cocos.com/creator/manual/en/scripting/reference/attributes.html// Learn life-cycle callbacks:// - https://docs.cocos.com/creator/manual/en/scripting/life-cycle-callbacks.htmlconst {ccclass, property} = cc._decorator;@ccclassexport default class NewClass extends cc.Component { @property(cc.Label) label: cc.Label = null; @property text: string = 'hello'; // LIFE-CYCLE CALLBACKS: onLoad () { this.node.on('mousedown',this.OnClicked,this); } start () { } OnClicked(){ let node : cc.Node= cc.find('Canvas/佩奇_右'); //二维坐标两种写法: //比较长: let pos = new cc.Vec2(100,100); //cocos还提供了一个方法,更简略的写法: //更常用 let pos2 = cc.v2(100,100); //三维坐标 let pos3 = new cc.Vec3(1000,100,100); let pos4 = cc.v3(1000,100,100); } // update (dt) {}} 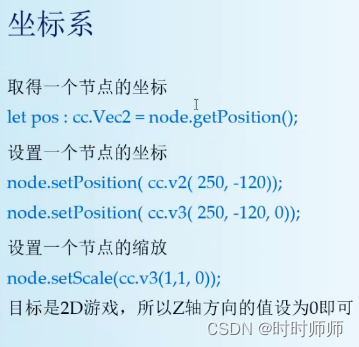


OnClicked(){ let node : cc.Node= cc.find('Canvas/佩奇_右'); let pos : cc.Vec2 = node.getPosition(); cc.log(pos); }发现返回的是一个三维向量,所以,以后写的时候可以直接把z写为0。
let pos1 = cc.v3(100,100,0);node.setPosition(cc.v3(250,-120,0);//设置一个节点的坐标例如设置佩奇的节点坐标:使它发生平移。
OnClicked(){ let node : cc.Node= cc.find('Canvas/佩奇_右'); let pos : cc.Vec2 = node.getPosition(); //平移佩奇 node.setPosition(cc.v3(155.907,-29.374,0));}设置一个节点的缩放
node.setScale(cc.v3(1,1,0));例如:
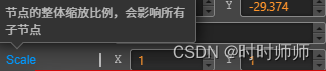
OnClicked(){ let node : cc.Node= cc.find('Canvas/佩奇_右'); let pos : cc.Vec2 = node.getPosition(); //平移佩奇 node.setPosition(cc.v3(155.907,-29.374,0)); //设置大小缩放 node.setScale(cc.v3(2,2,0));}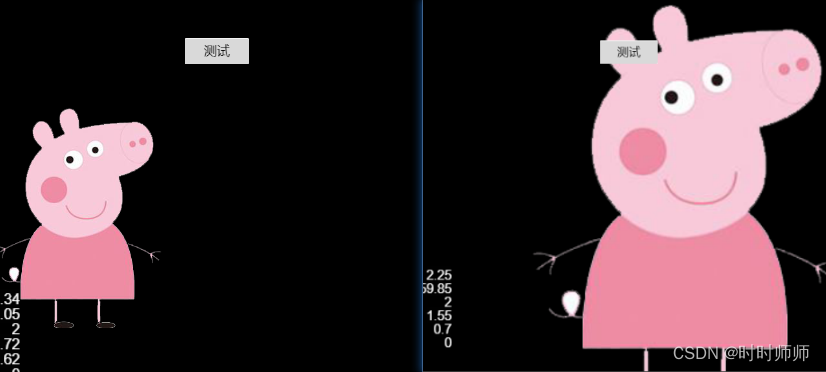
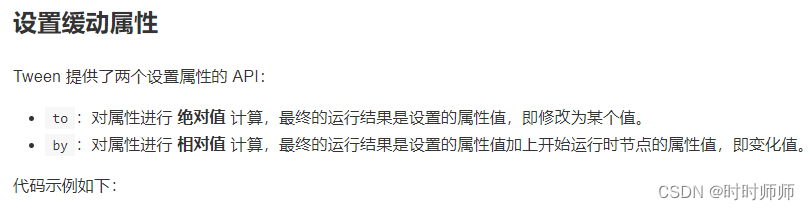
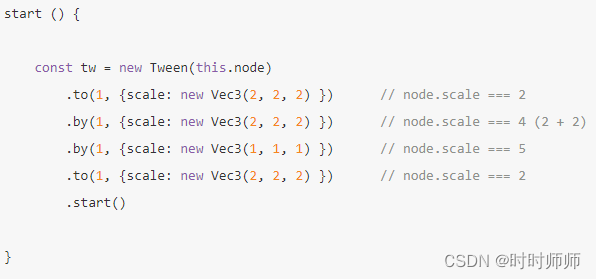
10.2缓动系统
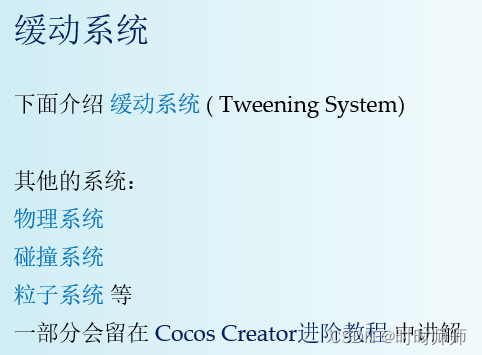
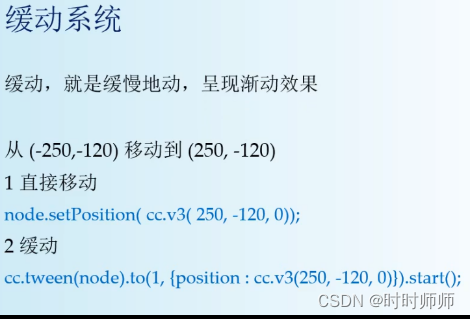
OnClicked(){ let node : cc.Node= cc.find('Canvas/佩奇_右'); //平移佩奇 node.setPosition(cc.v3(250,-120,0));}缓动:
position:

OnClicked(){ let node : cc.Node= cc.find('Canvas/佩奇_右'); //平移佩奇 //node.setPosition(cc.v3(250,-120,0)); //缓动 用1s的时间实现从(-250,-120)移动到(250,-120) cc.tween(node).to(1,{position:cc.v3(250,-120,0)}).start();} 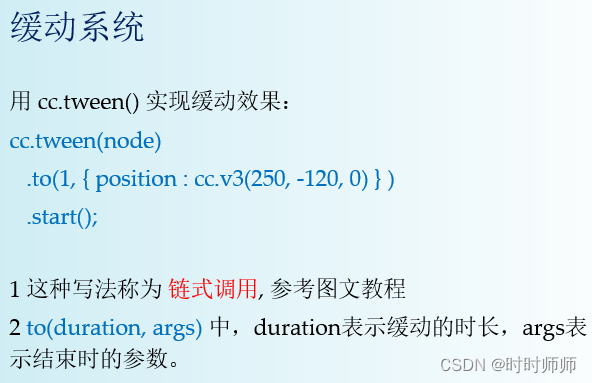
图文教程:
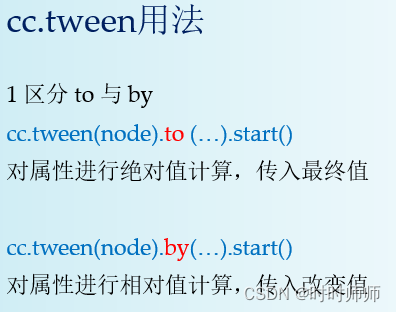
链式调用,是 Java / C# 中的常用形式
cc.tween(node)
.to(1, { position : cc.v3(250, -120, 0) } )
.start();
相当于:
// 创建一个 cc.Tween 类型的对象
let tween = cc.tween ( node );
// tween.to()的返回值就是tween对象自身
tween = tween. to(1, { position : cc.v3(250, -120, 0) } ) ;
// 开始动作
tween.start();
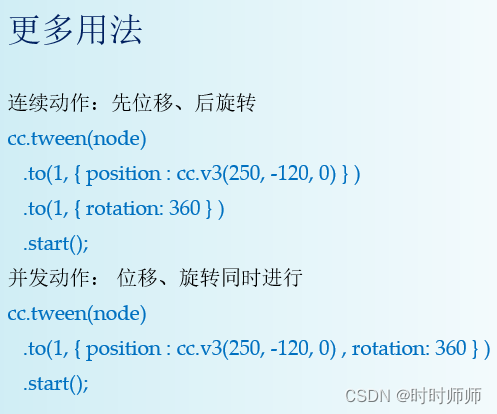
OnClicked(){ let node : cc.Node= cc.find('Canvas/佩奇_右'); //平移佩奇 //node.setPosition(cc.v3(250,-120,0)); //缓动 用5s的时间实现从(-250,-120)移动到(250,-120) // cc.tween(node).to(5,{position:cc.v3(250,-120,0)}).start(); //先用3s缓慢移动,然后再 用2s旋转360度。 cc.tween(node).to(3,{position:cc.v3(250,-120,0)}).to(2,{rotation:360}).start(); //另一种写法:一边旋转一边移动 // cc.tween(node).to(1,{position:cc.v3(250,-120,0),rotation:360}).start(); }10.3 cc.tween的用法
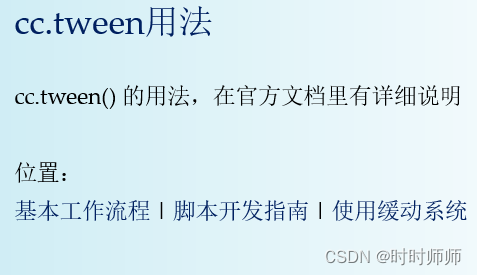
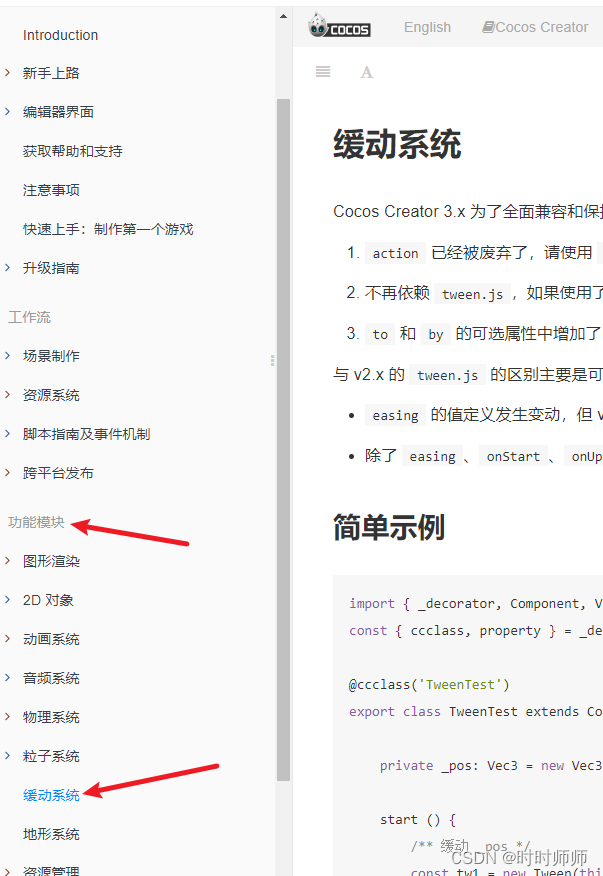
文档--》 功能模块--》缓动系统。 缓动系统 · Cocos Creator
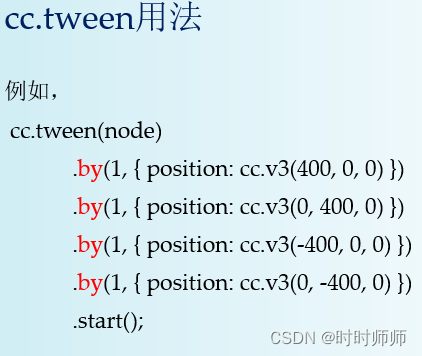
佩奇的运动轨迹是画了个正方形。
OnClicked(){ let node : cc.Node= cc.find('Canvas/佩奇_右'); //实现从(-250,-120,0) cc.tween(node) .by(1,{position:cc.v3(400,0,0)})//到(150,-120,0) .by(1,{position:cc.v3(0,400,0)})//到(150,280,0) .by(1,{position:cc.v3(-400,0,0)})//到(-250,280,0) .by(1,{position:cc.v3(0,-400,0)})//到(-250,-120,0) .start(); cc.tween(node) .to(1,{position:cc.v3(150,-120,0)})//到(150,-120,0) .to(1,{position:cc.v3(150,280,0)})//到(150,280,0) .to(1,{position:cc.v3(-250,280,0)})//到(-250,280,0) .to(1,{position:cc.v3(-250,-120,0)})//到(-250,-120,0) .start(); }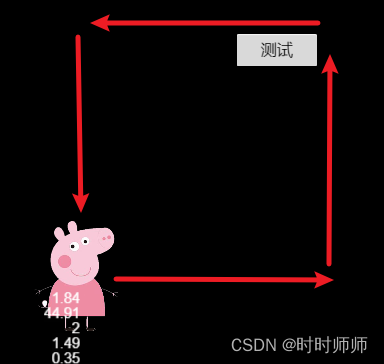
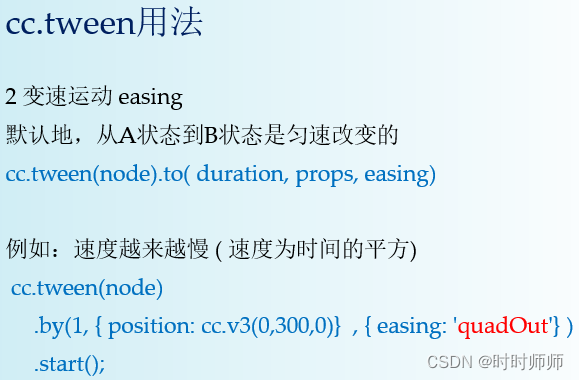
时间duration,目标参数props,速度easing。
OnClicked(){ let node : cc.Node= cc.find('Canvas/佩奇_右'); //easing cc.tween(node) .by(5,{position:cc.v3(0,400,0)},{easing:'quadOut'}) .by(5,{position:cc.v3(800,0,0)},{easing:'quadOut'}) .by(5,{position:cc.v3(0,-400,0)},{easing:'quadOut'}) .by(5,{position:cc.v3(-800,0,0)},{easing:'quadOut'}) .start(); }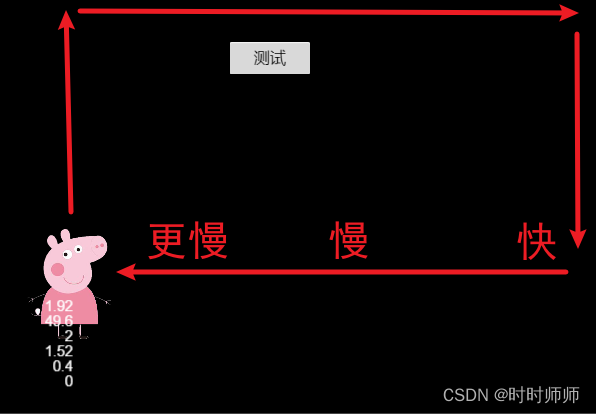
类型别名: TweenEasing
导入示例:
import { TweenEasing } from "cc";TweenEasing
内置缓动函数的字符串值定义。
public TweenEasing : "linear" | "smooth" | "fade" | "constant" | "quadIn" | "quadOut" | "quadInOut" | "quadOutIn" | "cubicIn" | "cubicOut" | "cubicInOut" | "cubicOutIn" | "quartIn" | "quartOut" | "quartInOut" | "quartOutIn" | "quintIn" | "quintOut" | "quintInOut" | "quintOutIn" | "sineIn" | "sineOut" | "sineInOut" | "sineOutIn" | "expoIn" | "expoOut" | "expoInOut" | "expoOutIn" | "circIn" | "circOut" | "circInOut" | "circOutIn" | "elasticIn" | "elasticOut" | "elasticInOut" | "elasticOutIn" | "backIn" | "backOut" | "backInOut" | "backOutIn" | "bounceIn" | "bounceOut" | "bounceInOut" | "bounceOutIn"
内置缓动函数的字符串值定义。
Defined in cocos/tween/export-api.ts:33
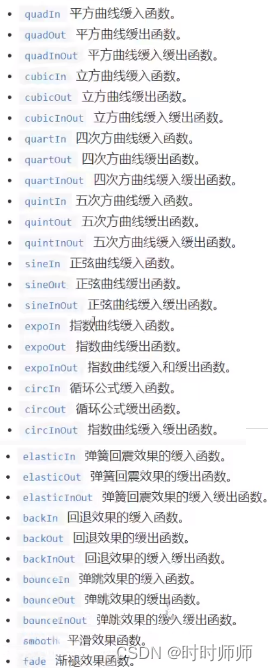
找不到这个文档。 可以在csdn上直接搜索“tween 缓动 ”。
(14条消息) tween的缓动效果大全和使用方法_飞浪纪元[FWC–FE]的博客-CSDN博客_tween 缓动 https://blog.csdn.net/weixin_38531633/article/details/115480255
10.4拍球
onLoad () { this.node.on('touchstart',this.onClicked,this); }start () {}onClicked(){ let h : number = 400; cc.tween(this.node) .by(0.5,{position : cc.v3(0,-h,0)},{easing:"quardIn"}) //加速,下降 .by(0.2,{position : cc.v3(0,h/4,0)},{easing:"quardOut"}) //反弹,减速,上升 .by(0.2,{position : cc.v3(0,-h/4,0)},{easing:"quardIn"}) //加速,再下降 .start(); }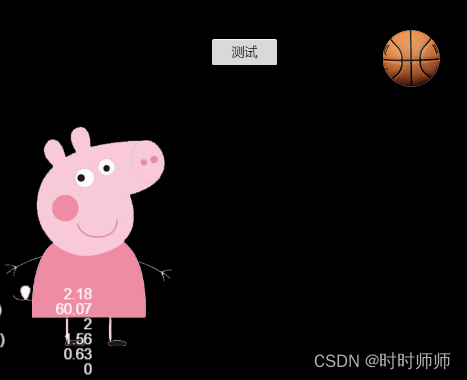
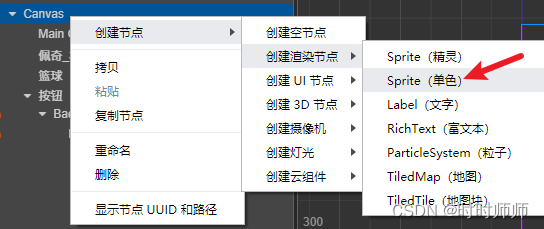
得到一个白色方块,修改名称为 地面。
修改锚点anchor的y值为0,让它的中心点在图像篮球的下边缘。
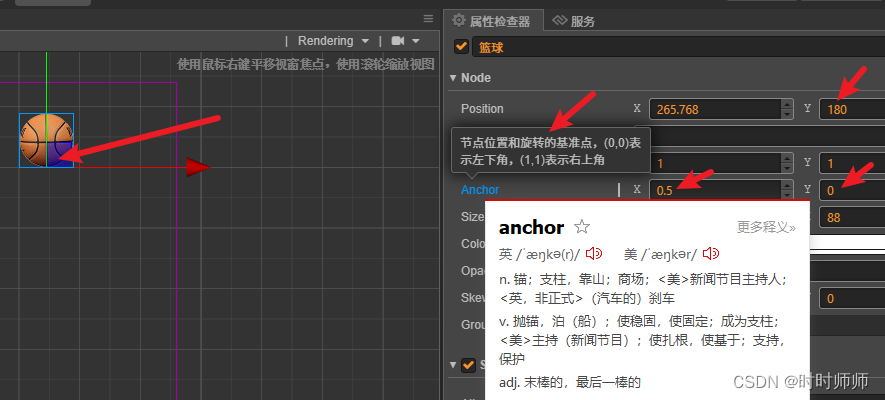
地面的锚点anchor的y值为1,让它的中心点在图像地面的上边缘。计算Positon的y=180-400=-220.
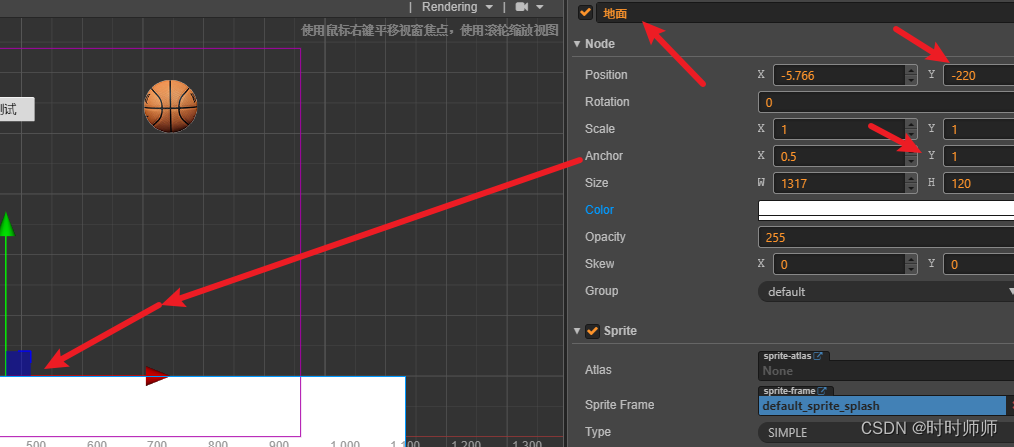
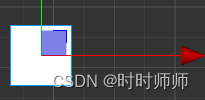
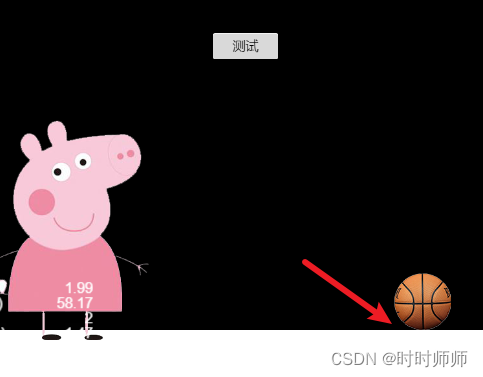
运行:篮球掉落到地平线上。
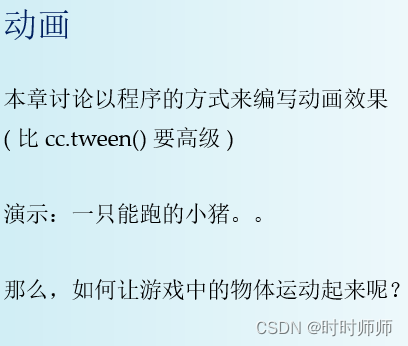
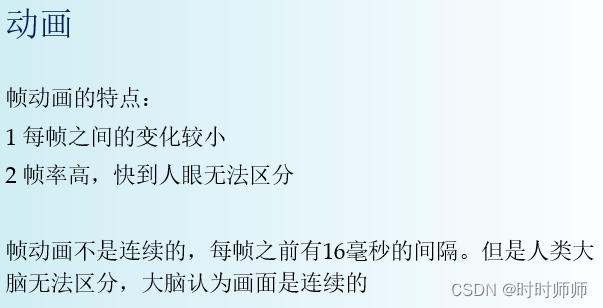
11.1动画
创建这个文件夹列表,然后把PigScript组件添加给佩奇。

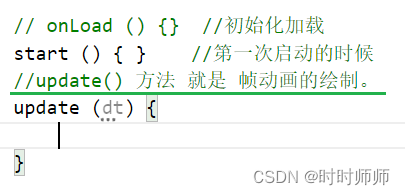
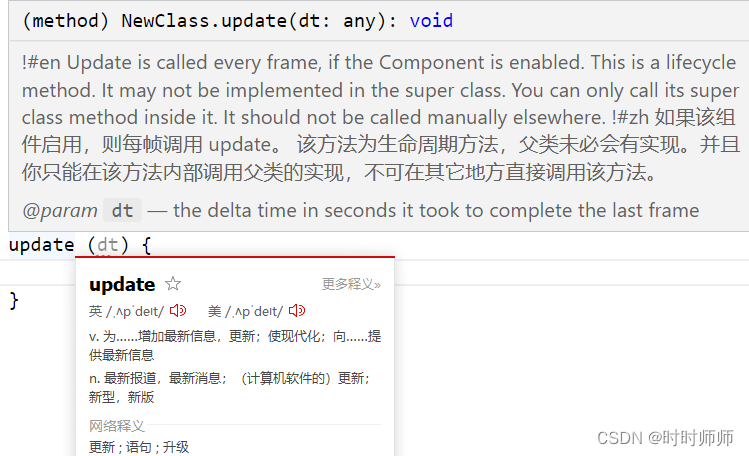
update()方法 默认 每秒钟会被这个动画调用60次。可以使用日志看一眼:
update (dt) { cc.log("update() is called , time = " + new Date().getTime());}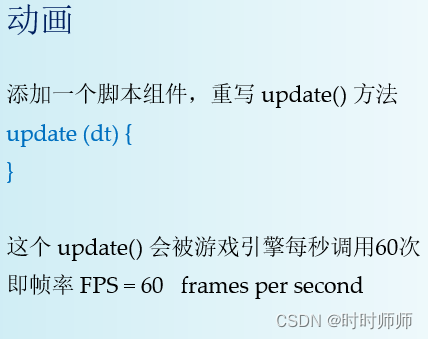
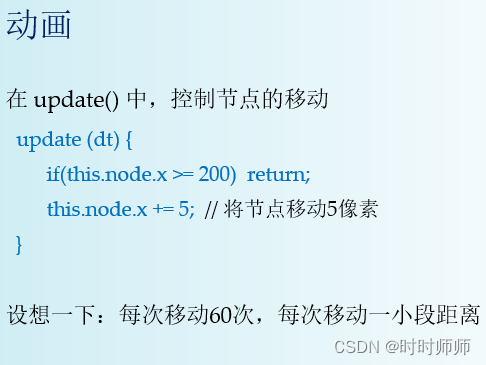
// onLoad () {} //初始化加载 start () { } //第一次启动的时候 //update() 方法 就是 帧动画的绘制。 update (dt) { //cc.log("update() is called , time = " + new Date().getTime());//打印设置每一帧的刷新时间 if(this.node.x>= 200){ return; //总距离移动200像素。 然后停止运动。 }else{ this.node.x += 5; //将节点移动5像素。 } }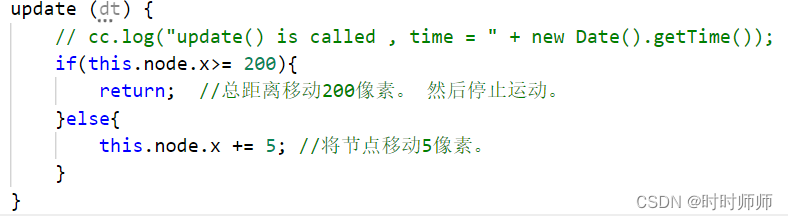
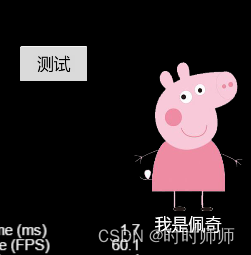
11.2帧率

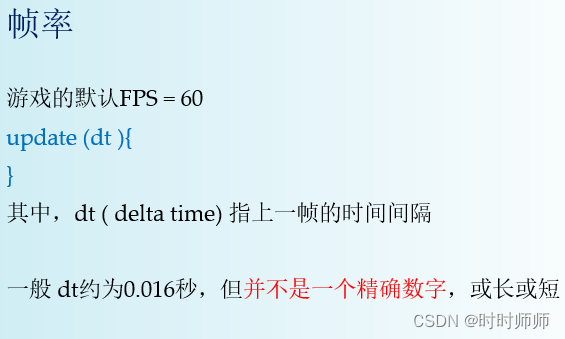
update (dt) { //cc.log("update() is called , time = " + new Date().getTime());//打印设置每一帧的刷新时间 cc.log('delta time=' + dt); //打印设置每一帧的时间间隔 if(this.node.x>= 200){ return; //总距离移动200像素。 然后停止运动。 }else{ this.node.x += 5; //将节点移动5像素。 } } 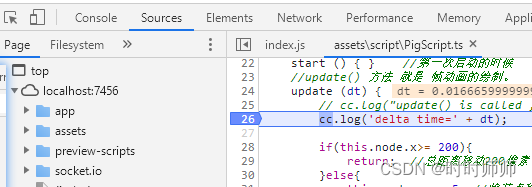
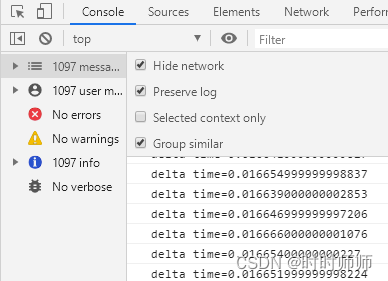 可以看到0.016s。
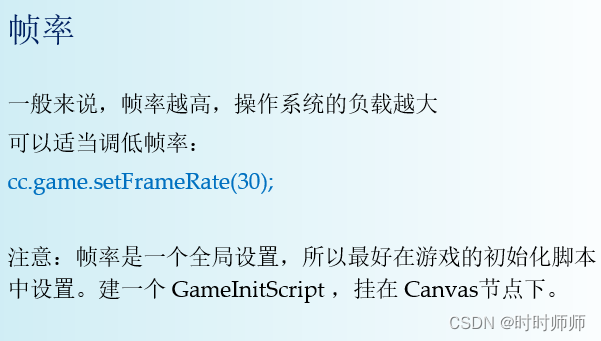
把GameInitScript挂在Canvas中。因为游戏是从根节点Canvas开始运行的,所以先加载Canvas下面的组件,故我们可以把所有的全局设置放在GameInitScript中,从根节点加载就开始运行组件GameInitScript。

GameInitScript.ts 中:
onLoad () { cc.log('Pig Script : onload()'); cc.game.setFrameRate(30); //设置帧率为30帧/秒 } start () { } // update (dt) {} 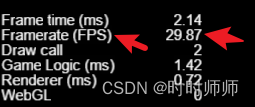 FPS大概是30帧/秒。

11.3状态控制
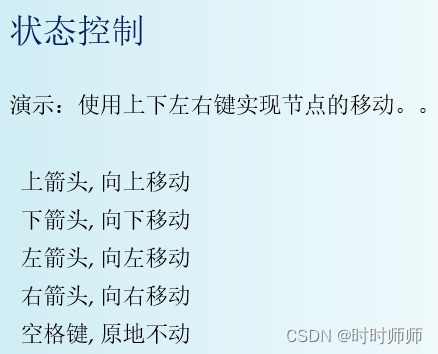
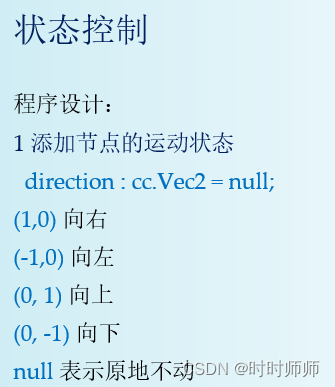
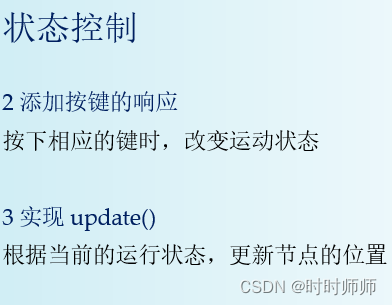
// Learn TypeScript:// - https://docs.cocos.com/creator/manual/en/scripting/typescript.html// Learn Attribute:// - https://docs.cocos.com/creator/manual/en/scripting/reference/attributes.html// Learn life-cycle callbacks:// - https://docs.cocos.com/creator/manual/en/scripting/life-cycle-callbacks.htmlconst {ccclass, property} = cc._decorator;//PigScript.ts的代码@ccclassexport default class NewClass extends cc.Component { //速度(每次移动多少像素) speed : number = 3; //方向 //例如,水平向右(1,0) 数直向下(0,-1) direction : cc.Vec2 = null; // LIFE-CYCLE CALLBACKS: //初始化加载 onLoad () { cc.log('Pig Script : onload()'); cc.systemEvent.on('keydown',this.onKeyPress,this); } //第一次启动的时候 start () {} //onKeyPress() onKeyPress(e : cc.Event.EventKeyboard){ if(e.keyCode == cc.macro.KEY.left){ this.direction = cc.v2(-1,0); }else if(e.keyCode == cc.macro.KEY.right){ this.direction = cc.v2(1,0); }else if(e.keyCode == cc.macro.KEY.up){ this.direction = cc.v2(0,1); }else if(e.keyCode == cc.macro.KEY.down){ this.direction = cc.v2(0,-1); }else if(e.keyCode == cc.macro.KEY.space){ this.direction = null; } } //update() 方法 就是 帧动画的绘制。 update (dt) { if(this.direction == null) return; //原地不动 let pos:cc.Vec2 = this.node.getPosition(); pos.x += this.speed * this.direction.x; pos.y += this.speed * this.direction.y; this.node.setPosition(pos); }}
11.4计时器
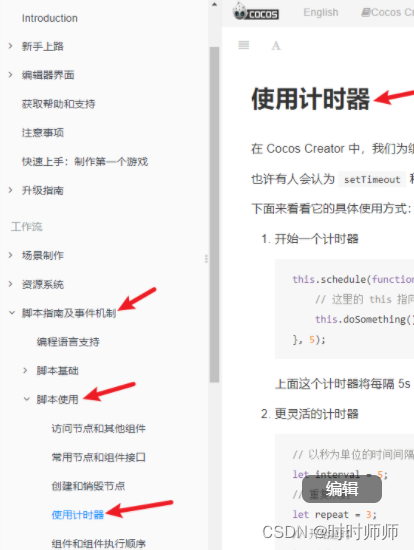


使用计时器 · Cocos Creator https://docs.cocos.com/creator/manual/zh/scripting/scheduler.html
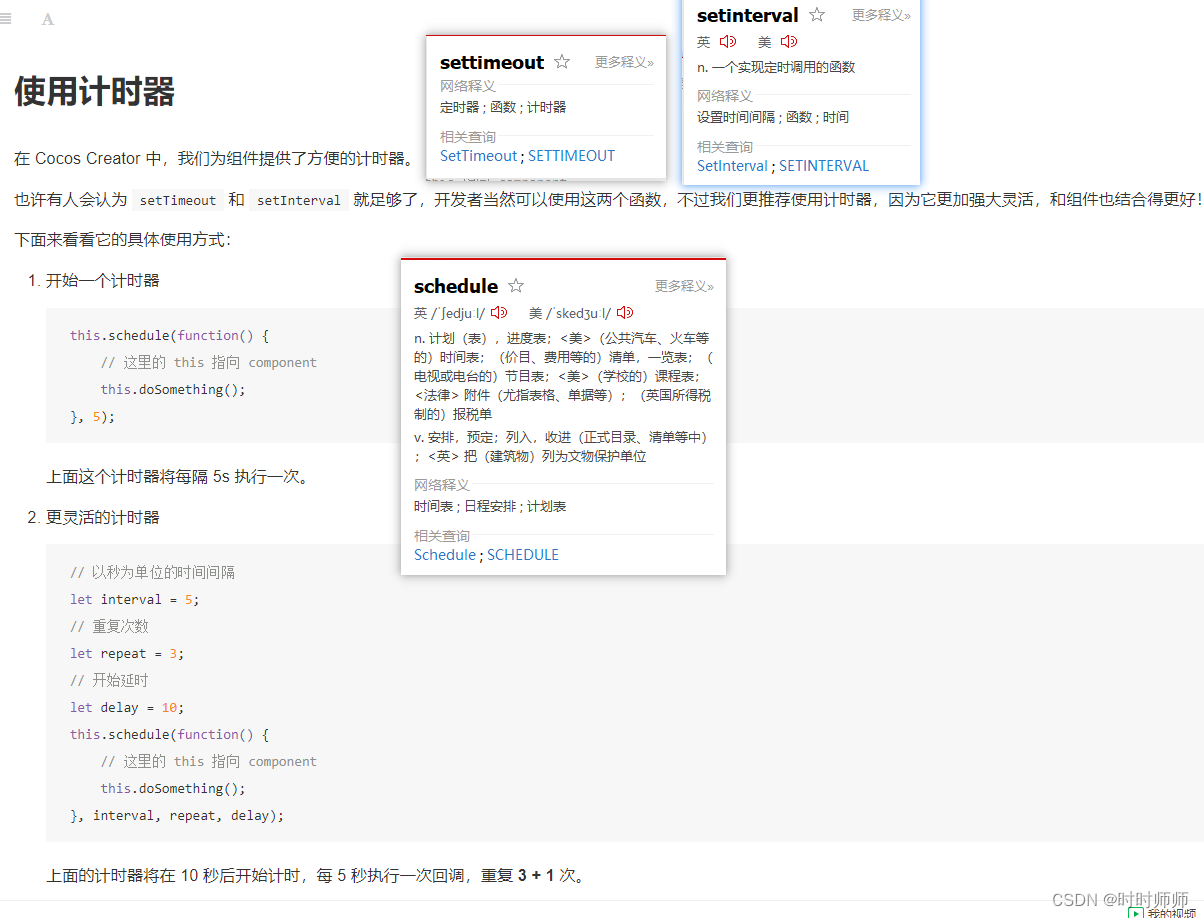
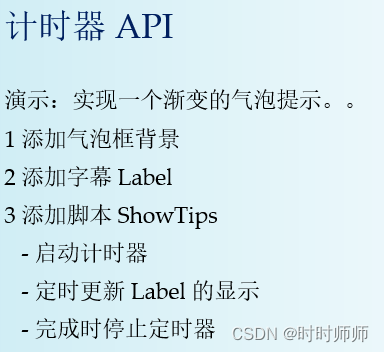
计时器的应用:
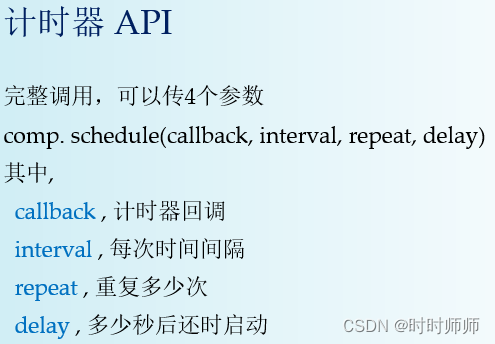
下面是 Component 中所有关于计时器的函数:
- schedule:开始一个计时器
- scheduleOnce:开始一个只执行一次的计时器
- unschedule:取消一个计时器
- unscheduleAllCallbacks:取消这个组件的所有计时器