nginx高可用之keepalived
搭建nginx高可用-keepalived
Keepalived高可用故障切换转移原理
Keepalived高可用服务对之间的故障切换转移,是通过VRRP来实现的。在keepalived服务工作时,主Master节点会不断地向备节点发送(多播的方式)心跳消息,用来告诉备Backup节点自己还活着。当主节点发生故障时,就无法发送心跳的消息了,备节点也因此无法继续检测到来自主节点的心跳了。于是就会调用自身的接管程序,接管主节点的IP资源和服务。当主节点恢复时,备节点又会释放主节点故障时自身接管的IP资源和服务,恢复到原来的备用角色。
方案规划
|
VIP |
IP |
nginx端口 |
主从 |
|
10.216.80.2 |
10.216.80.46 |
80 |
MASTER |
|
10.216.80.2 |
10.216.80.99 |
80 |
BACKUP |
- 安装编译nginx所需要的依赖包
yum install gcc gcc-c++ make automake autoconf libtool pcre pcre-devel zlib zlib-devel openssl openssl-devel
可能会出现yum未注册的问题
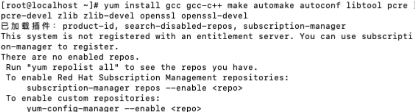
出现该情况按照以下步骤解决,未出现请忽略
- 卸载yum相关安装包
rpm -qa|grep yum|xargs rpm -e --nodeps
![]()
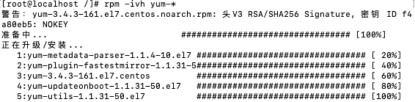
- 安装yum相关安装包
rpm -ivh python-*

rpm -ivh yum-*
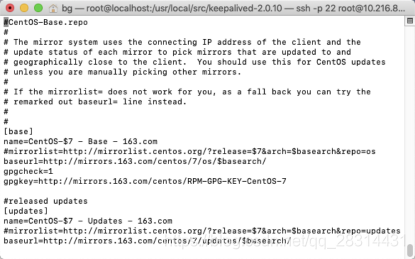
- 新建repo配置文件
vi /etc/yum.repos.d/CentOS-Base.repo
进入编辑模式(键盘输入i)粘贴以下配置信息
#CentOS-Base.repo
#
# The mirror system uses the connecting IP address of the client and the
# update status of each mirror to pick mirrors that are updated to and
# geographically close to the client. You should use this for CentOS updates
# unless you are manually picking other mirrors.
#
# If the mirrorlist= does not work for you, as a fall back you can try the
# remarked out baseurl= line instead.
#
#
[base]
name=CentOS-$7 - Base - 163.com
#mirrorlist=http://mirrorlist.centos.org/?release=$7&arch=$basearch&repo=os
baseurl=http://mirrors.163.com/centos/7/os/$basearch/
gpgcheck=1
gpgkey=http://mirrors.163.com/centos/RPM-GPG-KEY-CentOS-7
#released updates
[updates]
name=CentOS-$7 - Updates - 163.com
#mirrorlist=http://mirrorlist.centos.org/?release=$7&arch=$basearch&repo=updates
baseurl=http://mirrors.163.com/centos/7/updates/$basearch/
gpgcheck=1
gpgkey=http://mirrors.163.com/centos/RPM-GPG-KEY-CentOS-7
#additional packages that may be useful
[extras]
name=CentOS-$7 - Extras - 163.com
#mirrorlist=http://mirrorlist.centos.org/?release=$7&arch=$basearch&repo=extras
baseurl=http://mirrors.163.com/centos/7/extras/$basearch/
gpgcheck=1
gpgkey=http://mirrors.163.com/centos/RPM-GPG-KEY-CentOS-7
#additional packages that extend functionality of existing packages
[centosplus]
name=CentOS-$7 - Plus - 163.com
baseurl=http://mirrors.163.com/centos/7/centosplus/$basearch/
gpgcheck=1
enabled=0
gpgkey=http://mirrors.163.com/centos/RPM-GPG-KEY-CentOS-7
按esc键 后输入 :wq 保存退出
- 清楚缓存
yum clean all
- 安装nginx相关依赖包
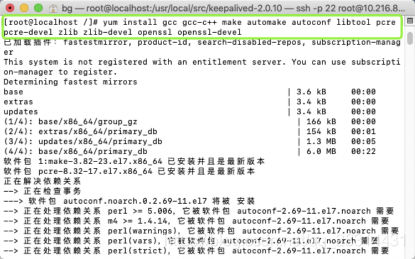
中间可能会出现以下情形,输入y继续安装
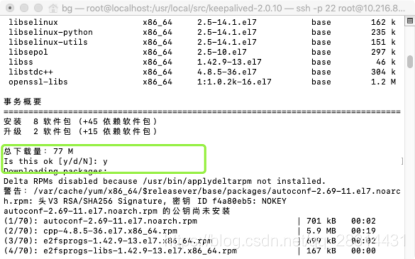
安装nginx(离线)
- 将nginx-1.10.2.tar.gz安装包移动至/usr/local/src/目录下(可以借助ssh工具)
- 编译安装nginx
- cd /usr/local/src/
- tar -zxvf nginx-1.10.2.tar.gz
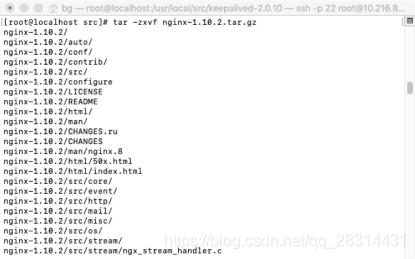
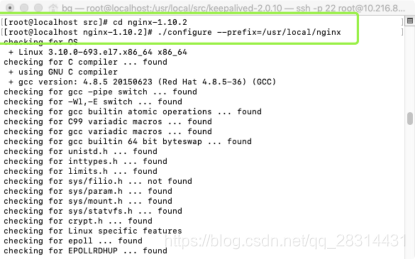
- cd nginx-1.10.2
- ./configure --prefix=/usr/local/nginx
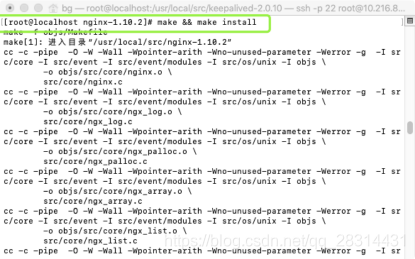
- make& make install
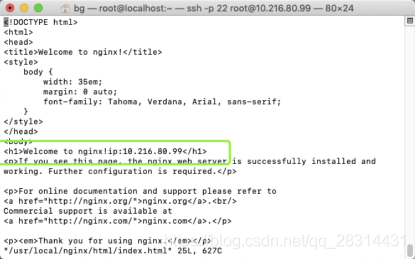
为了方便测试,将nginx的index.html稍作修改以便区分
vi /usr/local/nginx/html/index.html
安装keepalived(离线)
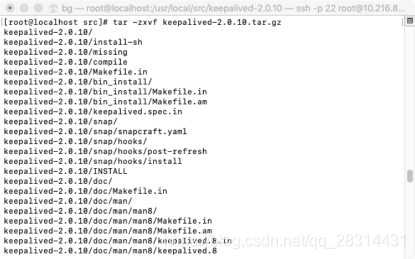
- 将keepalived-2.0.10.tar.gz安装包移动至/usr/local/src/目录
- 编译安装keepalived
- cd /usr/local/src/
- tar -zxvf keepalived-2.0.10.tar.gz
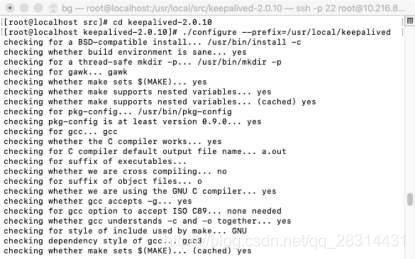
- cd keepalived-2.0.10
- ./configure --prefix=/usr/local/keepalived
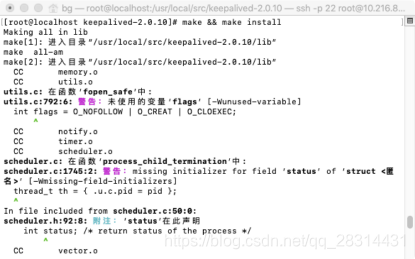
- make && make install
- 将keepalived安装成linux服务
- 复制keepalived服务脚本到系统服务地址
-
mkdir /etc/keepalived
-
cp /usr/local/keepalived/etc/keepalived/keepalived.conf
-
cp /usr/local/src/keepalived-2.0.10/keepalived/etc/init.d/keepalived /etc/init.d/
-
cp /usr/local/keepalived/etc/sysconfig/keepalived /etc/sysconfig/
-
ln -s /usr/local/sbin/keepalived /usr/sbin/
-
- 可以设置keepalived服务开机启动
-
chkconfig keepalived on
-
- 复制keepalived服务脚本到系统服务地址
- 配置说明
- MASTER节点配置文件(10.216.80.46)
vi /etc/keepalived/keepalived.conf
! Configuration File for keepalived
global_defs {
router_id 10.216.80.46
}
vrrp_script chk_nginx {
script "/etc/keepalived/nginx_check.sh"
interval 3
weight -20
}
vrrp_instance VI_1 {
state MASTER
interface ens33
virtual_router_id 15
priority 150
unicast_src_ip 10.216.80.46
unicast_peer {
10.216.80.99
}
advert_int 2
authentication {
auth_type PASS
auth_pass 1234
}
virtual_ipaddress {
10.216.80.2
}
track_script {
chk_nginx
}
}
- BACKUP节点配置文件(10.216.80.99)
vi /etc/keepalived/keepalived.conf
! Configuration File for keepalived
global_defs {
router_id 10.216.80.99
}
vrrp_script chk_nginx {
script "/etc/keepalived/nginx_check.sh"
interval 3
weight -20
}
vrrp_instance VI_1 {
state BACKUP
interface ens33
virtual_router_id 15
priority 100
unicast_src_ip 10.216.80.99
unicast_peer {
10.216.80.46
}
advert_int 2
authentication {
auth_type PASS
auth_pass 1234
}
virtual_ipaddress {
10.216.80.2
}
track_script {
chk_nginx
}
}
注意事项:
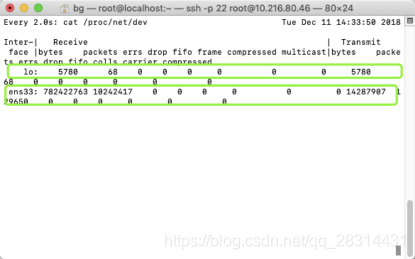
- Interface 后面的值是当前使用的网卡信息
查看本机网卡命令 : watch cat /proc/net/dev
哪张网卡的流量变化大一般就是哪张网卡是在线使用的
- 编写nginx状态检测脚本
vi /etc/keepalived/nginx_check.sh
#!/bin/bash
A=`ps -C nginx --no-header |wc -l`
if [ $A -eq 0 ];then
/usr/local/nginx/sbin/nginx
sleep 2
B=`ps -C nginx --no-header |wc -l`
if [ $B -eq 0 ];then
service keepalived stop
else
exit 0
fi
fi
Keepalived+nginx高可用测试
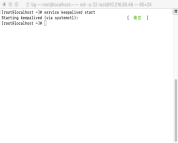
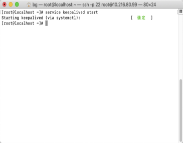
同时启动10.216.80.46和10.216.80.99的keepalived,nginx会通过检测脚本自动启动
service keepalived start
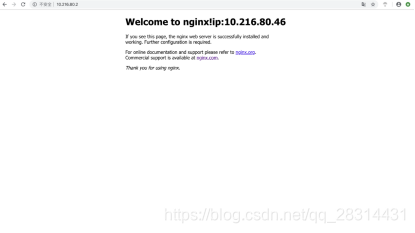
通过10.216.80.2访问,如下
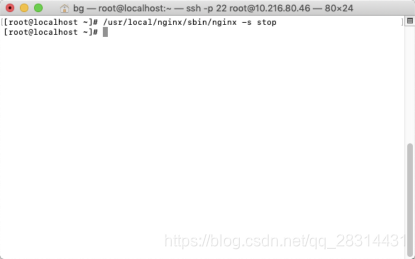
模拟主节点nginx挂掉后自动重启nginx
/usr/local/nginx/sbin/nginx -s stop
2秒内通过10.216.80.2访问,如下

2秒后通过10.216.80.2访问,如下

nginx恢复
模拟主节点nginx挂掉后自动重启失败,2秒内多次执行命令
/usr/local/nginx/sbin/nginx -s stop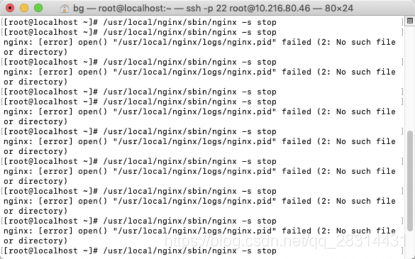
再次通过10.216.80.2访问,如下

自动切换至从节点服务
模拟主节点keepalived宕机 ,关闭keepalived,nginx服务
service keepalived stop
/usr/local/nginx/sbin/nginx -s stop
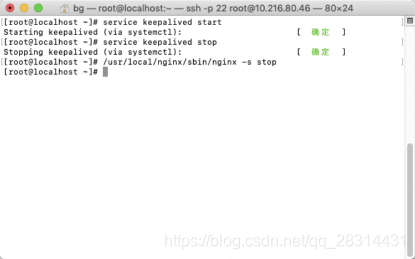
再次通过10.216.80.2访问,如下
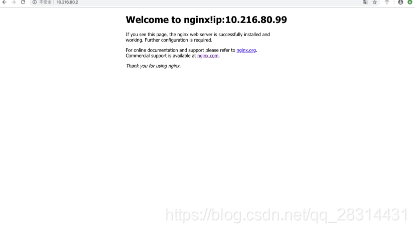
成功切换从节点
模拟主节点keepalived重新启动
service keepalived start
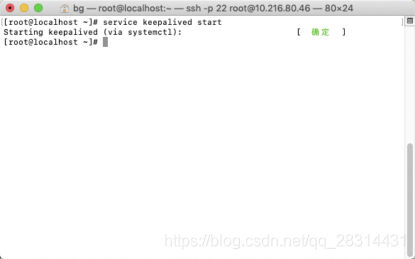
再次通过10.216.80.2访问,如下
成功切换主节点