IIS 8.0 设置反向代理教程
一、环境准备:
1、Windows Server 2012 R2。
2、IIS(Internet Information Server) 8.0。
3、ARR(Application Request Router) 3.0。
4、URL Rewrite(URL重写工具) 2.0。
5、Web Platform Installer(Web平台安装程序)(如IIS或系统内找不到的情况下)。
6、一个可以外网访问的域名。
二、说明:
一般情况下,在安装ARR时,系统会先自动下载安装URL Rewrite,所以大部分情况下安装完ARR3.0后基本就可以了,如果重启系统后打开IIS看不见URL Rewrite仍需手动安装。安装途径有如下:
1、IIS主页——>管理栏目——>Web平台安装程序,搜索URL Rewrite。
2、IIS支持官网。
三、教程开始:
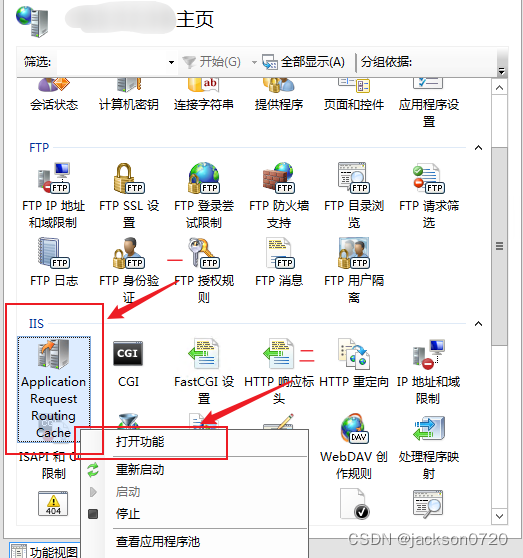
1、安装完ARR后,在主页找到【Application Request Routing Cache】,并双击或右键点击【打开功能】。
2、点击【Server Proxy Settings…】。
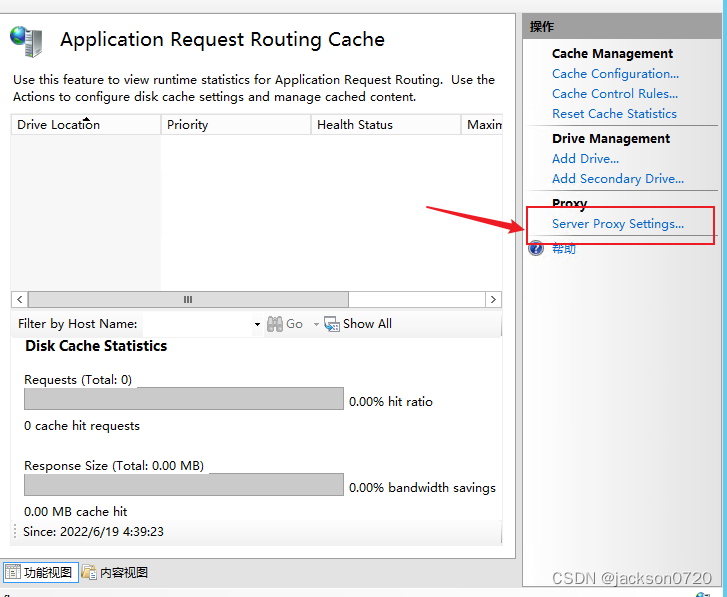
3、按图步骤操作。

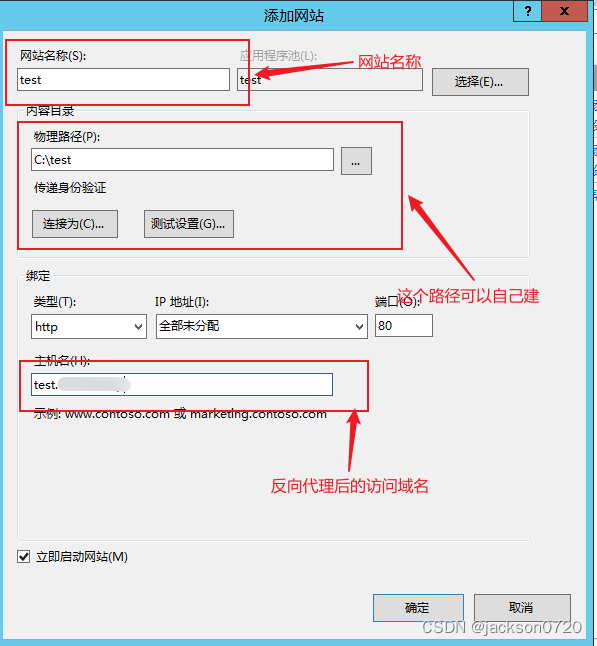
4、新建网站站点。
我们以test为例子,右键【网站】——>【添加网址】。

填写网站信息。
5、新建Web.config文件,并添加如下代码:
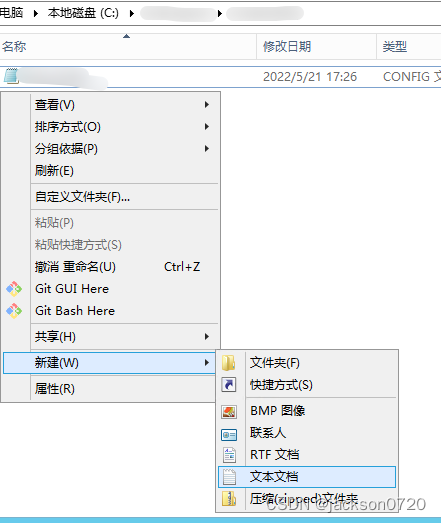

<configuration> <system.webServer> <rewrite> <rules> <rule name="HTTP to HTTPS redirect" stopProcessing="true"> <match url=".*" /> <conditions logicalGrouping="MatchAll" trackAllCaptures="false"> <add input="{HTTPS}" pattern="off" /> </conditions> <action type="Redirect" url="https://{HTTP_HOST}/{R:0}" redirectType="Permanent" /> </rule> <rule name="Rerwite" stopProcessing="true"> <match url=".*" /> <conditions logicalGrouping="MatchAny" trackAllCaptures="false"> <add input="{REQUEST_FILENAME}" matchType="IsFile" negate="true" /> <add input="{REQUEST_FILENAME}" matchType="IsDirectory" negate="true" /> </conditions> <action type="Rewrite" url="{这里填写你要进行反向代理的URL地址}/{R:0}" /> </rule> </rules> </rewrite> <security> <requestFiltering allowDoubleEscaping="true"> <requestLimits maxAllowedContentLength="60000000" /> </requestFiltering> </security> </system.webServer></configuration>6、保存Web.config文件并重启该网站。
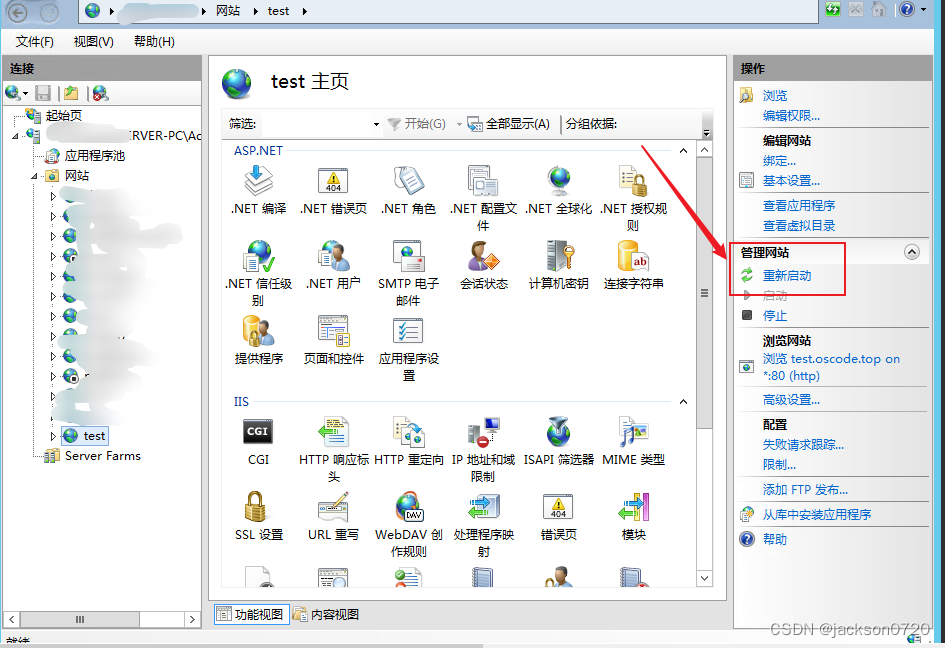
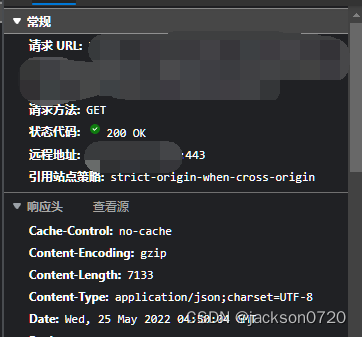
7、打开网站查看效果。
好处就是通过反向代理后,真正的端口号会被443或80所替换,从而避免真正的端口被获知而造成流量过多导致网站崩溃。
例如:
没代理前:
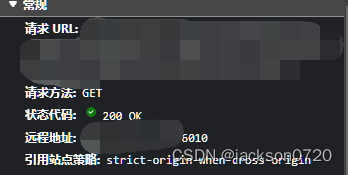
反向代理后: