【初探篇】Nginx的的目录结构,基本运行原理及基本配置文件
文章目录
-
- Nginx目录结构
- Nginx基本运行原理
- Nginx的基本配置文件
Nginx目录结构
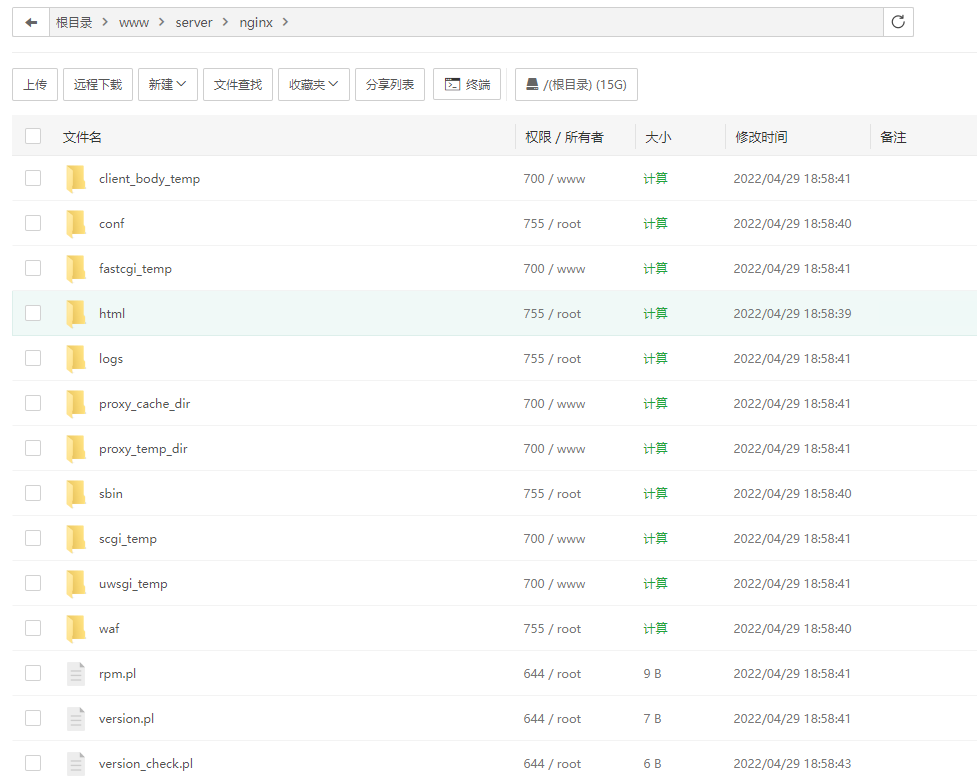
[root@localhost ~]# tree /usr/local/nginx/usr/local/nginx├── client_body_temp # POST 大文件暂存目录├── conf # Nginx所有配置文件的目录│ ├── fastcgi.conf # fastcgi相关参数的配置文件│ ├── fastcgi.conf.default # fastcgi.conf的原始备份文件│ ├── fastcgi_params # fastcgi的参数文件│ ├── fastcgi_params.default│ ├── koi-utf│ ├── koi-win│ ├── mime.types # 媒体类型│ ├── mime.types.default│ ├── nginx.conf #这是Nginx默认的主配置文件,日常使用和修改的文件│ ├── nginx.conf.default│ ├── scgi_params # scgi相关参数文件│ ├── scgi_params.default │ ├── uwsgi_params # uwsgi相关参数文件│ ├── uwsgi_params.default│ └── win-utf├── fastcgi_temp# fastcgi临时数据目录├── html # Nginx默认站点目录│ ├── 50x.html# 错误页面优雅替代显示文件,例如出现502错误时会调用此页面│ └── index.html # 默认的首页文件├── logs # Nginx日志目录│ ├── access.log # 访问日志文件│ ├── error.log # 错误日志文件│ └── nginx.pid # pid文件,Nginx进程启动后,会把所有进程的ID号写到此文件├── proxy_temp # 临时目录├── sbin # Nginx 可执行文件目录│ └── nginx # Nginx 二进制可执行程序├── scgi_temp # 临时目录└── uwsgi_temp # 临时目录主要的目录是conf,html,及sbin。
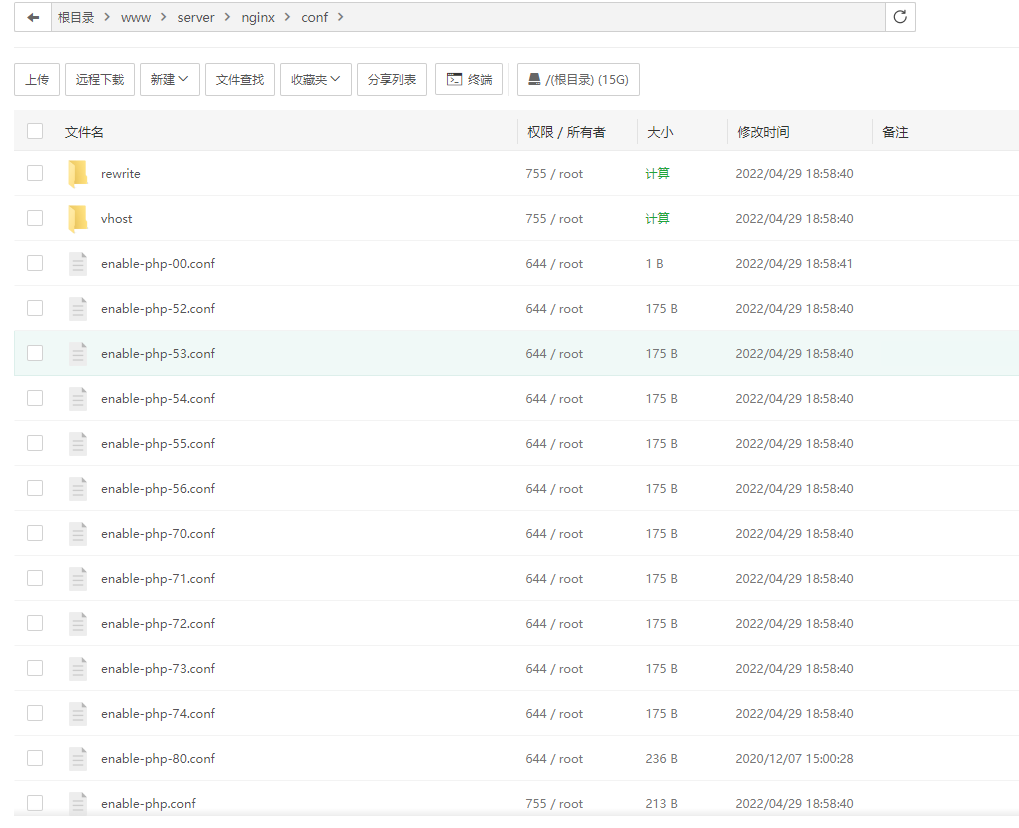
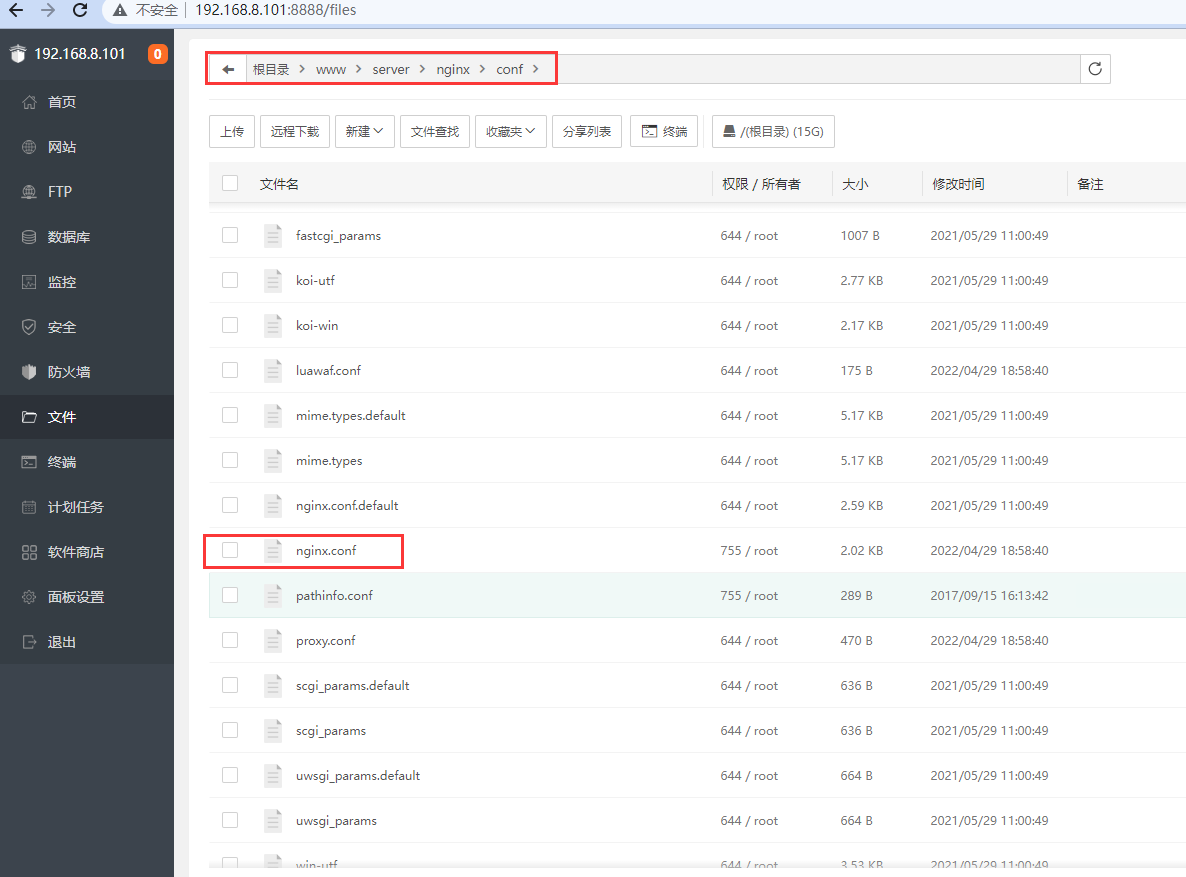
- conf目录放的是核心配置文件:
- html目录放的是静态页面:
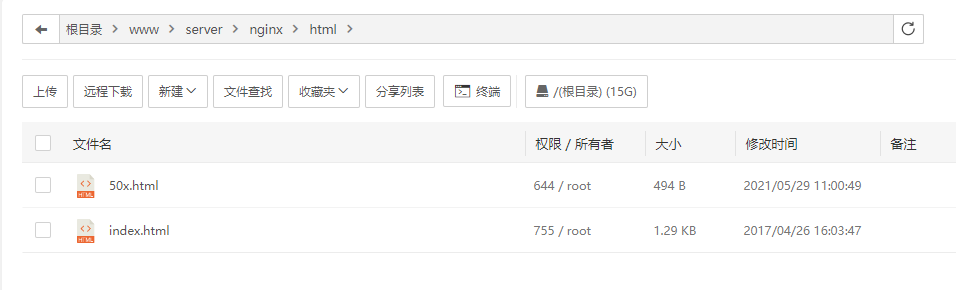
50x.html是发生错误展示的页面,index.html是默认的访问页面。可以在该目录下新建html,然后在浏览器中访问,例如在该目录下新建hello.html,内容是hello,然后访问:http://192.168.8.101/hello.html,结果如下:

- logs文件夹用于存放日志信息:
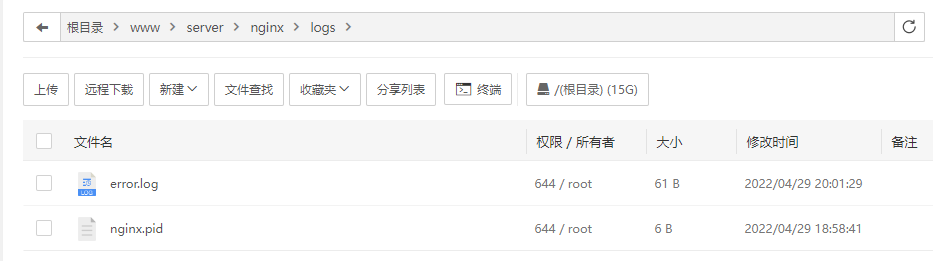
error.log存放出错的信息,nginx.pid存放的是当前nginx的pid。
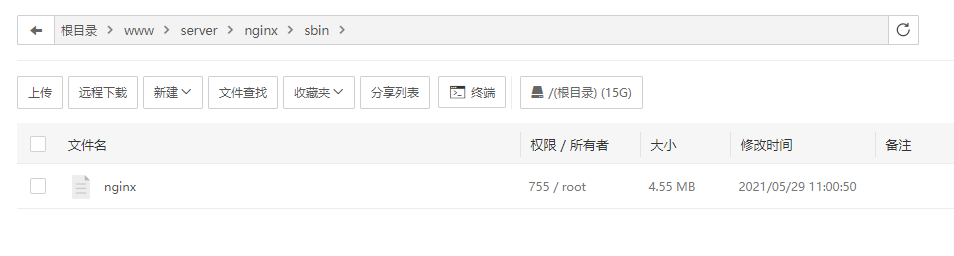
- sbin存放的是可执行文件,可以用 ./nginx启动nginx:
Nginx基本运行原理
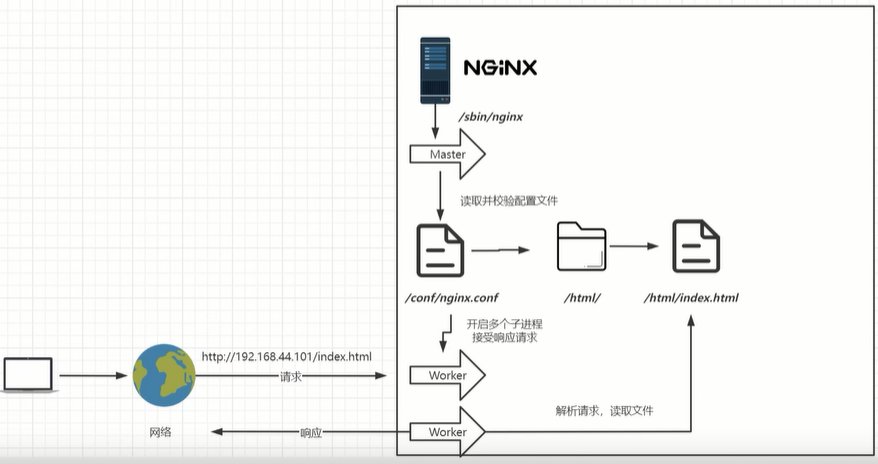
Nginx的进程是使用经典的「Master-Worker」模型,Nginx在启动后,会有一个master进程和多个worker进程。master进程主要用来管理worker进程,包含:接收来自外界的信号,向各worker进程发送信号,监控worker进程的运行状态,当worker进程退出后(异常情况下),会自动重新启动新的worker进程。worker进程主要处理基本的网络事件,多个worker进程之间是对等的,他们同等竞争来自客户端的请求,各进程互相之间是独立的。一个请求,只可能在一个worker进程中处理,一个worker进程,不可能处理其它进程的请求。worker进程的个数是可以设置的,一般会设置与机器cpu核数一致,这里面的原因与nginx的进程模型以及事件处理模型是分不开的。
Nginx的基本配置文件
Nginx的默认配置文件是nginx.conf
刚安装好的nginx.conf如下:
#user nobody;worker_processes 1;#error_log logs/error.log;#error_log logs/error.log notice;#error_log logs/error.log info;#pid logs/nginx.pid;events { worker_connections 1024;}http { includemime.types; default_type application/octet-stream; #log_format main '$remote_addr - $remote_user [$time_local] "$request" ' # '$status $body_bytes_sent "$http_referer" ' # '"$http_user_agent" "$http_x_forwarded_for"'; #access_log logs/access.log main; sendfile on; #tcp_nopush on; #keepalive_timeout 0; keepalive_timeout 65; #gzip on; server { listen80; server_name localhost; #charset koi8-r; #access_log logs/host.access.log main; location / { root html; index index.html index.htm; } #error_page 404/404.html; # redirect server error pages to the static page /50x.html # error_page 500 502 503 504 /50x.html; location = /50x.html { root html; } # proxy the PHP scripts to Apache listening on 127.0.0.1:80 # #location ~ \.php$ { # proxy_pass http://127.0.0.1; #} # pass the PHP scripts to FastCGI server listening on 127.0.0.1:9000 # #location ~ \.php$ { # root html; # fastcgi_pass 127.0.0.1:9000; # fastcgi_index index.php; # fastcgi_param SCRIPT_FILENAME /scripts$fastcgi_script_name; # include fastcgi_params; #} # deny access to .htaccess files, if Apache's document root # concurs with nginx's one # #location ~ /\.ht { # deny all; #} } # another virtual host using mix of IP-, name-, and port-based configuration # #server { # listen8000; # listensomename:8080; # server_name somename alias another.alias; # location / { # root html; # index index.html index.htm; # } #} # HTTPS server # #server { # listen443 ssl; # server_name localhost; # ssl_certificate cert.pem; # ssl_certificate_key cert.key; # ssl_session_cache shared:SSL:1m; # ssl_session_timeout 5m; # ssl_ciphers HIGH:!aNULL:!MD5; # ssl_prefer_server_ciphers on; # location / { # root html; # index index.html index.htm; # } #}}去掉注释的简单版如下:
worker_processes 1; #允许进程数量,建议设置为cpu核心数或者auto自动检测,注意Windows服务器上虽然可以启动多个processes,但是实际只会用其中一个events { #单个进程最大连接数(最大连接数=连接数*进程数) #根据硬件调整,和前面工作进程配合起来用,尽量大,但是别把cpu跑到100%就行。 worker_connections 1024;}http { #文件扩展名与文件类型映射表(是conf目录下的一个文件) includemime.types; #默认文件类型,如果mime.types预先定义的类型没匹配上,默认使用二进制流的方式传输 default_type application/octet-stream; #sendfile指令指定nginx是否调用sendfile 函数(zero copy 方式)来输出文件,对于普通应用,必须设为on。如果用来进行下载等应用磁盘IO重负载应用,可设置为off,以平衡磁盘与网络IO处理速度。 sendfile on; #长连接超时时间,单位是秒 keepalive_timeout 65; #虚拟主机的配置 server { #监听端口 listen80; #域名,可以有多个,用空格隔开 server_name localhost;#配置根目录以及默认页面 location / { root html; index index.html index.htm; }#出错页面配置 error_page 500 502 503 504 /50x.html; #/50x.html文件所在位置 location = /50x.html { root html; } }}
