gulimall基础篇回顾Day-02
gulimall
- 一、创建项目微服务
-
- 1.1 从 gitee 初始化一个项目
- 1.2 创建各个微服务模块
- 1.3 数据库设计
- 1.4 创建各个微服务的数据库
- 二、人人开源搭建后台管理系统
-
- 2.1 .giit 克隆人人开源后台管理系统(renren-fast)
- 2.2 下载前端开发环境
- 三,逆向工程搭建
-
- 3.1 renren-generator 的使用
- 3.2 整合Mybatis-plus
- 3.3 测试
一、创建项目微服务
1.1 从 gitee 初始化一个项目
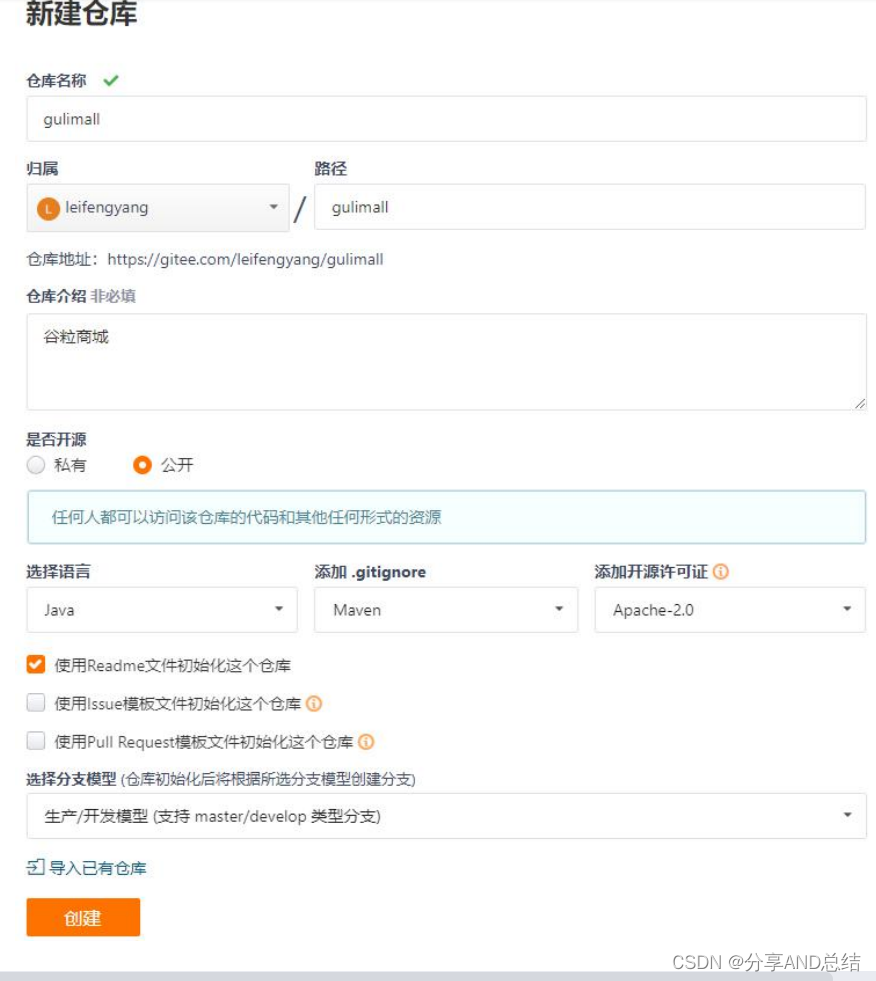
复制仓库地址–>打开IDEA–>file–>new–>Project From Version Control… -->点击Git:
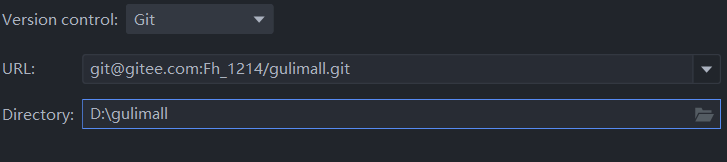
也可以通过我的仓库考到你本地:https://gitee.com/Fh_1214/gulimall.git
1.2 创建各个微服务模块
商品服务:
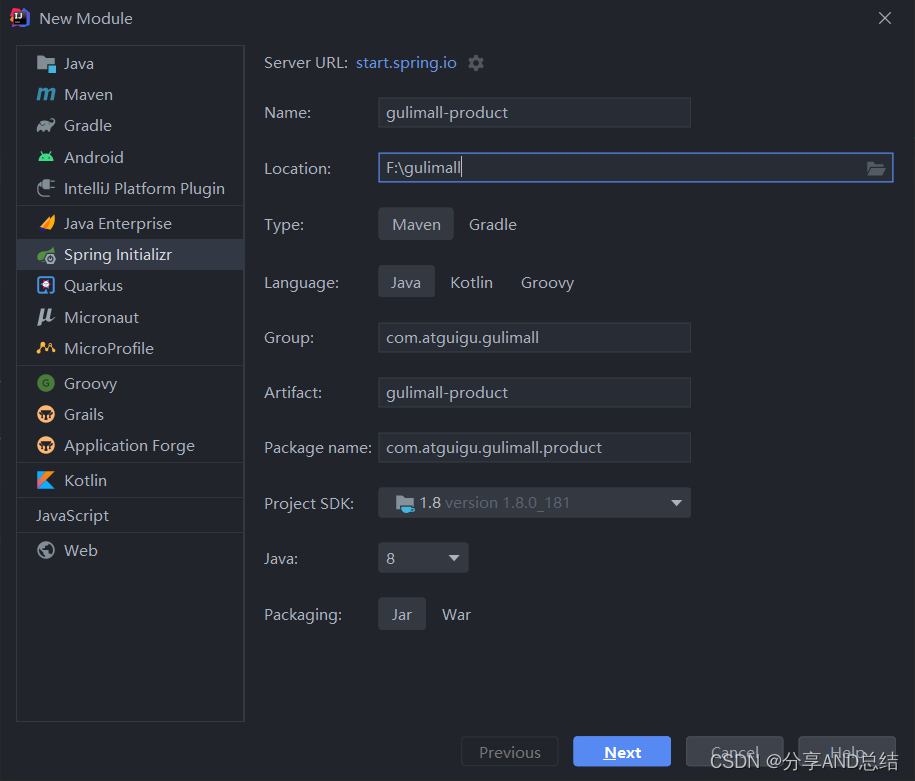
点击Next–>选择SpringBoot版本及Spring Web + OpenFeign依赖–>finish
仓储服务、订单服务、优惠券服务、用户服务 共同:
1 web、openfeign
2 每一个服务,
3 包名 com.atguigu.gulimall.xxx(product/order/ware/coupon/member) 模块名:gulimall-coupon。
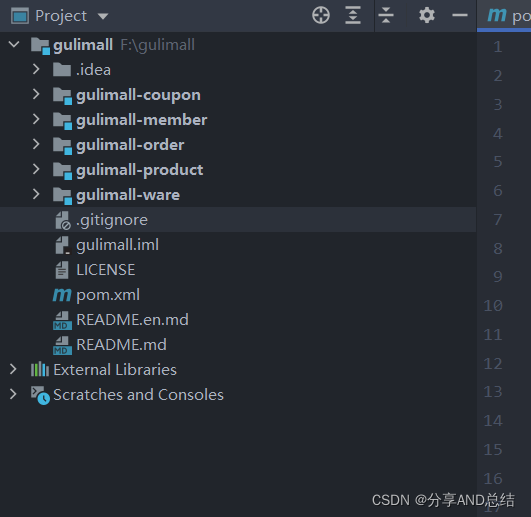
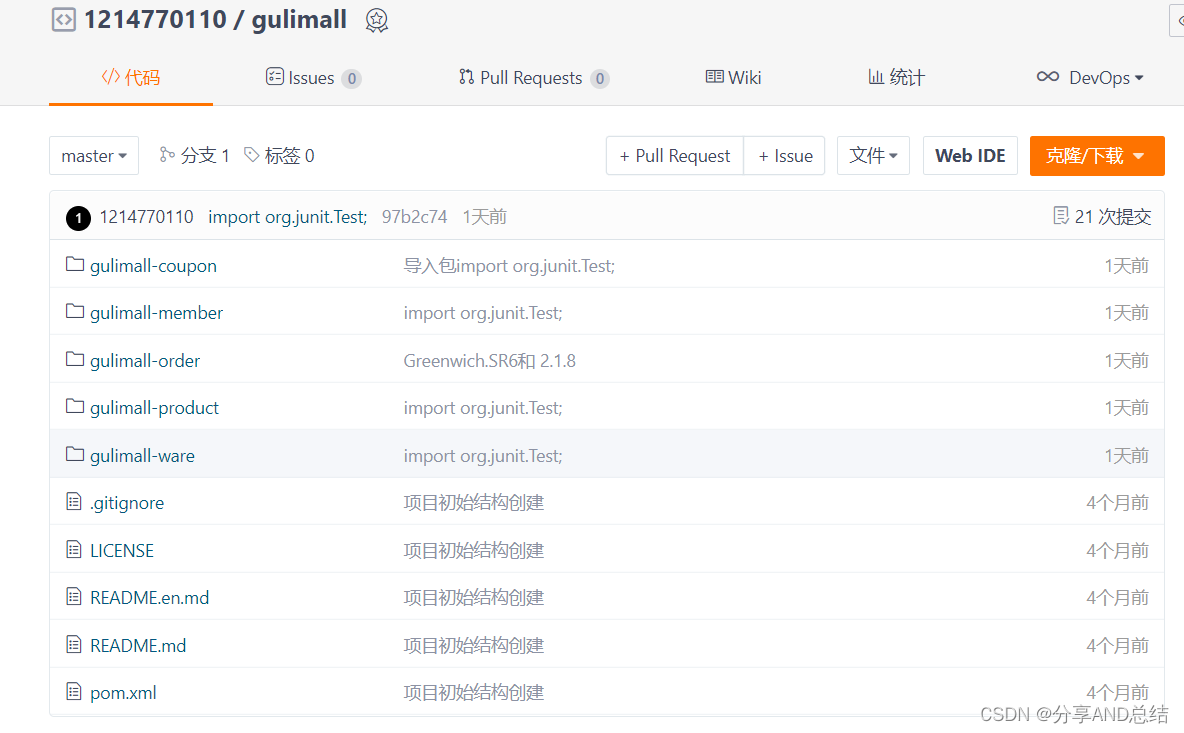
创建完成各个微服务模块之后项目结构:
gulimall 的 poml.xml 文件:
<project xmlns="http://maven.apache.org/POM/4.0.0" xmlns:xsi="http://www.w3.org/2001/XMLSchema-instance" xsi:schemaLocation="http://maven.apache.org/POM/4.0.0 https://maven.apache.org/xsd/maven-4.0.0.xsd"> <modelVersion>4.0.0</modelVersion> <groupId>com.atguigu.gulimall</groupId> <artifactId>gulimall</artifactId> <version>0.0.1-SNAPSHOT</version> <name>gulimall</name> <description>聚合服务</description> <packaging>pom</packaging> <modules> <module>gulimall-product</module> <module>gulimall-ware</module> <module>gulimall-order</module> <module>gulimall-coupon</module> <module>gulimall-member</module> </modules></project>gulimall 的 .gitignore 文件执行刷新版本控制:这些文件都不被提交到gitee仓库
**/mvnw**/mvnw.cmd**/.mvn**/target.idea**/.gitignore下载gitee插件,将本地代码提交到远程仓库,提交后仓库如下
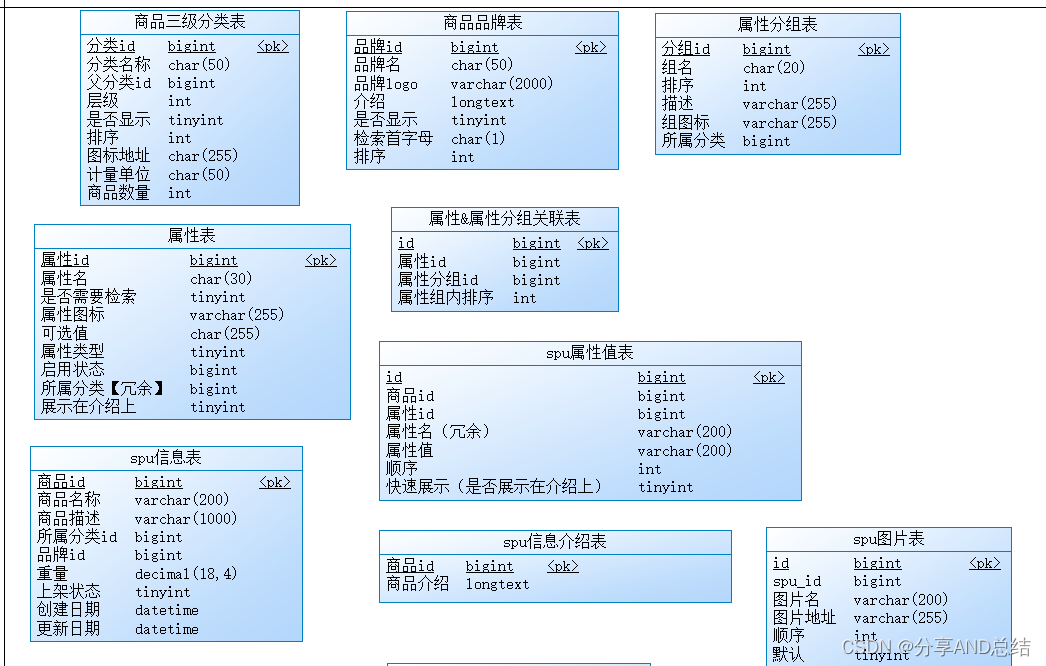
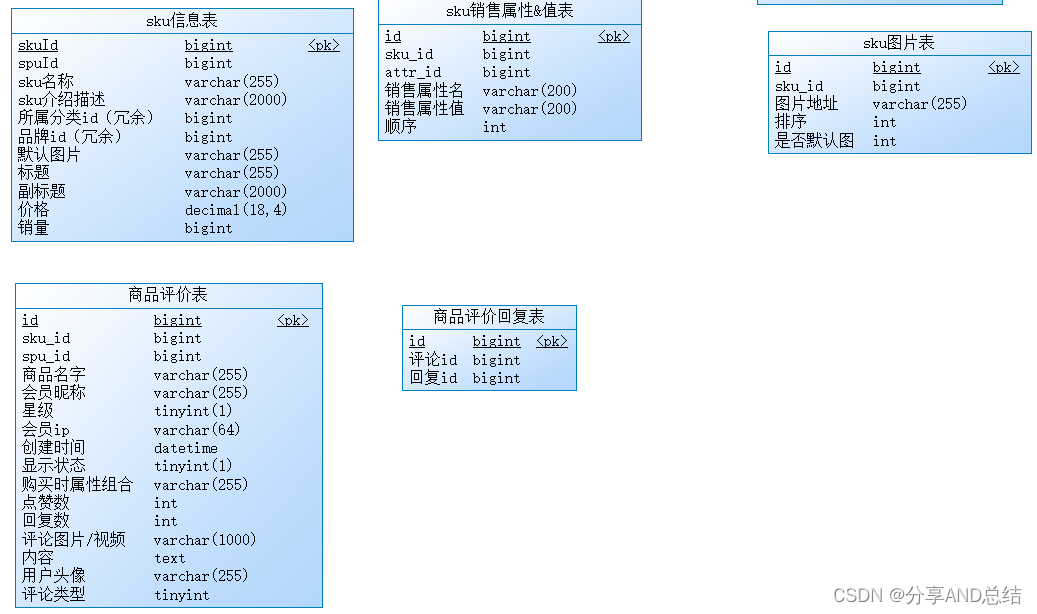
1.3 数据库设计
1.4 创建各个微服务的数据库
数据库文件:https://mp.csdn.net/mp_download/manage/download/UpDetailed?spm=3001.5299
二、人人开源搭建后台管理系统
前台使用renrenfast-Vue + 后台管理系统使用renren-fast进行前后端联调测试。
2.1 .giit 克隆人人开源后台管理系统(renren-fast)
1.1 从人人开源网站: https://www.renren.io/community/project 下载 renren-fast,删除 .git 文件。导入 gulimall 项目并将 gulimall 作为父项目。
1.2 修改 renren-fast 的配置文件,数据库访问地址以及账户密码。
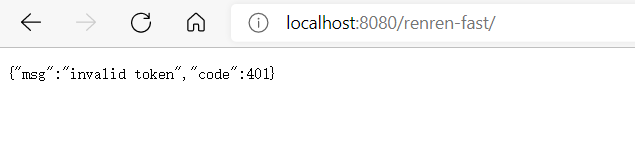
1.3 启动 renren-fast 项目访问:http://localhost:8080/renren-fast/ 出现如下界面
2.2 下载前端开发环境
2.2.1 Node.js
前端开发,少不了 node.js,Node.js 是一个基于 Chrome V8 引擎的 JavaScript 运行环境。 http://nodejs.cn/api/ 我们关注与 node.js 的 npm 功能就行。 NPM 是随同 NodeJS 一起安装的包管理工具,JavaScript-NPM,Java-Maven。
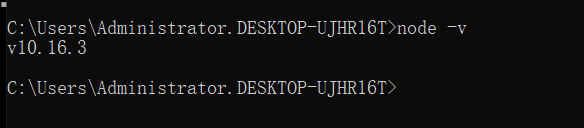
1)、官网下载安装 node.js,并使用 node -v 检查版本
2)、配置 npm 使用淘宝镜像 npm config set registry http://registry.npm.taobao.org/
3)、大家如果 npm install 安装依赖出现 chromedriver 之类问题,先在项目里运行下面命令 npm install chromedriver --chromedriver_cdnurl=http://cdn.npm.taobao.org/dist/chromedriver 然后再运行 npm install
2.2.2 进入 vsCode 导入 renrenfast-Vue 前端项目,打开终端执行:npm install 命令,让其下载前端运行所需的组件。(如下载出错按照评论区的提示,有时也可以重启电脑!)
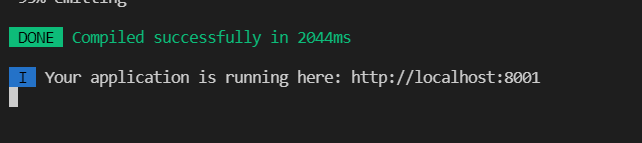
2.2.3 终端执行:npm run dev 命令,成功后如下
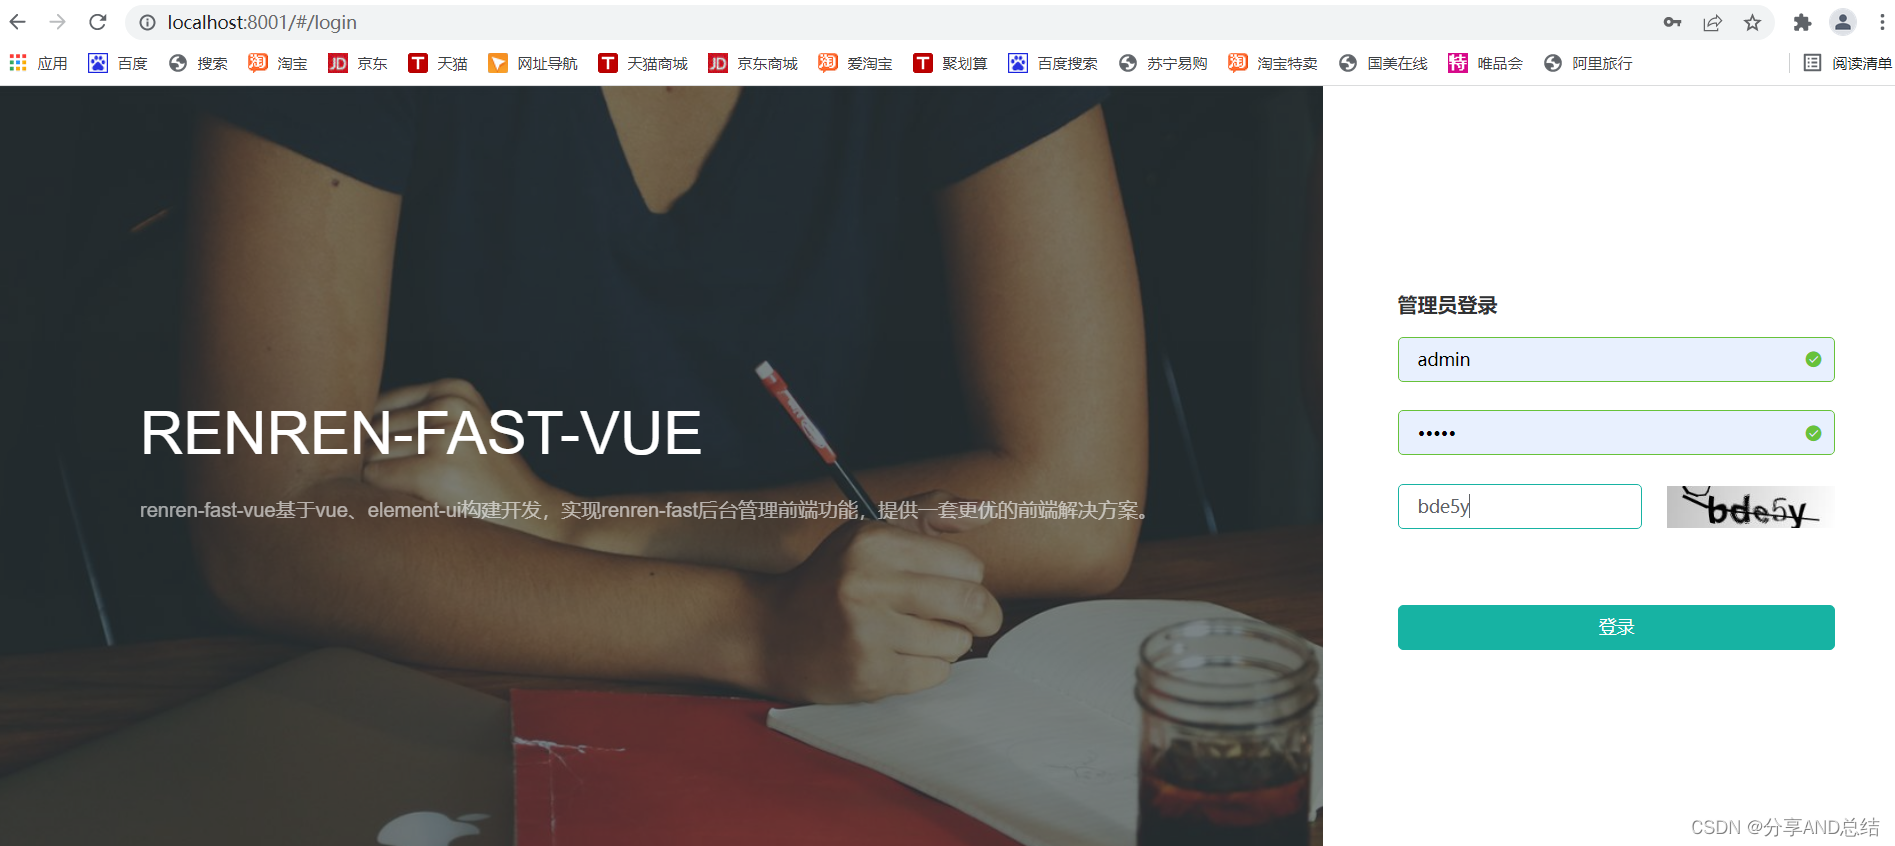
2.2.4 浏览器输入:http://localhost:8001 出现如下

若第一次登录失败到后台 io.renren.config 的 CorsConfig.java源文件解除注释。后重启 RenrenApplication
三,逆向工程搭建
3.1 renren-generator 的使用
3.1.1 git 克隆 renren-generator 删除 .git文件。将其加入 gulimall 项目中 在 gulimall 的 pom.xml 文件添加
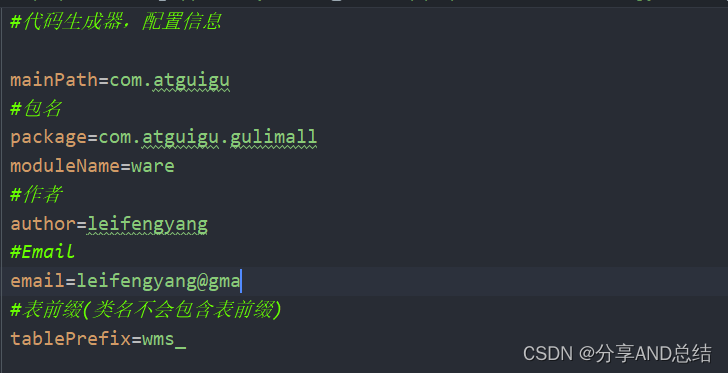
<modules> <module>gulimall-product</module> <module>gulimall-ware</module> <module>gulimall-order</module> <module>gulimall-coupon</module> <module>gulimall-member</module> <module>renren-fast</module> <module>renren-generator</module> </modules>3.1.2 修改 renren-generator 的配置文件,数据库访问地址以及账户密码,逆向生成改数据库的表。
修改 generator.properties 文件如下
3.1.3 启动 renren-generator 的启动类 RenrenApplication 到指定的访问。逆向生成表全部勾选,生成的文件解压,main文件粘贴到对应的微服务项目中。
3.1.4 新建微服务 gulimall-commom 作为每一个微服务公共的依赖,bean,工具类等。按照错误把相应的依赖,bean,工具类补在 gulimall-commom 中
3.2 整合Mybatis-plus
3.2.1 导入依赖
<dependency> <groupId>com.baomidou</groupId> <artifactId>mybatis-plus-boot-starter</artifactId> <version>3.2.0</version></dependency>3.2.3 配置
1、配置数据源
1)导入数据库的驱动。https://dev.mysql.com/doc/connector-j/8.0/en/connector-j-versions.html
2)在application.yml配置数据源相关信息。
spring: datasource: username: root password: root url: jdbc:mysql://192.168.50.129:3306/gulimall_pms?useUnicode=true&characterEncoding=UTF-8&serverTimezone=Asia/Shanghai driver-class-name: com.mysql.cj.jdbc.Driver2、配置MyBatis-Plus
1)使用@MapperScan
2)告诉MyBatis-Plus,sql映射文件位置
mybatis-plus: mapper-locations: classpath:/mapper//*.xml global-config: db-config: id-type: auto logic-delete-value: 1 logic-not-delete-value: 03.3 测试
@Slf4j@RunWith(SpringRunner.class)@MapperScan("com.atguigu.gulimall.product.dao")@SpringBootTest(classes = GulimallProductApplication.class)public class GulimallProductApplicationTests { @Autowired BrandService brandService; @Test public void contextLoads() { BrandEntity brandEntity = new BrandEntity(); brandEntity.setBrandId(1L); brandEntity.setDescript("华为"); brandService.updateById(brandEntity); brandEntity.setName("华为"); brandService.save(brandEntity); System.out.println("保存成功...."); brandService.updateById(brandEntity); } }
逆向生成各个服务同理是一样的。

