Vue3的vue-router路由详解
这篇文章是接着【三分钟快速搭建Vue3+webpack项目】的内容做的开发,有基础的可以跳过 【三分钟快速搭建Vue3+webpack项目】,直接看以下的内容。
Vue3的vue-router路由详解:
首先安装路由依赖模块:
npm install vue-router@4所需代码文件如下图:
图1
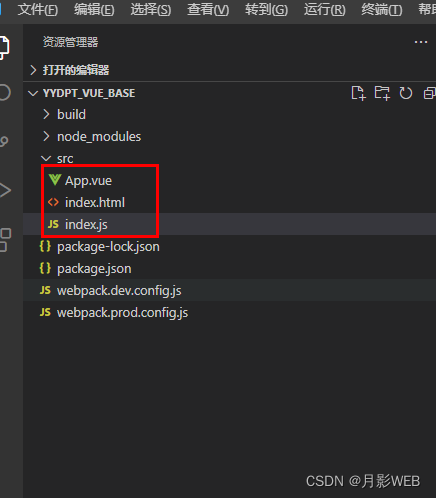
所需要的主要文件:index.html、index.js、App.vue
index.html:模板页面,项目中的代码编译之后都是放入到模板页面中id为app的元素这种。
代码如下:
Vue index.js:创建一个vue应用,将路由放入应用之中,并挂载到模板页面id为app的元素上。
代码如下:
import { createApp } from 'vue'import { createRouter,createWebHashHistory } from 'vue-router'import App from './App.vue'// 1. 定义路由组件:这里直接用的对象数据,也可以导入其他组件。const Main = { render(){ return '月影WEB 欢迎大家来学习各种技术知识!'} }const Lists = { render(){ return '月影WEB-列表页面'} }const Details = { render(){ return '月影WEB-详情页面'} }// 2. 定义一些路由:每个路由都需要映射到一个组件。const routes = [ { path: '/', component: Main }, { path: '/lists', component: Lists }, { path: '/details', component: Details },]// 3. 创建路由实例并传递 `routes` 配置。const router = createRouter({ // 内部提供了 history 模式的实现。为了简单起见,我们在这里使用 hash 模式。 history: createWebHashHistory(), routes, // `routes: routes` 的缩写})// 4.创建一个vue应用,将App组件和定义的路由放入到vue应用,并挂载到模板页面id为app的元素上。createApp(App).use(router).mount('#app')1. 定义路由组件:这里直接用的对象数据,也可以导入其他组件。
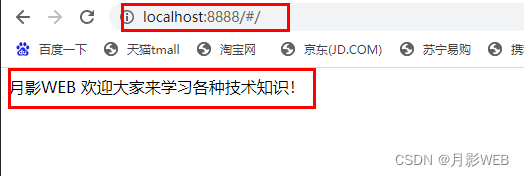
const Main = { render(){ return '月影WEB 欢迎大家来学习各种技术知识!'} }
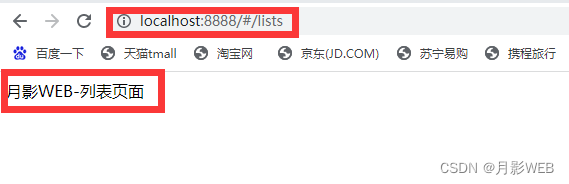
const Lists = { render(){ return '月影WEB-列表页面'} }
const Details = { render(){ return '月影WEB-详情页面'} }
注意:Main、Lists 、Details 定义了三个路由组件,return后面就是每个路由组件展示的UI。
2. 定义一些路由:每个路由都需要映射到一个组件。
const routes = [
{ path: '/', component: Main },
{ path: '/lists', component: Lists },
{ path: '/details', component: Details },
]
注意:path是路由路径,也是地址栏会显示的路径,component是放路由组件的,每个路由路径都可以进行组件映射。
3. 创建路由实例并传递 `routes` 配置。
const router = createRouter({
// 内部提供了 history 模式的实现。为了简单起见,我们在这里使用 hash 模式。
history: createWebHashHistory(),
routes, // `routes: routes` 的缩写
})
注意:这里只做了简单的配置,history是路由的模式,routes放定义的路由,createRouter创建路由实例。
4.创建一个vue应用,将App组件和定义的路由放入到vue应用,并挂载到模板页面id为app的元素上。
createApp(App).use(router).mount('#app')
App.vue:用来展示不同的路由页面UI。
代码如下:
export default {}注意:是用来展示路由对应的组件UI的。
启动服务的效果如下:
{ path: '/', component: Main }
{ path: '/lists', component: Lists }
{ path: '/details', component: Details }

关注公众号(月影WEB),了解更多的前后端知识;
欢迎大家关注互相交流学习;

