OpenHarmony藏头诗应用
今天我们将做一个OpenHarmony趣味应用——OpenHarmony藏头诗应用,是通过AI接口来做。通过调用指定的AI接口来做,接口会返回藏头诗或者继续完成诗的后面几句。
我要实现的功能主要有:
- 生成藏头诗,
- 生成整首诗,
你能学到的有:
- 网络请求
- 可滚动组件
- 状态管理
- 常用组件
- 常用属性
- 修改应用名称和图标
- 在Config.json添加权限等
用到的接口:
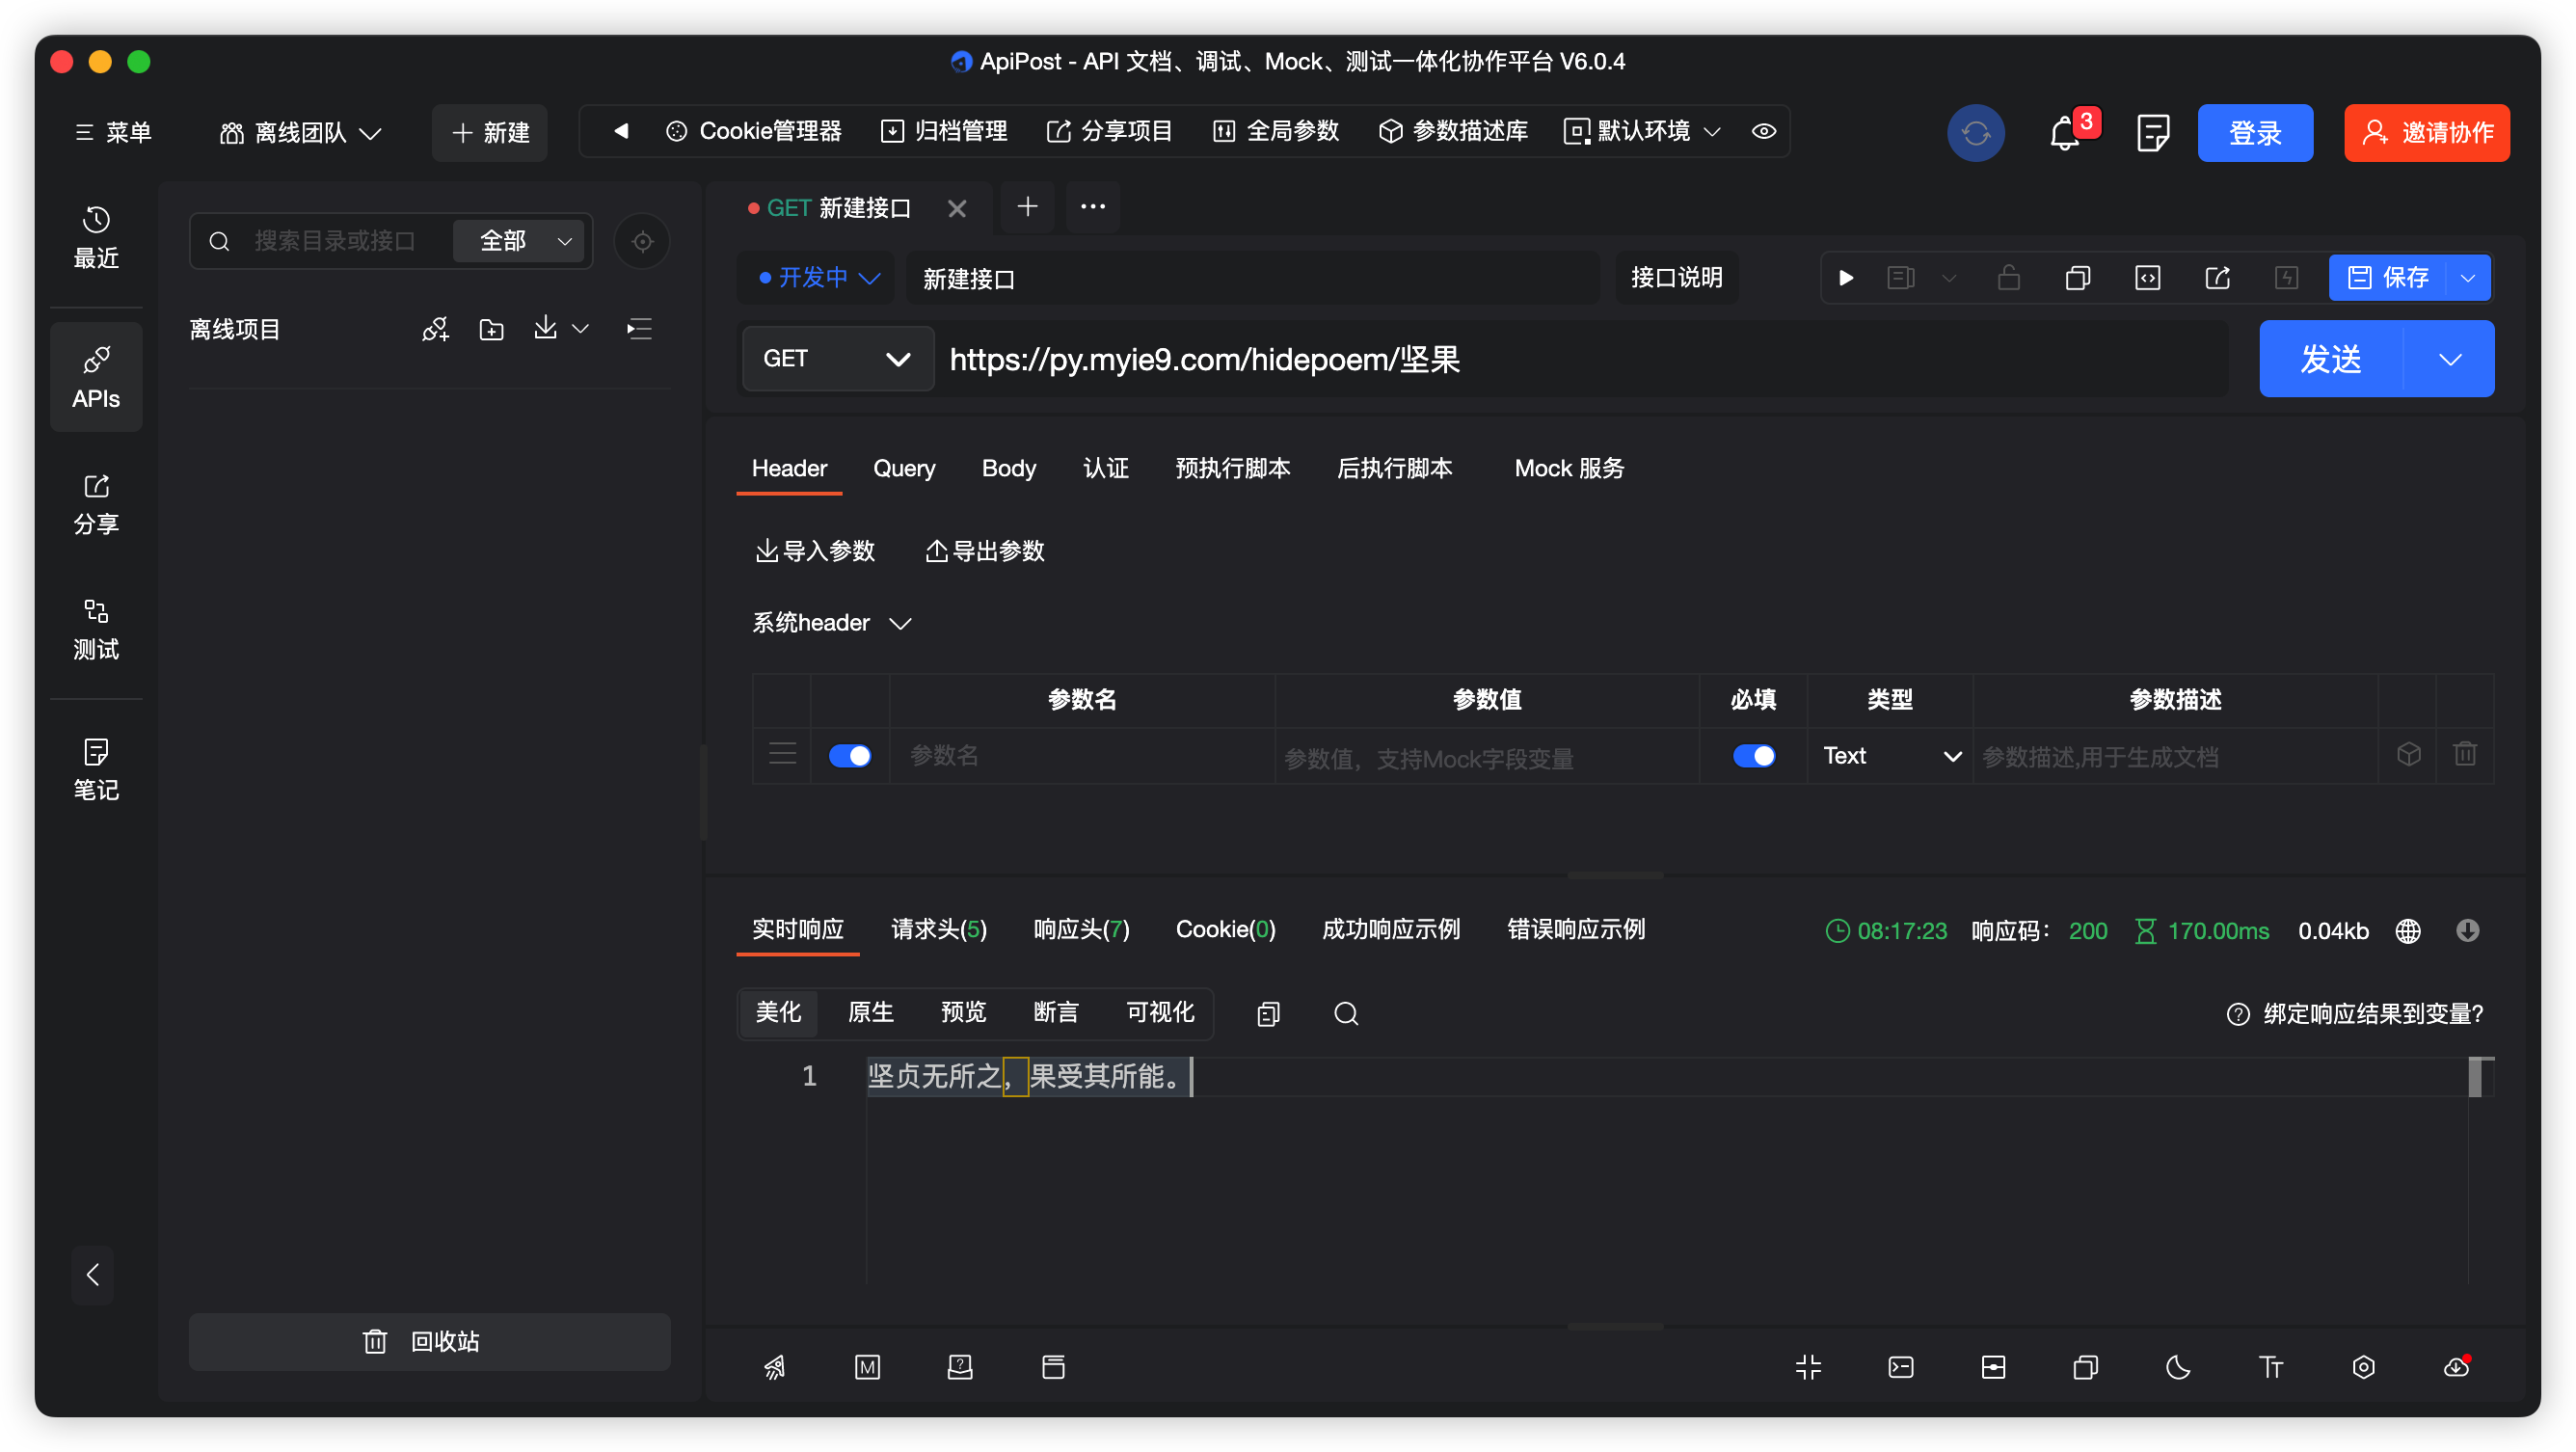
接口:
https://py.myie9.com/hidepoem/坚果请求方式:
Get
apipost请求测试
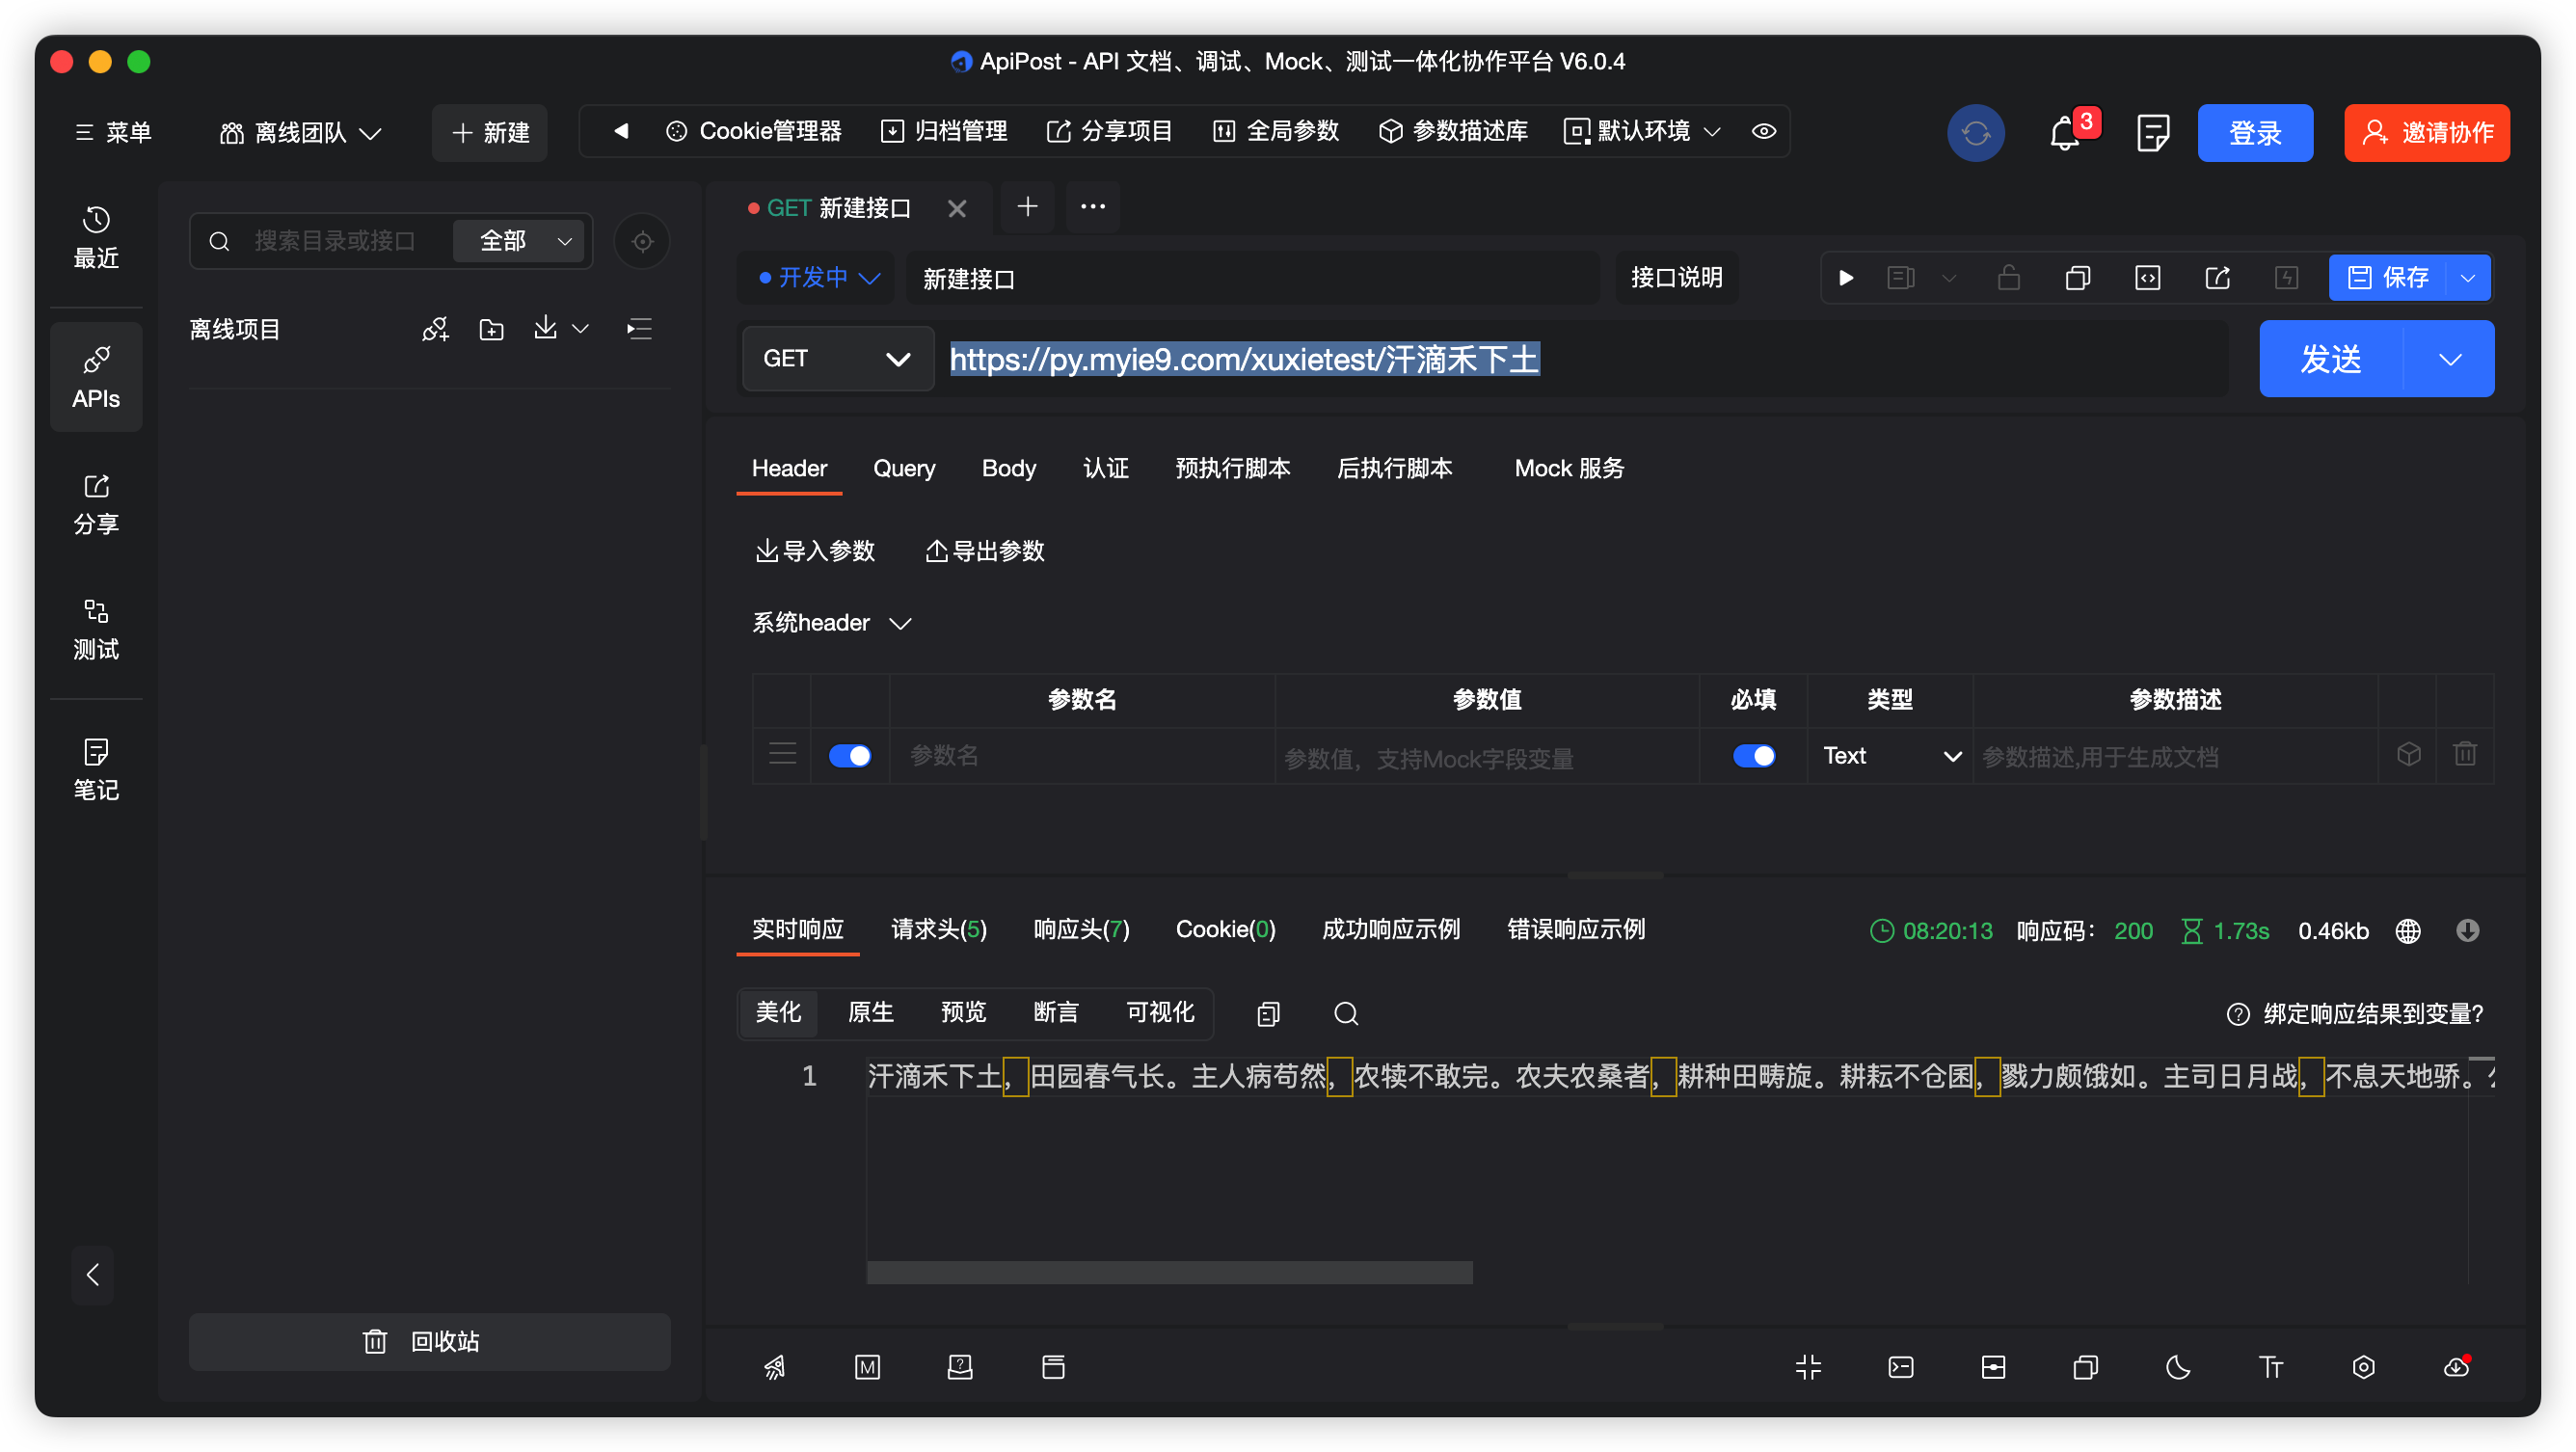
接口:
https://py.myie9.com/xuxietest/汗滴禾下土apipost请求测试:
如何创建应用在这里不做解释。
首先预览一下应用
注意点:
允许https需要添加下面的配置
"deviceConfig": { "default": { "network": { "cleartextTraffic": true } } },使用网络请求在config.json添加权限:
"reqPermissions": [ { "name": "ohos.permission.INTERNET" } ],完整代码:
import http from '@ohos.net.http';import RequestMethod from '@ohos.net.http';import ResponseCode from '@ohos.net.http';@Entry@Componentstruct Index { @State tibetanContent: string = "坚果的小跟班"; @State tibetanInput: string = "跟着坚果学鸿蒙"; @State wholeContent: string = ""; @State wholeInput: string = "跟着坚果学鸿蒙"; private scroller: Scroller = new Scroller() onCancel() { console.info('关闭') } build() { Scroll(this.scroller) { Column({ space: 10 }) { Text($r("app.string.title")) .fontSize(26) .fontWeight(FontWeight.Bold) .align(Alignment.Start) .margin({ top: 20 }) TextInput({ placeholder: '请输入要生成的内容', }) .fontSize(36) .enterKeyType(EnterKeyType.Go) .onChange((value) => { this.tibetanInput = value; }) .height(80) .margin({ top: 40, left: 16, right: 16 }) Button("生成藏头诗").backgroundColor(Color.Pink) .onClick(() => { this.TibetanRequest(); }) Text(this.tibetanContent).fontSize(26).fontColor(Color.Orange) TextInput({ placeholder: '请输入要生成的内容', }) .fontSize(36) .enterKeyType(EnterKeyType.Go) .onChange((value) => { this.wholeInput = value; }) .height(80) .margin({ left: 16, right: 16 }) Button("生成整首诗").backgroundColor(Color.Green) .onClick(() => { this.wholePoemRequest(); }) Text(this.wholeContent).fontSize(24).fontColor(Color.Orange) } .padding(10) } } //藏头诗接口 private TibetanRequest() { let httpRequest = http.createHttp(); httpRequest.request( "https://py.myie9.com/hidepoem/" + this.tibetanInput, { method: RequestMethod.RequestMethod.GET, readTimeout: 15000, connectTimeout: 15000, }, (error, data) => { if (error) { console.log("error code: " + error.code + ", msg: " + error.message) } else { let code = data.responseCode if (ResponseCode.ResponseCode.OK == code) { this.tibetanContent = data.result.toString(); let header = JSON.stringify(data.header); console.log("result: " + this.tibetanContent); console.log("header: " + header); } else { console.log("response code: " + code); } } } ); } //整首诗接口 private wholePoemRequest() { let httpRequest = http.createHttp(); httpRequest.request( "https://py.myie9.com/xuxietest/" + this.wholeInput, { method: RequestMethod.RequestMethod.GET, readTimeout: 15000, connectTimeout: 15000, }, (error, data) => { if (error) { console.log("error code: " + error.code + ", msg: " + error.message) } else { let code = data.responseCode if (ResponseCode.ResponseCode.OK == code) { this.wholeContent = data.result.toString(); let header = JSON.stringify(data.header); console.log("result: " + this.wholeContent); console.log("header: " + header); } else { console.log("response code: " + code); } } } ); }}发起网络请求
使用 @ohos.net.http 模块发起网络请求分为以下步骤:
引入http模块
import http from '@ohos.net.http';创建一个httpRequest
let httpRequest = http.createHttp();发起http请求
httpRequest 提供了两种 request() 方法进行网络请求,分别是无 RequestOptions 参数的请求和有 RequestOptions 参数的请求。分别介绍如下:
-
无
RequestOptions参数请求//藏头诗接口 private TibetanRequest() { let httpRequest = http.createHttp(); httpRequest.request( "https://py.myie9.com/hidepoem/" + this.tibetanInput, { method: RequestMethod.RequestMethod.GET, readTimeout: 15000, connectTimeout: 15000, }, (error, data) => { if (error) { console.log("error code: " + error.code + ", msg: " + error.message) } else { let code = data.responseCode if (ResponseCode.ResponseCode.OK == code) { this.tibetanContent = data.result.toString(); let header = JSON.stringify(data.header); console.log("result: " + this.tibetanContent); console.log("header: " + header); } else { console.log("response code: " + code); } } } ); }request()方法默认采用get方式请求。
上述代码,重点是通过调用HTTP的AI接口,来获取生成接口返回的诗的内容,并显示在应用界面上。
修改应用描述信息
默认的应用描述信息,集中在config.json文件中。
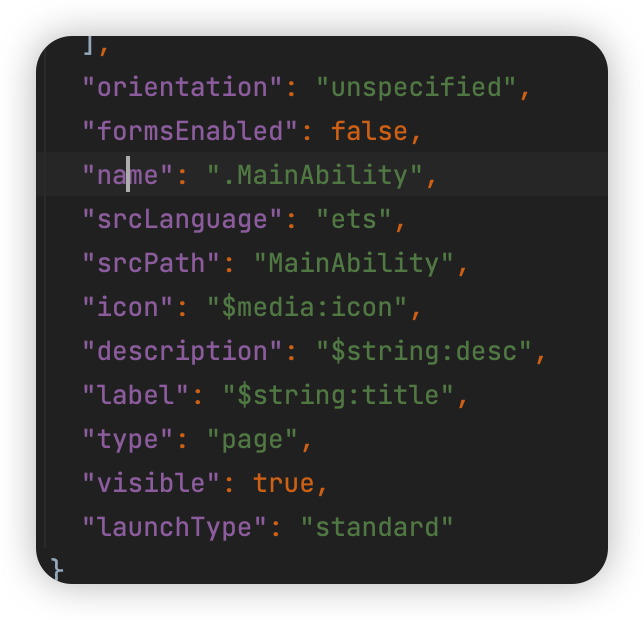
修改string.json内容如下:
"srcLanguage": "ets", "srcPath": "MainAbility", "icon": "$media:icon", //应用图标 "description": "$string:desc", "label": "$string:title", //应用名称 "type": "page", "visible": true, "launchType": "standard"这么有趣的应用就这样完成了,比起js开发方式,eTS是不是更为简单呢。

