手把手教你:人脸识别的视频打码(基于opencv的人脸打马赛克)
系列文章
- 手把手教你:人脸识别考勤系统
- 手把手教你:图像识别的垃圾分类系统
- 手把手教你:基于粒子群优化算法(PSO)优化卷积神经网络(CNN)的文本分类
目录
- 系列文章
- 项目简介
- 一、项目功能简介
- 二、环境需求
-
- 环境安装实例
- 三、功能模块介绍
-
- 1.人脸库图像
- 2.构建人脸库
- 3.启动视频打码功能
- 完整代码地址
项目简介
本文主要介绍如何使用python搭建:一个基于opencv和人脸识别的视频打码系统。
博主也参考过网上其他博主介绍人脸识别,或是视频加马赛克的文章,但大多是理论大于方法。很多同学肯定对原理不需要过多了解,只需要搭建出一个识别系统即可。
本文只会告诉你如何快速搭建一个人脸识别的考勤系统并运行,原理的东西可以参考其他博主。
也正是因为我发现网上大多的帖子只是针对原理进行介绍,功能实现的相对很少。
如果您有以上想法,那就找对地方了!
提示:以下是本篇文章正文内容
一、项目功能简介
-
本次项目选择对:周雨彤小姐姐所演的视频进行打码。
为什么选择这个小姐姐,客户选的,我也没法。 -
小姐姐照片如下:


-
这里为了进行下一步人脸识别,大概收集了10张左右带人脸的照片。
不得不说,小姐姐是真好看。 -
需要打码的视频:
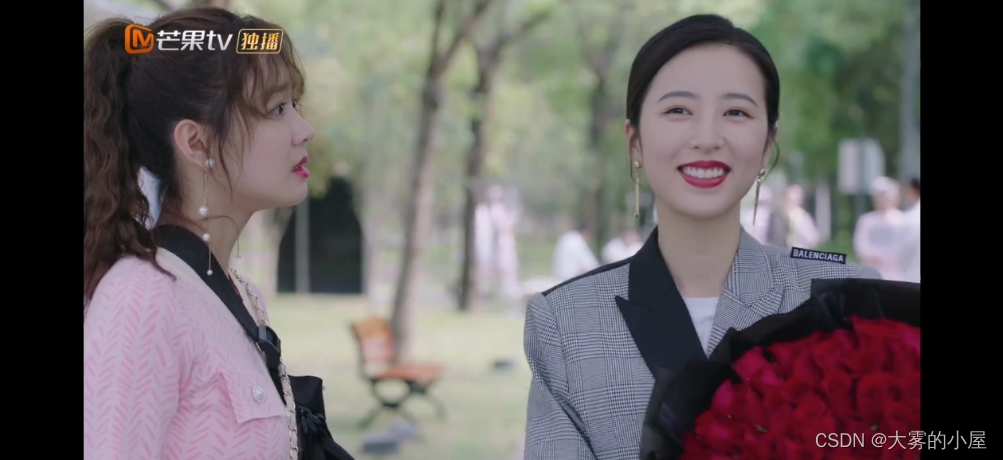
-
打码后的视频:
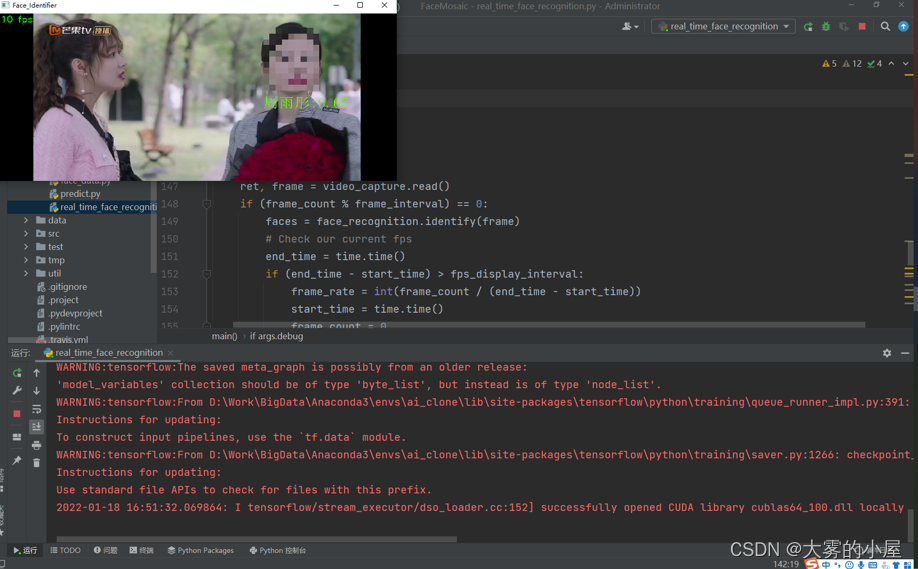
- 当然有些同学认为这个码打的太粗了,也可以调整打码的粗细程度,依稀还能看得出小姐姐的轮廓:
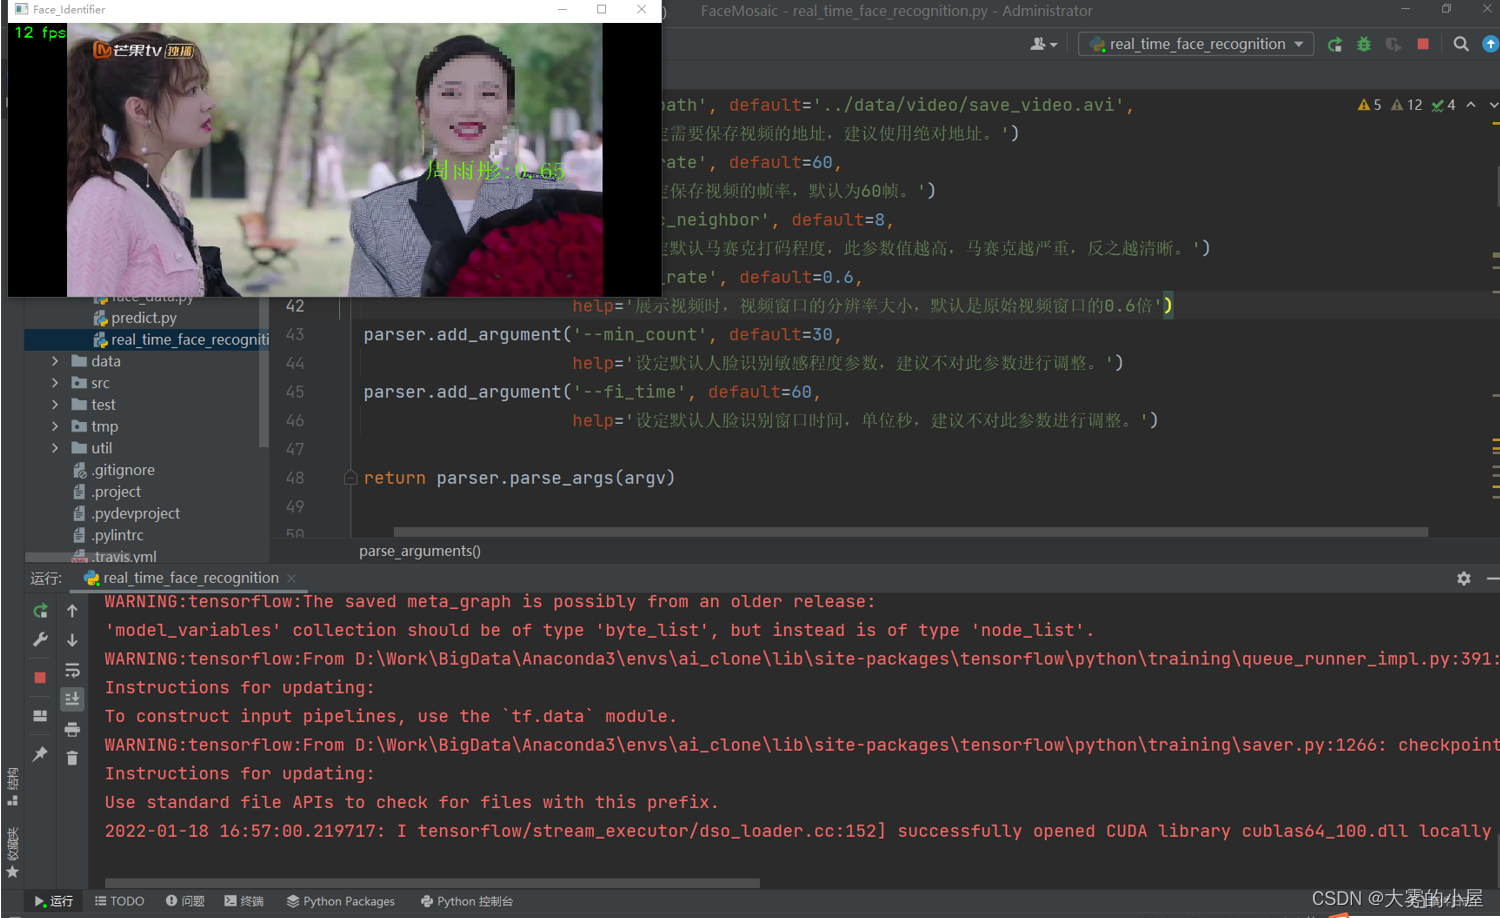
- 当然,既然是人脸识别进行打码,那针对人脸识别的敏感程度、马赛克的大小等,都可以通过参数进行调整,下面我就详细介绍一下怎么实现。
二、环境需求
因为本项目基于TensorFlow因此需要以下环境:
- tensorflow==1.7
- scipy
- scikit-learn
- opencv-python
- h5py
- matplotlib
- Pillow
- requests
- psutil
- pyqt5
环境安装实例
环境都可以通过pip进行安装。如果只是想要功能跑起来,这边建议tensorflow安装cpu版的。
如果没使用过pycharm通过pip安装包的同学可以参考如下:

点开“终端”,然后通过pip进行安装tensorflow,其他环境包也可以通过上面的方法安装。
三、功能模块介绍
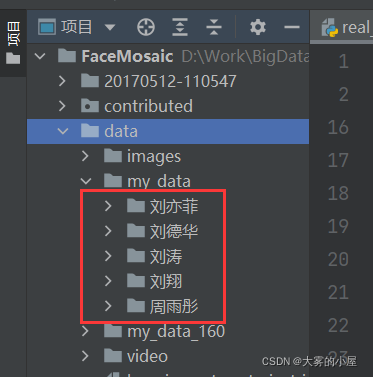
1.人脸库图像
人脸库图像放在项目中:data/my_data/“人名”/“图片名”.jpg。
我这里用了5个明星的人脸图像,可以根据你自己需要识别的人脸构建你自己的人脸库。
如下:
2.构建人脸库
将图片放好后
执行:src/align/align_dataset_mtcnn.py文件

和:src/classifier.py文件
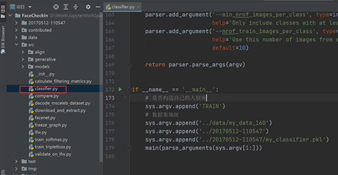
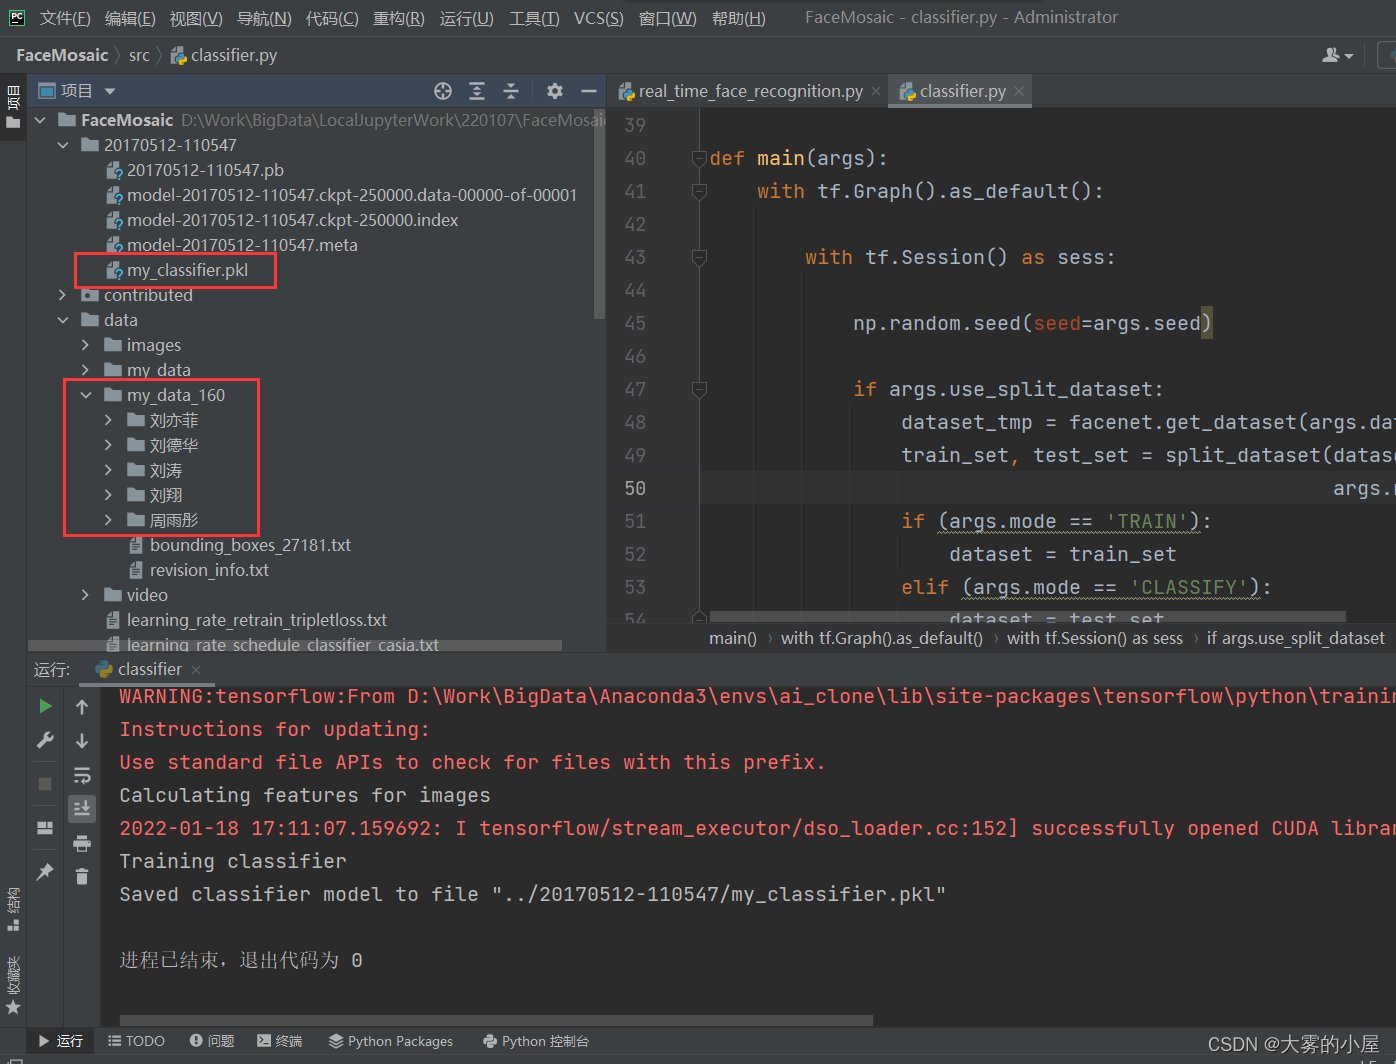
执行上述2个文件完成后。
在:data/my_data_160文件夹中会生成自己的人脸库图像。
在:20170512-110547/my_classifier.pkl中会生成自己的人脸库图像分类。
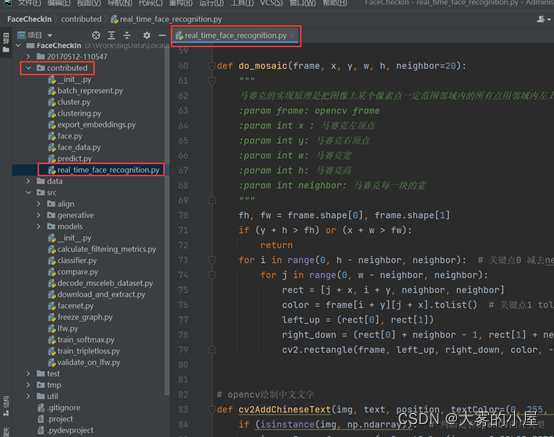
3.启动视频打码功能
确保上述文件执行完成并成功后。
执行:contributed/real_time_face_recognition.py,即可启动上面的人脸打码功能。
-
下面附一部分项目的关键代码:
-
人脸打码功能:
def do_mosaic(frame, x, y, w, h, neighbor=20): """ 马赛克的实现原理是把图像上某个像素点一定范围邻域内的所有点用邻域内左上像素点的颜色代替,这样可以模糊细节,但是可以保留大体的轮廓。 :param frame: opencv frame :param int x : 马赛克左顶点 :param int y: 马赛克右顶点 :param int w: 马赛克宽 :param int h: 马赛克高 :param int neighbor: 马赛克每一块的宽 """ fh, fw = frame.shape[0], frame.shape[1] if (y + h > fh) or (x + w > fw): return for i in range(0, h - neighbor, neighbor): # 关键点0 减去neightbour 防止溢出 for j in range(0, w - neighbor, neighbor): rect = [j + x, i + y, neighbor, neighbor] color = frame[i + y][j + x].tolist() # 关键点1 tolist left_up = (rect[0], rect[1]) right_down = (rect[0] + neighbor - 1, rect[1] + neighbor - 1) # 关键点2 减去一个像素 cv2.rectangle(frame, left_up, right_down, color, -1)- 图像预处理,人脸对齐:
def main(args): sleep(random.random()) output_dir = os.path.expanduser(args.output_dir) if not os.path.exists(output_dir): os.makedirs(output_dir) # Store some git revision info in a text file in the log directory src_path, _ = os.path.split(os.path.realpath(__file__)) facenet.store_revision_info(src_path, output_dir, ' '.join(sys.argv)) dataset = facenet.get_dataset(args.input_dir) print('Creating networks and loading parameters') with tf.Graph().as_default(): gpu_options = tf.GPUOptions(per_process_gpu_memory_fraction=args.gpu_memory_fraction) sess = tf.Session(config=tf.ConfigProto(gpu_options=gpu_options, log_device_placement=False)) with sess.as_default(): pnet, rnet, onet = detect_face.create_mtcnn(sess, None) minsize = 20 # minimum size of face threshold = [0.6, 0.7, 0.7] # three steps's threshold factor = 0.709 # scale factor # Add a random key to the filename to allow alignment using multiple processes random_key = np.random.randint(0, high=99999) bounding_boxes_filename = os.path.join(output_dir, 'bounding_boxes_%05d.txt' % random_key) with open(bounding_boxes_filename, "w") as text_file: nrof_images_total = 0 nrof_successfully_aligned = 0 if args.random_order: random.shuffle(dataset) for cls in dataset: output_class_dir = os.path.join(output_dir, cls.name) if not os.path.exists(output_class_dir): os.makedirs(output_class_dir) if args.random_order: random.shuffle(cls.image_paths) for image_path in cls.image_paths: nrof_images_total += 1 filename = os.path.splitext(os.path.split(image_path)[1])[0] output_filename = os.path.join(output_class_dir, filename + '.png') print(image_path) if not os.path.exists(output_filename): try: img = misc.imread(image_path) except (IOError, ValueError, IndexError) as e: errorMessage = '{}: {}'.format(image_path, e) print(errorMessage) else: if img.ndim < 2:print('Unable to align "%s"' % image_path)text_file.write('%s\n' % (output_filename))continue if img.ndim == 2:img = facenet.to_rgb(img) img = img[:, :, 0:3] bounding_boxes, _ = detect_face.detect_face(img, minsize, pnet, rnet, onet, threshold, factor) nrof_faces = bounding_boxes.shape[0] if nrof_faces > 0:det = bounding_boxes[:, 0:4]det_arr = []img_size = np.asarray(img.shape)[0:2]if nrof_faces > 1: if args.detect_multiple_faces: for i in range(nrof_faces): det_arr.append(np.squeeze(det[i])) else: bounding_box_size = (det[:, 2] - det[:, 0]) * (det[:, 3] - det[:, 1]) img_center = img_size / 2 offsets = np.vstack([(det[:, 0] + det[:, 2]) / 2 - img_center[1], (det[:, 1] + det[:, 3]) / 2 - img_center[0]]) offset_dist_squared = np.sum(np.power(offsets, 2.0), 0) index = np.argmax( bounding_box_size - offset_dist_squared * 2.0) # some extra weight on the centering det_arr.append(det[index, :])else: det_arr.append(np.squeeze(det))for i, det in enumerate(det_arr): det = np.squeeze(det) bb = np.zeros(4, dtype=np.int32) bb[0] = np.maximum(det[0] - args.margin / 2, 0) bb[1] = np.maximum(det[1] - args.margin / 2, 0) bb[2] = np.minimum(det[2] + args.margin / 2, img_size[1]) bb[3] = np.minimum(det[3] + args.margin / 2, img_size[0]) cropped = img[bb[1]:bb[3], bb[0]:bb[2], :] scaled = misc.imresize(cropped, (args.image_size, args.image_size), interp='bilinear') nrof_successfully_aligned += 1 filename_base, file_extension = os.path.splitext(output_filename) if args.detect_multiple_faces: output_filename_n = "{}_{}{}".format(filename_base, i, file_extension) else: output_filename_n = "{}{}".format(filename_base, file_extension) misc.imsave(output_filename_n, scaled) text_file.write('%s %d %d %d %d\n' % (output_filename_n, bb[0], bb[1], bb[2], bb[3])) else:print('Unable to align "%s"' % image_path)text_file.write('%s\n' % (output_filename)) print('Total number of images: %d' % nrof_images_total) print('Number of successfully aligned images: %d' % nrof_successfully_aligned)完整代码地址
感兴趣的同学可以下载完整代码,使用过程中如遇到任何问题可以私信我,我都会一一解答。
- 【代码分享】手把手教你:人脸识别的视频打码(基于opencv的人脸打马赛克)

