OpenHarmony3.1的Ubuntu环境配置
Ubuntu 环境配置
VM安装Ubuntu20.04
略
注意!存储空间大一点,至少60G
安装好后 什么都不要操作 先设置快照(后续步骤错了直接重来)

更换更新源 建议使用 阿里云
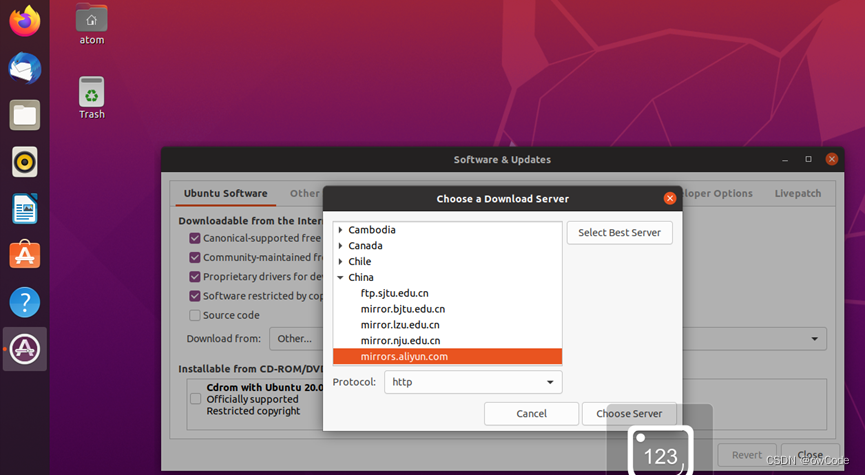
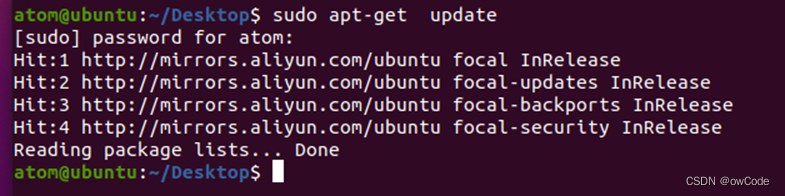
执行以下语句
sudo apt-get update
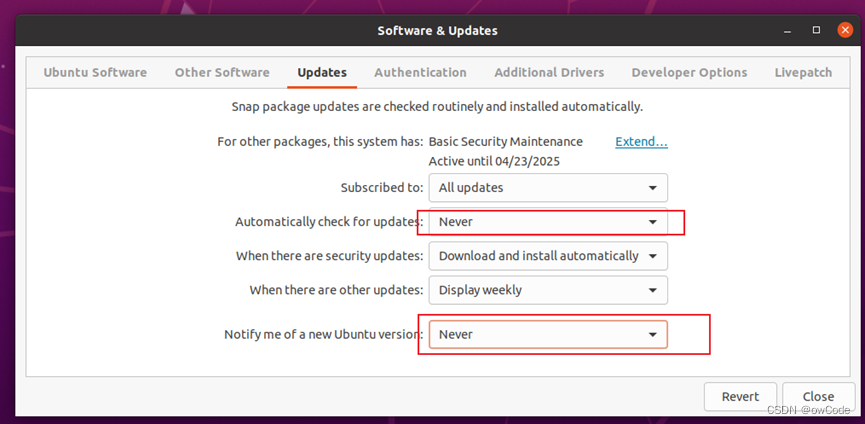
关闭自动更新
更换时间 换成上海时间

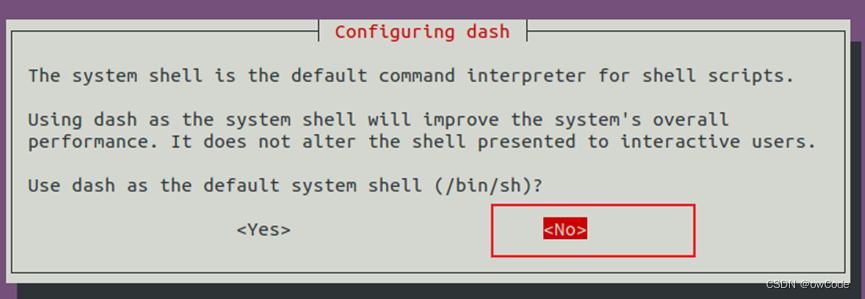
将Ubuntu Shell环境修改为bash
ls -l /bin/shsudo dpkg-reconfigure dash

安装网络工具net-tools 并查看本地ip
sudo apt install net-toolsifconfig
安装 openssh-server 工具
sudo apt install openssh-server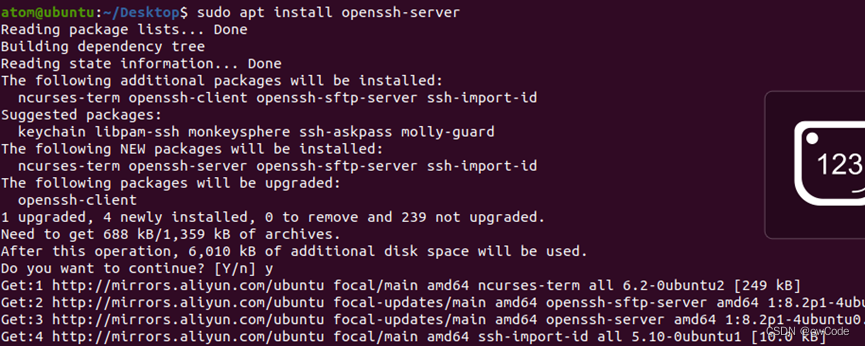
安装vim 工具
sudo apt install vim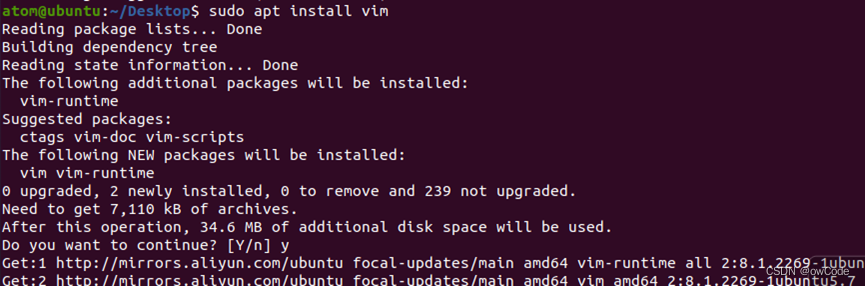
安装samba 工具 并配置
sudo apt install samba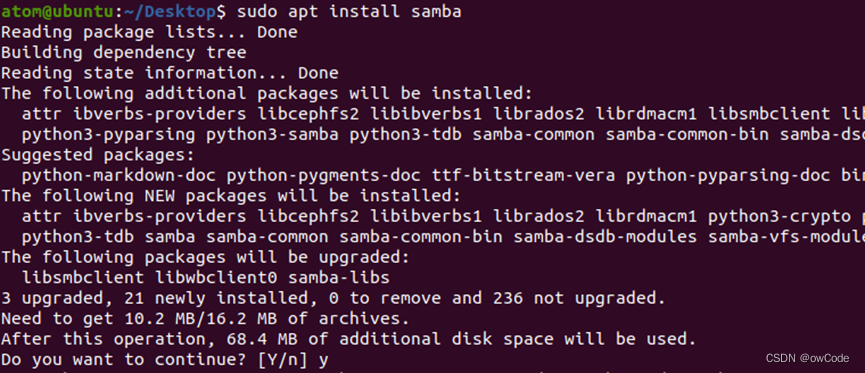
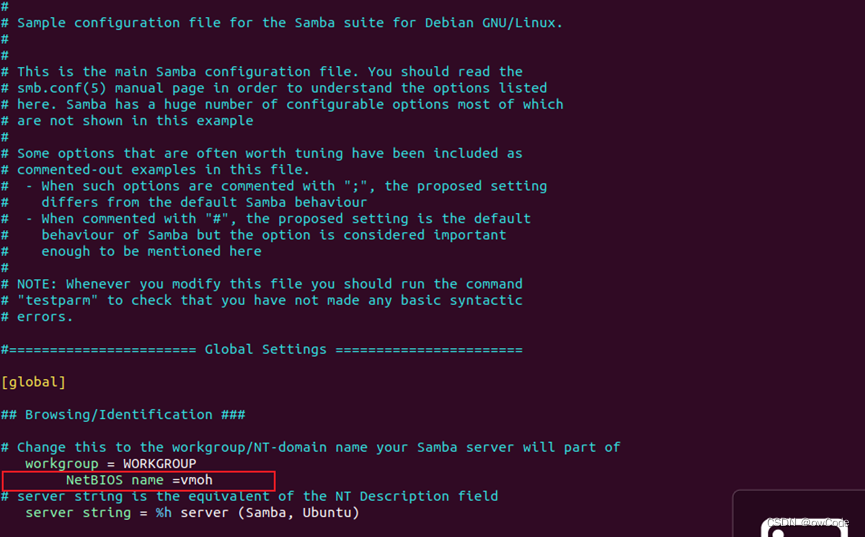
sudo vim /etc/samba/smb.conf如图在smb.conf添加
NetBIOS name =vmoh 这里的name值可以自定义,记住你的选择,后面测试要用
如图在smb.conf末尾添加
[atom] path=/home/atom guest ok =yes read only=no
atom是我的用户名,根据需要自己改
重启服务
service smbd restart service nmbd restart
在Windows测试是否配置好 ,成功如图

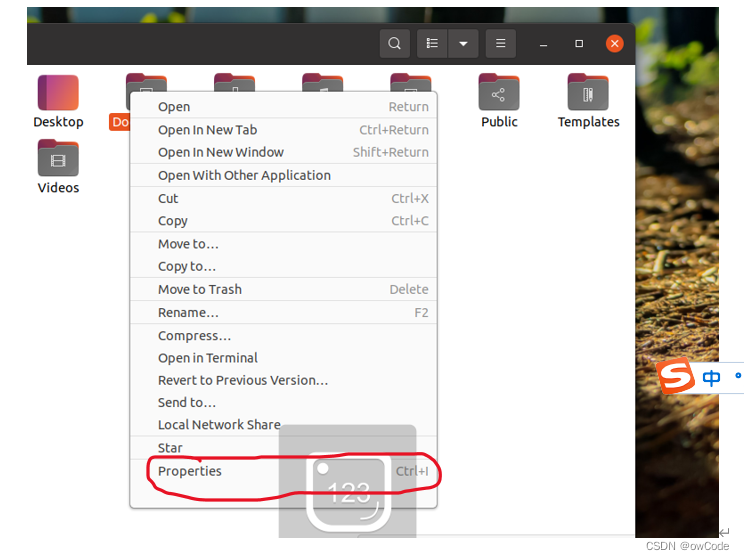
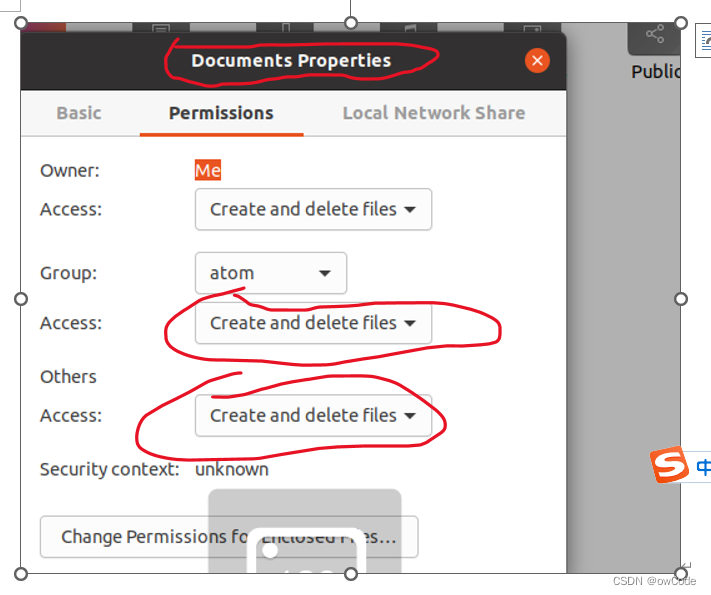
学会修改Ubuntu文件夹和文件权限
使用smaba 工具从 windows 访问 ubuntu上 的文件时,权限如果不够是不能进行操作的。所以后面的操作中,从 windows 访问 ubuntu上 的文件时如果出现异常首先要想到可能是权限问题。
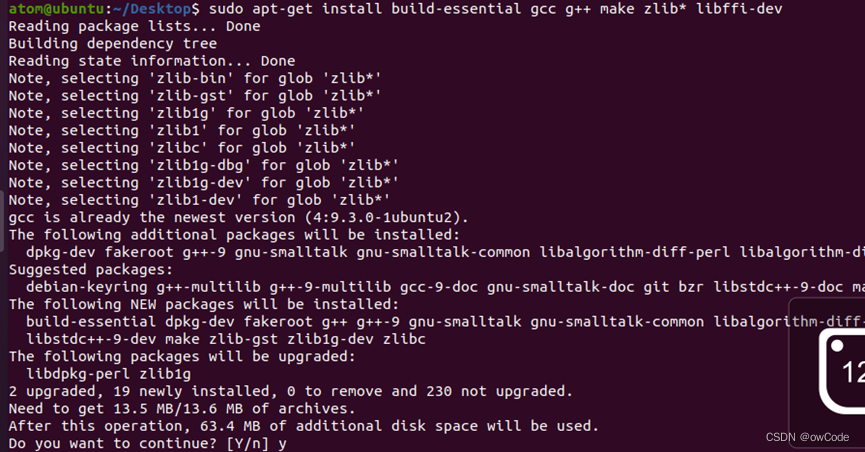
使用如下apt-get命令安装编译所需的必要的库和工具
sudo apt-get install gccsudo apt-get install build-essential gcc g++ make zlib* libffi-dev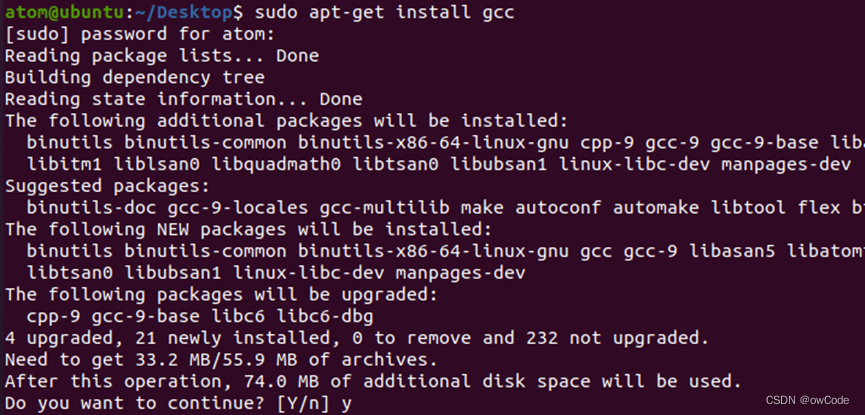
安装Scons
sudo apt install python3-pippython3 -m pip install scons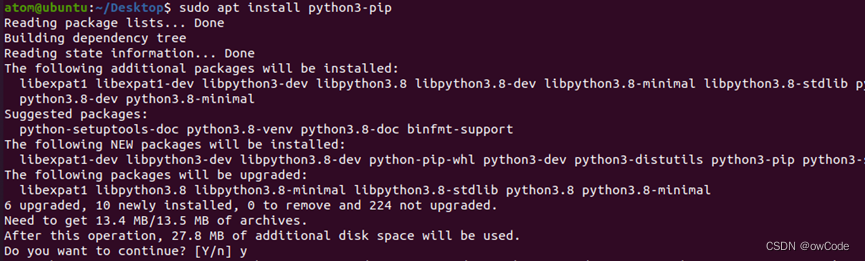

版本要求3.0.4以上(图中4.3.0)
安装GUI menuconfig工具(Kconfiglib)
sudo pip3 install kconfiglib
版本Kconfiglib 13.2.0 以上(图中14.1.0)
安装升级文件签名依赖的Python组件包,包括:pycryptodome、six、ecdsa。安装ecdsa依赖six,请先安装six,再安装ecdsa
sudo pip3 install pycryptodomesudo pip3 install six --upgrade --ignore-installed sixsudo pip3 install ecdsa


安装gcc_riscv32(WLAN模组类编译工具链)
复制到Ubuntu自带的火狐浏览器
https://gitee.com/link?target=https%3A%2F%2Frepo.huaweicloud.com%2Fharmonyos%2Fcompiler%2Fgcc_riscv32%2F7.3.0%2Flinux%2Fgcc_riscv32-linux-7.3.0.tar.gz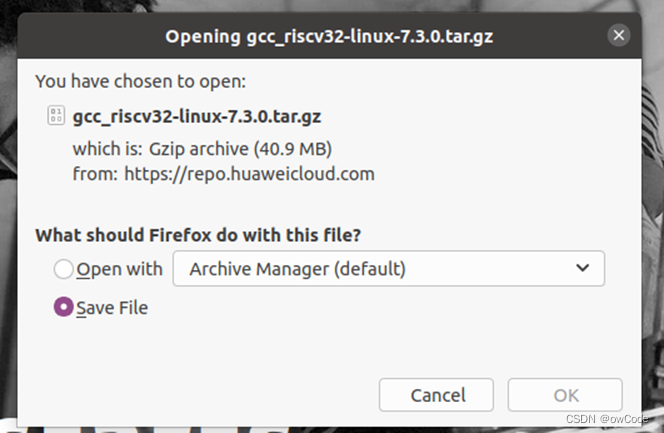
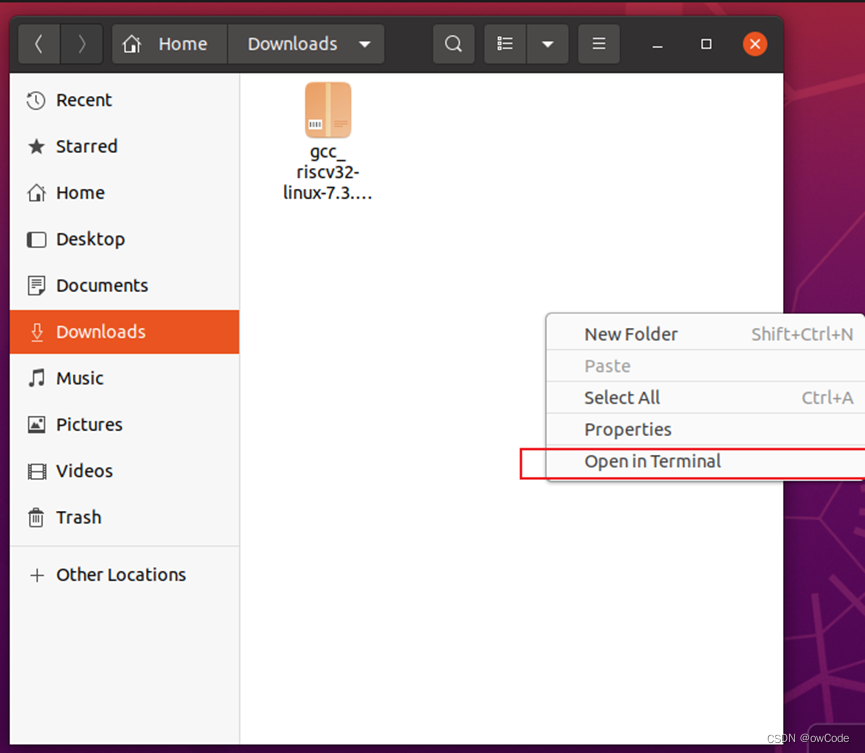
在下载目录 打开控制台(鼠标右击)
解压到根目录
tar -xvf gcc_riscv32-linux-7.3.0.tar.gz -C ~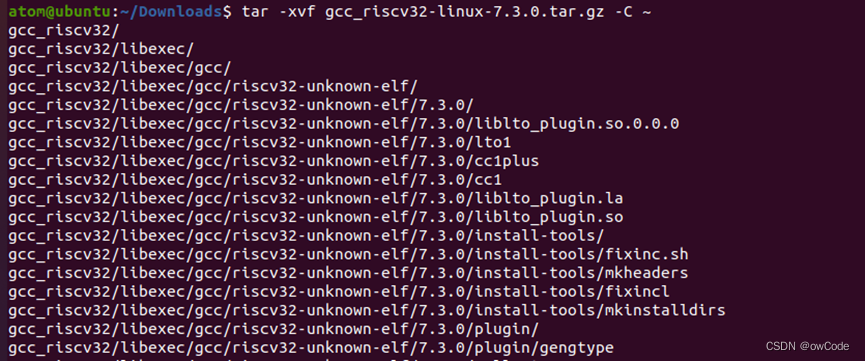
修改 .bashrc
vim ~/.bashrc在.bashrc 末尾添加
export PATH=~/gcc_riscv32/bin:$PATH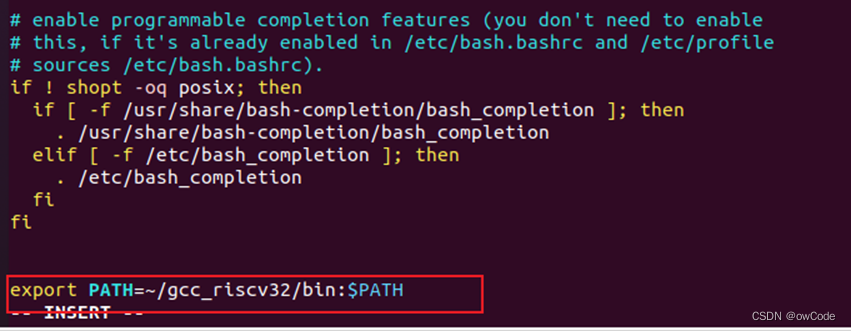
更新一下
source ~/.bashrc
检验一下
riscv32-unknown-elf-gcc -v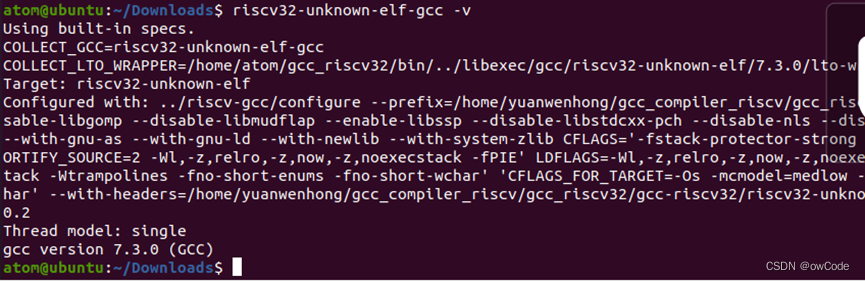
openharmony3.1的源码下载及解压
在Ubuntu的火狐浏览器下载
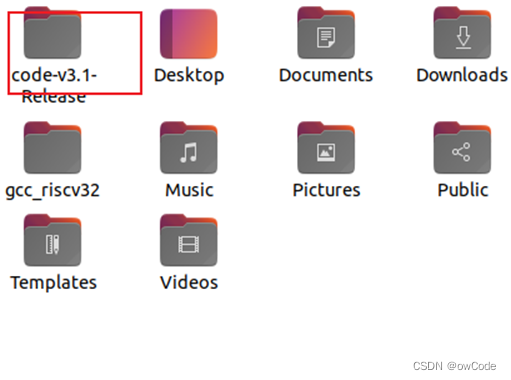
https://gitee.com/link?target=https%3A%2F%2Frepo.huaweicloud.com%2Fharmonyos%2Fos%2F3.1-Release%2Fcode-v3.1-Release.tar.gz解压到根目录(时间有点长,我就不放图了)
tar -zxvf code-v3.1-Release.tar.gz -C ~解压成功
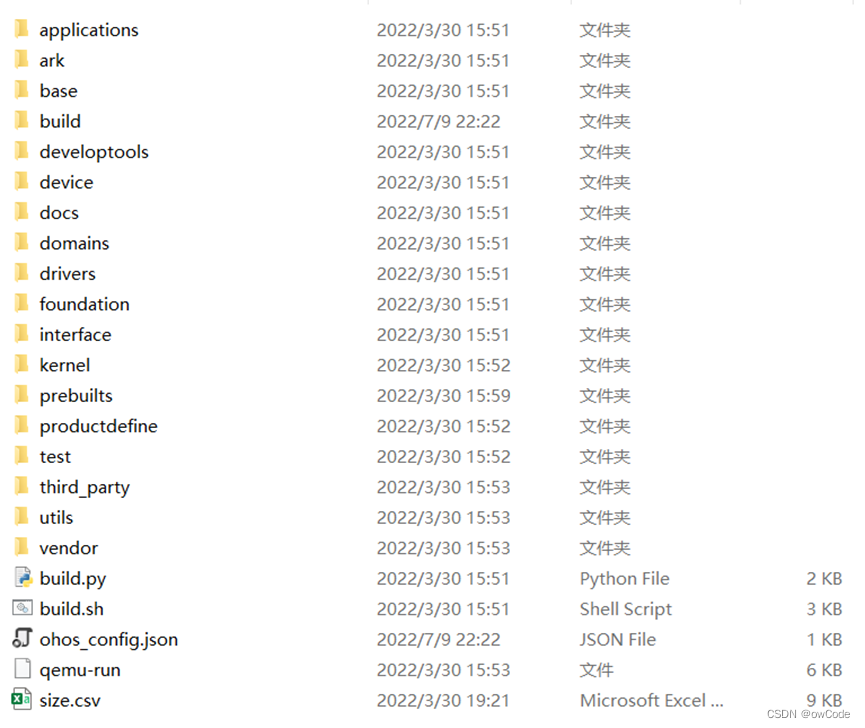
解压后 源码根目录的文件夹和内部情况

在源码根目录下载运行如下命令安装hb
python3 -m pip install build/lite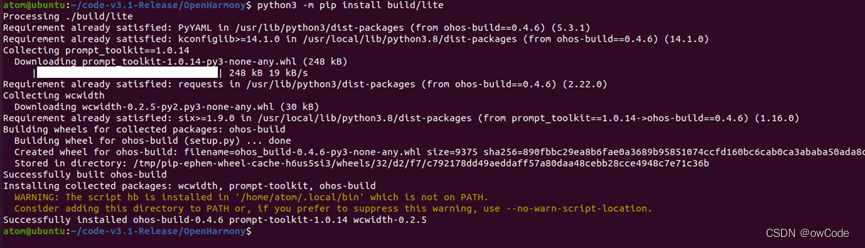
vim ~/.bashrc在.bashrc末尾添加
export PATH=~/.local/bin:$PATH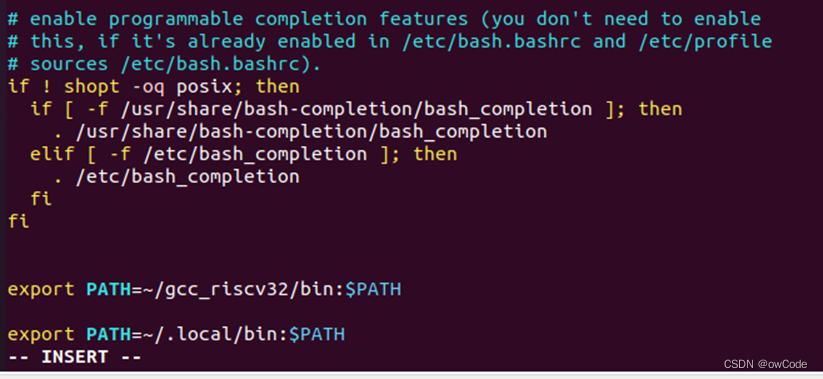
更新
source ~/.bashrc
检验成功如图
hb -h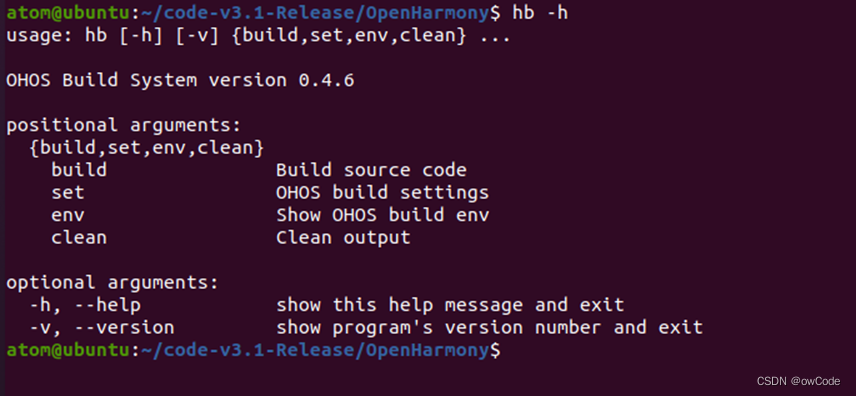
编译源码
选择开发板
hb set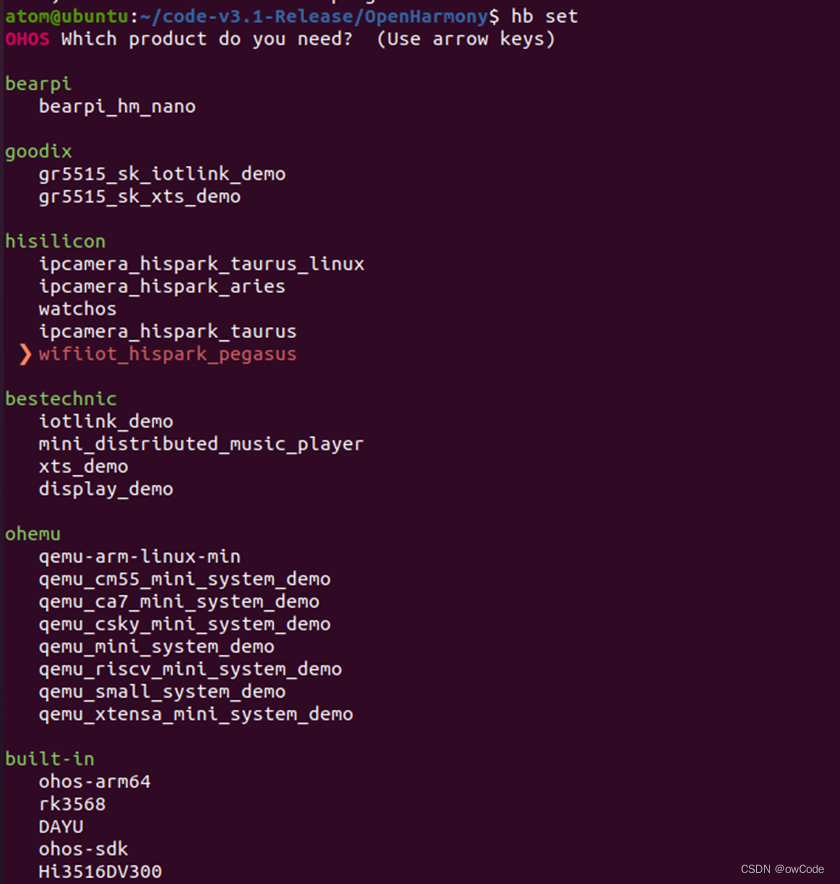
hb build -f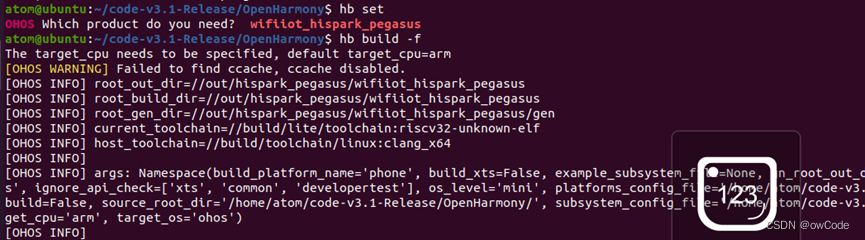
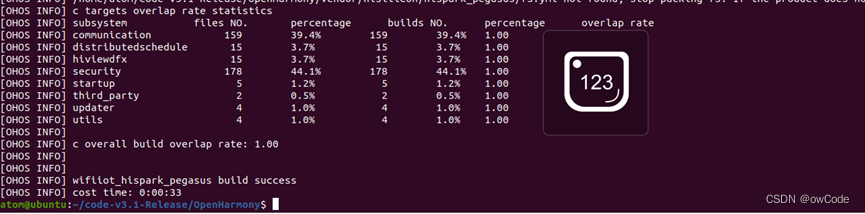
编译成功 源码根目录 下会出现一个 out 文件夹


