鸿蒙Hi3861学习三-第一个实例程序Hello_world
一、简介
前两章介绍了环境搭建、烧录和编译。这一节,来介绍实现第一个经典代码“hello world”。
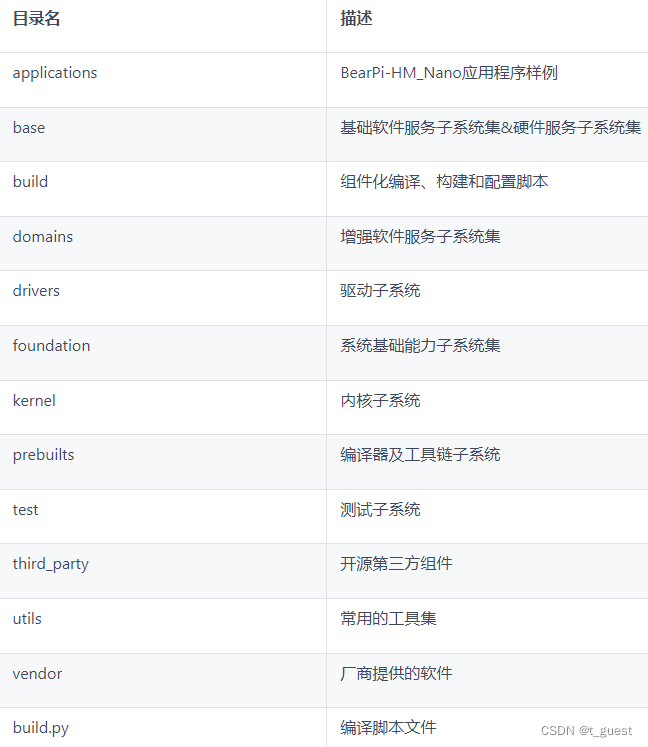
先介绍小熊派的目录结构,该目录结构延续了OpenHarmony官方目录结构。
二、实操
1.搭建代码架构
1).新建项目文件夹hello_world
cd bearpi-hm_nano/applications/BearPi/BearPi-HM_Nano/sample/mkdir hello_world创建hello_world目录,用来存放业务源码文件。
2).新增hello_world.c文件
cd hello_worldtouch hello_world.c创建hello_world.c文件,该文件为业务源码文件。
3).新增BUILD.gn文件
touch BUILD.gn创建BUILD.gn文件,该文件为业务源码编译脚本。
4).最终代码架构展示
.└── applications └── BearPi └── BearPi-HM_Nano └── sample │── hello_world │ │── hello_world.c │ └── BUILD.gn └── BUILD.gn2.代码编写
1).编写业务代码
在hello_world.c文件中增加如下代码:
#include #include "ohos_init.h"void Hello_World(void){ printf("this is a test demo \r\n Hello World!\r\n");}APP_FEATURE_INIT(Hello_World);APP_FEATURE_INIT是OpenHarmony启动恢复模块接口,该接口用来启动业务。也可以使用SYS_RUN来实现,效果是一样的。(APP_FEATURE_INIT和SYS_RUN定义都在ohos_init.h)文件中。
2).编写用于将业务构建成静态库的BUILD.hn文件
在hello_world文件夹的BUILD.gn文件中添加如下代码:
static_library("hello_world"){ sources = [ "hello_world.c" ] include_dirs = [ "//utild/native/lite/include" ]}该文件由三部分内容构成,目标、源文件、头文件路径。
static_library:该文件中指定业务模块的编译结果,为静态库文件libhello_world.a。
sources:该文件中指定静态库.a所依赖的.c文件及路径,若路径中包含“//”则表示绝对路径(代码的根路径,即bearpi-hm_nano文件夹)。若不包含“//”则表示相对路径。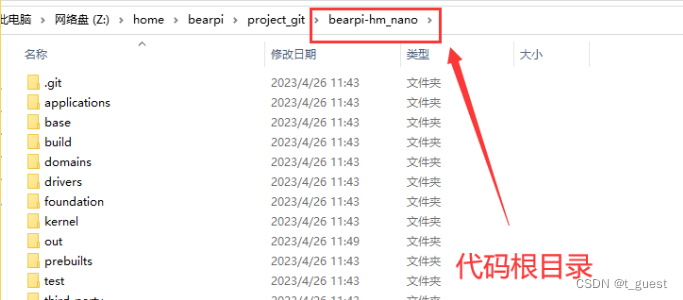
incllude_dirs:该文件中指定source所依赖的.h文件路径。

3).编写模块BUILD.gn文件,指定需要参与构建的特性模块
配置sample文件夹中的BUILD.gn文件。在features字段中增加索引"hello_world:hello_world",使目标模块参与编译。
注意屏蔽其他模块。
#"Zx_Developer:zx_develop_sample" ##不参与构建,为开发者贡献演示结构,其中Zx为 Z1,Z2...Z100 #"Z1_hi3861_uart_ylc:uart_hi3861", #"Z2_hi3861_flash_ylc:flash_example", "hello_world:hello_world"hello_world(前):是相对路径,指向./applications/BearPi/BearPi-HM_Nano/sample/hello_world/BUILD.gn
hello_world(后):指向 ./applications/BearPi/BearPi-HM_Nano/sample/hello_world/BUILD.gn 中的static_library("hello_world")。
2.编译
在项目根目录下,运行编译代码:
python build.py BearPi-HM_Nano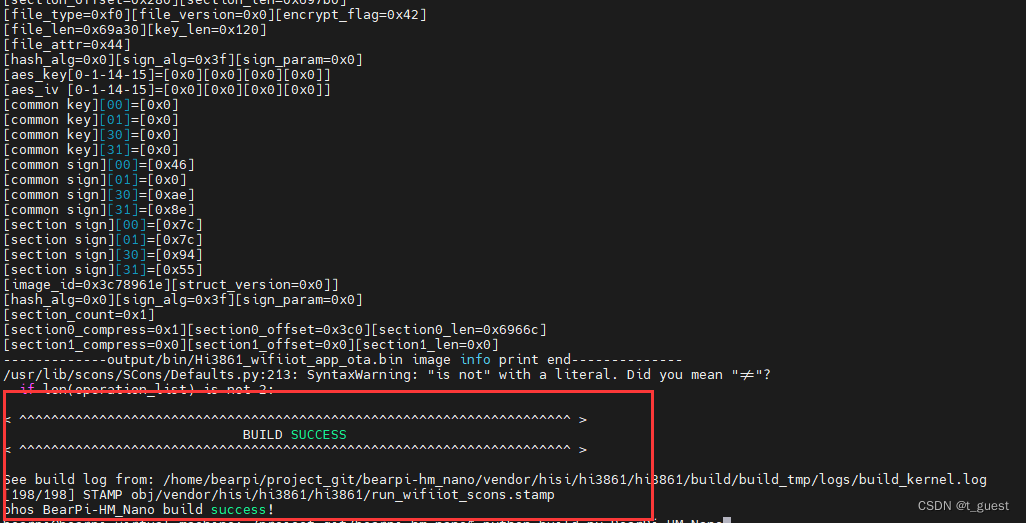
编译成功。
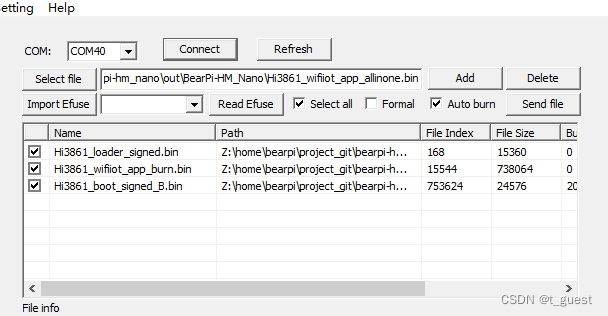
3.烧录
4.复位开发板并查看LOG输出
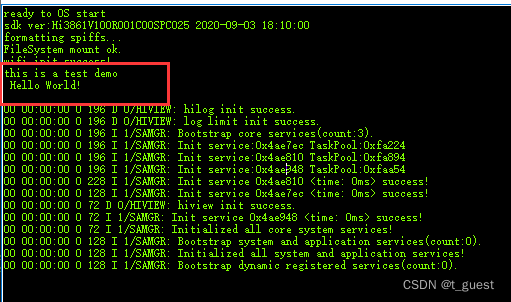
完成!!!

