JS拖拽的n种例子
一、第一种
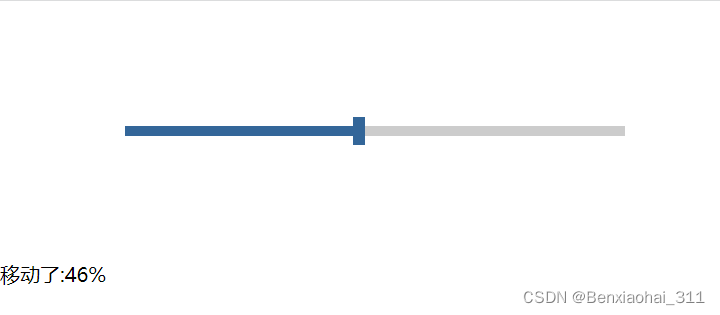
<a href="https://www.csdndoc.com/tag/%e6%8b%96%e5%8a%a8" title="View all posts in 拖动" target="_blank" style="color:#0ec3f3;font-size: 18px;font-weight: 600;">拖动</a>的水平条 *{margin: 0;padding: 0;}.scroll{width: 400px;height: 8px;background-color: #ccc;margin: 100px;position: relative;}.bar{width: 10px;height: 22px;background-color: #369;position: absolute;top: -7px;left: 0;cursor: pointer;}.mask{width: 0;height: 100%;background-color: #336699;/*position: absolute;top: 0;left: 0;*/}// 获取元素var scrollBar = document.getElementById("scrollBar");var bar = scrollBar.children[0];var mask = scrollBar.children[1];var demo = document.getElementById("demo");// 拖动原理bar.onmousedown = function(event){var event = event || window.event;var leftVal = event.clientX - this.offsetLeft;// 拖动放到down的里面var that = this;document.onmousemove = function(event){var event = event || window.event;that.style.left = event.clientX - leftVal + "px";// 限制条件var val = parseInt(that.style.left);if(val 390){that.style.left = "390px";}// 移动的距离为遮罩的宽度mask.style.width = that.style.left;// 显示百分比demo.innerHTML = "移动了:"+ parseInt(parseInt(that.style.left) / 390 * 100) + "%";// 清除拖动 --- 防止鼠标已经弹起时还在拖动window.getSelection ? window.getSelection().removeAllRanges():document.selection.empty();}// 鼠标抬起停止拖动document.onmouseup = function(){document.onmousemove = null;}}摘自文章:js实现拖动的水平条_敲出真谛的博客-CSDN博客_js 拖动条
二、第二种
和我这篇文章相类似,不过这个有所限制,在上下拖动中,上面的内容不能做到完全覆盖
可以参考我的这篇文章:已解决上面问题
https://mp.csdn.net/mp_blog/creation/editor/123754745
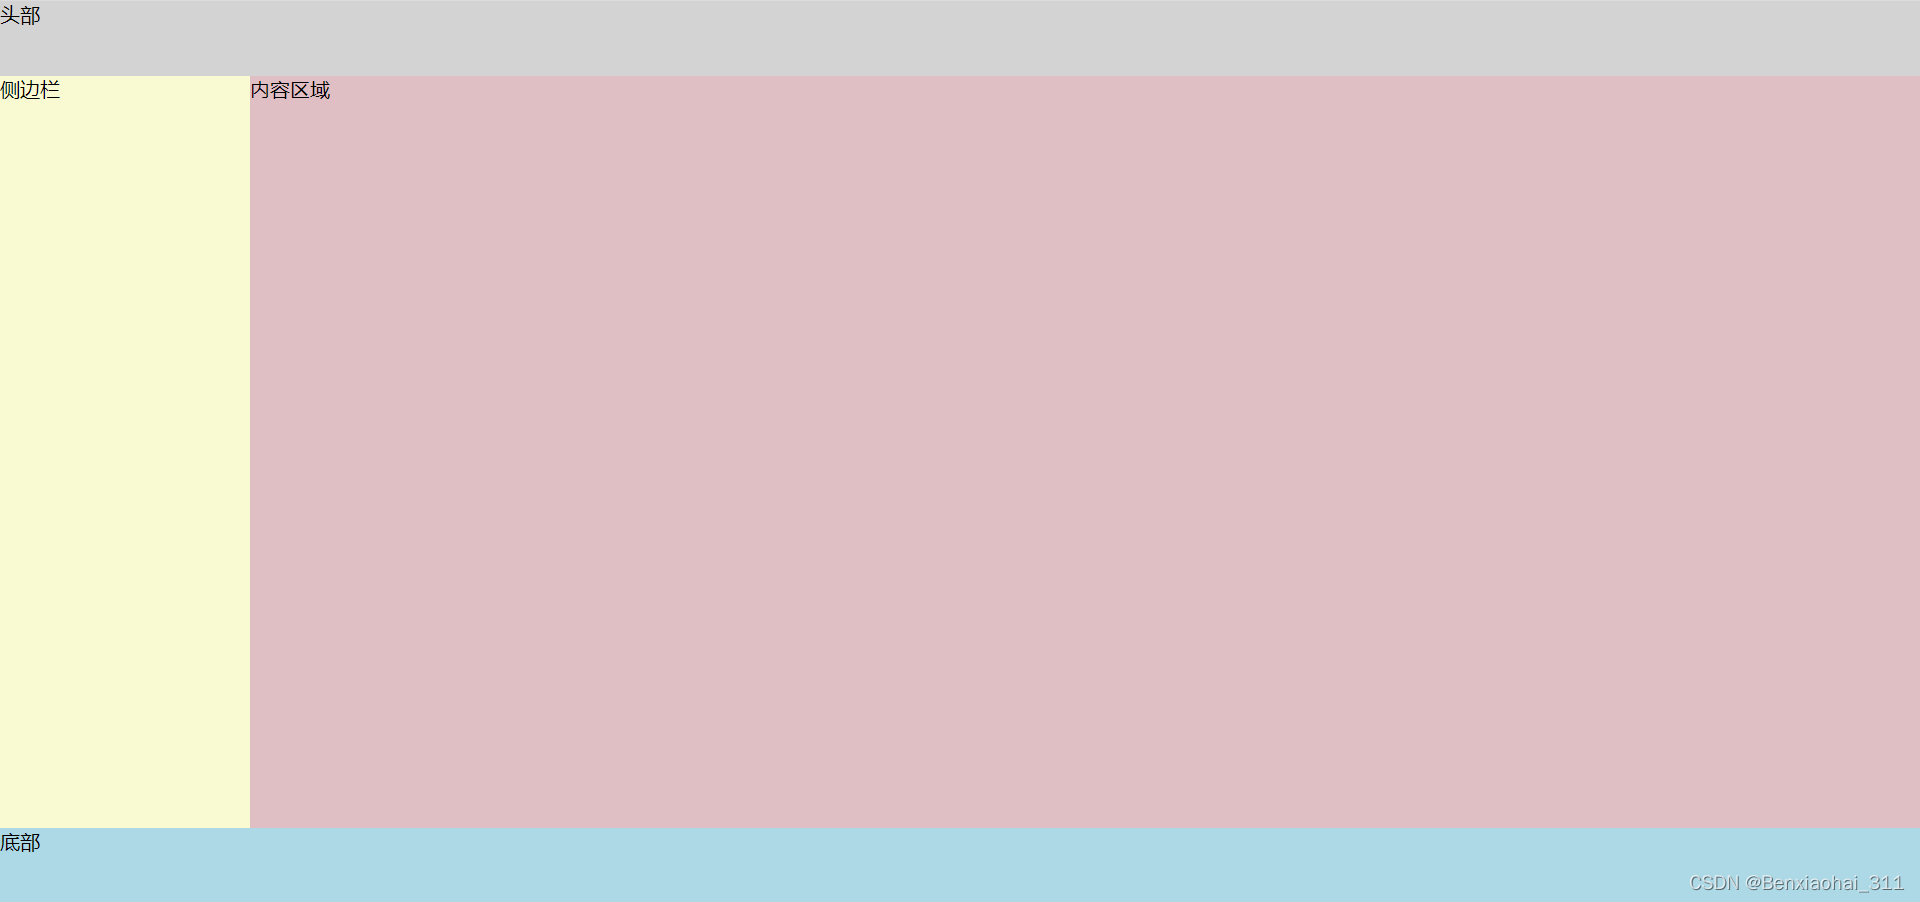
resize *, *:before, *:after { padding: 0; margin: 0; box-sizing: border-box; } body { display: flex; flex-direction: column; align-items: stretch; width: 100vw; height: 100vh; overflow: hidden; } header, footer { flex: none; width: 100%; height: 60px; background: lightgrey; } footer { position: relative; background: lightblue; } .main { flex: auto; display: flex; align-items: stretch; } .sidebar { flex: none; width: 200px; background: lightgoldenrodyellow; } .container { position: relative; flex: auto; background: #e0bfc4; } .resize { position: absolute; z-index: 100; touch-action: none; } .resize.horizontal { top: 0; bottom: 0; left: 0; width: 4px; cursor: e-resize; } .resize.vertical { left: 0; right: 0; top: 0; height: 4px; cursor: n-resize; } 头部 侧边栏 内容区域 function mousedown(flag) { document.onmousemove = function () { // console.log("flag",event,flag) if (flag === "horizontal") { if (event.x 800) return var sidebar = document.querySelector(".sidebar") sidebar.style.width = event.x + "px" } else if (flag === "vertical") { if (event.y 877) return var foot = document.querySelector("footer") var top = Number(foot.getBoundingClientRect().top) var height = Number(foot.getBoundingClientRect().height) foot.style.height = height + top - event.y + "px" } } } document.onmouseup = function () { document.onmousemove = null } 摘自文章:index.html · wg18/resize_layout - Gitee.com
三、第三种
上面提到的我写的文章所引用的左右拖拽的方法的原文章
摘自文章:js实现可拖动的布局 - 枫叶布 - 博客园
Document body { font: 14px/1.5 Arial; color: #666; } #box { position: relative; width: 600px; height: 400px; border: 2px solid #000; margin: 10px auto; overflow: hidden; display: flex; } #left { height: 100%; flex: 1; overflow: hidden; } #right { width: 300px; overflow: hidden; } #line { width: 8px; background: lightblue; cursor: col-resize; } #line a { cursor: pointer; text-align: center; } function $(id) { return document.getElementById(id) } window.onload = function () { var oBox = $("box"), oLeft = $("left"), oRight = $("right"), oLine = $("line"), oLine1 = $("line1"); var flag = true; var wid = 0; oLine.onmousedown = function (e) { var disX = (e || event).clientX; var owidth = oBox.clientWidth - oLine.offsetLeft; document.onmousemove = function (e) { var iT = owidth - ((e || event).clientX - disX); var e = e || window.event; var maxT = oBox.clientWidth - oLine.offsetWidth; oLine.style.margin = 0; iT maxT && (iT = maxT); wid = iT; oRight.style.width = iT + "px"; return false }; document.onmouseup = function () { document.onmousemove = null; document.onmouseup = null; oLine.releaseCapture && oLine.releaseCapture() }; oLine.setCapture && oLine.setCapture(); return false }; oLine1.onclick = function () { if (flag) { oRight.style.width = 30 + "px"; flag = false; } else { if (wid && wid > 30) {oRight.style.width = wid + "px"; } else {oRight.style.width = 300 + "px"; } flag = true; } } }; 四、第四种
前面提到的我的文章使用到的上下拖拽方法
摘自文章:JS实现层上下部分可拖动,仿Windows垂直调整代码_chuzhenbin的博客-CSDN博客
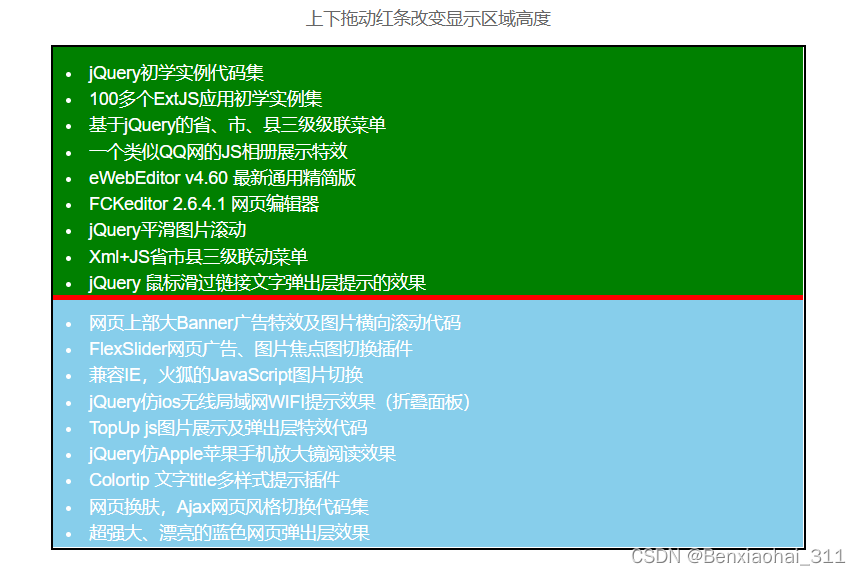
仿Windows垂直调整 ul, li { margin: 0; padding: 0; } body { font: 14px/1.5 Arial; color: #666; } #box { position: relative; width: 600px; height: 400px; border: 2px solid #000; margin: 10px auto; overflow: hidden; } #box ul { list-style-position: inside; margin: 10px; } #box div { position: absolute; width: 100%; } #top, #bottom { color: #FFF; height: 100%; overflow: hidden; } #top { background: green; } #bottom { background: skyblue; top: 50% } #line { top: 50%; height: 4px; overflow: hidden; margin-top: -2px; background: red; cursor: n-resize; } function $(id) { return document.getElementById(id) } window.onload = function () { var oBox = $("box"), oBottom = $("bottom"), oLine = $("line"); oLine.onmousedown = function (e) { var disY = (e || event).clientY; oLine.top = oLine.offsetTop; document.onmousemove = function (e) { var iT = oLine.top + ((e || event).clientY - disY); var maxT = oBox.clientHeight - oLine.offsetHeight; oLine.style.margin = 0; iT maxT && (iT = maxT); oLine.style.top = oBottom.style.top = iT + "px"; return false }; document.onmouseup = function () { document.onmousemove = null; document.onmouseup = null; oLine.releaseCapture && oLine.releaseCapture() }; oLine.setCapture && oLine.setCapture(); return false }; }; 上下拖动红条改变显示区域高度 - jQuery初学实例代码集
- 100多个ExtJS应用初学实例集
- 基于jQuery的省、市、县三级级联菜单
- 一个类似QQ网的JS相册展示特效
- eWebEditor v4.60 最新通用精简版
- FCKeditor 2.6.4.1 网页编辑器
- jQuery平滑图片滚动
- Xml+JS省市县三级联动菜单
- jQuery 鼠标滑过链接文字弹出层提示的效果
- JS可控制的图片左右滚动特效(走马灯)
- 网页上部大Banner广告特效及图片横向滚动代码
- FlexSlider网页广告、图片焦点图切换插件
- 兼容IE,火狐的JavaScript图片切换
- jQuery仿ios无线局域网WIFI提示效果(折叠面板)
- TopUp js图片展示及弹出层特效代码
- jQuery仿Apple苹果手机放大镜阅读效果
- Colortip 文字title多样式提示插件
- 网页换肤,Ajax网页风格切换代码集
- 超强大、漂亮的蓝色网页弹出层效果
- jQuery 图像预览功能的代码实现
五、第五种
这个例子需要两个JS文件
jquery-ui.min.js -------- 去这里下载 ---------> jQuery UI
jquery-2.1.0.min.js ---- 随便什么版本摘自文章:对话框,类似于QQ对话框 中间div为工具条拖动上下div框自动适应 - 博客 - 编程圈
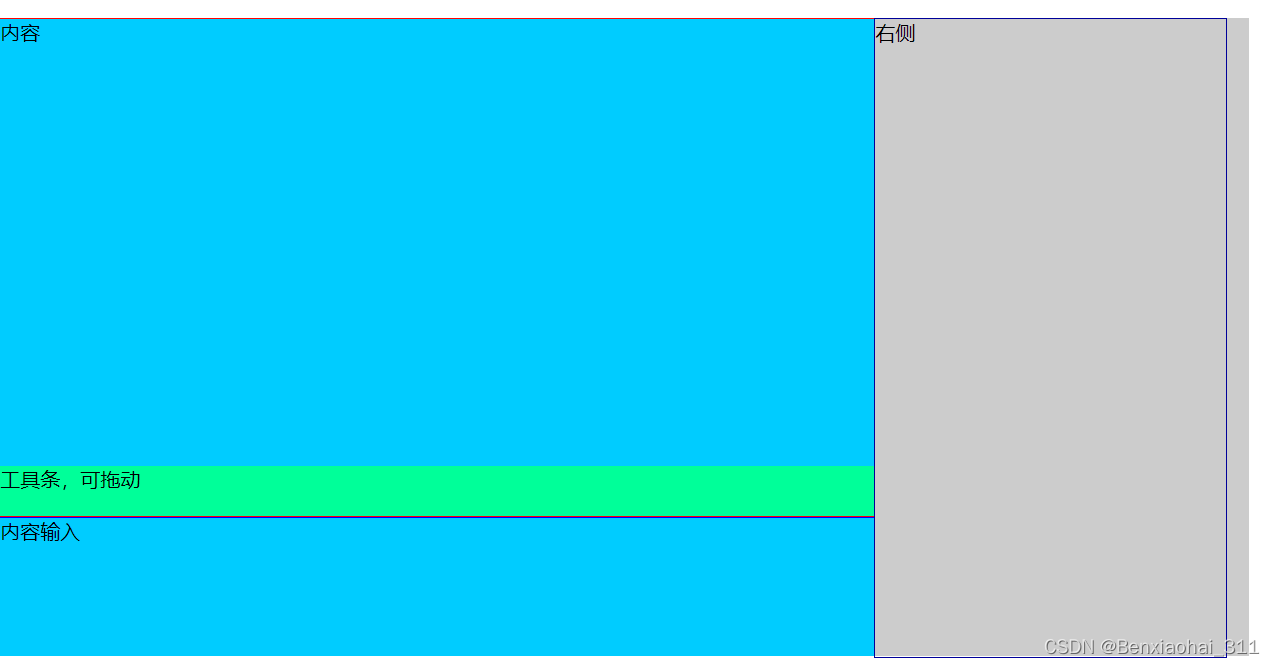
无标题文档 $(function () { var inner; var top, bottom; $('.menubar').draggable({ axis: 'y', containment: '.left', start: function () { inner = parseInt($('.container').height()) $('.menubar').css({ 'top': 'auto', 'bottom': 'opx' }); }, drag: function (e, ui) { top = (ui.position.top / inner) * 100; bottom = 100 - top; $('.top').height(top + '%'); $('.bottom').height(bottom + '%'); //$('.middle').css('bottom',bottom+'%'); }, stop: function () { $('.menubar').css({ 'top': 'auto', 'bottom': 'opx' }); } }); $('.container').resizable({}); }); body, div { margin: 0; padding: 0 } .container { margin: 0 auto; width: 1000px; position: absolute; height: 510px; background-color: #CCC; top: 100px; } .left { width: 700px; height: 100%; float: left; background-color: #0CF; overflow: hidden; position: relative } .left .top { height: 70%; width: 100%; border: 1px solid #F00; overflow-x: hidden; overflow-y: auto; padding-bottom: 40px; position: relative } .left .content { height: 100% } .left .menubar { height: 40px; position: absolute; background-color: #0F9; bottom: 0; width: 100% } .left .bottom { height: 30%; width: 100%; border: 1px solid #00F; overflow-x: hidden; overflow-y: auto; } .right { width: 280px; float: left; height: 100%; border: 1px solid #009 } 内容 内容输入 右侧 六、第六种
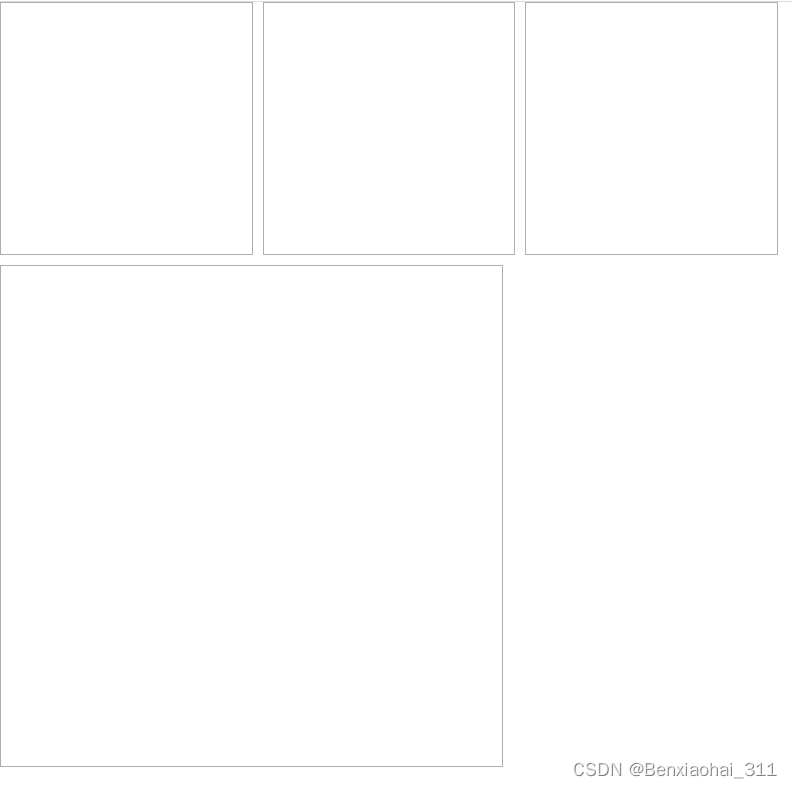
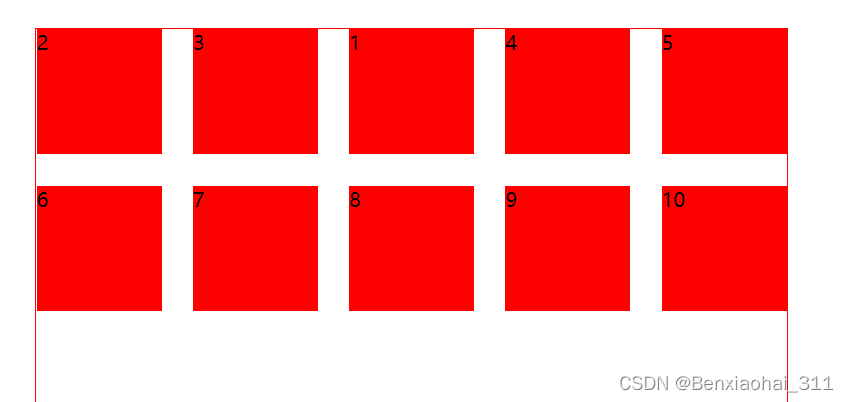
这个例子中的正方形四条边都可以进行拖拽
摘自文章:原生js实现div的拖拽与拉伸 - 轻染 - 博客园
js实现拖拽和拉伸 #test{position:absolute;left:0;top:210PX;width:400px;height:400px;border:1px solid #adadad;}.test{position:absolute;top:0px;width:200px;height:200px;border:1px solid #adadad;}.A{left: 0px;}.B{left: 210px;}.C{left: 420px;}let arr = document.getElementsByClassName('test');for(var i = 0; i {var mouseDownX = e.clientX; // x轴坐标var mouseDownY = e.clientY; // y轴坐标var clickBoxLeft = test.offsetLeft; // 该元素离left的距离var clickBoxTop = test.offsetTop; // 该元素离top的距离var clickBoxWeight = test.offsetWidth; // 该元素的widthvar clickBoxHeight = test.offsetHeight; // 该元素的heightvar direction = 0;if(mouseDownX clickBoxLeft + clickBoxWeight - 30) {direction = 'right';}if(mouseDownY < clickBoxTop + 30) {direction = 'top';} else if(direction < clickBoxTop + clickBoxHeight - 30) {direction = 'bottom';}if((clickBoxLeft + clickBoxWeight - 30) < mouseDownX && mouseDownX < (clickBoxLeft + clickBoxWeight) && (clickBoxTop + clickBoxHeight - 30) < mouseDownY && mouseDownY < (clickBoxTop + clickBoxHeight)) {direction = 'rightBottomCorner';} else if((clickBoxLeft + 30) < mouseDownX && mouseDownX < (clickBoxLeft + clickBoxWeight - 30) && (clickBoxTop + 30) < mouseDownY && mouseDownY {var mouseDownX = e.clientX;var mouseDownY = e.clientY;var clickBoxLeft = clickBox.offsetLeft;var clickBoxTop = clickBox.offsetTop;var clickBoxWeight = clickBox.offsetWidth;var clickBoxHeight = clickBox.offsetHeight;var direction = 0;if(mouseDownX clickBoxLeft + clickBoxWeight - 30) {direction = 'right';}if(mouseDownY < clickBoxTop + 30) {direction = 'top';} else if(direction < clickBoxTop + clickBoxHeight - 30) {direction = 'bottom';}if((clickBoxLeft + clickBoxWeight - 30) < mouseDownX && mouseDownX < (clickBoxLeft + clickBoxWeight) && (clickBoxTop + clickBoxHeight - 30) < mouseDownY && mouseDownY < (clickBoxTop + clickBoxHeight)) {direction = 'rightBottomCorner';} else if((clickBoxLeft + 30) < mouseDownX && mouseDownX < (clickBoxLeft + clickBoxWeight - 30) && (clickBoxTop + 30) < mouseDownY && mouseDownY < (clickBoxTop + clickBoxHeight - 30)) { //如果是在中间位置,则实现拖动功能direction = "drag";}/ *desc:当鼠标开始华东的时候,根据鼠标的移动方向去调整他的X,Y坐标和长宽 */document.onmousemove = function(e) {e = e || event; //是要是使用原生js给我们提供的e回调参数,这存储了很多有用的信息var xx = e.clientX;var yy = e.clientY;if(direction === 'left') {clickBox.style.width = clickBoxWeight + mouseDownX - xx + 'px'clickBox.style.left = xx + 'px';} else if(direction === 'right') {clickBox.style.width = clickBoxWeight + xx - mouseDownX + 'px'}if(direction === 'top') {clickBox.style.height = clickBoxHeight + mouseDownY - yy + 'px';clickBox.style.top = yy + 'px';} else if(direction === 'bottom') {clickBox.style.height = clickBoxHeight + yy - mouseDownY + 'px';}if(direction === 'rightBottomCorner') {clickBox.style.width = clickBoxWeight + xx - mouseDownX + 'px'clickBox.style.left = clickBoxLeft + 'px';clickBox.style.height = clickBoxHeight + yy - mouseDownY + 'px';clickBox.style.top = clickBoxTop + 'px';} else if(direction === "drag") {clickBox.style.left = xx - mouseDownX + clickBoxLeft + 'px';clickBox.style.top = yy - mouseDownY + clickBoxTop + 'px';}//return false; //这里为了避免抖动};document.onmouseup = function() {document.onmousemove = null;document.onmouseup = null;};if(e.preventDefault) {e.preventDefault();}};// /// *desc:在拉伸的过程中,实现居中状态长存,有时间将其做成一个插件公布出来,供大家使用// */七、第七种
摘自文章:不好意思,我之前忘记存地址了
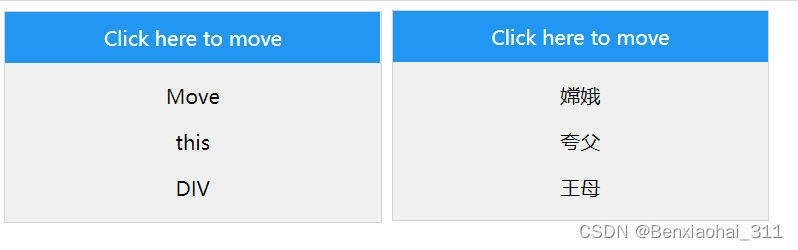
JS拖拽和拉伸 .popup {z-index: 9;background-color: #f1f1f1;border: 1px solid #d3d3d3;text-align: center;min-height: 150px;min-width: 300px;max-height: 300px;max-width: 600px;}/*Drgable */.popup {position: absolute;/*resize: both; !*enable this to css resize*! */overflow: auto;}.popup-header {padding: 10px;cursor: move;z-index: 10;background-color: #2196f3;color: #fff;}/*Resizeable*/.popup .resizer-right {width: 5px;height: 100%;background: transparent;position: absolute;right: 0;bottom: 0;cursor: e-resize;}.popup .resizer-bottom {width: 100%;height: 5px;background: transparent;position: absolute;right: 0;bottom: 0;cursor: n-resize;}.popup .resizer-both {width: 5px;height: 5px;background: transparent;z-index: 10;position: absolute;right: 0;bottom: 0;cursor: nw-resize;}/*NOSELECT*/.popup * {-webkit-touch-callout: none;/* iOS Safari */-webkit-user-select: none;/* Safari */-khtml-user-select: none;/* Konqueror HTML */-moz-user-select: none;/* Firefox */-ms-user-select: none;/* Internet Explorer/Edge */user-select: none;/* Non-prefixed version, currently supported by Chrome and Opera */}Click here to moveMove
this
DIV
Click here to move嫦娥
夸父
王母
window.onload = function() {initDragElement();initResizeElement();};function initDragElement() {var pos1 = 0,pos2 = 0,pos3 = 0,pos4 = 0;var popups = document.getElementsByClassName("popup");var elmnt = null;var currentZIndex = 100; //TODO reset z index when a threshold is passedfor(var i = 0; i < popups.length; i++) {var popup = popups[i];var header = getHeader(popup);popup.onmousedown = function() {this.style.zIndex = "" + ++currentZIndex;};if(header) {header.parentPopup = popup;header.onmousedown = dragMouseDown;}}function dragMouseDown(e) {elmnt = this.parentPopup;elmnt.style.zIndex = "" + ++currentZIndex;e = e || window.event;// get the mouse cursor position at startup:pos3 = e.clientX;pos4 = e.clientY;document.onmouseup = closeDragElement;// call a function whenever the cursor moves:document.onmousemove = elementDrag;}function elementDrag(e) {if(!elmnt) {return;}e = e || window.event;// calculate the new cursor position:pos1 = pos3 - e.clientX;pos2 = pos4 - e.clientY;pos3 = e.clientX;pos4 = e.clientY;// set the element's new position:elmnt.style.top = elmnt.offsetTop - pos2 + "px";elmnt.style.left = elmnt.offsetLeft - pos1 + "px";}function closeDragElement() {/* stop moving when mouse button is released:*/document.onmouseup = null;document.onmousemove = null;}function getHeader(element) {var headerItems = element.getElementsByClassName("popup-header");if(headerItems.length === 1) {return headerItems[0];}return null;}}function initResizeElement() {var popups = document.getElementsByClassName("popup");var element = null;var startX, startY, startWidth, startHeight;for(var i = 0; i < popups.length; i++) {var p = popups[i];var right = document.createElement("div");right.className = "resizer-right";p.appendChild(right);right.addEventListener("mousedown", initDrag, false);right.parentPopup = p;var bottom = document.createElement("div");bottom.className = "resizer-bottom";p.appendChild(bottom);bottom.addEventListener("mousedown", initDrag, false);bottom.parentPopup = p;var both = document.createElement("div");both.className = "resizer-both";p.appendChild(both);both.addEventListener("mousedown", initDrag, false);both.parentPopup = p;}function initDrag(e) {element = this.parentPopup;startX = e.clientX;startY = e.clientY;startWidth = parseInt(document.defaultView.getComputedStyle(element).width,10);startHeight = parseInt(document.defaultView.getComputedStyle(element).height,10);document.documentElement.addEventListener("mousemove", doDrag, false);document.documentElement.addEventListener("mouseup", stopDrag, false);}function doDrag(e) {element.style.width = startWidth + e.clientX - startX + "px";element.style.height = startHeight + e.clientY - startY + "px";}function stopDrag() {document.documentElement.removeEventListener("mousemove", doDrag, false);document.documentElement.removeEventListener("mouseup", stopDrag, false);}}八、第八种
摘自文章:不好意思,忘记存地址了
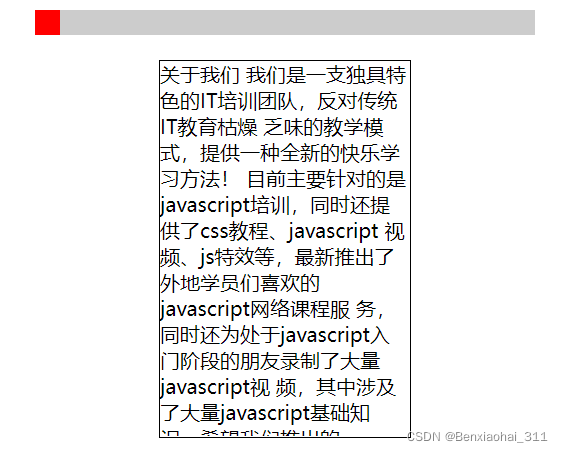
原生JS实现拖拽进度条显示相应的内容 #parent { width: 400px; height: 20px; background: #CCC; position: relative; margin: 20px auto; } #div1 { width: 20px; height: 20px; background: red; cursor: pointer; position: absolute; } #div2 { width: 200px; height: 300px; margin: 0 auto; border: 1px solid black; position: relative; overflow: hidden; } #div3 { position: absolute; } window.onload = function () { var oDiv = document.getElementById('div1'); var oParent = document.getElementById('parent'); var oDiv2 = document.getElementById('div2'); var oDiv3 = document.getElementById('div3'); oDiv.onmousedown = function (ev) { var oEvent = ev || event; //计算鼠标相对滑块上的位置 var disX = oEvent.clientX - oDiv.offsetLeft; document.onmousemove = function (ev) { var oEvent = ev || event; //计算滑块的动态left值 var l = oEvent.clientX - disX; //限制拖拽范围 if (l oParent.offsetWidth - oDiv.offsetWidth) { l = oParent.offsetWidth - oDiv.offsetWidth; } oDiv.style.left = l + 'px'; //计算拖拽移动距离与可拖动总范围的比例 var scale = l / (oParent.offsetWidth - oDiv.offsetWidth); //让Div3跟随鼠标的滑动追逐渐滚动内容 oDiv3.style.top = -(oDiv3.offsetHeight - oDiv2.offsetHeight) * scale + 'px'; }; document.onmouseup = function () { document.onmousemove = null; document.onmouseup = null; }; }; }; 关于我们 我们是一支独具特色的IT培训团队,反对传统IT教育枯燥 乏味的教学模式,提供一种全新的快乐学习方法! 目前主要针对的是javascript培训,同时还提供了css教程、javascript 视频、js特效等,最新推出了外地学员们喜欢的javascript网络课程服 务,同时还为处于javascript入门阶段的朋友录制了大量javascript视 频,其中涉及了大量javascript基础知识,希望我们推出的javascript 网络培训课程能带给大家更多惊喜。 关于讲师: 我们的讲师来自中国最具吸引力的IT企业,如淘宝、ShopEx等。 前端开发讲师:Leo WEB 前端开发工程师(5年)、CSS 精品课 程讲师(3年),公司创始人;曾任北京科尔威视、ShopEx 北京营 销中心 ECMall 项目前端架构师;精通 XHTML+CSS 架构,深刻理解 W3C 标准,熟练掌握系统的浏览器兼容性解决方案,擅长大型网站前 端架构及调试各类页面错位等诸多兼容性问题的疑难杂症;专注于网站 用户体验性研究,并在视频、电子商城、教育平台、企业级应用站点拥 有数量庞大的案例和多年实战经验; 九、第九种
摘自文章:不好意思,忘记存地址了
这是一个简单的拖拽方块的方法
Document #div1 { width: 100px; height: 100px; background-color: red; position: absolute; } window.onload = function () { var oDiv = document.getElementById('div1'); disX = 0; disY = 0; oDiv.onmousedown = function (ev) { var oEvent = ev || event; disX = oEvent.clientX - oDiv.offsetLeft; disY = oEvent.clientY - oDiv.offsetTop; document.onmousemove = function (ev) { var oEvent = ev || event; var l = oEvent.clientX - disX; var t = oEvent.clientY - disY; if (l document.documentElement.clientWidth - oDiv.offsetWidth) { l = document.documentElement.clientWidth - oDiv.offsetWidth; } if (t document.documentElement.clientHeight - oDiv.offsetHeight) { t = document.documentElement.clientHeight - oDiv.offsetHeight; } oDiv.style.left = l + 'px'; oDiv.style.top = t + 'px'; } document.onmouseup = function () { document.onmousemove = null; document.onmouseup = null; } return false;//阻止默认事件 屏蔽火狐的bug } }十、第十种
摘自文章:不好意思,没保存地址
十一、第十一种
摘自文章:不好意思,没保存地址
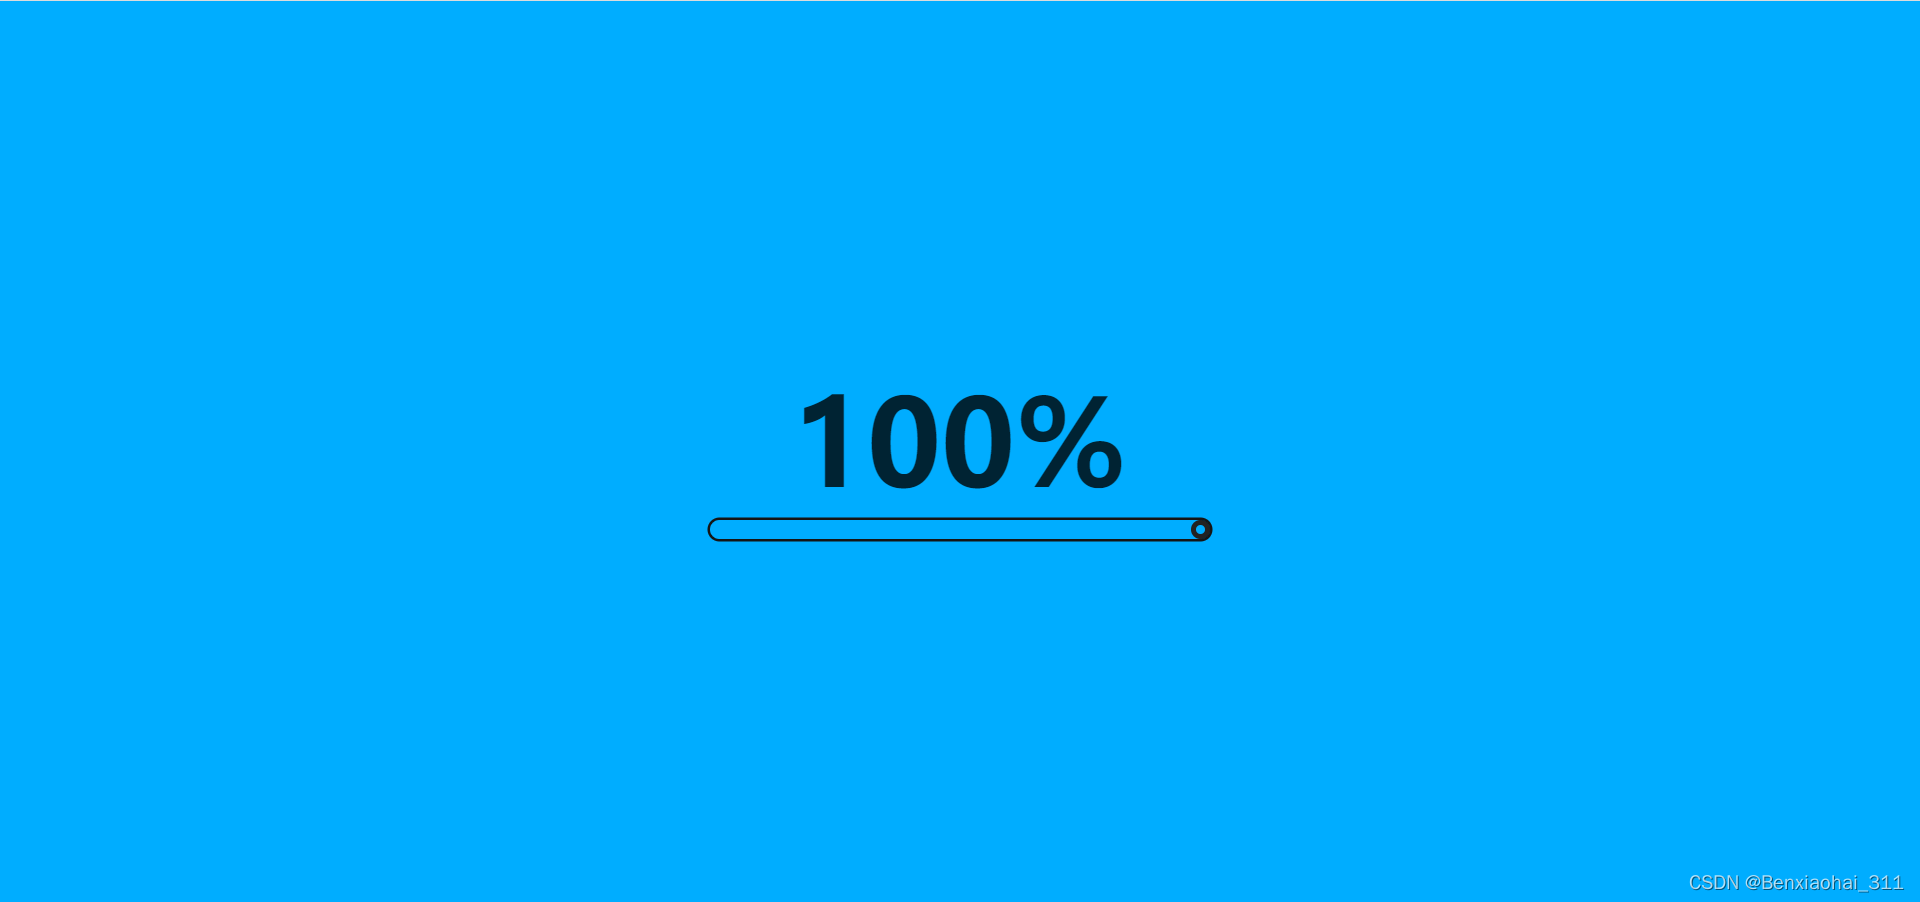
原生JS实现拖动拉开序幕特效 * {margin: 0;padding: 0;box-sizing: border-box;}body {display: flex;align-items: center;justify-content: center;min-height: 100vh;background: #151515;}div {position: relative;}#rangeValue {position: relative;display: block;font-size: 6em;color: rgba(0, 0, 0, 0.8);z-index: 2;text-align: center;}#rangeValue::after {content: '%';}#fillRangeValue {position: fixed;top: 0;left: 0;height: 100%;width: 0;background: #00adff;z-index: 1;}.range {position: relative;width: 400px;height: 15px;-webkit-appearance: none;background: rgba(0, 0, 0, 0.8);outline: none;border-radius: 15px;box-shadow: 0 0 0 2px #151515, inset 0 0 5px #000;z-index: 2;overflow: hidden;}.range::-webkit-slider-thumb {-webkit-appearance: none;width: 15px;height: 15px;border-radius: 50%;background: #00adff;border: 4px solid #222;z-index: 2;box-shadow: -407px 0 0 400px #00adff;}function rangeSlider(value) {document.getElementById('rangeValue').innerHTML = valuedocument.getElementById('fillRangeValue').style.width = `${value}%`}
