Electron Vue3 开发笔记(二):成功构建Electron基础开发环境
前言
提示:本文重点说说开发环境的安装,有好多小伙伴这一步遇到了了很多问题,本人在这一块也卡了一些时间,下面跟大家分享一下:开发环境:Visual Studio Code (1.66.2)+node.js(v16.13.0)+yarn(1.22.18)。
一、包管理器
VScode和node.js安装这个比较简单,就不在这里赘述了。包管理我选择是yarn而不是npm,本人在用npm构建整个项目过程没有成功(初始化electron可以,但跟Vue3一起构建项目失败),可能是因为npm比较缓慢或者有些包没有下载来,这里强烈大家推荐yarn,少走弯路。
二、构建步骤
1.初始化项目
建立工程目录,这里我们命名为“electron-project”
PS E:\project\electron\electron-project> yarn init // 初始化项目yarn init v1.22.18question name (electron-project): applet //你的项目名称question version (1.0.0): 1.0.0 //你的项目版本号question description: developmentquestion entry point (index.js): main.js //项目入口文件,electron 用main.js作为程序入口question repository url:question author: Boyka question license (MIT):question private:success Saved package.jsonDone in 187.99s.PS E:\project\electron\electron-project>2.添加Electron
PS E:\project\electron\electron-project> yarn add --dev electronyarn add v1.22.18info No lockfile found.[1/4] Resolving packages...[2/4] Fetching packages...[3/4] Linking dependencies...[4/4] Building fresh packages...success Saved lockfile.success Saved 82 new dependencies.info Direct dependencies└─ electron@18.0.4info All dependencies├─ @electron/get@1.14.1├─ @sindresorhus/is@0.14.0├─ @szmarczak/http-timer@1.1.2├─ @types/node@16.11.27├─ buffer-crc32@0.2.13├─ buffer-from@1.1.2├─ cacheable-request@6.1.0├─ clone-response@1.0.2├─ concat-stream@1.6.2├─ config-chain@1.1.13├─ core-util-is@1.0.3├─ debug@4.3.4├─ decompress-response@3.3.0├─ defer-to-connect@1.1.3├─ define-properties@1.1.4├─ detect-node@2.1.0├─ duplexer3@0.1.4├─ electron@18.0.4├─ encodeurl@1.0.2├─ end-of-stream@1.4.4├─ env-paths@2.2.1├─ es6-error@4.1.1├─ escape-string-regexp@4.0.0├─ extract-zip@1.7.0├─ fd-slicer@1.1.0├─ fs-extra@8.1.0├─ get-intrinsic@1.1.1├─ get-stream@4.1.0├─ global-agent@3.0.0├─ global-tunnel-ng@2.7.1├─ globalthis@1.0.2├─ got@9.6.0├─ graceful-fs@4.2.10├─ has-property-descriptors@1.0.0├─ has-symbols@1.0.3├─ has@1.0.3├─ http-cache-semantics@4.1.0├─ inherits@2.0.4├─ ini@1.3.8├─ isarray@1.0.0├─ json-buffer@3.0.0├─ json-stringify-safe@5.0.1├─ jsonfile@4.0.0├─ keyv@3.1.0├─ lodash@4.17.21├─ lowercase-keys@1.0.1├─ lru-cache@6.0.0├─ matcher@3.0.0├─ minimist@1.2.6├─ mkdirp@0.5.6├─ ms@2.1.2├─ normalize-url@4.5.1├─ npm-conf@1.1.3├─ object-keys@1.1.1├─ once@1.4.0├─ p-cancelable@1.1.0├─ pend@1.2.0├─ pify@3.0.0├─ prepend-http@2.0.0├─ process-nextick-args@2.0.1├─ progress@2.0.3├─ proto-list@1.2.4├─ readable-stream@2.3.7├─ responselike@1.0.2├─ roarr@2.15.4├─ safe-buffer@5.1.2├─ semver-compare@1.0.0├─ semver@6.3.0├─ serialize-error@7.0.1├─ sprintf-js@1.1.2├─ string_decoder@1.1.1├─ sumchecker@3.0.1├─ to-readable-stream@1.0.0├─ tunnel@0.0.6├─ type-fest@0.13.1├─ typedarray@0.0.6├─ universalify@0.1.2├─ url-parse-lax@3.0.0├─ util-deprecate@1.0.2├─ wrappy@1.0.2├─ yallist@4.0.0└─ yauzl@2.10.0Done in 20.57s.info There appears to be trouble with your network connection. Retrying...info There appears to be trouble with your network connection. Retrying...info There appears to be trouble with your network connection. Retrying...info There appears to be trouble with your network connection. Retrying...重要说明:yarn add --dev electron,最好后面加“--dev”参数,yarn 构建项目的时候,会将依赖构建到“devDependencies”里面,如上去,如果不加则会构建到“dependencies”里面。
关于“devDependencies”和“dependencies”区别,大家可以理解为一个是开发环境需求、一个是生成环境需求。如果都放在“dependencies”里,打包“build”的时候,你的项目安装将会是非常大,有些同学项目打包大的原因就是在此。
3.在package.json文件 添加 start 启动脚本
{ "name": "applet", "version": "1.0.0", "description": "development", "main": "electron/main.js", "author": "Boyka", "license": "MIT", "scripts": { "start": "electron ." }, "devDependencies": { "electron": "^18.0.4" }}4.创建main.js
在工程项目目录新建“electron”目录,在目录下新建main.js文件,如下:
const { app, BrowserWindow } = require('electron')const createWindow = () => { const win = new BrowserWindow({ width: 800, height: 600 }) win.loadFile('index.html') } app.whenReady().then(() => { createWindow() })5.创建index.html
在工程项目目录新建“electron”目录,在目录下新建main.js文件,如下:
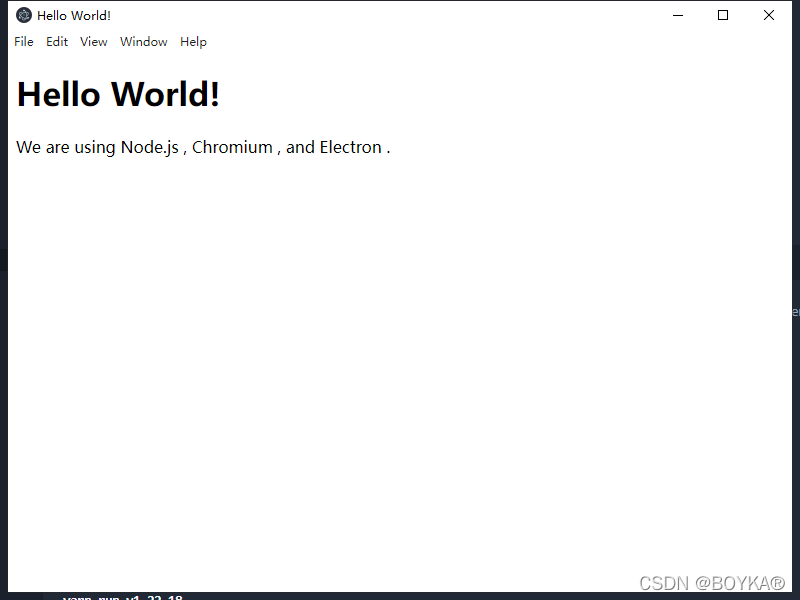
Hello World! Hello World!
We are using Node.js , Chromium , and Electron . 6.工程目录
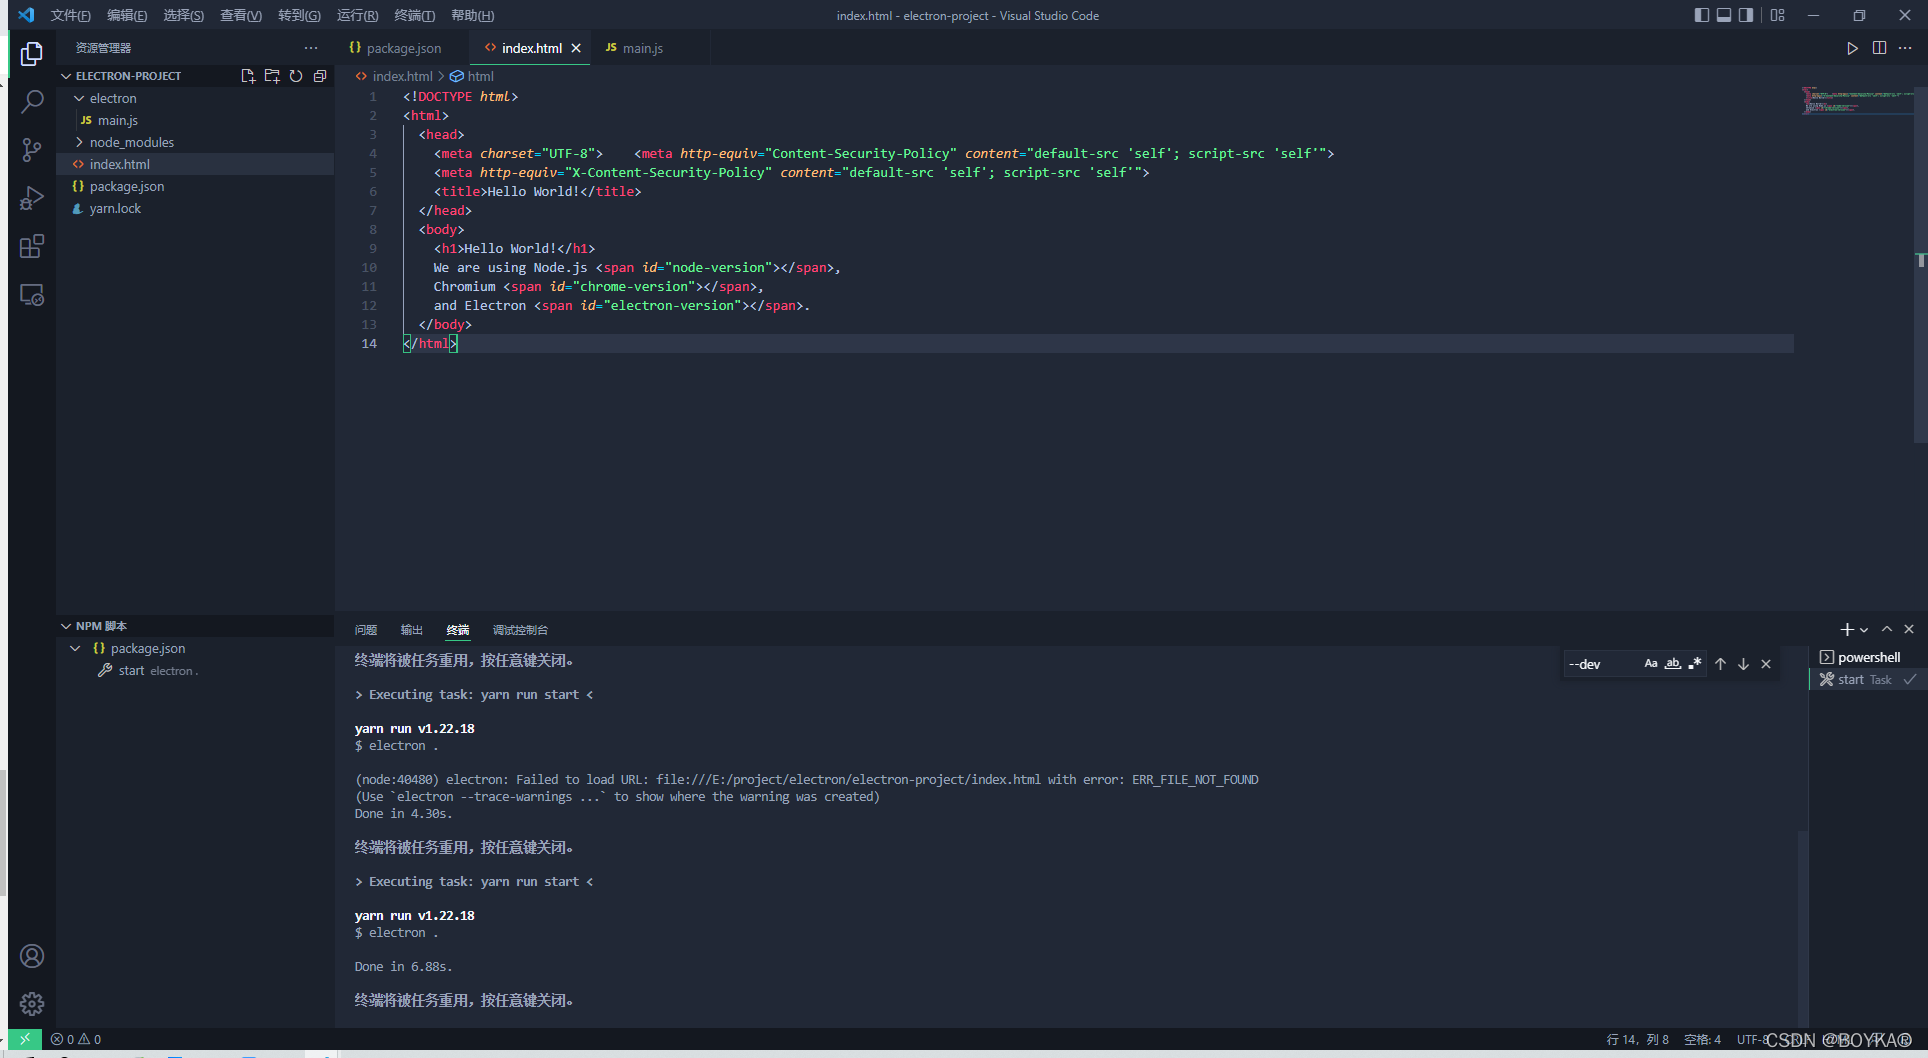
7.运行
总结
由于时间有限,本文只是构建基础的Electron开发环境,下一章我将会将vue3+vite一起构建一个完整项目开发环境。
 创作挑战赛
创作挑战赛  新人创作奖励来咯,坚持创作打卡瓜分现金大奖

