从零开始搭建UEFI开发环境(EDK2)
目录
ubuntu2022 下载
虚拟机的安装方法
Linux的相关配置
Linux 源的替换
将所需要的GitHub上的资源导入到gitee上面。
相关配置的安装
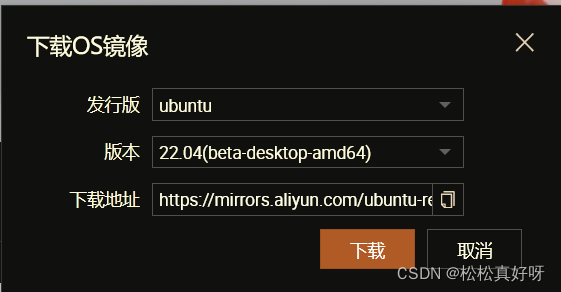
ubuntu2022 下载
[阿里云系统镜像](阿里云系统镜像)
虚拟机的安装方法
虚拟机安装,可以用VMware 进行安装,比较简单就不赘述。

Linux的相关配置
Linux 源的替换
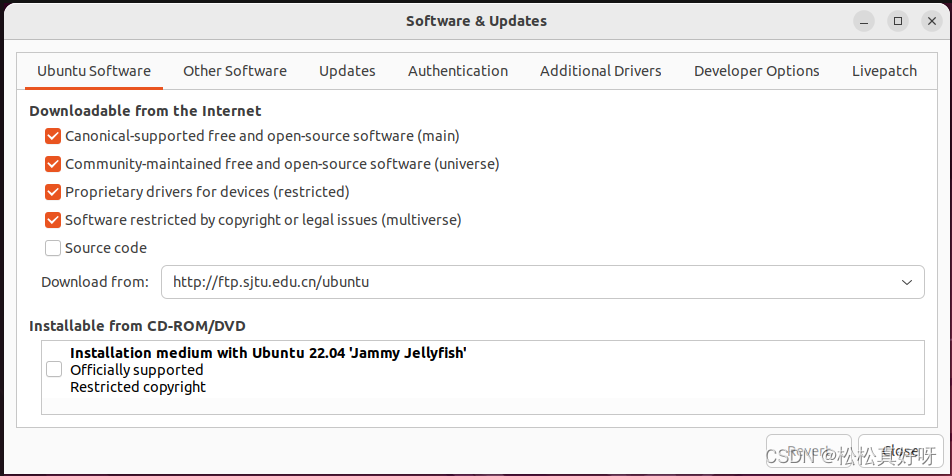
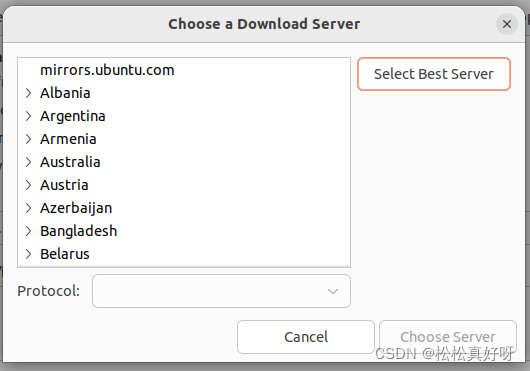
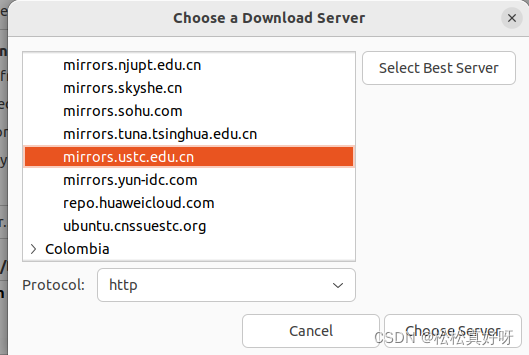
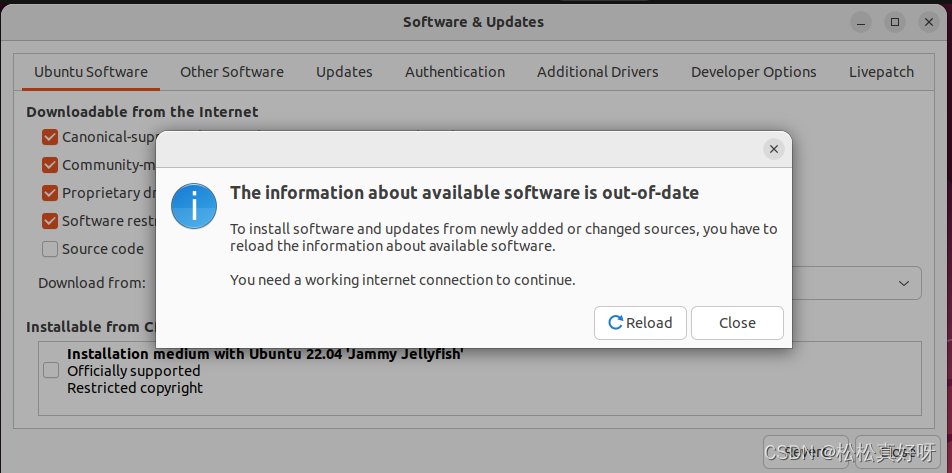
首先需要先更换下源,Software & Update,这个方法更新的更快些。点击Download from .然后再选择Choose Server, Close 之后会弹出一个框,选择Reload。完成源的替换。

将所需要的GitHub上的资源导入到gitee上面。
首先列出需要导入到gitee的。
https://github.com/tianocore/edk2.githttps://github.com/tianocore/edk2-libc.githttps://github.com/acpica/acpica.githttps://github.com/openssl/opensslhttps://github.com/ucb-bar/berkeley-softfloat-3.githttps://github.com/tianocore/edk2-cmocka.githttps://github.com/kkos/onigurumahttps://github.com/google/brotlihttps://github.com/akheron/jansson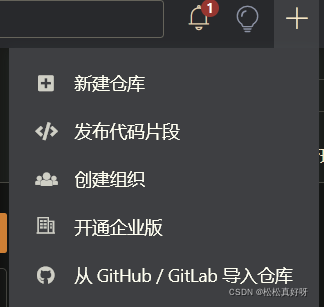
选择从Github/GitLab导入仓库,导入完成后。将链接一一复制下来。
git clone https://(你的账号):(你的密码)@gitee.com/supersonggggg/edk2.gitgit clone https://(你的账号):(你的密码)@gitee.com/supersonggggg/edk2-libc.gitgit clone https://(你的账号):(你的密码)@gitee.com/supersonggggg/acpica.git相关配置的安装
sudo apt update && apt upgrade -ysudo apt install git vim nasm iasl uuid-dev bison flex gcc-12 g++-12 make libx11-dev libx11-dev:i386 libxext-dev libxext-dev:i386 -ycd /usr/bin/sudo ln -s gcc-12 gcc sudo ln -s g++-12 g++sudo ln -s python3 pythonmkdir -p /home/admin/uefi_workspace && cd /home/admin/uefi_workspacegit clone https://(你的账号):(你的密码)@gitee.com/supersonggggg/edk2.gitgit clone https://(你的账号):(你的密码)@gitee.com/supersonggggg/edk2-libc.gitgit clone https://(你的账号):(你的密码)@gitee.com/supersonggggg/acpica.gitcd ./edk2# 修改.gitmodulevim .gitmodule# 修改每个submodule下的url,改成你自己的链接。[submodule "CryptoPkg/Library/OpensslLib/openssl"]path = CryptoPkg/Library/OpensslLib/opensslurl = https://(你的账号):(你的密码)@gitee.com/supersonggggg/openssl[submodule "SoftFloat"]path = ArmPkg/Library/ArmSoftFloatLib/berkeley-softfloat-3url = https://(你的账号):(你的密码)@gitee.com/supersonggggg/berkeley-softfloat-3.git[submodule "UnitTestFrameworkPkg/Library/CmockaLib/cmocka"]path = UnitTestFrameworkPkg/Library/CmockaLib/cmockaurl = https://(你的账号):(你的密码)@gitee.com/supersonggggg/edk2-cmocka.git[submodule "MdeModulePkg/Universal/RegularExpressionDxe/oniguruma"]path = MdeModulePkg/Universal/RegularExpressionDxe/onigurumaurl = https://(你的账号):(你的密码)@gitee.com/supersonggggg/oniguruma.git[submodule "MdeModulePkg/Library/BrotliCustomDecompressLib/brotli"]path = MdeModulePkg/Library/BrotliCustomDecompressLib/brotliurl = https://(你的账号):(你的密码)@gitee.com/supersonggggg/brotli.git[submodule "BaseTools/Source/C/BrotliCompress/brotli"]path = BaseTools/Source/C/BrotliCompress/brotliurl = https://(你的账号):(你的密码)@gitee.com/supersonggggg/brotli.gitignore = untracked[submodule "RedfishPkg/Library/JsonLib/jansson"]path = RedfishPkg/Library/JsonLib/janssonurl = https://(你的账号):(你的密码)@gitee.com/supersonggggg/jansson.git# 修改完成后,需要在edk2目录下执行git submodule sync git submodule update --init# 执行完成后,切到上层目录make -C ./acpica/make -C ./edk2/BaseTools 等待编译完成。
mv edk2-libc edk2 mv acpica edk2然后就可以在edk2目录中创建脚本文件用于配置环境。
touch uefi_export.sh脚本里面的内容如下
export WORKSPACE=$PWDexport PACKAGES_PATH=$PWD:$PWD/edk2-libcexport IASL_PREFIX=$PWD/acpica/generate/unix/bin/export PYTHON_COMMAND=/usr/bin/python创建完成后执行如下命令
sudo chmod +x uefi_export.shsource uefi_export.shsource edksetup.sh执行完成后,在命令行中就可以看到build命令。
编译32位模拟器的方法。
build -p EmulatorPkg/EmulatorPkg.dsc -t GCC5 -a IA32 编译64位模拟器的方法。
build -p EmulatorPkg/EmulatorPkg.dsc -t GCC5 -a X64然后就可以编译UEFI程序了。
build -p edk2-libc/AppPkg/AppPkg.dsc -t GCC5 -a IA32 build -p EmulatorPkg/EmulatorPkg.dsc -m EmulatorPkg/Application/HelloWorld/HelloWorld.inf -a IA32 -t GCC5 然后就可以运行模拟器了
cd Build/EmulatorIA32/DEBUG_GCC5/IA32/ && ./Host 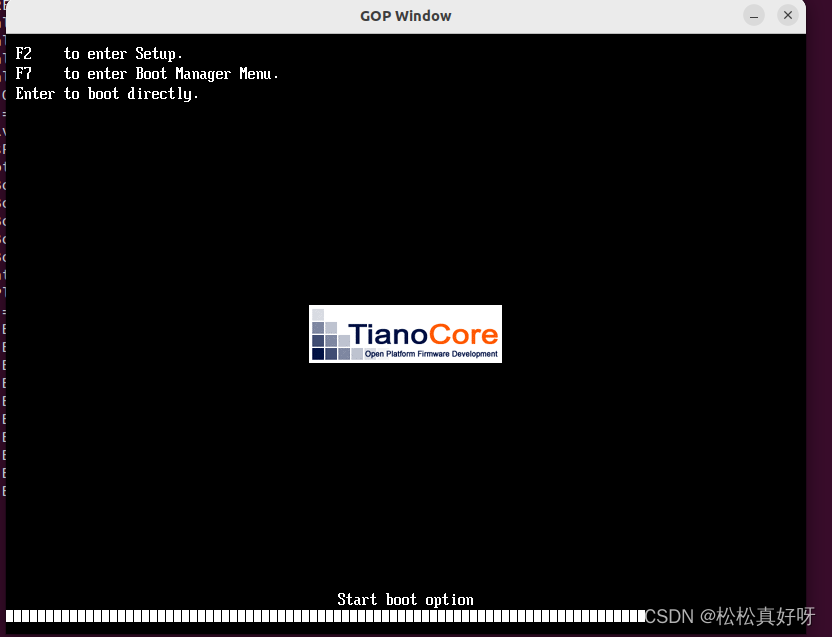

至此完成UEFI的开发环境的搭建。

