华为云Flexus+DeepSeek征文|低代码 × 强推理:华为云 Flexus 搭建可部署的 AI Agent 实践方案【搭建宠物养护小知识AI助手】_华为云agent平台
文章目录
- 华为云Flexus+DeepSeek征文|低代码 × 强推理:华为云 Flexus 搭建可部署的 AI Agent 实践方案【搭建宠物养护小知识AI助手】
-
- 🚀 引言
- 一、核心技术概览
-
- 1. 华为云 Flexus X
- 2. DeepSeek-R1 模型
- 3. Dify 平台
- 二、总体架构设计
- 三、环境准备与资源部署
-
- 前提条件
- Flexus X + DeepSeek 部署一键操作
- 四、快速搭建 AI 聊天助手[宠物养护小知识]
- 大模型API设置
- 🧾 总结
华为云Flexus+DeepSeek征文|低代码 × 强推理:华为云 Flexus 搭建可部署的 AI Agent 实践方案【搭建宠物养护小知识AI助手】
🚀 引言
随着 DeepSeek推出,搭配华为云 Flexus 可快速实现高性能 AI 推理系统;而 Dify 作为低代码平台,为开发 AI 助手提供了可视化配置能力。通过三者协同,打造私有、安全、可扩展、具备推理能力的 AI 助手变得轻松可行。
一、核心技术概览
1. 华为云 Flexus X
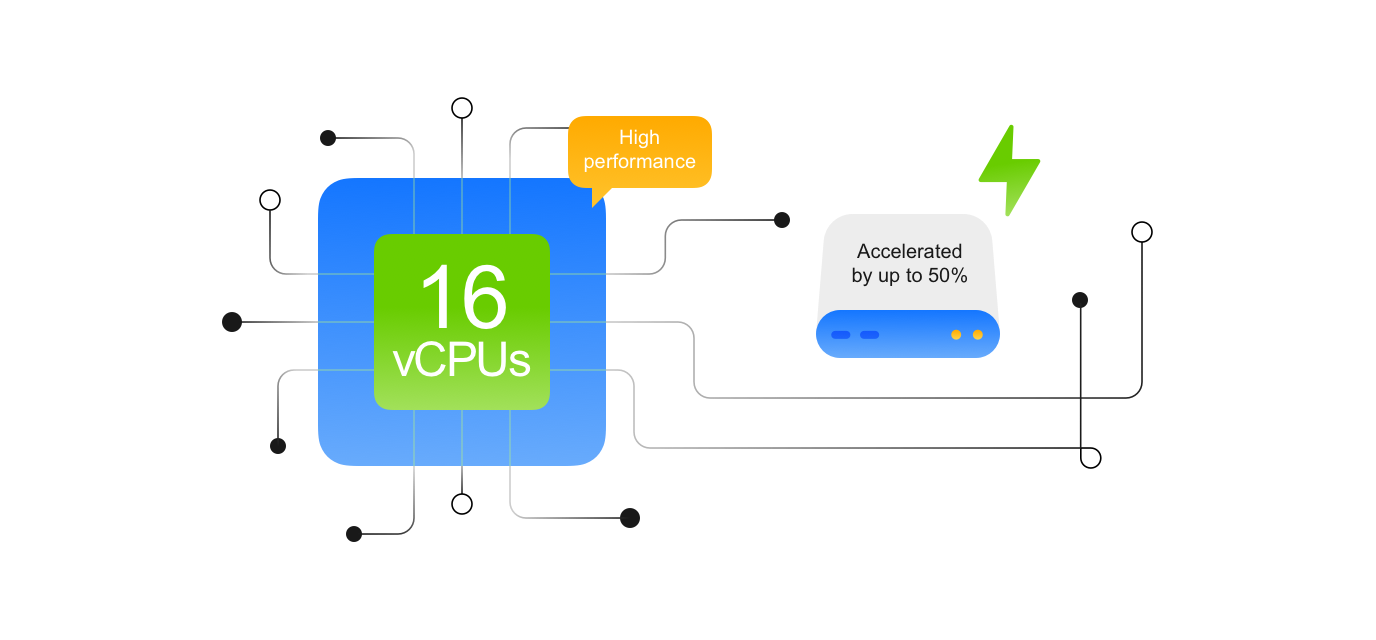
- 下一代弹性云服务器(FlexusX),支持根据需求随时调整 vCPU 与内存组态,无需中断服务;
- 支持 GPU 和 CPU 两种部署模式,按需选择,可显著降低成本并提升性能 。
定义与定位
华为云推出的一款“柔性算力”云服务器,是面向中小企业和开发者的下一代产品,功能全面接近 ECS,同事具备更多创新特性,例如灵活配比、性能模式、热变配等。
核心亮点
- 柔性算力随心配:支持多种 vCPU 和内存比例(如 2:5、3:7、最高 3:1),避免资源浪费 。
- X‑Turbo 智能调度加速:基于大模型智能调度,常见应用性能提升至同规格 ECS 的 6 倍 。
- 热变配,无需重启:内存压缩技术实现秒级算力调整,业务不中断 。
- 按需计费,降本增效:动态推荐资源,精确计费,成本比传统模式低约 30% 。
- 高可用高安全:跨可用区可用率达 99.995%,通过 100+ 合规认证。
Flexus X 是华为云面向中小企业与开发者推出的“柔性算力”云服务器,优势包括:
- 自定义资源配置,更贴合实际业务需求
- 强大的智能加速引擎,大幅性能提升
- 热变配支持,运维更灵活
- 高可用与合规保障
- 降本效果明显
适合:在性能、安全性、灵活性上均有较高要求,但使用量未达到 ECS 级别的用户与企业。
如果你正为选云服务器徘徊于成本与性能之间,Flexus X 是一个值得考虑的理想选择。
2. DeepSeek-R1 模型
DeepSeek‑R1 是由中国初创公司 DeepSeek(深度求索) 于 2025年1月20日 发布的一款开源大型语言模型,专注于 “推理能力”(reasoning)—尤其在数学、编程、逻辑等任务上表现优异,与 OpenAI 的 o1 相当。
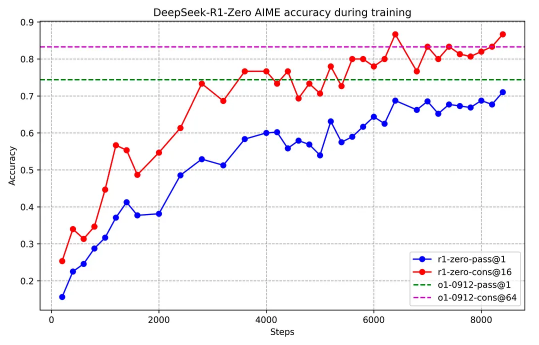
强化学习主导:DeepSeek‑R1‑Zero 使用纯强化学习(RL)训练,能自动生成链式思考;随后加入 “cold‑start” 多阶段训练,得到 R1 正式版本—具备更优推理能力和更好语言流畅性。
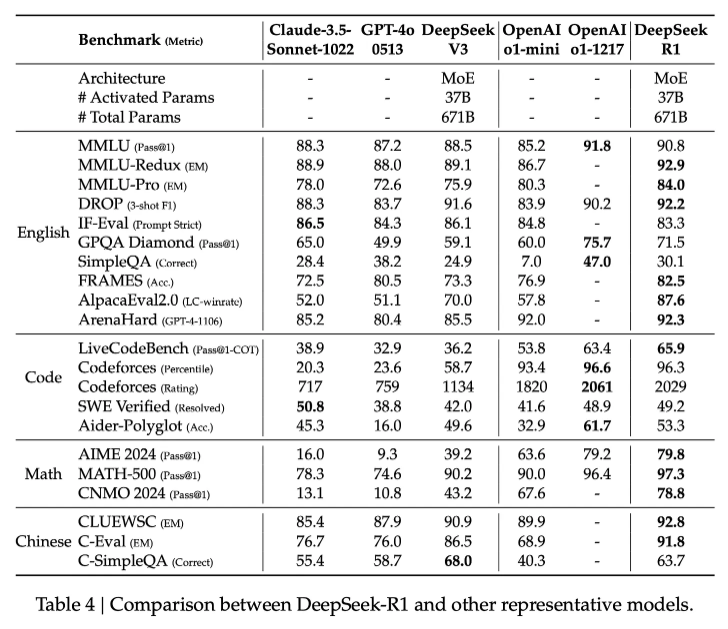
Mixture‑of‑Experts 架构:参数量高达 6710 亿,使用 MoE 控制每个 token 激活约 370 亿参数,兼顾精度与效率。
- 开源 LLM,强化推理能力(chain-of-thought),适合多轮对话、问答、文本生成等场景 ;
- 可通过 Ollama 在云端或本地部署,支持 GPU 和高效 CPU 推理。
3. Dify 平台
来自 Reddit 社区的开发者表示:
“Dify 和 Flowise 是构建 agent 的低/无代码可行方案……Dify 的预构建模板和工具很多” 。
另有工程师指出:
“它不是完美,但真的很不错…我们保留它作为核心,用 Python 后端处理复杂任务” 。
- 开放源码的低代码 AI 应用平台,提供可视化流程、RAG、Agent、多模型管理等能力;
- 支持接入 DeepSeek API、本地 Ollama 或 MaaS 方式接入多个模型源,具备容错能力。
Dify 是一款强大的 AI 应用开发平台,适合:
- 希望快速构建智能助手、嵌入到 SaaS 中的产品与服务
- 需要可视化、易迭代、拥有 RAG 和 Agent 能力的平台
- 既追求开源自由又不放弃企业级部署与监控的团队
二、总体架构设计
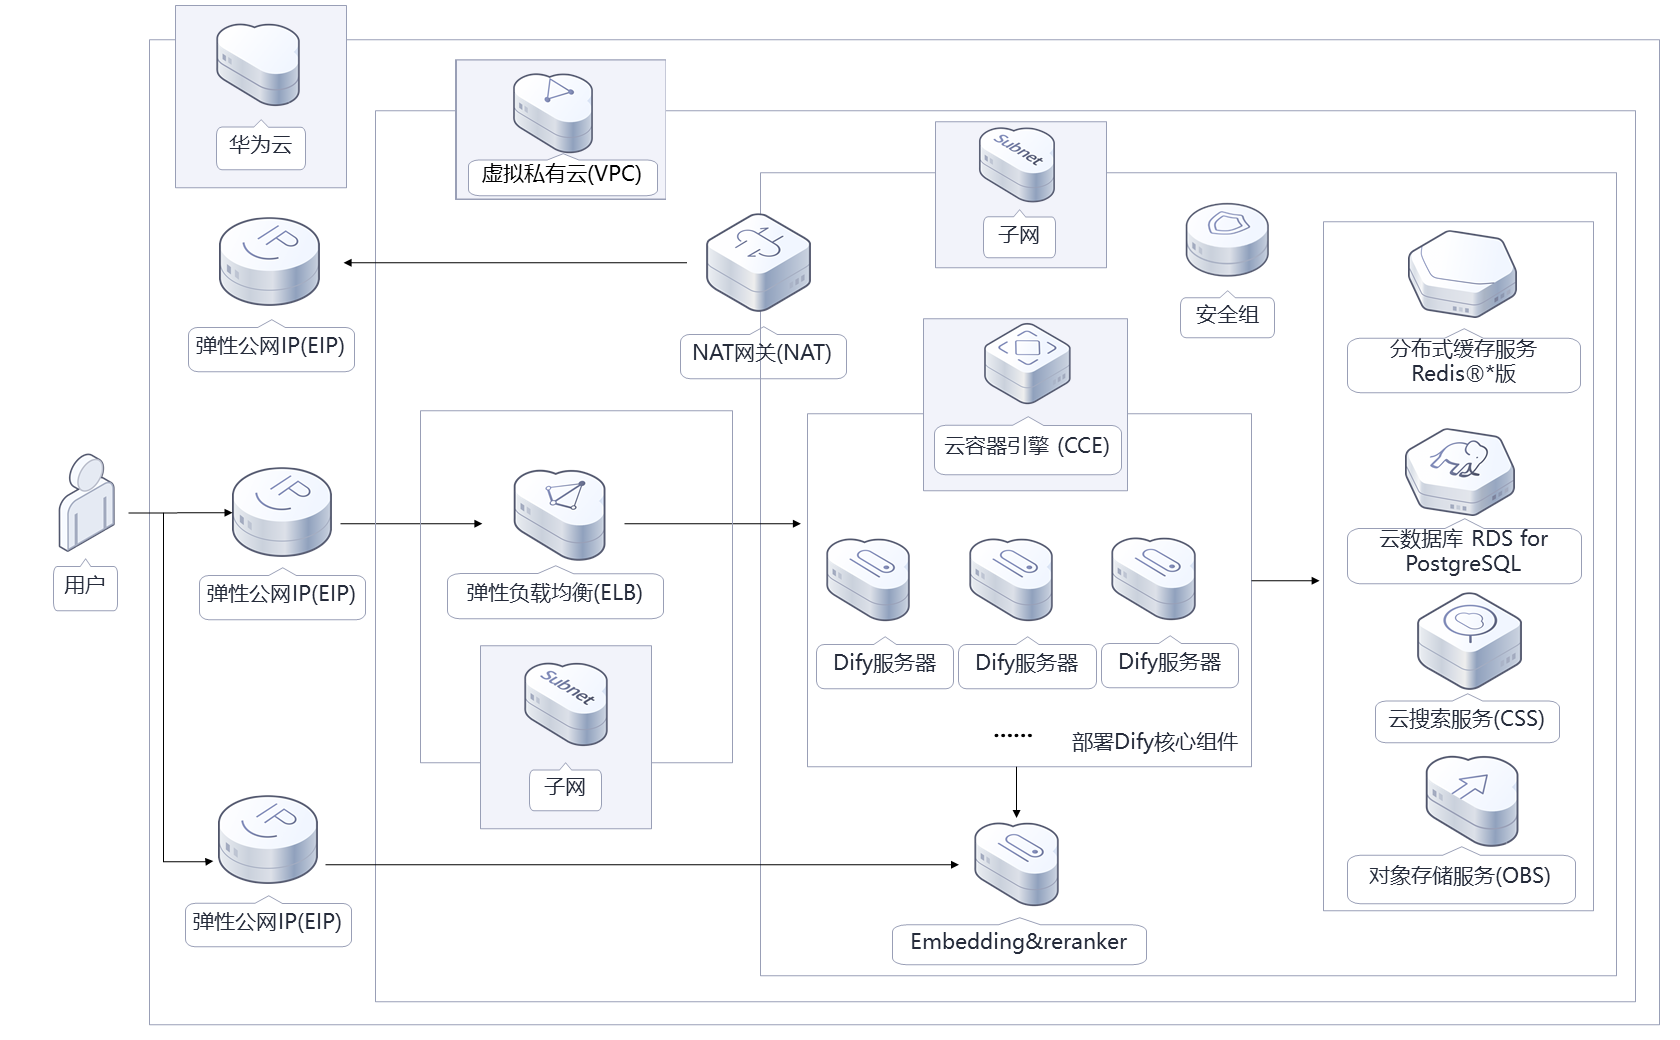
完整架构如下:
User → (HTTP/WebSocket) → Dify 可视化平台(CHAT、RAG、Agent)→ 调度 DeepSeek ↑ Ollama (部署于 Flexus) ↑ Flexus X ECS + EIP + 安全组- 建立 Flexus X 实例并安装 Ollama + DeepSeek-R1;
- Dify 平台配置模型来源为 Ollama;
- 用户输入通过 Dify 流程触发 DeepSeek 推理;
- 输出返回给用户,实现聊天、知识问答等功能。
三、环境准备与资源部署
前提条件
- 拥有华为云账户、已启用 IAM 权限,并选择计费方式;
- 建议使用 4+ vCPU、8+ GB 内存的 FlexusX 实例;
- 安装 Docker、Docker Compose、Ollama;
- 拥有 DeepSeek API Key(本地无需)。
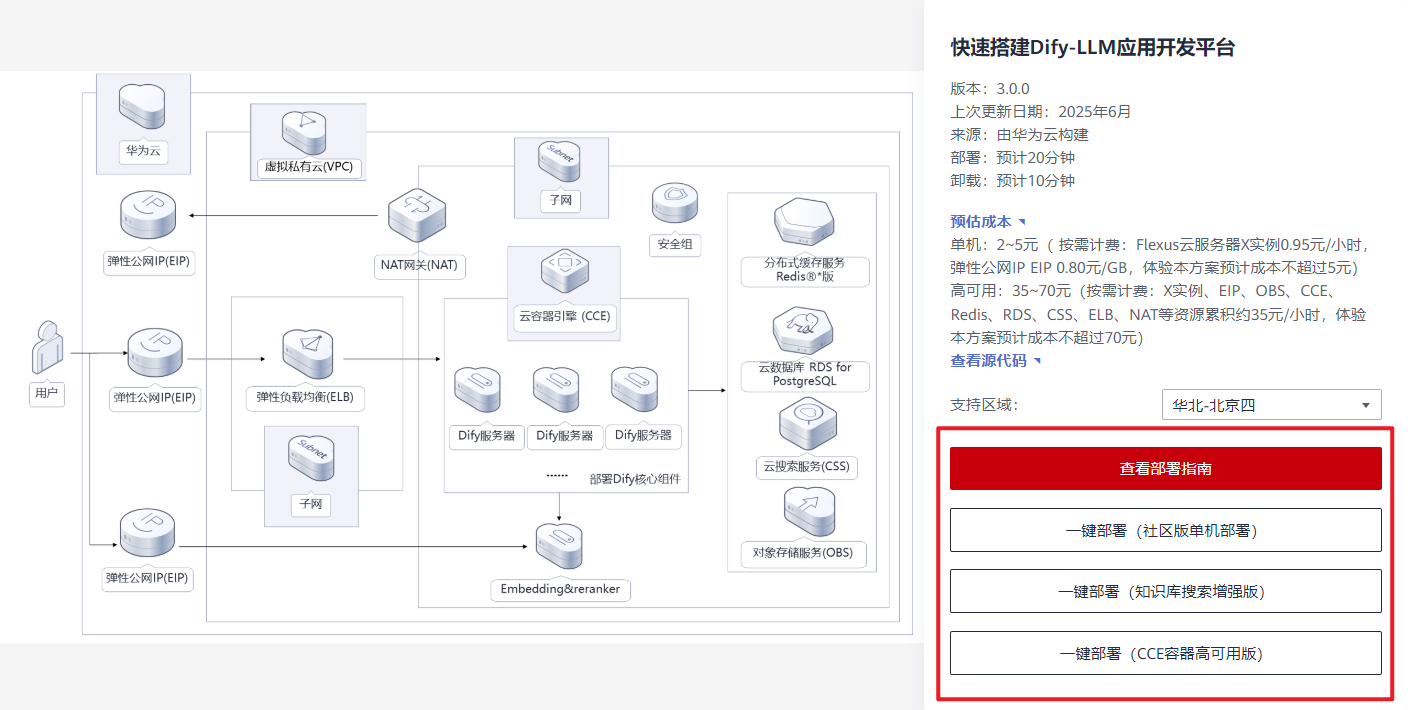
Flexus X + DeepSeek 部署一键操作
- 登录华为云“快速部署”选择“Building a DeepSeek Inference System”;
- 配置地域、ECS 规格(如 x1.4u.4g)、密码与模型版本;
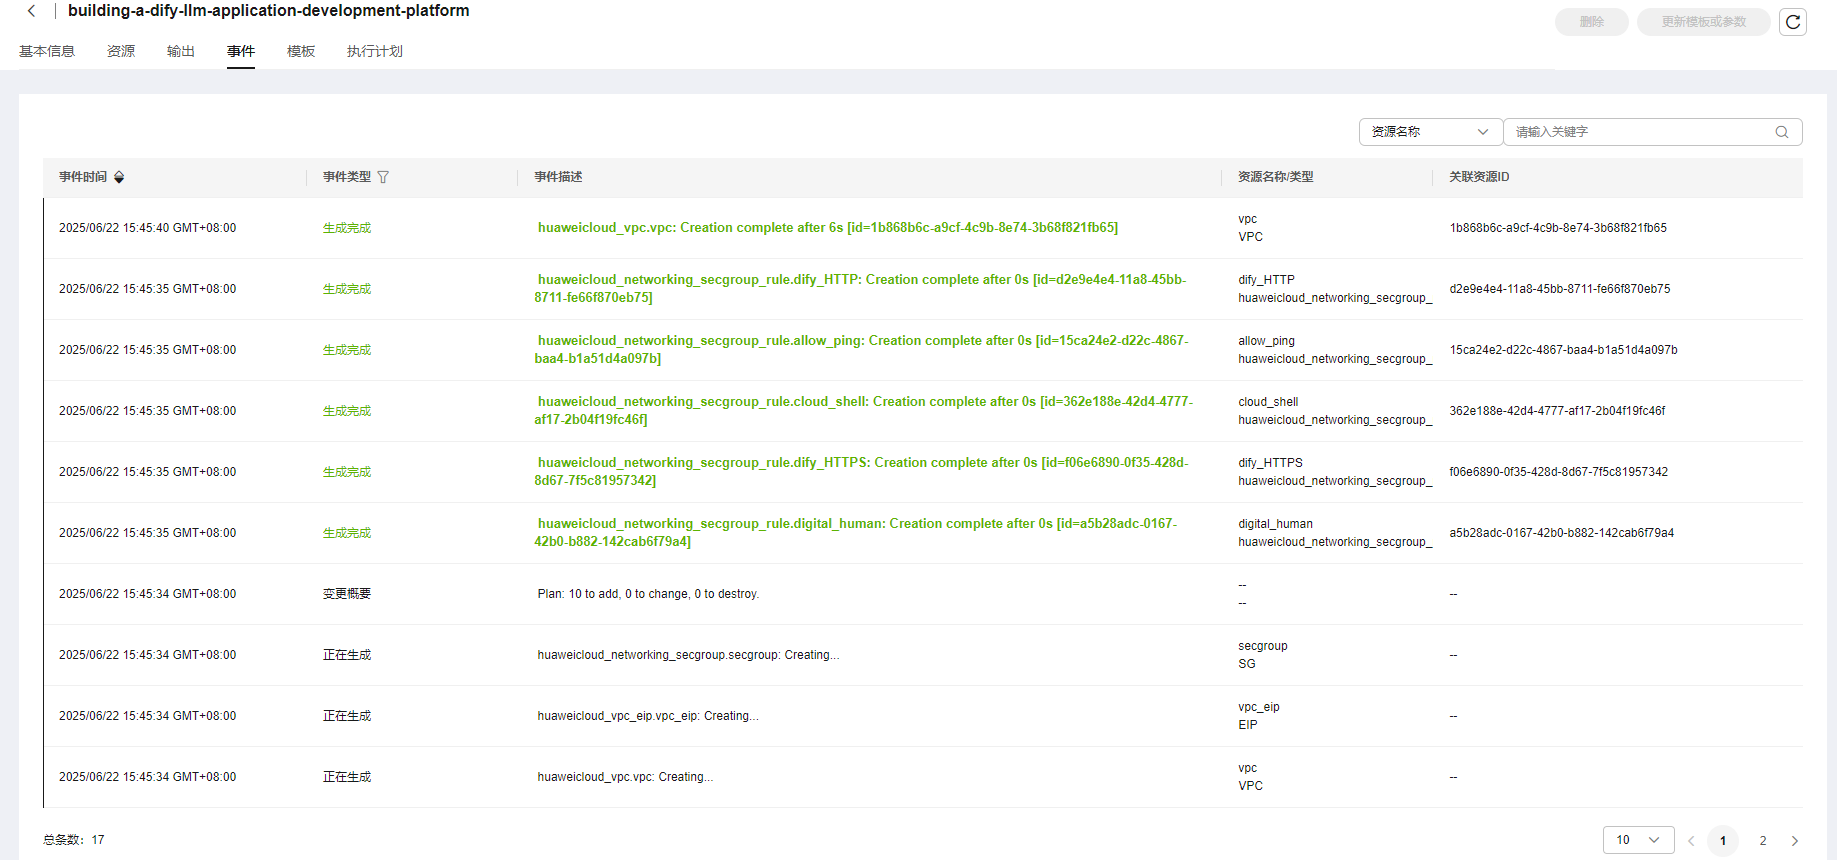
- 启动后系统自动创建 VPC、EIP、安全组;
- 安装配置 Ollama 并部署 DeepSeek-R1 distilled;
- 可选启用 GPU 模式,优势明显。
部署耗时约 10 分钟,释放资源也很快捷 。
四、快速搭建 AI 聊天助手[宠物养护小知识]
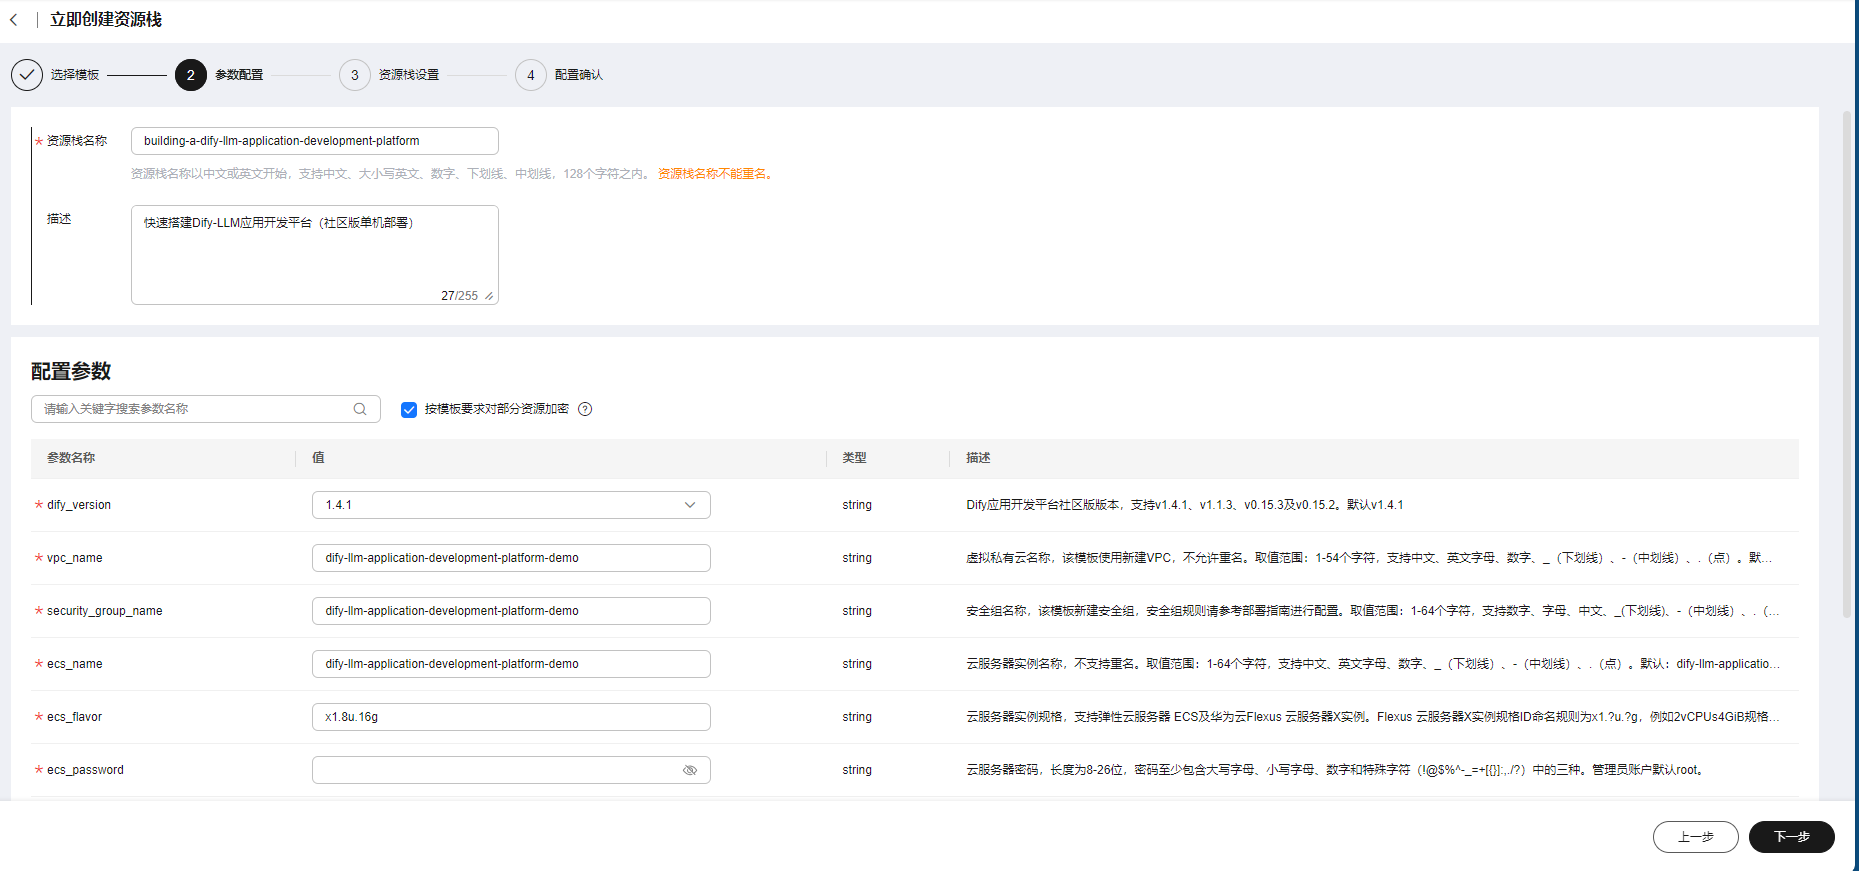
1.立即创建资源栈
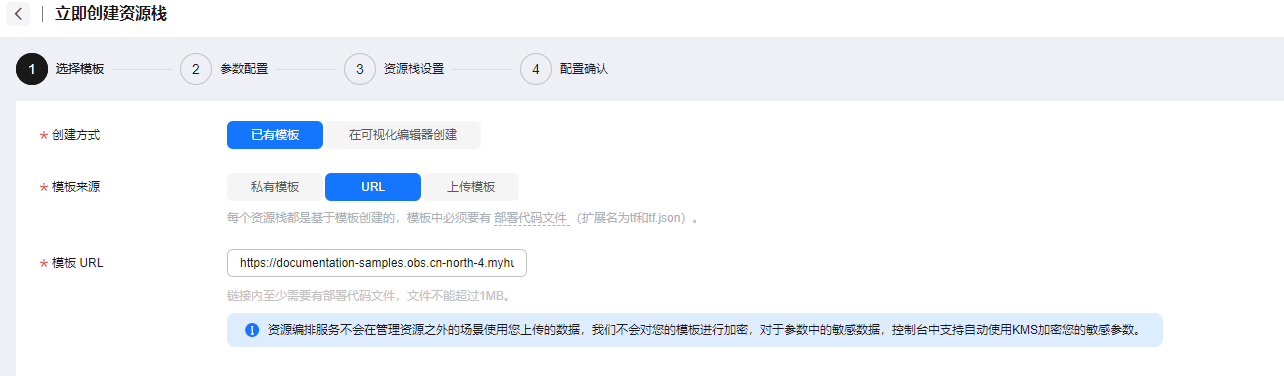
2.填写密码
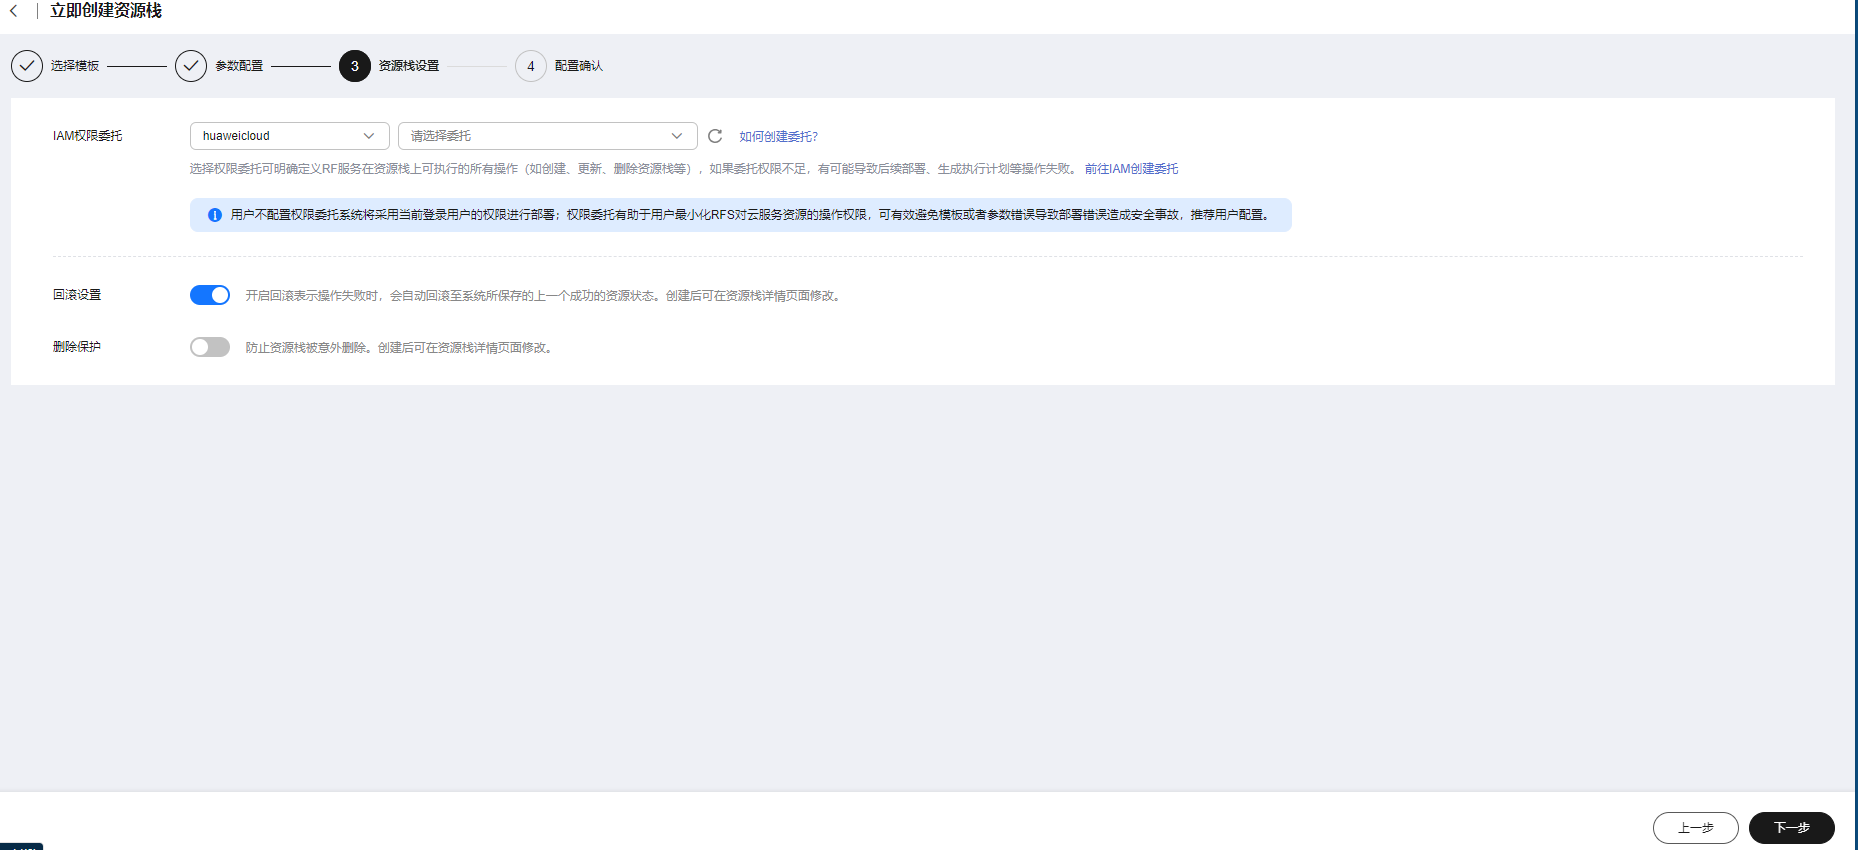
3.打开回滚
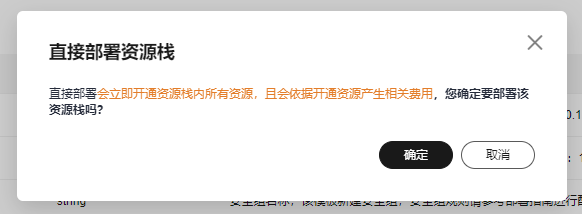
4.直接部署
5.等待事件部署完成
6.设置账户
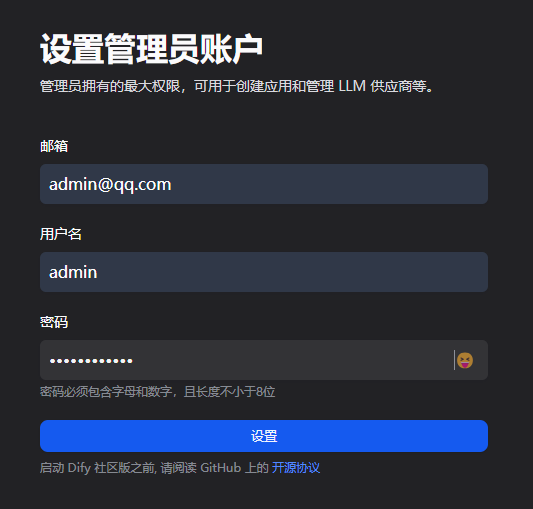
7.成功登录
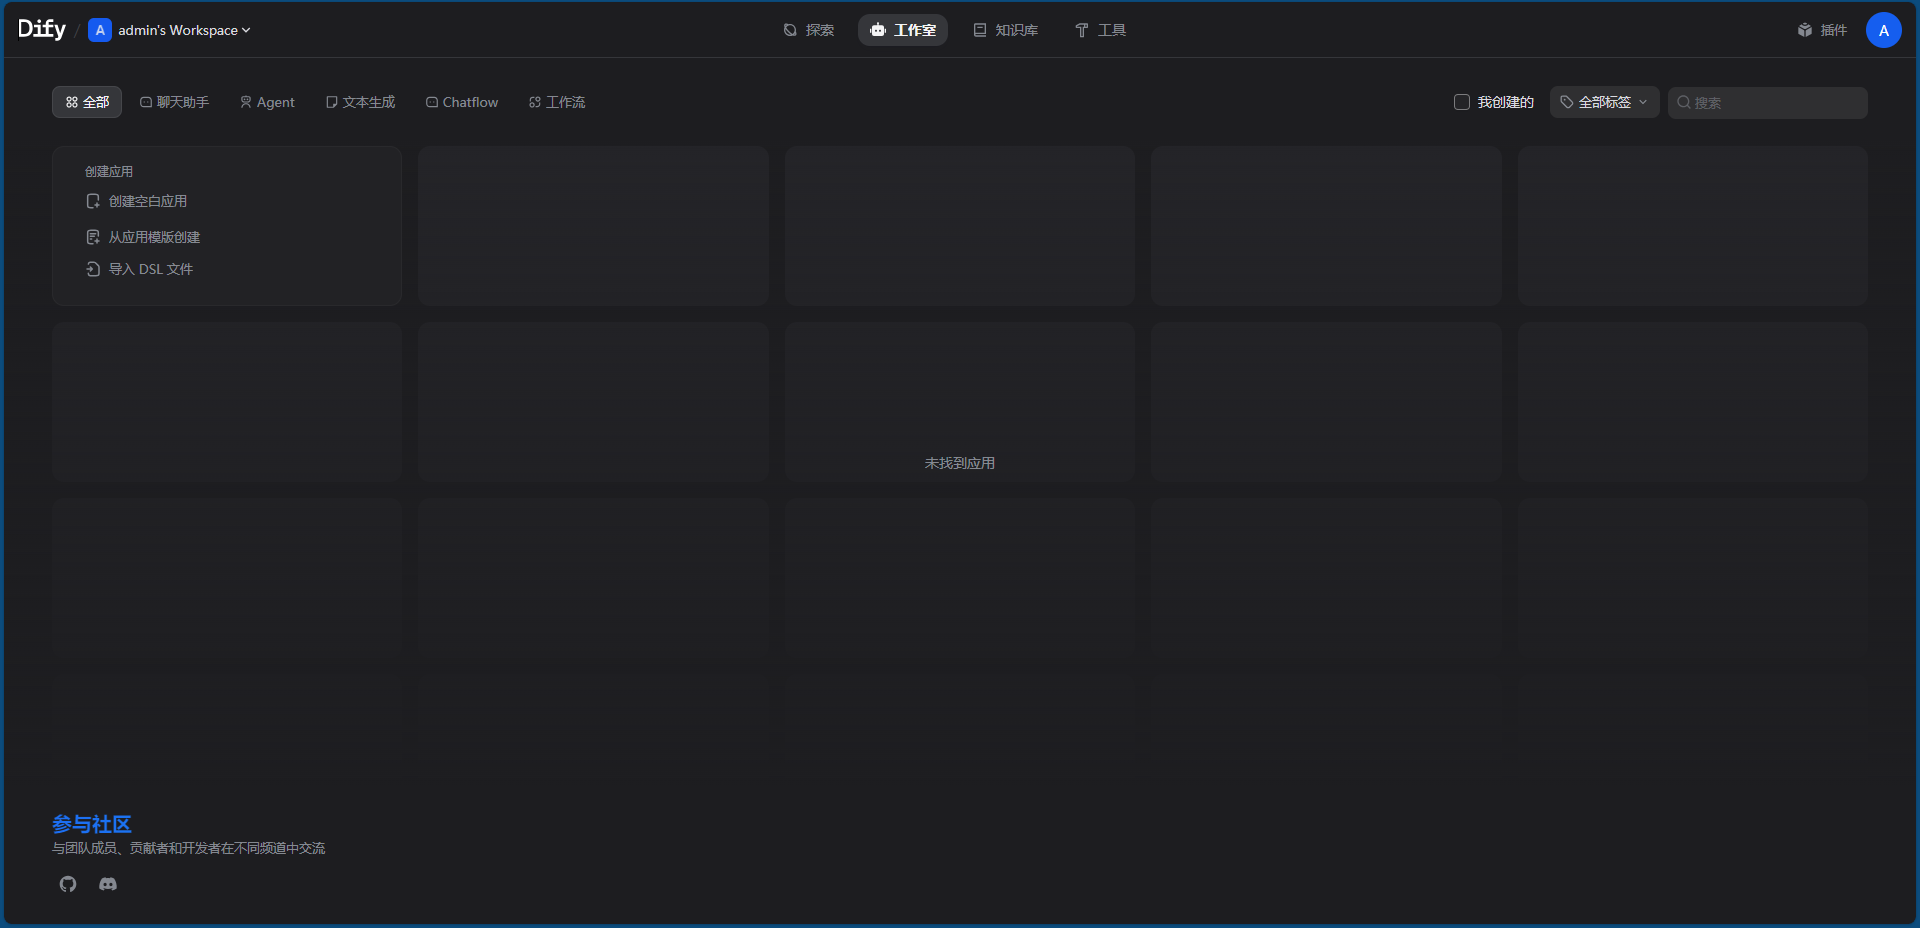
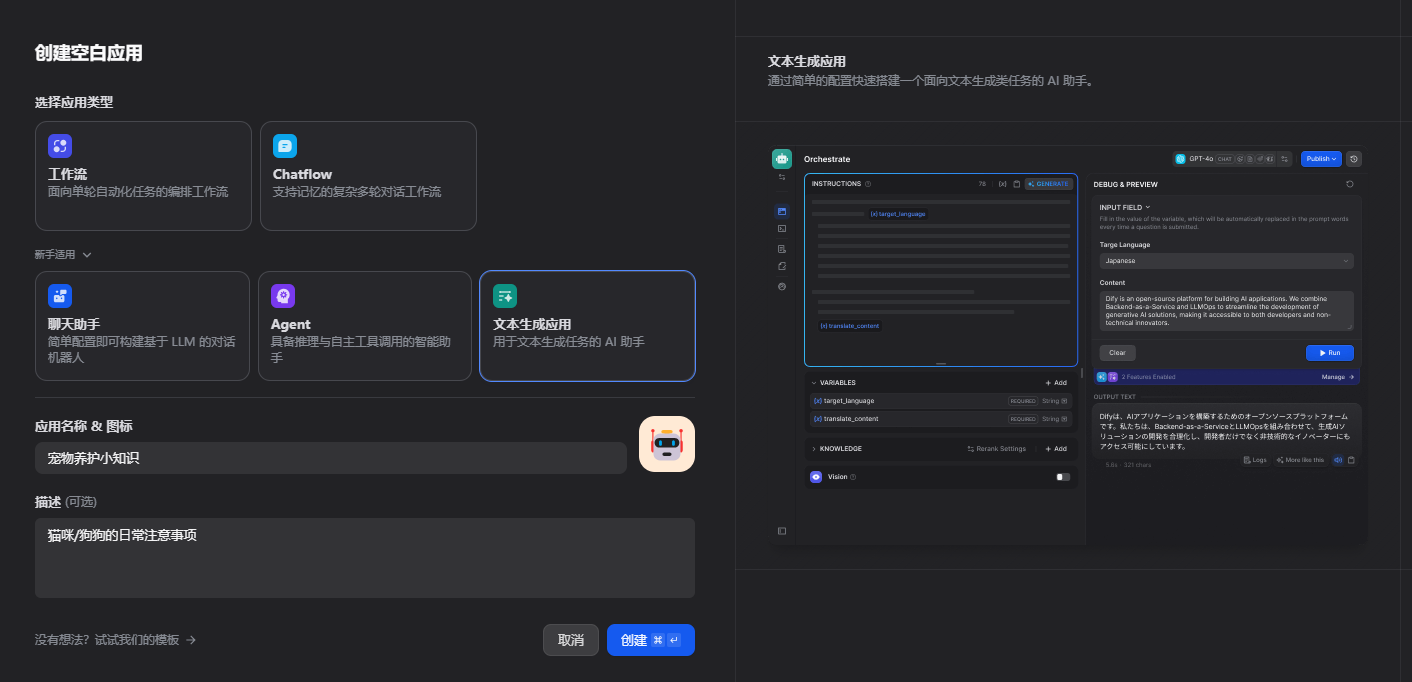
8.创建应用
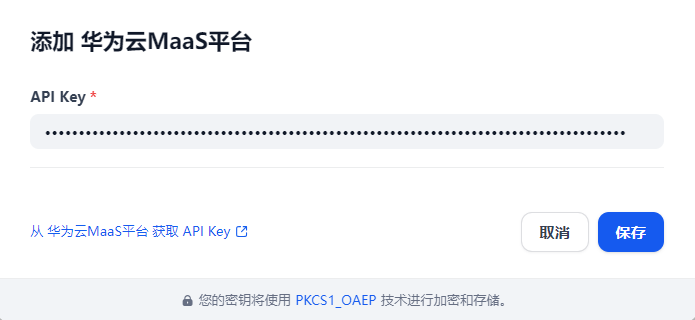
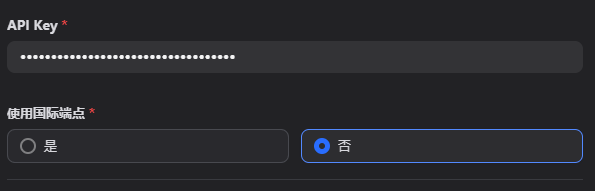
9.设置秘钥
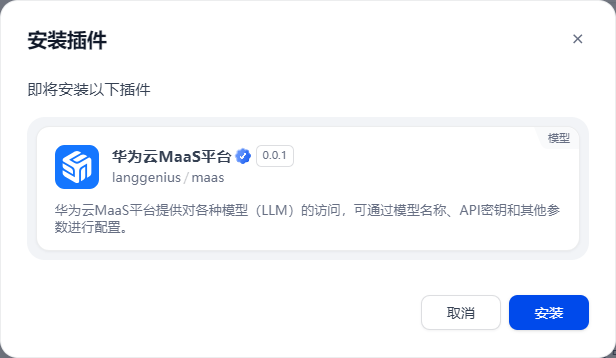
大模型API设置
安装
提示词生成
10.提示词如下
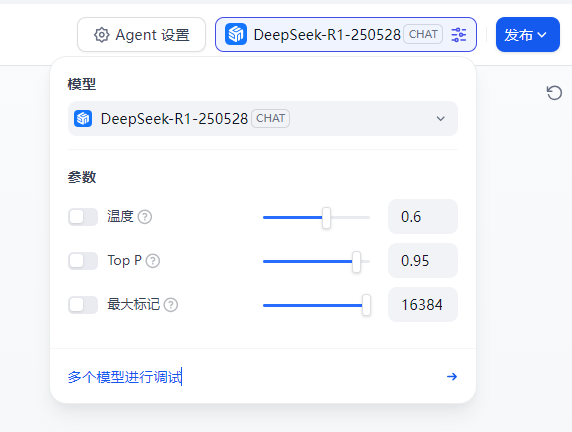
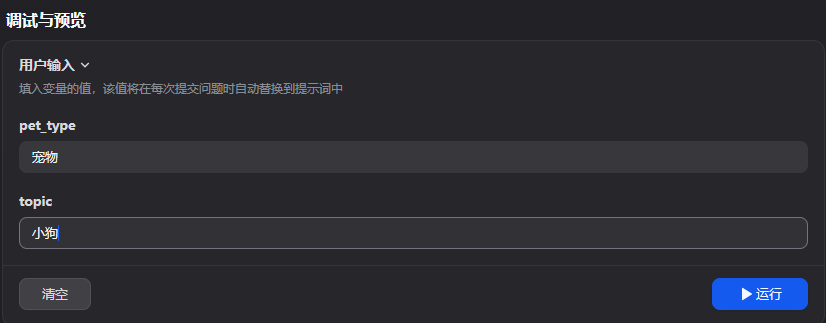
<instruction> 请根据提供的变量,生成一篇关于{{ pet_type }}日常养护的小知识文章。内容应包括{{ topic }}的相关信息,并遵循以下格式: 1. 使用清晰简洁的语言,分点列出。 2. 每个要点应详细说明,并提供实用建议。 3. 确保信息准确无误,参考权威资料。 4. 最后,添加一个总结,强调日常养护的重要性。 输出内容请避免使用任何XML标签,保持自然流畅的中文表达。</instruction><input> <pet_type>{{ pet_type }}</pet_type> <topic>{{ topic }}</topic></input><example> 疫苗接种时间: - 猫咪应在出生后8周开始接种疫苗,狗狗则在6周龄时开始。</example><output> {{ output }}</output>11.调试
12.宠物养护小知识
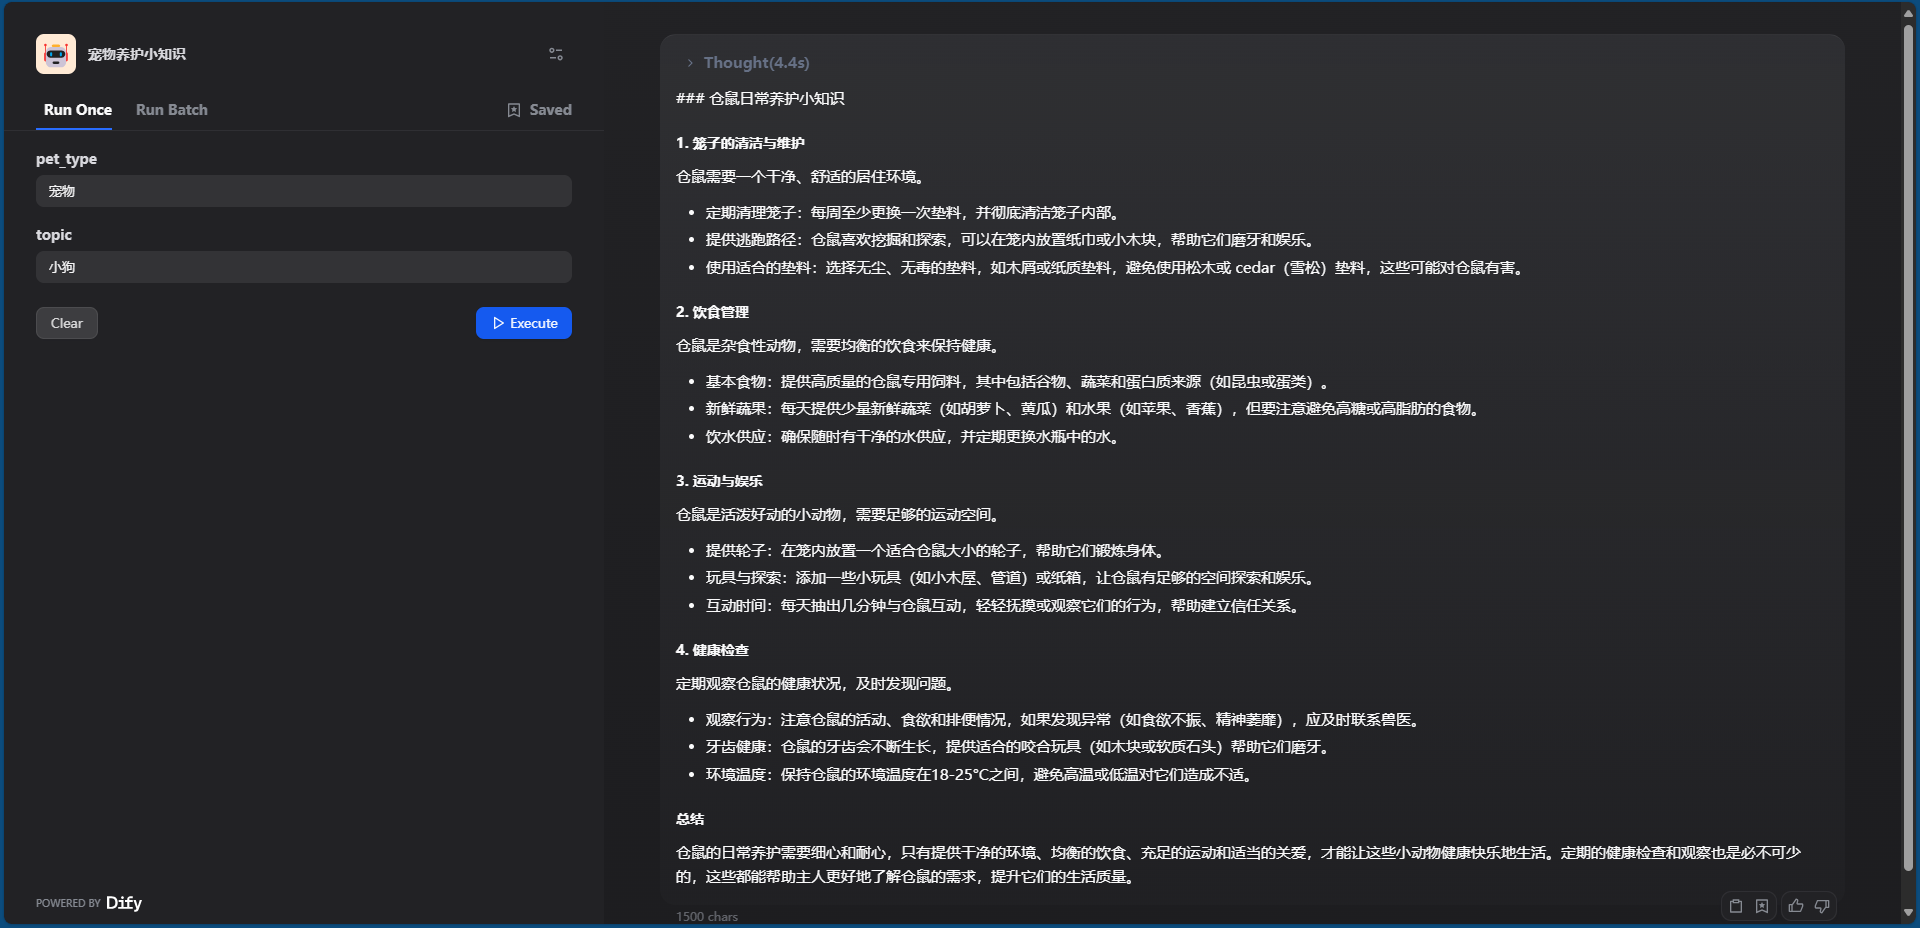
仓鼠日常养护小知识
- 笼子的清洁与维护
仓鼠需要一个干净、舒适的居住环境。
- 定期清理笼子:每周至少更换一次垫料,并彻底清洁笼子内部。
- 提供逃跑路径:仓鼠喜欢挖掘和探索,可以在笼内放置纸巾或小木块,帮助它们磨牙和娱乐。
- 使用适合的垫料:选择无尘、无毒的垫料,如木屑或纸质垫料,避免使用松木或 cedar(雪松)垫料,这些可能对仓鼠有害。
- 饮食管理
仓鼠是杂食性动物,需要均衡的饮食来保持健康。
- 基本食物:提供高质量的仓鼠专用饲料,其中包括谷物、蔬菜和蛋白质来源(如昆虫或蛋类)。
- 新鲜蔬果:每天提供少量新鲜蔬菜(如胡萝卜、黄瓜)和水果(如苹果、香蕉),但要注意避免高糖或高脂肪的食物。
- 饮水供应:确保随时有干净的水供应,并定期更换水瓶中的水。
- 运动与娱乐
仓鼠是活泼好动的小动物,需要足够的运动空间。
- 提供轮子:在笼内放置一个适合仓鼠大小的轮子,帮助它们锻炼身体。
- 玩具与探索:添加一些小玩具(如小木屋、管道)或纸箱,让仓鼠有足够的空间探索和娱乐。
- 互动时间:每天抽出几分钟与仓鼠互动,轻轻抚摸或观察它们的行为,帮助建立信任关系。
- 健康检查
定期观察仓鼠的健康状况,及时发现问题。
- 观察行为:注意仓鼠的活动、食欲和排便情况,如果发现异常(如食欲不振、精神萎靡),应及时联系兽医。
- 牙齿健康:仓鼠的牙齿会不断生长,提供适合的咬合玩具(如木块或软质石头)帮助它们磨牙。
- 环境温度:保持仓鼠的环境温度在18-25°C之间,避免高温或低温对它们造成不适。
总结
仓鼠的日常养护需要细心和耐心,只有提供干净的环境、均衡的饮食、充足的运动和适当的关爱,才能让这些小动物健康快乐地生活。定期的健康检查和观察也是必不可少的,这些都能帮助主人更好地了解仓鼠的需求,提升它们的生活质量。
🧾 总结
通过本文,我们成功展示了如何基于 华为云 Flexus X、DeepSeek-R1 模型与 Dify 平台,快速构建一个高性能、可视化、低代码的 AI 聊天助手系统。这一技术组合不仅在推理能力和部署灵活性方面具备显著优势,还极大地降低了开发门槛,让开发者能够专注于业务逻辑与内容构建。
主要优势回顾:
- ✅ Flexus X 提供了可热变配、智能加速的弹性算力,适用于成本敏感型智能部署;
- ✅ DeepSeek-R1 聚焦推理能力,在逻辑、编程、问答等任务中表现优秀;
- ✅ Dify 平台通过拖拽式界面与多模型支持,使 AI 应用开发效率大幅提升;
- ✅ 整体架构支持私有化部署,兼顾 数据安全性 与 模型灵活性;
- ✅ 实践案例“宠物养护小知识助手”从资源创建到上线仅需十余分钟,具备极高的实用性与拓展性。
无论是想打造企业内部知识助手、客户服务 Bot,还是面向个人项目构建定制化 Agent,这一方案为开发者提供了强有力的工具链与工程范式。
未来展望:随着国产大模型生态不断丰富,结合高性能云平台与低代码开发框架将成为 AI 应用落地的主流方式。掌握这套方法论,无疑是走在了时代前沿。

