深度学习系列14:jetson入门
1. Jetson基本信息查询
使用jetson_release -v查看系统环境:
nvidia@nvidia-desktop:$ jetson_release -v - NVIDIA Jetson Xavier NX (Developer Kit Version) * Jetpack 4.4 [L4T 32.4.3] * NV Power Mode: MODE_15W_6CORE - Type: 2 * jetson_stats.service: active - Board info: * Type: Xavier NX (Developer Kit Version) * SOC Family: tegra194 - ID:25 * Module: P3668 - Board: P3509-000 * Code Name: arch * CUDA GPU architecture (ARCH_BIN): 7.2 * Serial Number: 1421420051703 - Libraries: * CUDA: 10.2.89 * cuDNN: 8.0.0.180 * TensorRT: 7.1.3.0 * Visionworks: 1.6.0.501 * OpenCV: 4.1.1 compiled CUDA: YES * VPI: 0.3.7 * Vulkan: 1.2.70 - jetson-stats: * Version 3.0.1 * Works on Python 3.6.9也可以使用github上的一个小工具检查jetson info
git clone https://github.com/jetsonhacks/jetsonUtilitiescd jetsonUtilities./jetsonInfo.py我这边返回如下信息:
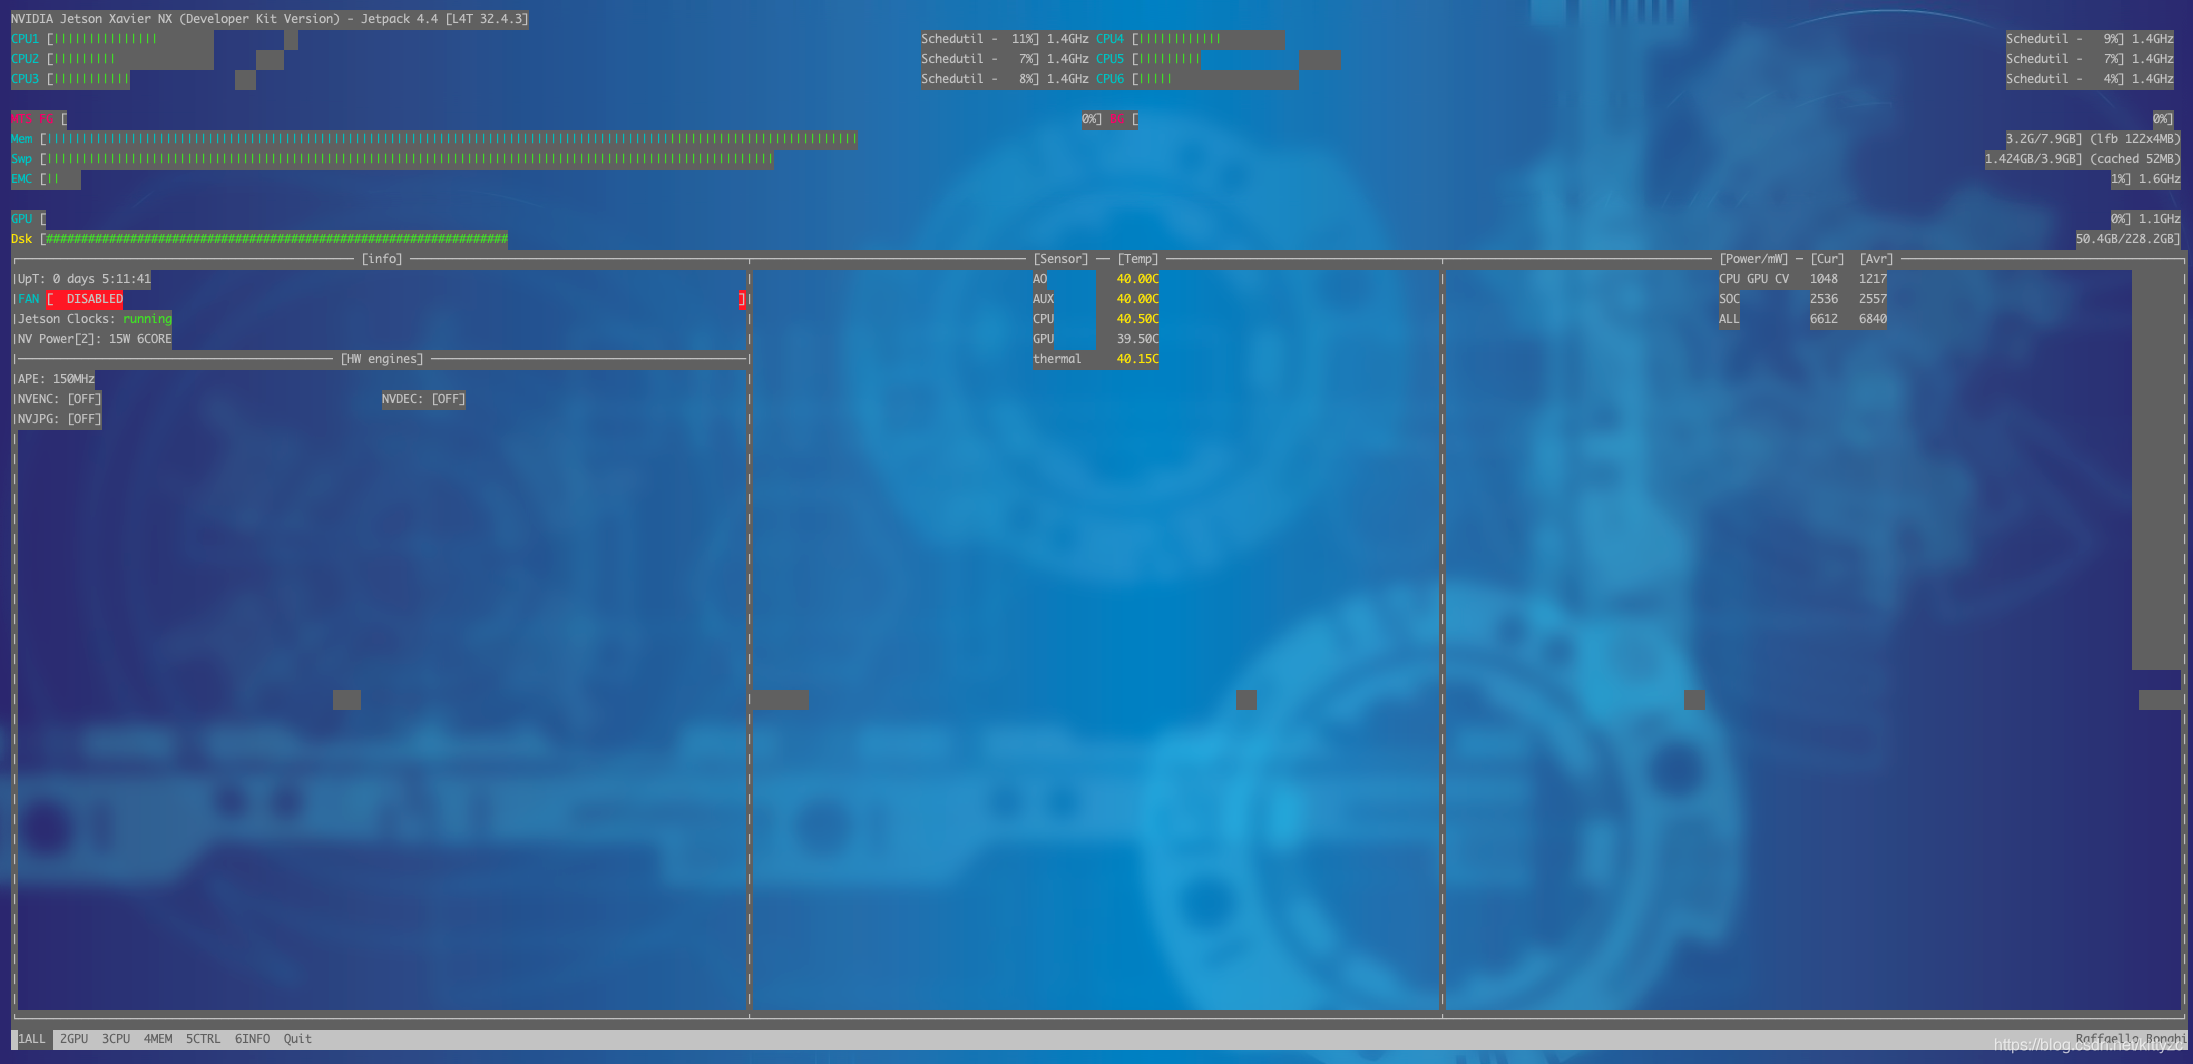
NVIDIA Jetson Xavier NX (Developer Kit Version) L4T 32.4.3 [ JetPack 4.4 ] Ubuntu 18.04.4 LTS Kernel Version: 4.9.140-tegra CUDA 10.2.89 CUDA Architecture: 7.2 OpenCV version: 4.1.1 OpenCV Cuda: YES CUDNN: 8.0.0.180 TensorRT: 7.1.3.0 Vision Works: 1.6.0.501 VPI: 0.3.7 ffmpeg n4.2.2-15-g6878ea5a44另外,输入jtop可以对设备进行监控:
2. Jetson拉流
这里不能用imutil,改成cv2.VideoCapture与GStreamer后端一起使用:
import cv2pipeline = "rtspsrc location=\"rtsp://...:5554/mystream001\" ! rtph264depay ! h264parse ! omxh264dec ! nvvidconv ! video/x-raw, format=(string)BGRx! videoconvert ! appsink"capture = cv2.VideoCaputure(pipeline, cv2.CAP_GSTREAMER)res, frame = capture.read()capture.release()...这里解析一下pipeline:
- rtspsrc: 连接rtsp Server(IPC端)并获取数据。
- rtph264depay: 做为rtspsrc的下游模块,可以接收到rtp包,并遵循RFC3984的规范解包,解完的包会按照NAL的格式对齐;NAL包以PUSH的模式交给下游模块。
- h264parse的作用,顾名思义,用来分割输出H264帧数据
- omxh264dec(或者nv_omx_h264dec),硬件解码
- nvvidconv: 如名,进行转码
- video/x-raw, format=(string)BGRx! videoconvert 色彩空间转换
- appsink:允许应用程序获取处理后的数据。
3. Jetson推理
首先要安装pycuda:sudo pip3 install --global-option=build_ext --global-option="-I/usr/local/cuda/include" --global-option="-L/usr/local/cuda/lib64" pycuda
还有一种方式是手动指定:
export PATH=/usr/local/cuda-10.2/bin:/usr/local/cuda/bin:$PATHpip3 install pycuda运行前要export OPENBLAS_CORETYPE=ARMV8,这个也可以写进~/.bashrc文件
下面是一个示例代码,输入输出可以根据需要改变:
import tensorrt as trtimport osimport pycuda.driver as cudaimport cv2import numpy as npclass TensorRTInference(object): def __init__(self, engine_file_path, input_shape): self.engine_file_path = engine_file_path self.shape = input_shape self.engine = self.load_engine() def load_engine(self): assert os.path.exists(self.engine_file_path) with open(self.engine_file_path, 'rb') as f, trt.Runtime(trt.Logger()) as runtime: engine_data = f.read() engine = runtime.deserialize_cuda_engine(engine_data) return engine def infer_once(self, img): engine = self.engine if len(img.shape) == 4: _, c, h, w = img.shape elif len(img.shape) == 3: c, h, w = img.shape with engine.create_execution_context() as context: context.set_binding_shape(engine.get_binding_index('input'), (1, 3, self.shape[0], self.shape[1])) bindings = [] for binding in engine: binding_idx = engine.get_binding_index(binding) size = trt.volume(context.get_binding_shape(binding_idx)) dtype = trt.nptype(engine.get_binding_dtype(binding)) if engine.binding_is_input(binding): input_buffer = np.ascontiguousarray(img, dtype) input_memory = cuda.mem_alloc(img.nbytes) bindings.append(int(input_memory)) else: output_buffer = cuda.pagelocked_empty(size, dtype) output_memory = cuda.mem_alloc(output_buffer.nbytes) bindings.append(int(output_memory)) stream = cuda.Stream() cuda.memcpy_htod_async(input_memory, input_buffer, stream) context.execute_async(bindings=bindings, stream_handle=stream.handle) cuda.memcpy_dtoh_async(output_buffer, output_memory, stream) stream.synchronize() #res = np.reshape(output_buffer, (2, h, w)) return output_buffer# 这段是调用代码import pycuda.autoinitINPUT_SHAPE = (17, 17)engine_file_path = '*.trt'img_path = '10.png'img = cv2.imread(img_path) # hwcimg = cv2.resize(img, (17, 17))img = np.transpose(img, (2,0,1)) # chwtrt_infer = TensorRTInference(engine_file_path, INPUT_SHAPE)engine = trt_infer.load_engine()for i in range(1000): trt_infer.infer_once((img-255)/122)4. 直接用onnx推理
参考https://www.elinux.org/Jetson_Zoo,安装jetson版本的onnxruntime即可

