鸿蒙OS开发第二弹~~~
自定义组件
创建
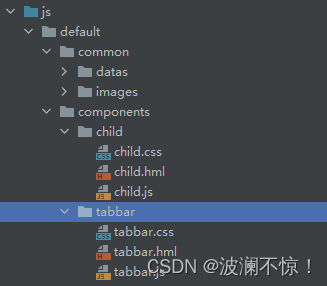
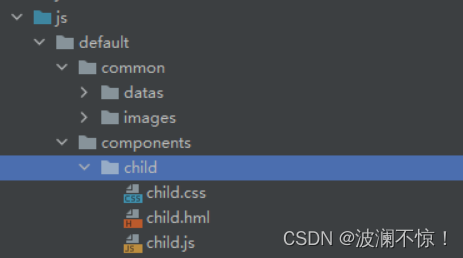
default Ability下创建components文件夹,在该目录下创建自定义组件tabbar
调用
两种调用方法
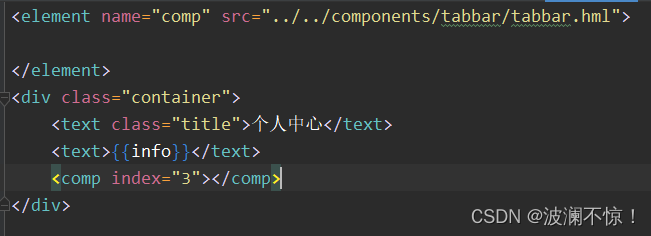
命名
element标签导入时设置name属性为“comp”,调用时使用comp标签
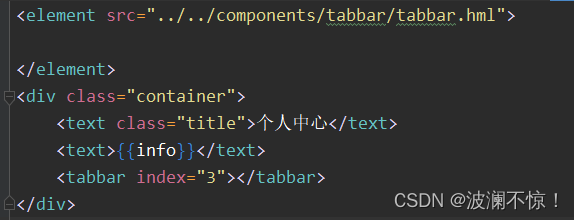
不命名
elements标签导入时不设置name属性,调用时默认使用tabbar标签
父子组件传值
创建子组件
child.hml
<div class="container"> <div class="box"> <text>我是子组件</text> <slot></slot> <slot name="other"></slot> <button @click="changeFatherNum">点击修改</button> </div></div>child.css
.box{ width: 90%; height: 200px; border: 2px solid #333; position: fixed; right: 5%; bottom: 30%;}child.js
export default { data:{ }, changeFatherNum() { this.$emit("changeFatherNum") }}父组件通过props向子组件传值
child.hml
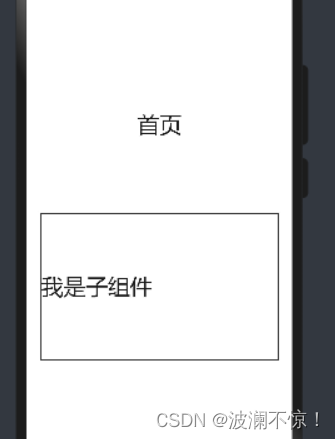
<text>我是子组件</text>index.hml
<child></child>效果
slot插槽
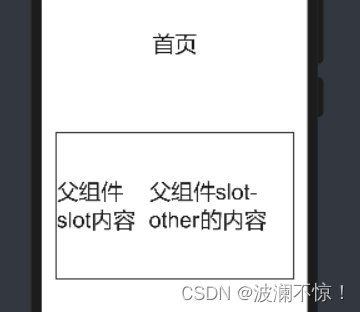
有两种使用方式,第一种“父组件slot内容”未定义slot标签name属性,第二种“父组件slot-other的内容”定义slot标签name属性为“other”
child.hml
<slot></slot><slot name="other"></slot>index.hml
<child> <text>父组件slot内容</text> <text slot="other">父组件slot-other的内容</text></child>效果
子组件通过自定义事件改变父组件状态
child.hml
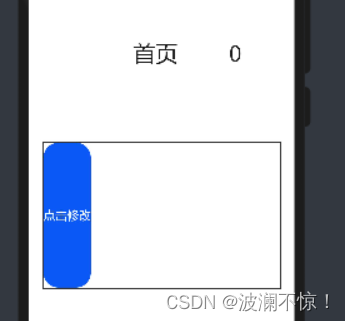
<button @click="changeFatherNum">点击修改</button>child.js
changeFatherNum() { this.$emit("changeFatherNum") }index.hml
<text>{{num}}</text><child @change-father-num="changeNum"></child>效果
数字随蓝色按钮点击增加
路由实现页面导航
config.json进行页面定义
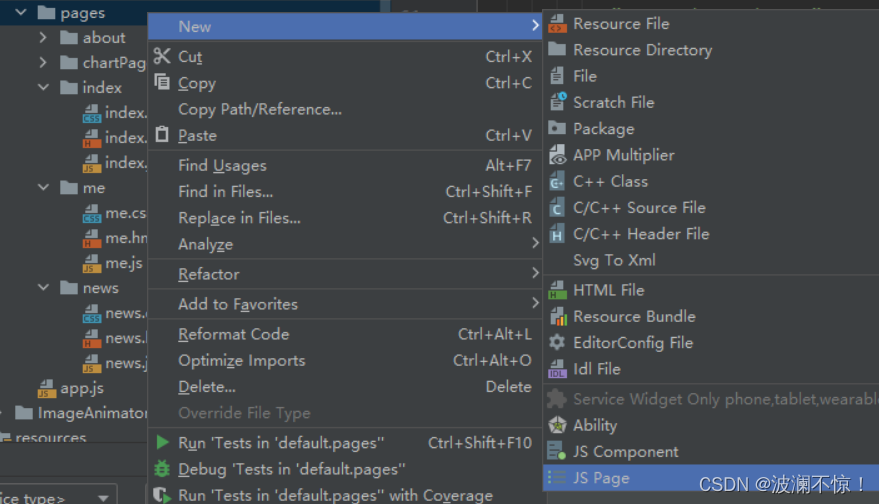
手动创建页面,需要在config.json中添加对应页面定义
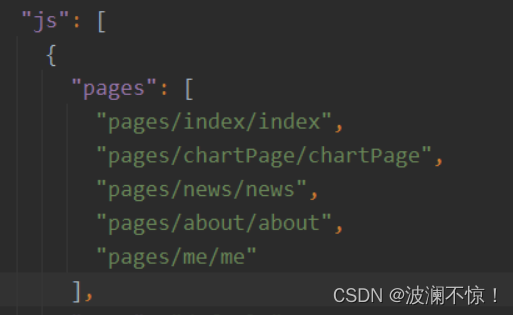
使用ide创建,则会自动创建对应页面定义
router模块使用
修改tabbar组建
tabbar.hml
<div class="container"> <toolbar class="tabbar"> <toolbar-item for="{{tabbarItems}}" icon='{{$idx == index ? $item.simg : $item.img}}' value='{{$item.name}}' onclick="jump($idx)" > </toolbar-item> </toolbar></div>tabbar.js
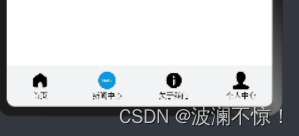
jump(index){ switch(index){ case 0: router.push({ uri:"pages/index/index", params:{ info:"这是路由传递的参数" } }); break; case 1: router.push({ uri:"pages/news/news", params:{ info:"这是路由传递的参数" } }); break; case 2: router.push({ uri:"pages/about/about", params:{ info:"这是路由传递的参数" } }); break; case 3: router.push({ uri:"pages/me/me", params:{ info:"这是路由传递的参数" } }); break; } }效果
点击对应图标跳转对应页面