详解Spring IOC属性注入、Bean的作用域和@Autowired、@Qualifier、@Resource区别
目录
1.Spring IOC创建对象的两种方式
2.Bean作用域
3.属性注入
3.1 普通装配
3.2 自动装配(xml格式)
3.3 自动装配(基于注解)
总结:
本文主要是讲解一下个人对spring的一些认识!
在讲这三者的区别之前,我想先简单回顾一下Spring IOC 操作管理Bean;
先来一个简单的案例:
applicationContext.xml
//加载配置文件ApplicationContext ctx=new ClassPathXmlApplicationContext("applicationContext.xml");//获取资源 UserService userService = ctx.getBean("userService1",UserService.class);如上所示就是简单的将类交给Spring管理,再由spring创建对象的过程;
Bean管理指的是两个操作:1.Spring创建对象,2.Spring注入属性;
Bean管理操作有两种方式:1.基于xml配置文件方式实现;2.基于注解方式实现;
1.Spring IOC创建对象的两种方式
IOC底层就是对象工厂;
1.BeanFactory(将案例的ApplicationContext更改为BeanFactory也是可以的);
IOC容器的基本实现,Spring内部接口,一般不提供给开发使用;
2.ApplicationContext (就是案例的那种)
BeanFactory接口的子接口,提供更多更强大的功能,一般由开发人员使用;
3.两者的区别:
BeanFactory,加载配置文件的时候,不会创建对象,只有我们在获取对象的时候,也就是案例中调用getBean方法,才会去创建,属于动态工厂;
ApplicationContext,加载配置文件的时候,就会把所有的在配置文件中配置了bean标签的类创建出对象,属于静态工厂;
显然,一般我们把耗时耗性能的操作在服务器启动的时候就做了,所以,一般使用ApplicationContext方式创建对象,也就在加载配置文件的时候就把对象/实例创建出来;
两个接口的关系:

显然,ApplicationContext是BeanFactory的子接口,在BeanFactory的基础上做了增强;
2.Bean作用域
就是设置bean是多实例还是单实例;
如何测试多实例还是单实例:
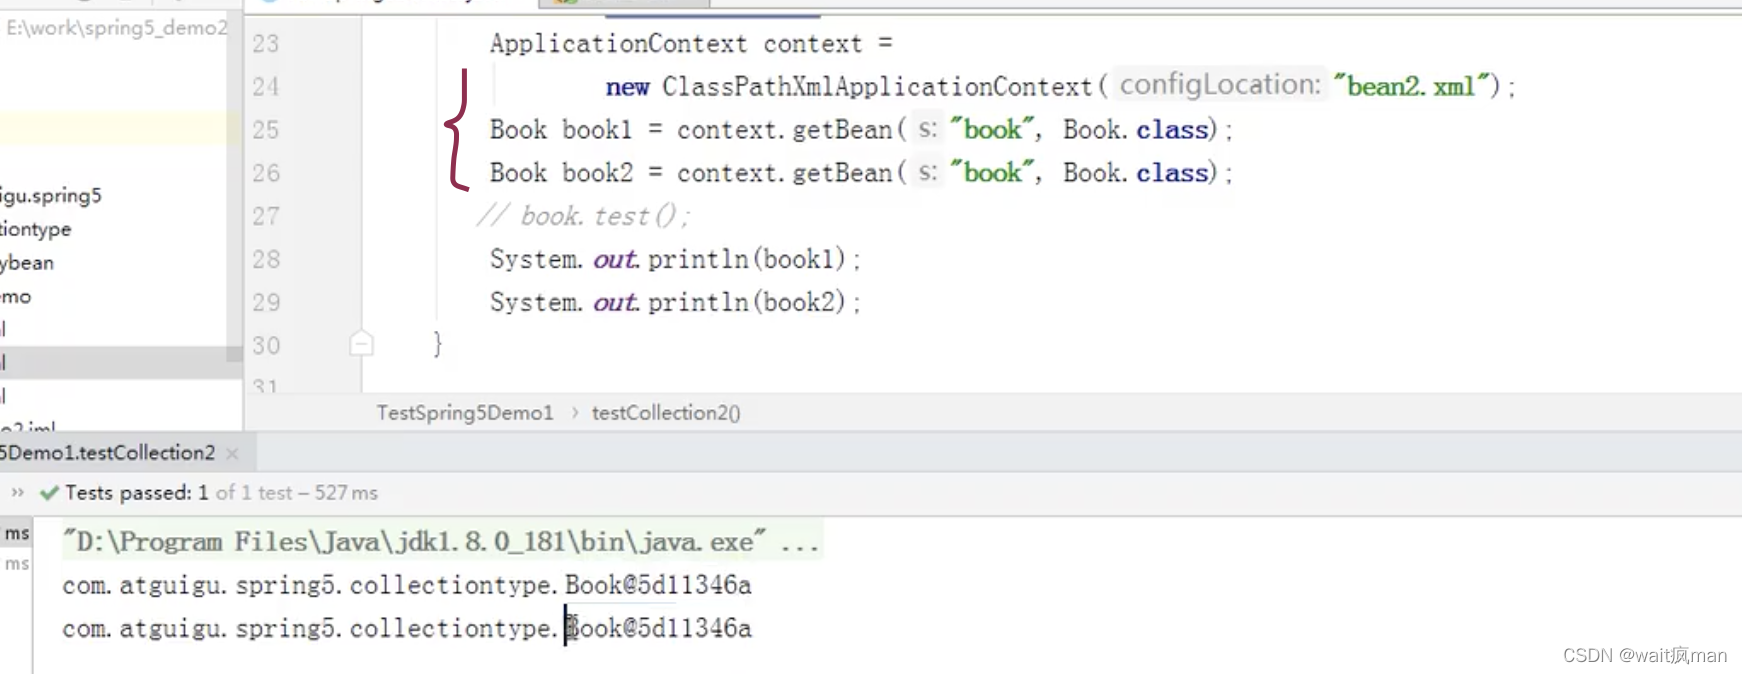
如上代码所示:我们只要多次调用 getBean()方法,看对象是不是同一个对象即可;
我们主要谈两种:singleton(单实例)和prototype(多实例)
1.bean标签的scope属性可设置作用域;
2.在类上加注解 @Scope("singleton")或者@Scope("prototype")可设置作用域;
scope如果是singleton,即使没getBean(),也会创建对象,即先加载创建,想用就去拿,所以都是拿的同一个对象;
如果是prototype,是当你执行getBean()执行一次,就会创建一个新的对象;
即两种作用域的对象的创建时机不同;默认作用域是singleton;
3.属性注入
比如我们要将StudentServiceImpl类交给Spring管理,并将StudentMapper注入StudentServiceImpl类;
public class StudentServiceImpl { //属性studentMapper private StudentMapper studentMapper; //方法 public void updateStudent(){ Student student = new Student(); student.setSid(1); student.setAge(25); studentMapper.updateByPrimaryKeySelective(student); }}3.1 普通装配
1.需要在application.xml里面写bean标签,如下所示:
2.如果我们要在java里面使用StudentServiceImpl类的对象
//加载配置文件ClassPathXmlApplicationContext ctx = new ClassPathXmlApplicationContext("application.xml");//创建对象StudentServiceImpl studentServiceImpl = (StudentServiceImpl)ctx.getBean("studentService");//调用对象的方法访问数据库studentServiceImpl.updateStudent();这样,我们就通过Spring获取到了一个StudentServiceImpl类的对象,也就可以调用它的具体方法了;
3.2 自动装配(xml格式)
bean标签中有autowire属性可配置自动装配,autowire属性常用两个值:
byName:根据属性名称注入,这个就要注入bean的id要和类的属性名称一致;
byType:根据类型注入;
按照名称注入:
要给StudentServiceImpl注入StudentMapper,按照名称注入,要求StudentMapper的bean的id和StudentServiceImpl类的属性studentMapper名称一致:
按照类型注入:
只要有类型是com.jzcs.mapper.StudentMapper的bean就会被注入;
但是如果是如下所示的情况,有两个bean的类型都是com.jzcs.mapper.StudentMapper,这样Spring IOC就不知道具体要注入哪一个,就会报错;
3.3 自动装配(基于注解)
首先,将类交给Spring管理,只需要加上注解就可以了:
@Controller、@Service、@Component、@Repository,这几个注解的作用其实都是一样的,都是将类交给Spring管理,这样就不用写bean标签了;
这种情况,我们要注入属性,就有三个注解:
@Autowire:根据属性类型进行自动装配;
比如:@Autowired StudentDao,StudentDao是接口,会自动注入它的实现类,但是如果该接口有多个实现类,那@Autowired按照类型就有问题了;
@Qualifier:根据名称注入,要和@Autowired一起使用;
比如,上面说的情况,如果StudentDao有两个实现类,StudentDaoImpl1 、StudentDaoImpl2,单独使用@Autowired报错,结合@Qualifier使用;
@Servicepublic class StudentService { @Autowired @Qualifier(value = "studentDaoImpl1") //按照名称注入studentDaoImpl1 private StudentDao studentDao; public void updateStudent(){ Student student = new Student(); student.setSid(1); student.setAge(25); studentDao.updateByPrimaryKeySelective(student); }}@Resource:既可以根据类型注入,也可以根据名称注入;
写了name属性,就根据名称注入,不写就根据类型注入;
@Resource是javax扩展包中的注解,spring官方更建议我们使用@Autowire和@Qualifier;
注意:bean的名称,一般如果我们不手动给,就会使用类名,首字母小写作为bean的名称;
总结:
上面已经说明了@Autowire、@Qualifier、@Resource三个注解的区别;
我们java中自己写一个类,里面的属性包含另一个类,总体就是类,我们要创建一个实例,在单纯的java中,我们需要new 类创建一个该类的对象,这样有强耦合;所以我们呢开发了spring框架,我们将创建好的类,比如...Service/dao等,交给spring管理,比如加注解或者xml里的bean标签;当我们要一个对象并调方法的时候,比如我们要一个service对象,调用里面的处理逻辑的方法,原来就是new Service/dao,现在就直接从spring容器里面获取一个对象,比如@autower等注解;

