Java客户端-Jedis
本篇博文目录:
-
-
- 1.什么是Jedis
- 2.Jedis的简单使用
-
- (1) 导入相关依赖
- (2) Getting started
- (3) Easier way of using connection pool
- (4) 连接池
- 3.Spring环境下使用JedisPool
-
- (1) String数据类型
- (2) Hash数据类型
- (3) list数据类型
- (4) 底层操作
-
1.什么是Jedis
①Jedis是Java语言开发的Redis客户端工具包,用于Java语言与Redis数据进行交互.
② Jedis只是对Redis命令的封装,掌握Redis命令便可轻易上手Jedis
③ Jedis遵循RESP协议规范开发,具有良好的通用性与可读性.
github官网地址:https://github.com/redis/jedis#readme

2.Jedis的简单使用
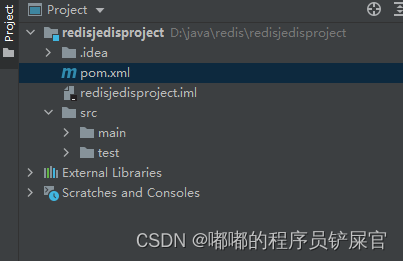
创建一个名为redisjedisproject的Maven项目
(1) 导入相关依赖
Jedis依赖:https://search.maven.org/artifact/redis.clients/jedis/4.2.3/jar
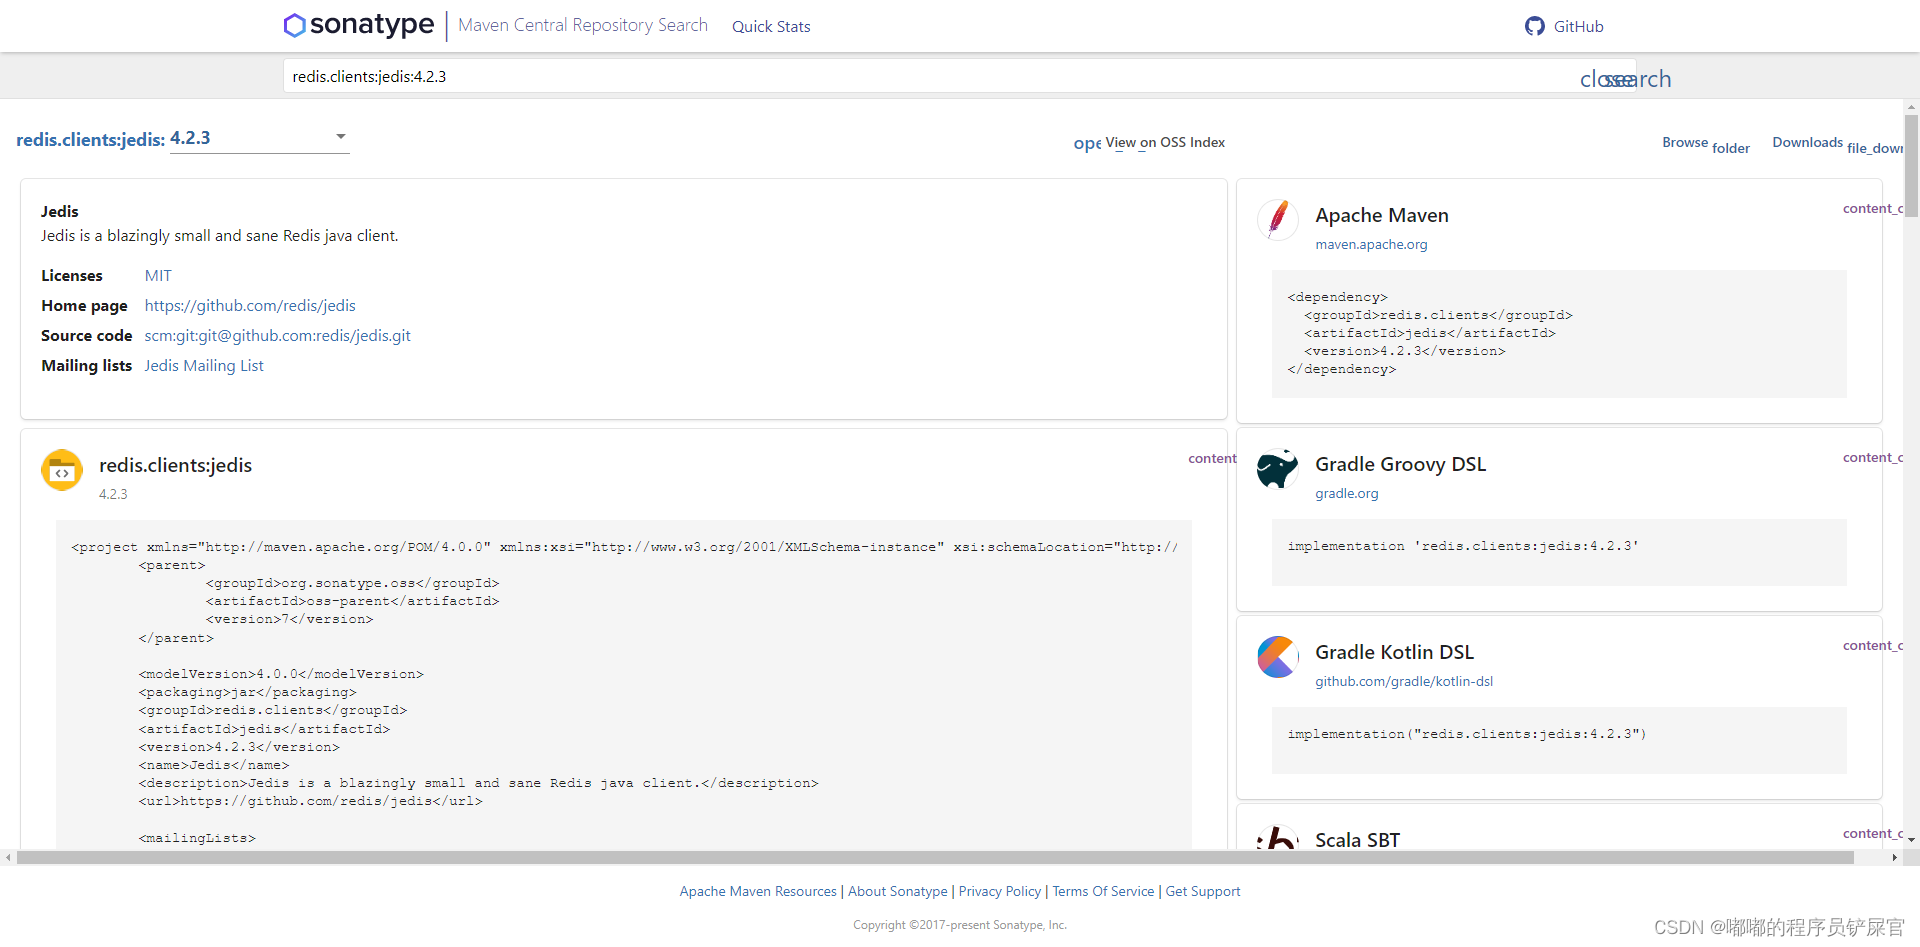
<dependency> <groupId>redis.clients</groupId> <artifactId>jedis</artifactId> <version>4.2.3</version></dependency>junit测试依赖:
<dependency> <groupId>junit</groupId> <artifactId>junit</artifactId> <version>4.13.2</version> <scope>test</scope> </dependency>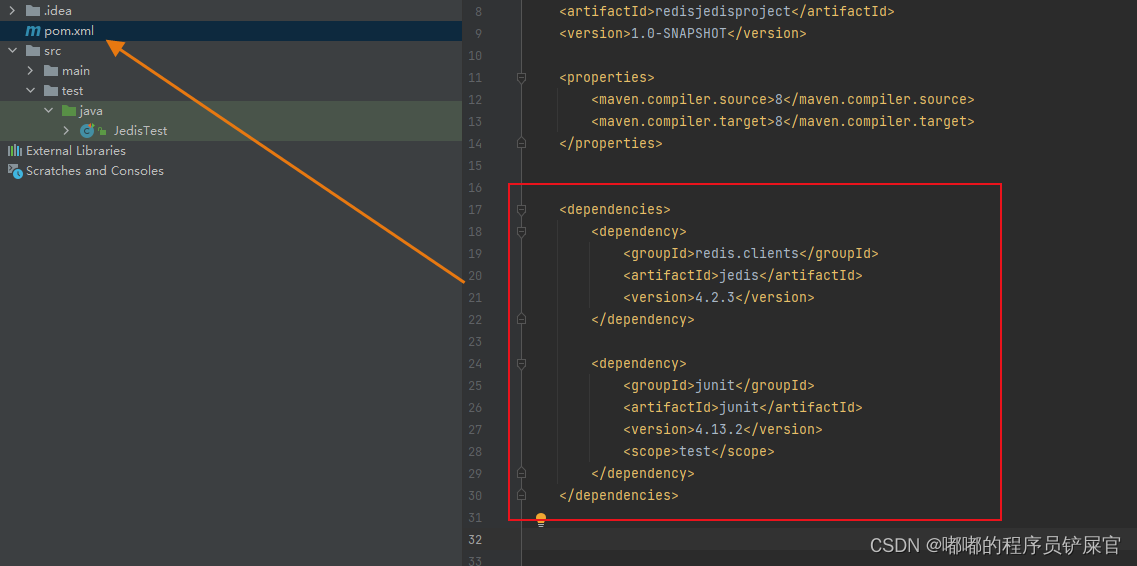
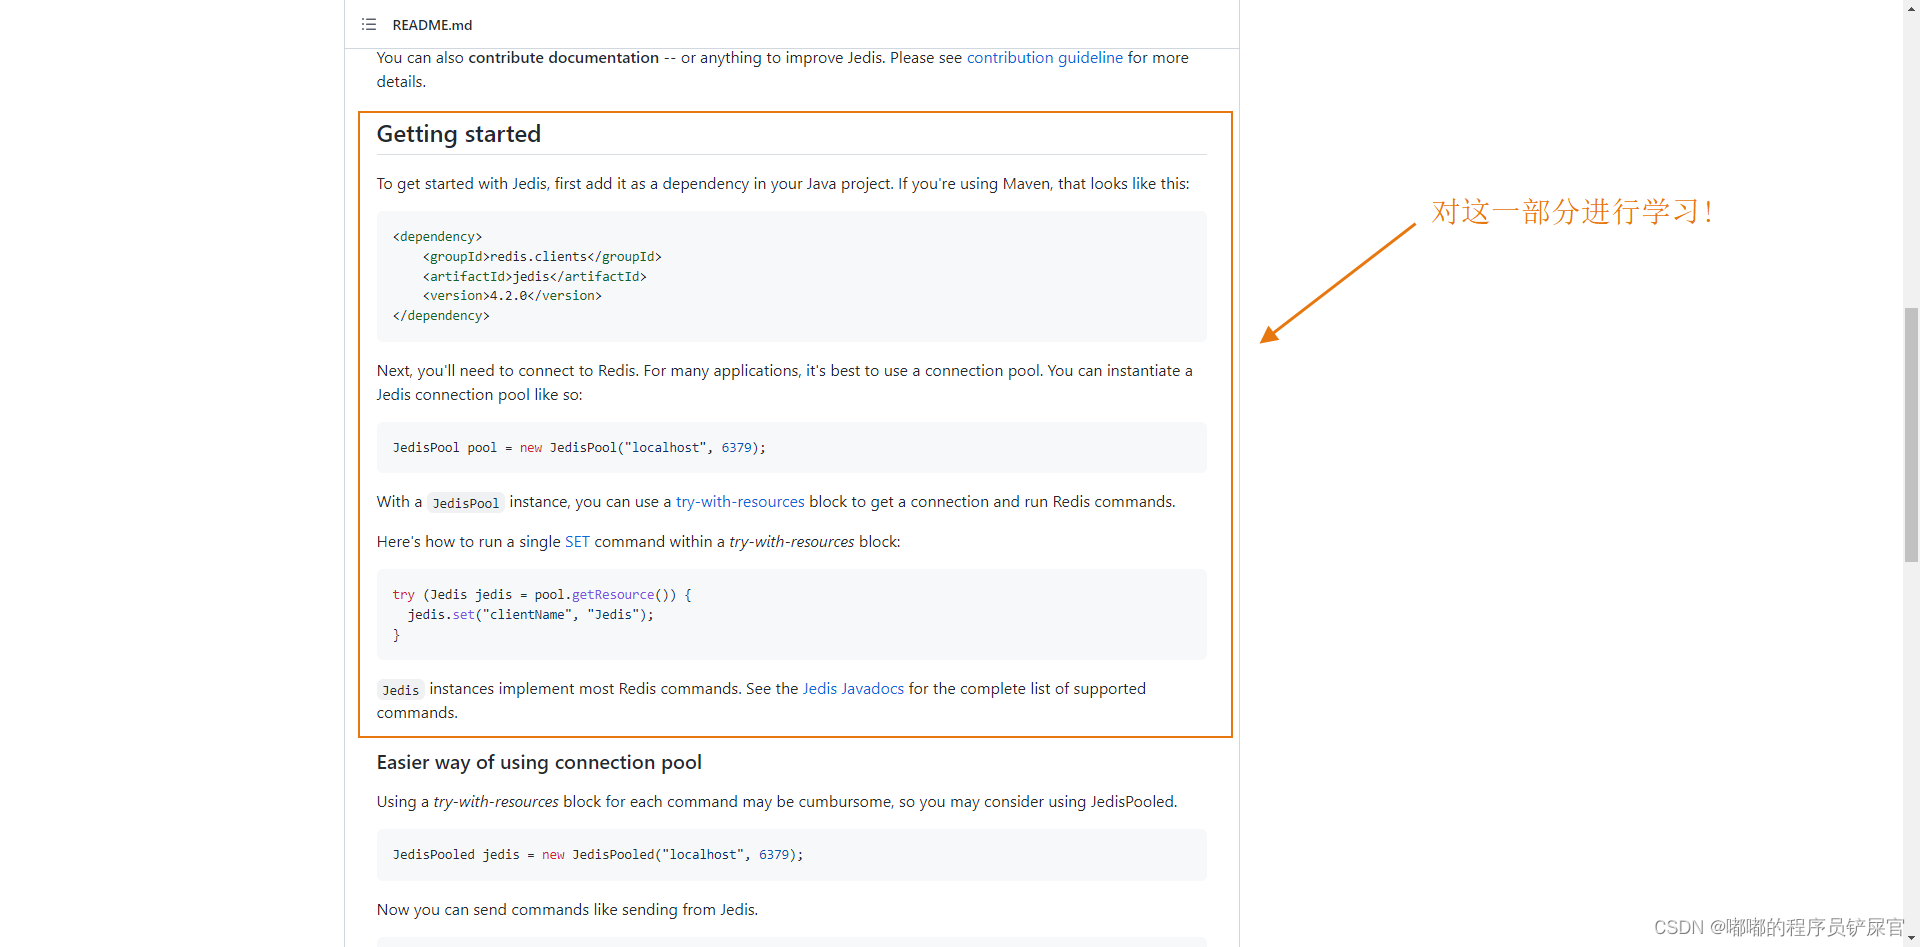
(2) Getting started
github上学习链接:https://github.com/redis/jedis#readme
英文解释翻译:
接下来,你需要连接到 Redis。对于许多应用程序,最好使用连接池。你可以像这样实例化一个 Jedis 连接池:
JedisPool pool = new JedisPool("localhost", 6379);对于 JedisPool 实例,可以使用 try-With-resources 块获得连接并运行 Redis 命令 ( 这种方式无须自己手动close() )。
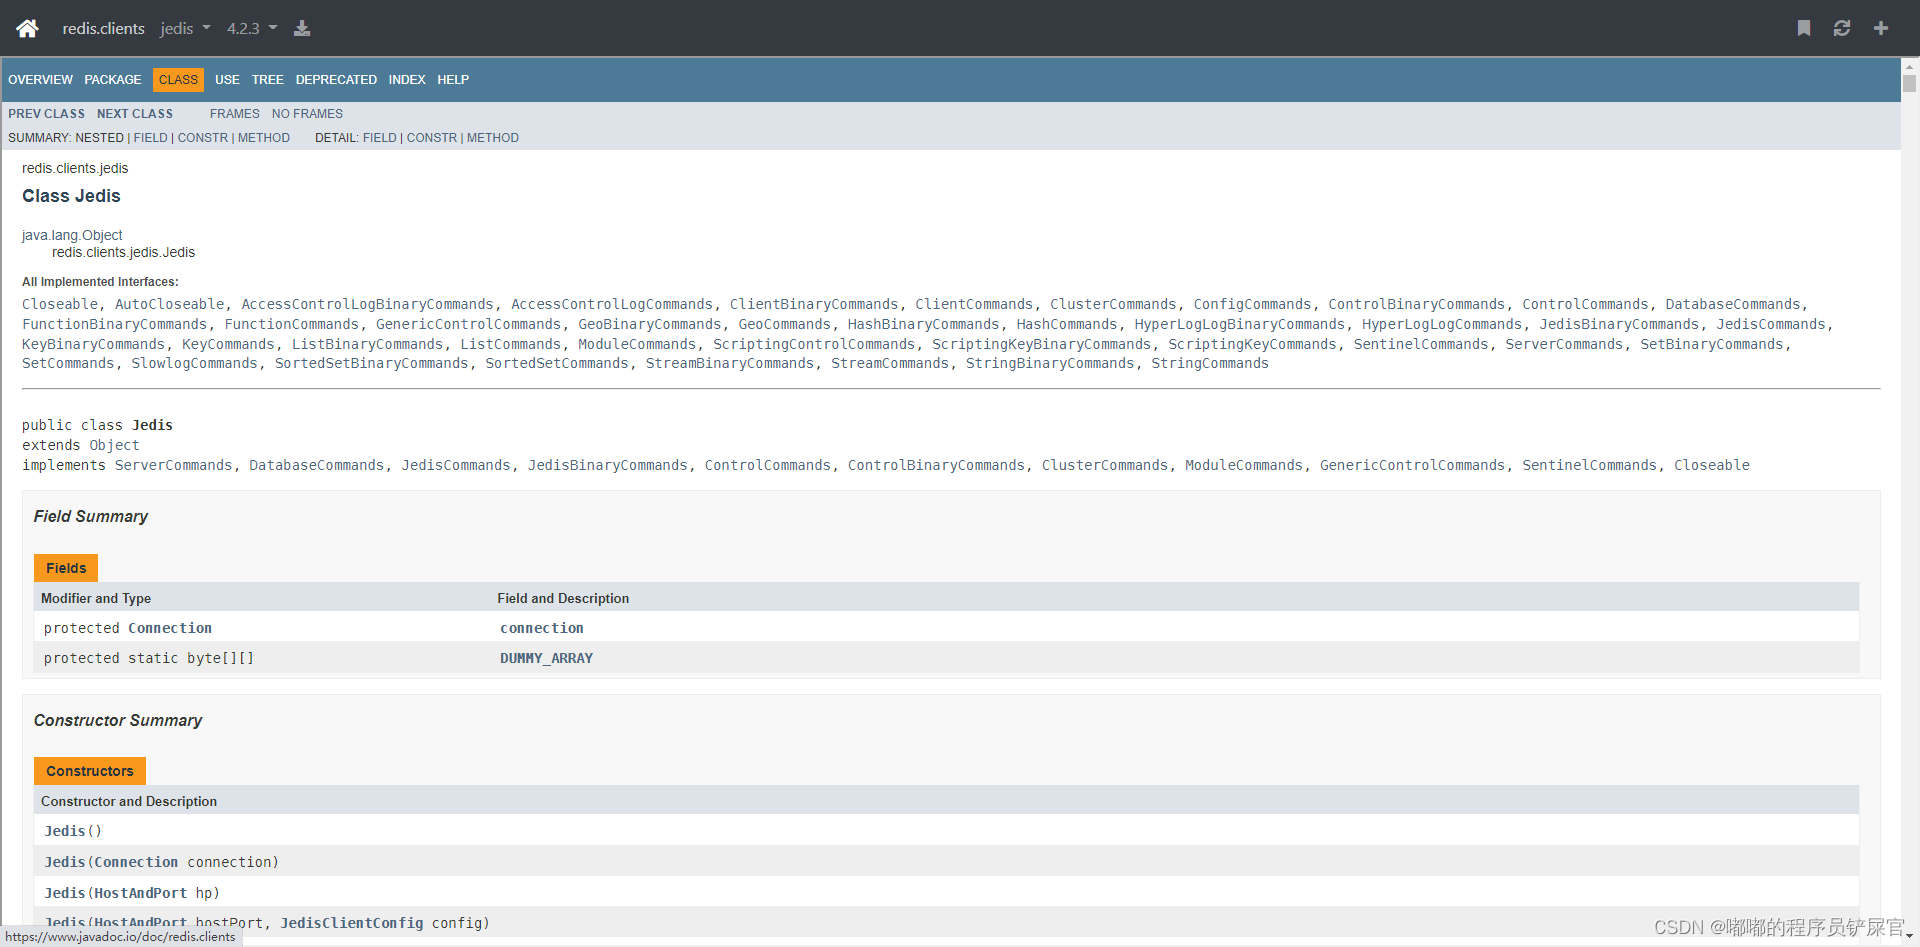
try (Jedis jedis = pool.getResource()) { jedis.set("clientName", "Jedis");// 运行单个 SET 命令}Jedis 实例实现了大多数 Redis 命令,这些命令可以在https://www.javadoc.io/doc/redis.clients/jedis/latest/redis/clients/jedis/Jedis.htmlApI中查询命令对应的方法。
根据上面的说明,我们编写如下代码:
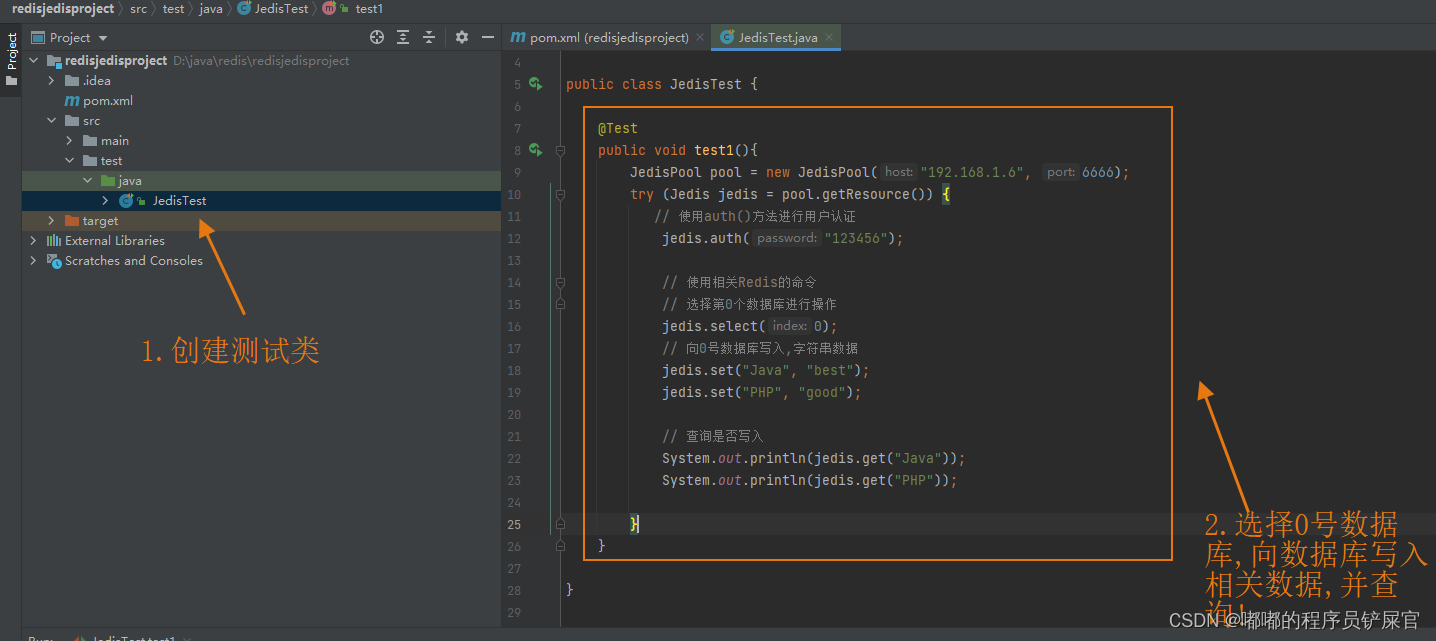
详细代码:
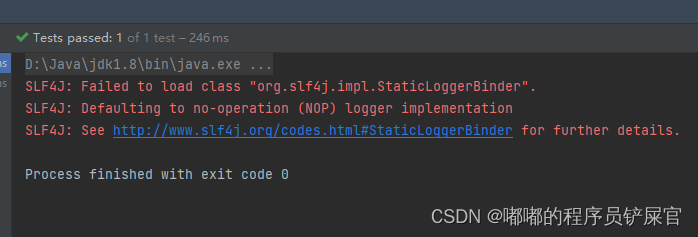
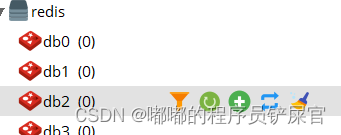
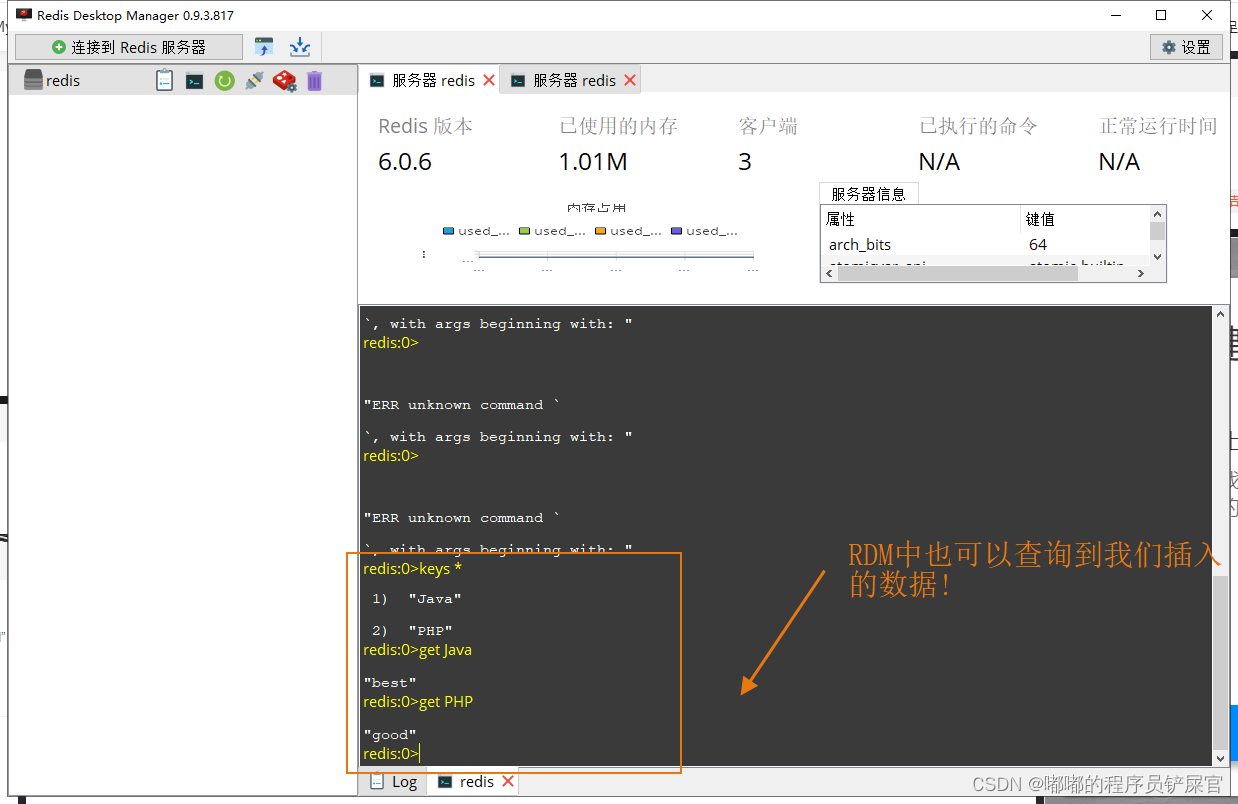
import org.junit.Test;import redis.clients.jedis.Jedis;import redis.clients.jedis.JedisPool;public class JedisTest { @Test public void test1(){ JedisPool pool = new JedisPool("192.168.1.6", 6666);// Redis服务端IP和端口号 try (Jedis jedis = pool.getResource()) { // 使用auth()方法进行用户认证 jedis.auth("123456");// 配置文件中的密码 // 使用相关Redis的命令 // 选择第0个数据库进行操作 jedis.select(0); // 向0号数据库写入,字符串数据 jedis.set("Java", "best"); jedis.set("PHP", "good"); // 查询是否写入 System.out.println(jedis.get("Java")); System.out.println(jedis.get("PHP")); } }}运行测试用例:
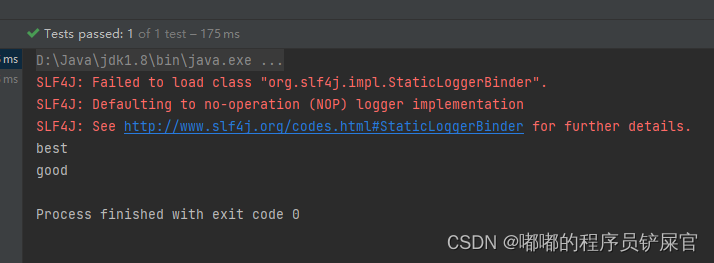
备注:根据上面的操作,我们可以发现其实Jedis的操作是非常简单,以前我们在命令行中输入相应命令进行操作,在Jedis中我们只需要调用相应方法去执行相应命令即可。
(3) Easier way of using connection pool
英文解释翻译:
对每个命令使用 try-with-resources 块可能比较麻烦,因此您可以考虑使用 JedisPooled。
JedisPooled jedis = new JedisPooled("localhost", 6379);根据上面的说明,我们编写如下代码:
详细代码:
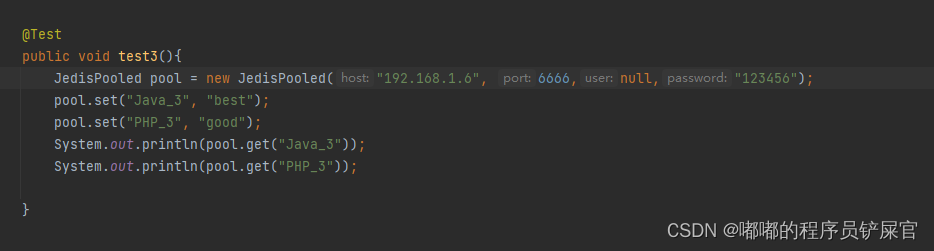
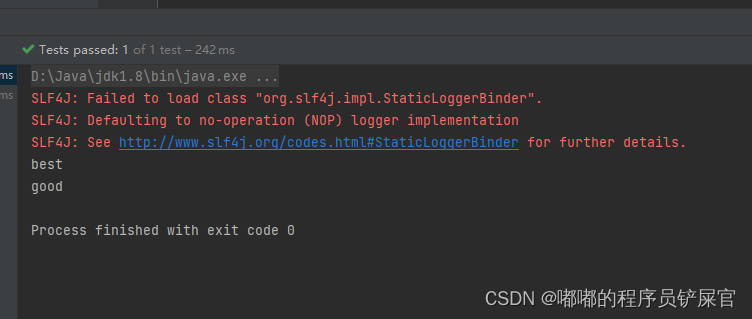
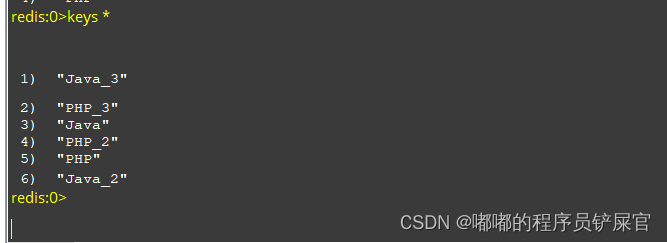
@Test public void test3(){ JedisPooled pool = new JedisPooled("192.168.1.6", 6666,null,"123456"); pool.set("Java_3", "best"); pool.set("PHP_3", "good"); System.out.println(pool.get("Java_3")); System.out.println(pool.get("PHP_3")); }运行效果:
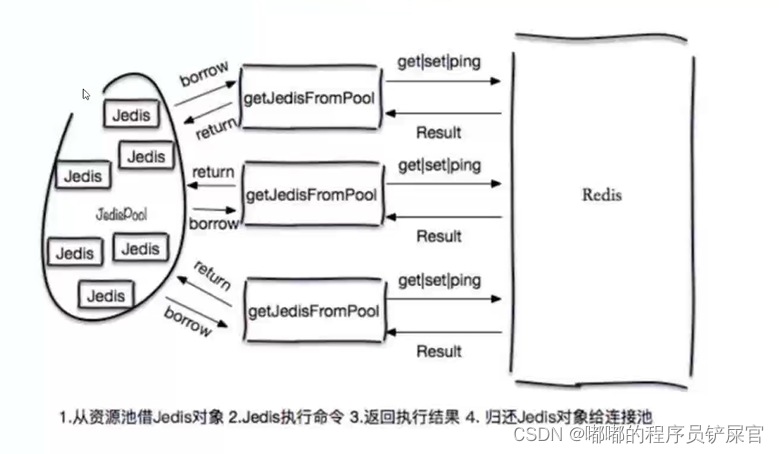
(4) 连接池
使用链接池是官方推荐的使用方式,通过连接池可以更好的使用Jedis的,我们可以通过GenericObjectPoolConfig对连接池进行相关配置,GenericObjectPoolConfig API文档:点击跳转查询!
。
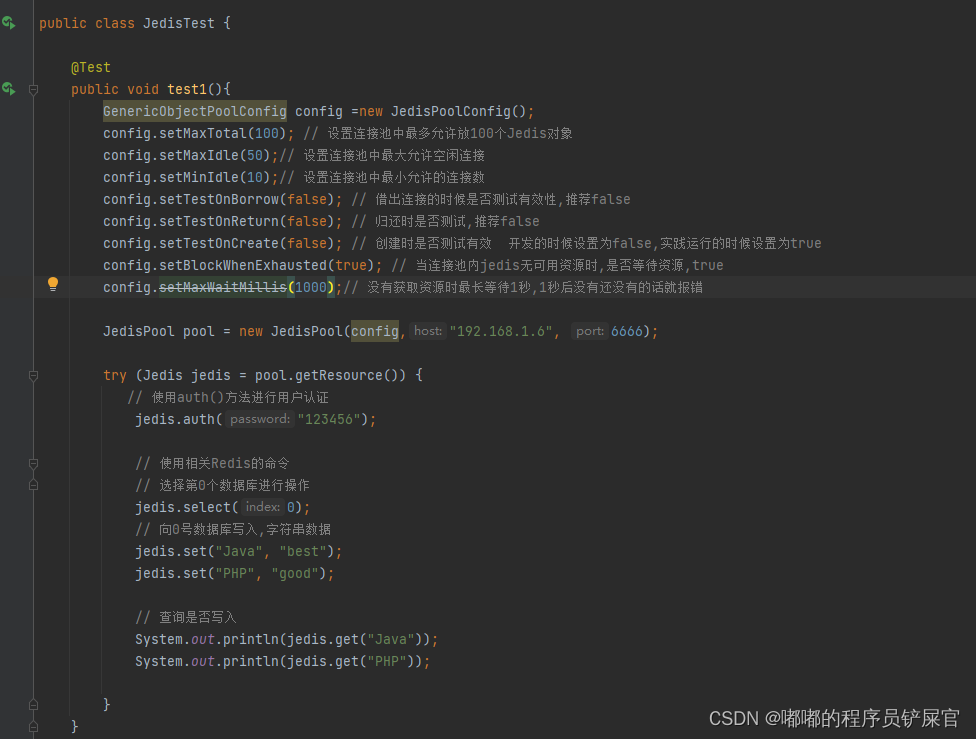
通过GenericObjectPoolConfig对象对连接池进行配置,具体代码如下:
详细代码:
import org.apache.commons.pool2.impl.GenericObjectPoolConfig;import org.junit.Test;import redis.clients.jedis.Jedis;import redis.clients.jedis.JedisPool;import redis.clients.jedis.JedisPoolConfig;public class JedisTest { @Test public void test1(){ GenericObjectPoolConfig config =new JedisPoolConfig(); config.setMaxTotal(100); // 设置连接池中最多允许放100个Jedis对象 config.setMaxIdle(100);// 设置连接池中最大允许空闲连接 config.setMinIdle(10);// 设置连接池中最小允许的连接数 config.setTestOnBorrow(false); // 借出连接的时候是否测试有效性,推荐false config.setTestOnReturn(false); // 归还时是否测试,推荐false config.setTestOnCreate(false); // 创建时是否测试有效 开发的时候设置为false,实践运行的时候设置为true config.setBlockWhenExhausted(true); // 当连接池内jedis无可用资源时,是否等待资源,true config.setMaxWaitMillis(1000);// 没有获取资源时最长等待1秒,1秒后没有还没有的话就报错 JedisPool pool = new JedisPool(config,"192.168.1.6", 6666); try (Jedis jedis = pool.getResource()) { // 使用auth()方法进行用户认证 jedis.auth("123456"); // 使用相关Redis的命令 // 选择第0个数据库进行操作 jedis.select(0); // 向0号数据库写入,字符串数据 jedis.set("Java", "best"); jedis.set("PHP", "good"); // 查询是否写入 System.out.println(jedis.get("Java")); System.out.println(jedis.get("PHP")); } }}使用连接池的方式和直连的方式有什么区别:
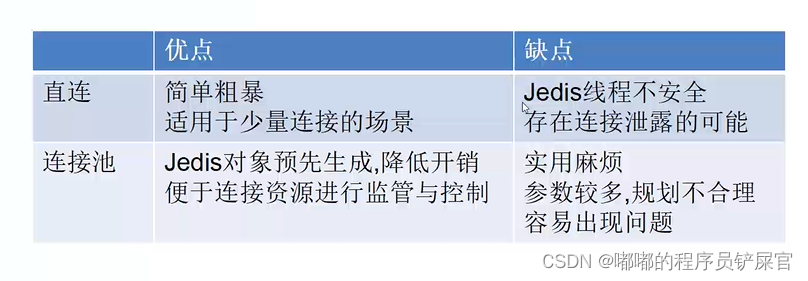
关于什么是直连方式?
直连方式就是直接通过Jedis对象进行操作。
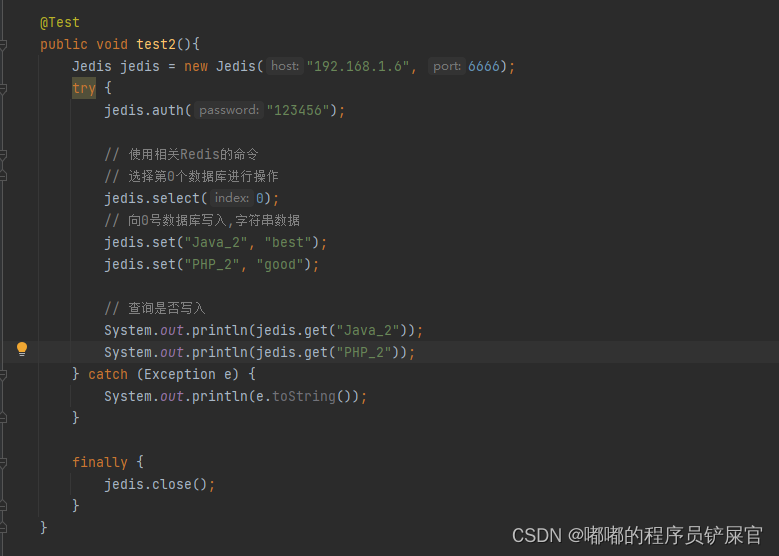
详细代码:
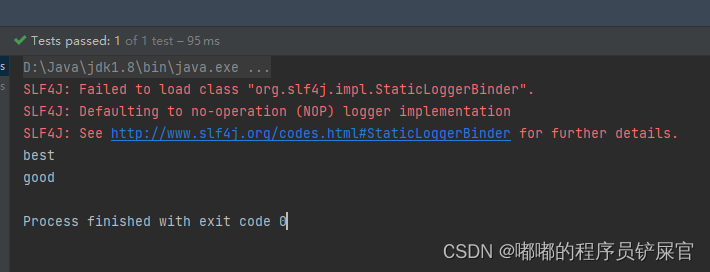
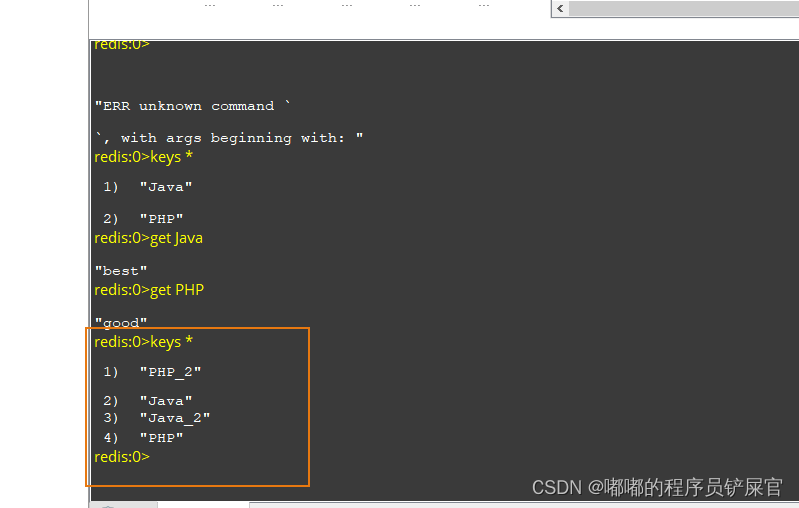
@Test public void test2(){ Jedis jedis = new Jedis("192.168.1.6", 6666); try { jedis.auth("123456"); // 使用相关Redis的命令 // 选择第0个数据库进行操作 jedis.select(0); // 向0号数据库写入,字符串数据 jedis.set("Java_2", "best"); jedis.set("PHP_2", "good"); // 查询是否写入 System.out.println(jedis.get("Java_2")); System.out.println(jedis.get("PHP_2")); } catch (Exception e) { System.out.println(e.toString()); } finally { jedis.close(); } }运行效果:
3.Spring环境下使用JedisPool
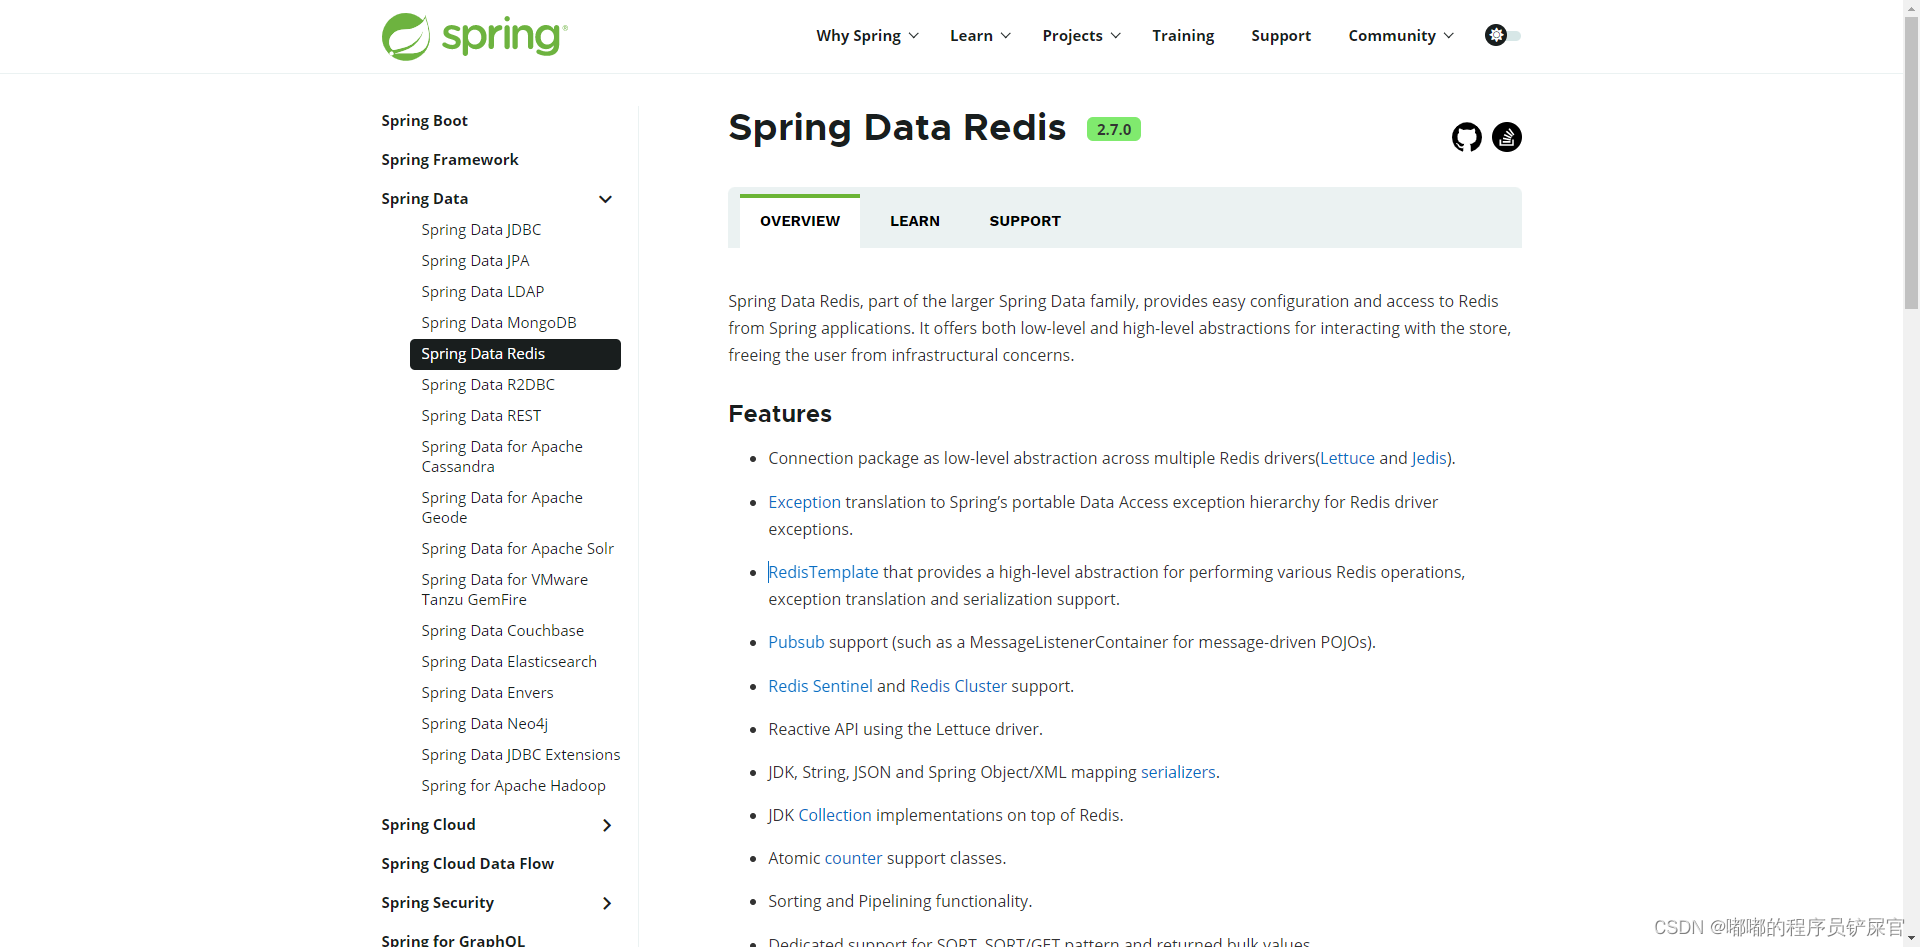
Spring Data Redis 是 Spring Data 大家族的一部分,它提供了简单的配置和从 Spring 应用程序访问 Redis 的方法。它提供了与存储交互的低层和高层抽象,将用户从基础设施关注中解放出来。
官网学习链接:https://spring.io/projects/spring-data-redis#overview
创建一个Maven项目,项目名为springredis
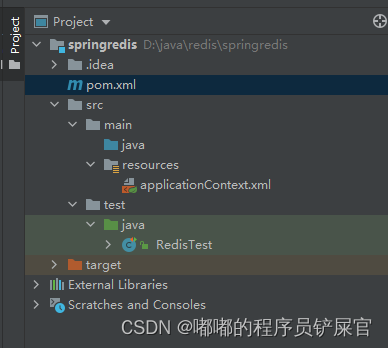
导入依赖:
( 注意一下这里使用的是com.yugabyte的jedis依赖 )
<dependencies> <dependency> <groupId>org.springframework.data</groupId> <artifactId>spring-data-redis</artifactId> <version>2.0.8.RELEASE</version> </dependency> <dependency> <groupId>com.yugabyte</groupId> <artifactId>jedis</artifactId> <version>2.9.0-yb-11</version> </dependency> <dependency> <groupId>junit</groupId> <artifactId>junit</artifactId> <version>4.13.2</version> <scope>test</scope> </dependency> <dependency> <groupId>org.springframework</groupId> <artifactId>spring-test</artifactId> <version>5.3.17</version> <scope>test</scope> </dependency> </dependencies>applicationContext.xml配置内容:
<beans xmlns="http://www.springframework.org/schema/beans"xmlns:xsi="http://www.w3.org/2001/XMLSchema-instance"xmlns:p="http://www.springframework.org/schema/p"xsi:schemaLocation="http://www.springframework.org/schema/beans http://www.springframework.org/schema/beans/spring-beans.xsdhttp://www.springframework.org/schema/beans "> <bean id="poolConfig" class="redis.clients.jedis.JedisPoolConfig"> <property name="maxTotal" value="100"></property> <property name="maxIdle" value="100"></property> <property name="minIdle" value="10"></property> <property name="testOnBorrow" value="false"></property> <property name="testOnReturn" value="false"></property> <property name="testOnCreate" value="false"></property> <property name="blockWhenExhausted" value="true"></property> <property name="maxWaitMillis" value="1000"></property> </bean> <bean id="jedisConnFactory" class="org.springframework.data.redis.connection.jedis.JedisConnectionFactory" p:use-pool="true" p:poolConfig-ref="poolConfig" p:hostName="192.168.1.6" p:port="6666" p:password="123456" p:database="1" /> <bean id="redisTemplate" class="org.springframework.data.redis.core.RedisTemplate" p:connection-factory-ref="jedisConnFactory"/></beans>(1) String数据类型
测试代码:
( opsForValue()是对String字符串操作的类 )
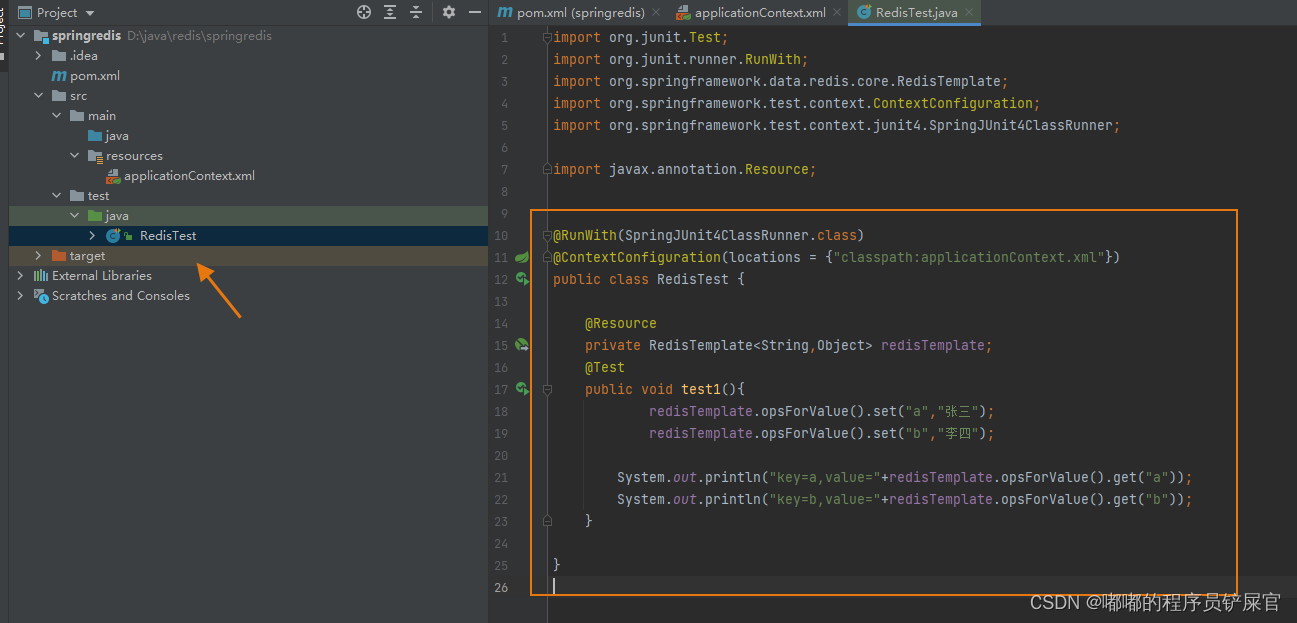
详细代码:
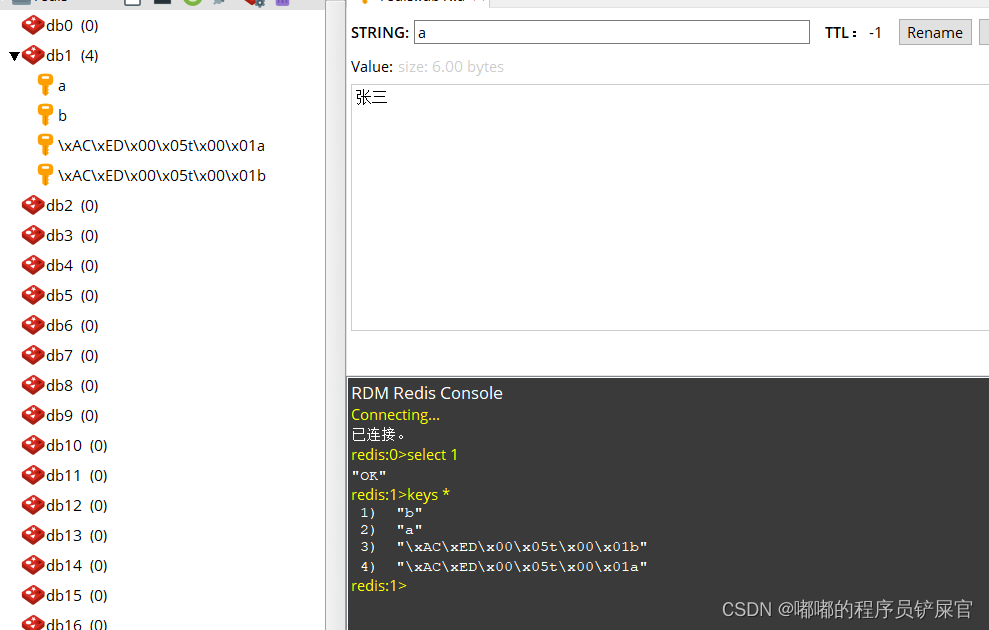
import org.junit.Test;import org.junit.runner.RunWith;import org.springframework.data.redis.core.RedisTemplate;import org.springframework.test.context.ContextConfiguration;import org.springframework.test.context.junit4.SpringJUnit4ClassRunner;import javax.annotation.Resource;@RunWith(SpringJUnit4ClassRunner.class)@ContextConfiguration(locations = {"classpath:applicationContext.xml"})public class RedisTest { @Resource private RedisTemplate<String,Object> redisTemplate; @Test public void test1(){ redisTemplate.opsForValue().set("a","张三"); redisTemplate.opsForValue().set("b","李四"); System.out.println("key=a,value="+redisTemplate.opsForValue().get("a")); System.out.println("key=b,value="+redisTemplate.opsForValue().get("b")); }}运行效果:
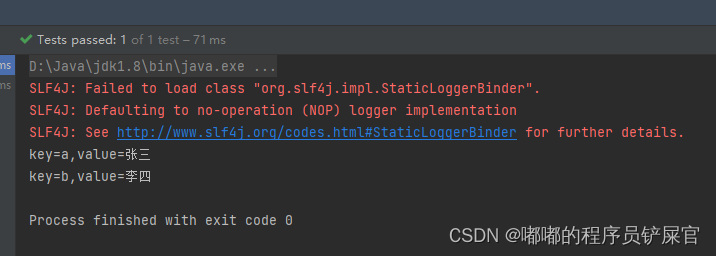
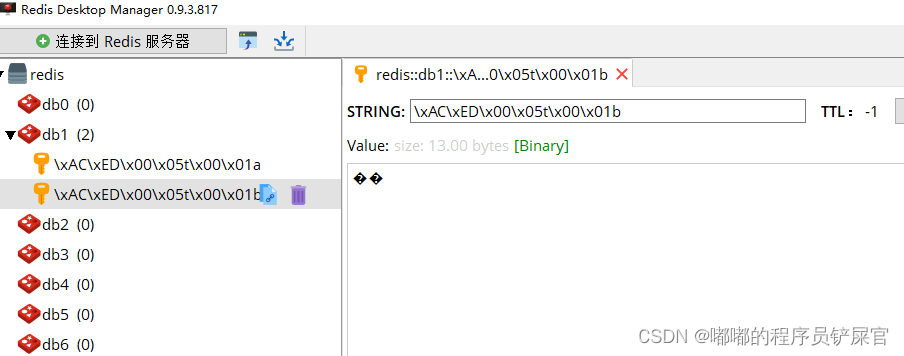
根据上面的操作会发现,存入到Redis中的数据出现了乱码,这是因为默认情况下,Spring-Data-Redis 会采用JDK 序列化的方式将所有key value进行二进制序列化,这会导致redis数据库的值可读性极差,通常我们需要用字符串或JSON的形式来保存对象:
解决方式一:字符串形式
在redisTemplate中添加配置
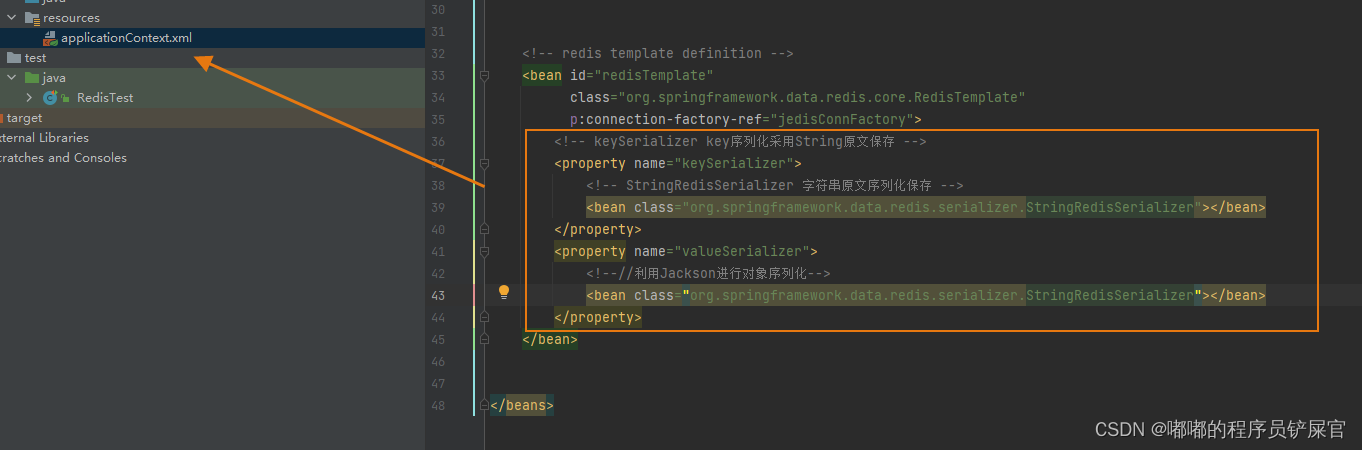
详细配置:
<bean id="redisTemplate" class="org.springframework.data.redis.core.RedisTemplate" p:connection-factory-ref="jedisConnFactory"> <property name="keySerializer"> <bean class="org.springframework.data.redis.serializer.StringRedisSerializer"></bean> </property> <property name="valueSerializer"> <bean class="org.springframework.data.redis.serializer.StringRedisSerializer"></bean> </property> </bean>再次运行测试用例:
解决方式二:JSON的形式
导入依赖:
<dependency> <groupId>com.fasterxml.jackson.core</groupId> <artifactId>jackson-databind</artifactId> <version>2.9.6</version> </dependency>修改配置:
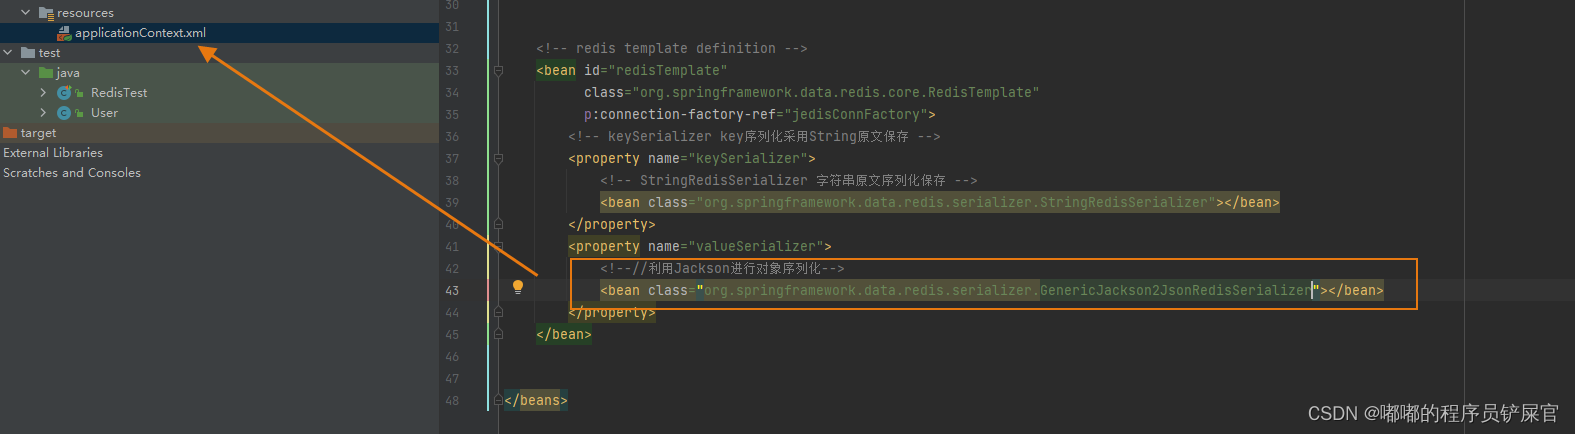
详细配置:
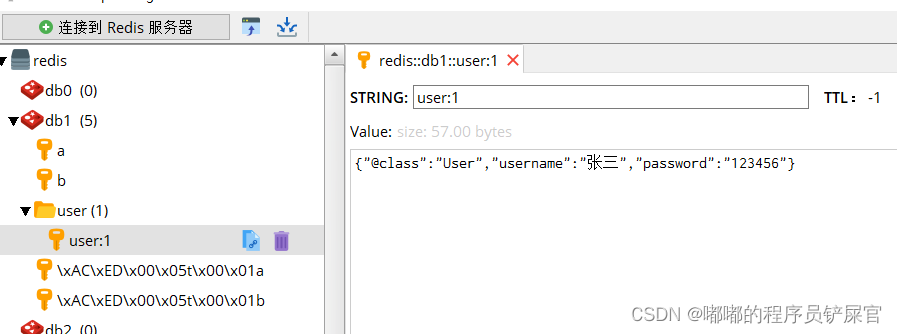
<!-- redis template definition --> <bean id="redisTemplate" class="org.springframework.data.redis.core.RedisTemplate" p:connection-factory-ref="jedisConnFactory"> <!-- keySerializer key序列化采用String原文保存 --> <property name="keySerializer"> <!-- StringRedisSerializer 字符串原文序列化保存 --> <bean class="org.springframework.data.redis.serializer.StringRedisSerializer"></bean> </property> <property name="valueSerializer"> <!--//利用Jackson进行对象序列化--> <bean class="org.springframework.data.redis.serializer.GenericJackson2JsonRedisSerializer"></bean> </property> </bean>新增一个User类和test2测试方法:
User类
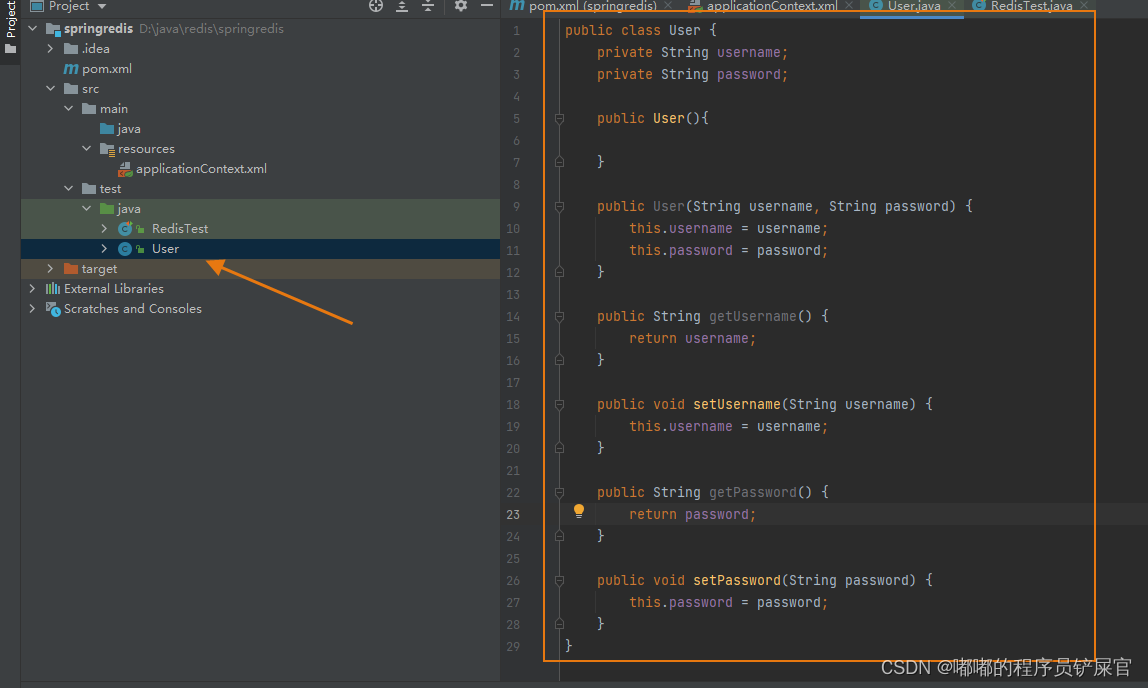
public class User { private String username; private String password; public User(){ } public User(String username, String password) { this.username = username; this.password = password; } public String getUsername() { return username; } public void setUsername(String username) { this.username = username; } public String getPassword() { return password; } public void setPassword(String password) { this.password = password; }}test2测试方法:
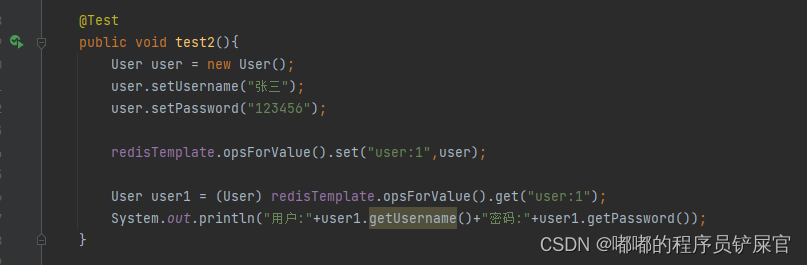
运行test2:

(2) Hash数据类型
( opsForHash()是对Hash数据类型操作的类 )
导入依赖:
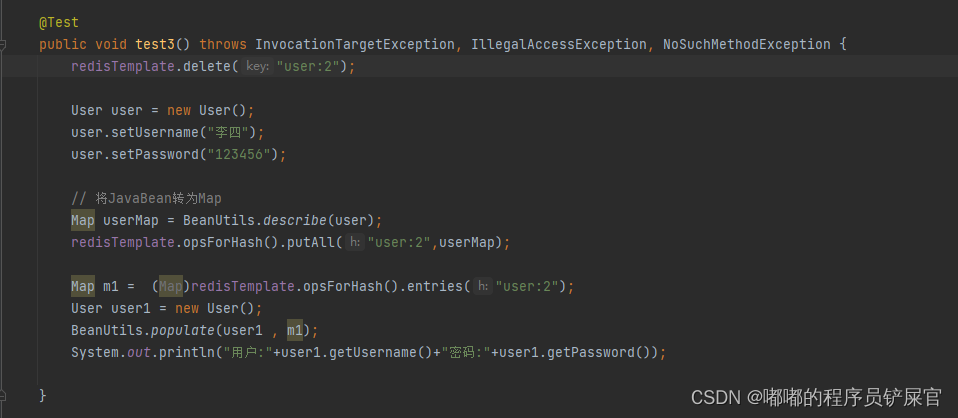
( 这个依赖用于将JavaBean转为Map的操作 )
<dependency> <groupId>commons-beanutils</groupId> <artifactId>commons-beanutils</artifactId> <version>1.9.3</version> </dependency>测试代码:
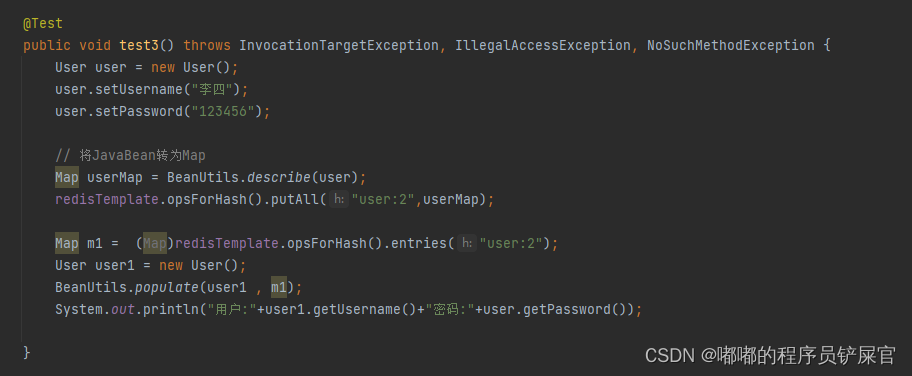
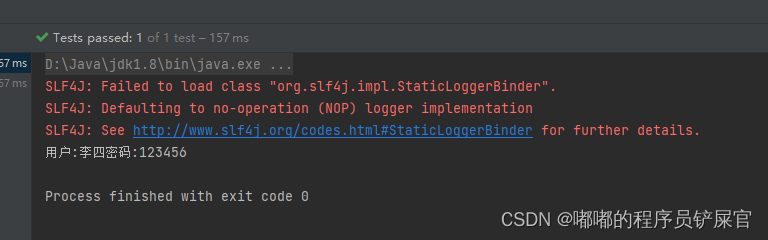
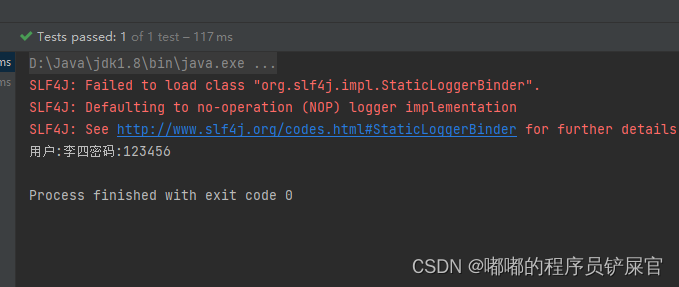
运行效果:
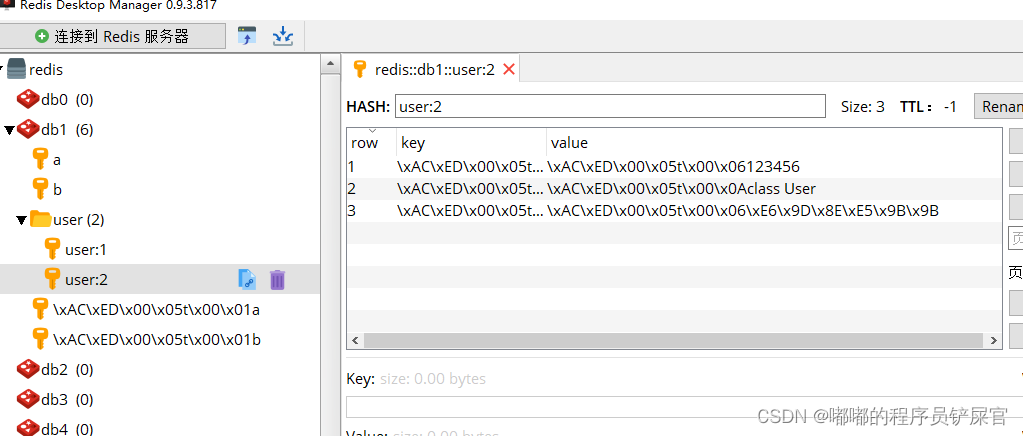
运行后发现还是出现乱码,对于Hash进行数据存储也需要进行相应的配置(设置hashKeySerializer和hashValueSerializer):

详细配置:
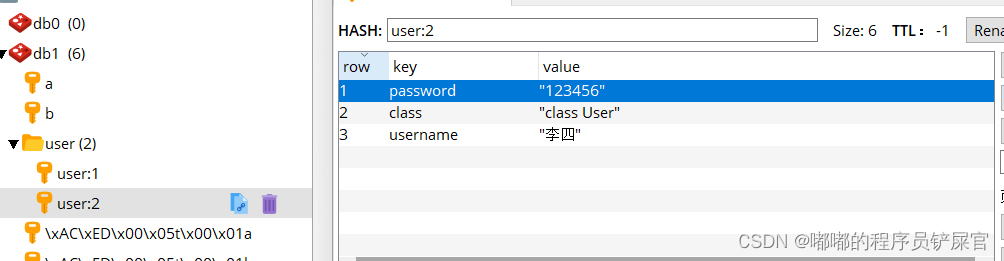
<property name="hashKeySerializer"> <bean class="org.springframework.data.redis.serializer.StringRedisSerializer"></bean> </property> <property name="hashValueSerializer"> <bean class="org.springframework.data.redis.serializer.GenericJackson2JsonRedisSerializer"></bean> </property>删掉乱码数据,再次运行问题解决:
运行效果:
(3) list数据类型
( opsForList()是对list数据类型操作的类 )
测试方法代码:
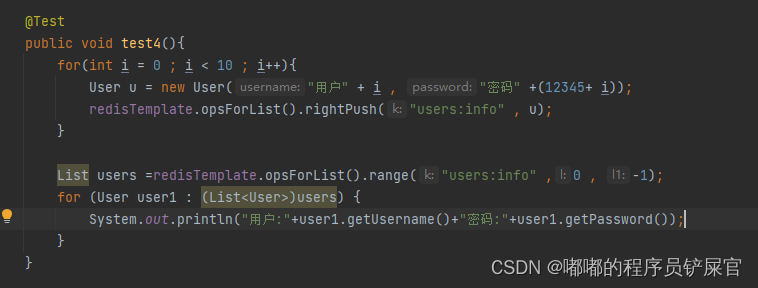
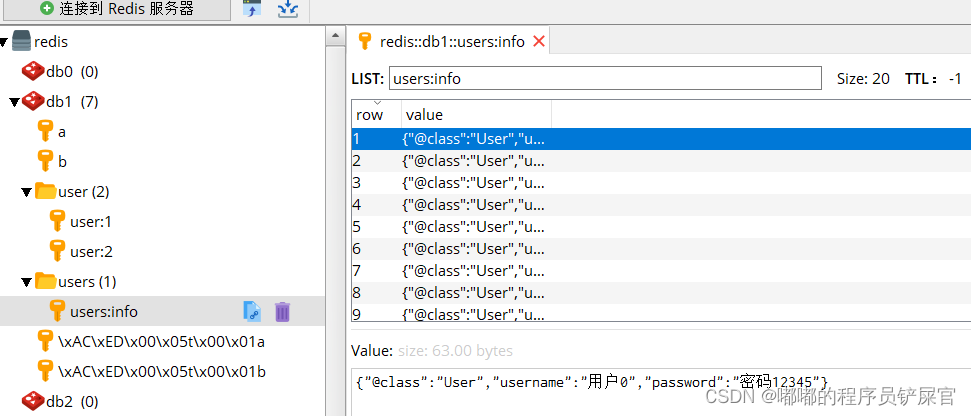
运行效果:
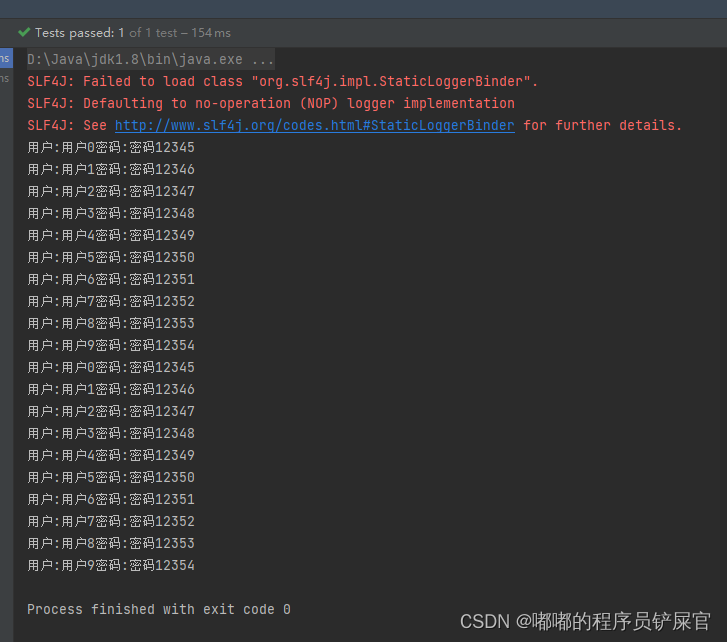
存入到数据库中的数据并没有出现乱码,而是以Json形式进行数据存储
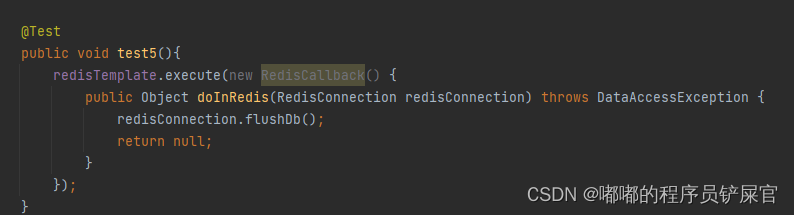
(4) 底层操作
对于一些底层操作需要使用execute方法进行操作,底层操作指的通过命令方法对Redis数据库进行操作,如flushDb()命令,select()命令这些底层命令。
测试方法:
运行效果: