UI总结(上)
UI内容总结学习(上)
1. UILabel
.text
对UILabel的文字赋值
.frame
设置显示位置,为CGRect类型
其中,CGRect是一个结构体,其中有两个结构体origin和size
origin也是一个结构体,包括x,y两个参数,代表控件的位置(以控件左上角为准)
size也是结构体,包括控件的宽度和高度,是空间的矩形大小
.background
设置背景颜色
.font
设置文字的大小和字体
.textColor
文字的颜色
.shadowColor
阴影颜色
.shadowOffset
阴影的偏移位置
.textAlignment
文字的对齐方式,默认为靠左对齐
.numberOfLines
文字的显示的行数,默认为1,其他大于0的行数,文字尽量按照设定的行数显示
值为0,iOS会自动计算所需行数
示例
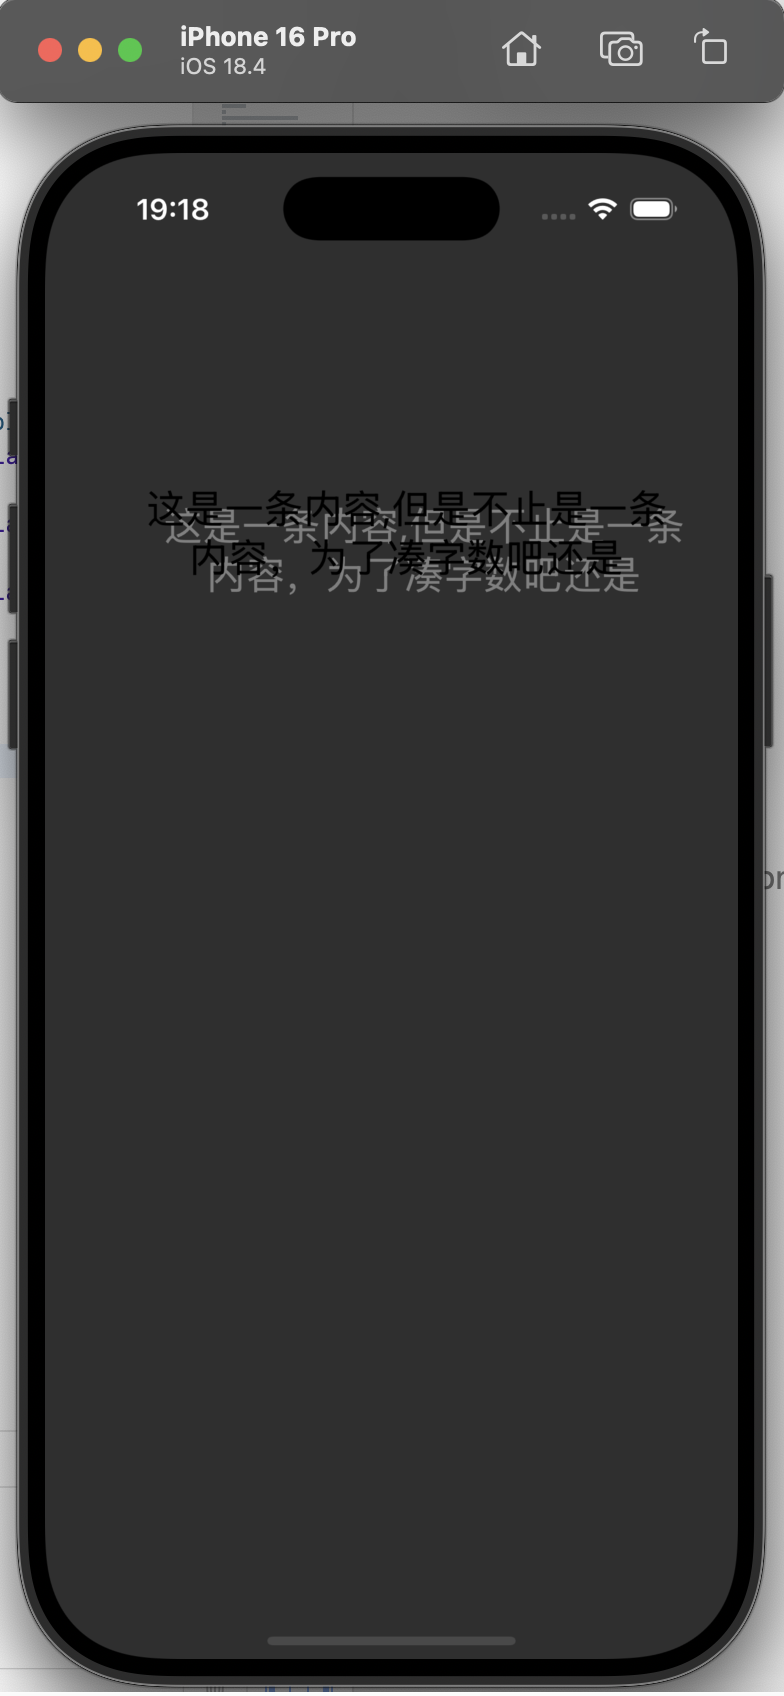
- (void) createUI { UILabel* label = [[UILabel alloc] init]; label.text = @\"这是一条内容,但是不止是一条内容,为了凑字数吧还是\"; label.frame = CGRectMake(30, 100, 360, 240); // 标签的颜色 label.backgroundColor = [UIColor clearColor]; // 文本的颜色 label.textColor = [UIColor blackColor]; // 背景的颜色// self.view.backgroundColor = [UIColor whiteColor]; // 将label显示到屏幕上 [self.view addSubview:label]; // 文字的大小,使用默认字体 label.font = [UIFont systemFontOfSize:24]; // label的高级属性 // 设定阴影颜色,阴影在后 label.shadowColor = [UIColor grayColor]; // 阴影的偏移量 label.shadowOffset = CGSizeMake(10, 10); // 文字对齐方式 label.textAlignment = NSTextAlignmentCenter; // 行数 label.numberOfLines = 3; }效果展示
2. UIButton
普通按钮
[UIButton buttonWithTypeRoundedRect];
初始化一个按钮,类型为圆角
.frame
同上,是位置
[按钮名字 setTitle:@“文本” forState: UIContrdStateNormal];
设置按钮文本,以及对应的状态
.backgroundColor
设置背景颜色
[按钮名字 setTitleColor:[UIColor __] forState:];
设置按钮文字颜色,以及对应的按钮状态
当然也可以使用tintColor设置颜色
forState同样也是对应的状态
.title.font
设置按钮文字样式,同上文中的font相同
[按钮名字 addTrget: - action: forControlEvents ];
设置按钮触发操作,实际上是根据状态来选择是否要触发操作
Target是触发事件的拥有者
action是一个SEL方法指针,来调用函数
状态有以下几种
UIControlEventTouchUpInside当按钮被按下后,弹起瞬间,并且手指位置需要再按钮范围内
UIControlEventTouchDown当按钮被按下后,管你手指位置在哪,直接触发
UIControlEventTouchUpOutside当按钮被按下后,只有松开的时候手指在外边,才会触发
.tag
设置按钮的标签值,方便之后调用
图片按钮
对于图片按钮,需要先载入图片
UIImage* icon01 = [UIImage imageNamed:@\"btn01\"];载入图片的名称的后缀名为.png,如果不为.png那需要加后缀名
图片的素材可以从SF符号中导出
对相应状态的按钮设置按钮图片
[btnImage setImage:icon01 forState:UIControlStateNormal];示例
// 创建普通按钮- (void) createRectUIButton { // 定义并创建,根据类型创建,圆角类型 // 通过类方法创建 类名+方法名(所有) 不能通过init创建,button是自己管理内存 UIButton *btn = [UIButton buttonWithType:UIButtonTypeRoundedRect]; btn.frame = CGRectMake(100, 100, 140, 60); // 显示到按钮的文字 // 显示文字显示的状态类型,正常状态 [btn setTitle:@\"按钮01\" forState:UIControlStateNormal]; [btn setTitleColor:[UIColor whiteColor] forState:UIControlStateNormal]; // 按钮文字,显示文字的状态,按下状态 [btn setTitle:@\"按钮按下\" forState:UIControlStateHighlighted]; [btn setTitleColor:[UIColor redColor] forState:UIControlStateHighlighted];// 设置文字按下后的颜色 btn.titleLabel.font = [UIFont systemFontOfSize:24]; // 添加事件函数 // taget 谁来实现这个事件,即触发方法的方法拥有者 // action 调用函数对象,按钮满足事件类型的时候,调用函数 // conteolevent 事件处理函数类型 UIControlEventTouchUpInside按钮弹起瞬间 并且手指的位置在按钮范围内 // UIControlEventTouchDown 只要碰到就出发 [btn addTarget:self action:@selector(pressbtn) forControlEvents:UIControlEventTouchUpInside];// [btn addTarget:self action:@selector(pressbtn) forControlEvents:UIControlEventTouchDown]; // 只有弹起时,手指位置在按钮范围外// [btn addTarget:self action:@selector(pressbtn) forControlEvents:UIControlEventTouchUpOutside]; // 按钮标识符,根据按钮标识符来确认哪个按钮被按下 btn.tag = 324; [self.view addSubview:btn]; // 按钮的背景颜色 btn.backgroundColor = [UIColor grayColor];}- (void) createImageBtn { // 创建一个自定义的btn // 自定义按钮层次从上到下依次为 // 按钮标题 // 按钮图片 // 按钮背景图 // 在默认情况下,如果标题和图片同时被设置,会以并排且图片优先地显完整的机制运行 UIButton* btnImage = [UIButton buttonWithType:UIButtonTypeCustom]; btnImage.frame = CGRectMake(100, 200, 140, 60); // 尝试加入文字 [btnImage setTitle:@\" 你好\" forState:UIControlStateNormal]; [btnImage setTitleColor:[UIColor blackColor] forState:UIControlStateNormal]; // 图片加载 UIImage* icon01 = [UIImage imageNamed:@\"btn01\"]; // 如果不是png扩展名,要加扩展名,png为默认扩展名 UIImage* icon02 = [UIImage imageNamed:@\"btn02\"]; // 显示的图片对像 控件状态 [btnImage setImage:icon01 forState:UIControlStateNormal]; [btnImage setImage:icon02 forState:UIControlStateHighlighted]; [self.view addSubview:btnImage]; }- (void)viewDidLoad { [super viewDidLoad]; [self createRectUIButton]; [self createImageBtn]; // Do any additional setup after loading the view.}效果展示
3. View
UIView 视图对象,显示在屏幕上所有的对象的基础类,所有显示在屏幕上的对象一定继承于UIView
UIView是一个矩形对象,有背景颜色,可显示,有层级关系
.frame
确定位置,同上文相同
.background
设置背景颜色
.hidden
控制是否显示该视图
.opaque
设置视图是否不透明
.alpha
控制视图的透明度
[self.view addSubview:viewLearn];
把新建视图加入到父视图上,并且将视图保管起来
[- removeFromSubview];
将视图从父视图中移除
示例
- (void)viewDidLoad { [super viewDidLoad]; // 视图的相关方法学习 // /* // Do any additional setup after loading the view. // UIView 视图对象,显示在屏幕上所有的对象的基础类 // 所有显示在屏幕上的对象一定继承于UIView // UIView是一个矩形对象,有背景颜色,可显示,有层级关系 UIView* viewLearn= [[UIView alloc] init]; // 位置基本属性 viewLearn.frame = CGRectMake(100, 100, 140, 140); viewLearn.backgroundColor = [UIColor colorWithRed:(35/255.0) green:(35/255.0) blue:(35/255.0) alpha:1.0]; // 新建视图增加到父视图上 并且将视图管理起来 [self.view addSubview:viewLearn]; // 是否显示视图,默认为NO// view.hidden = YES; // 透明度 viewLearn.alpha = 1; // 设置是否显示不透明 用于优化 viewLearn.opaque = NO; // 把自己从视图中删除// [viewLearn removeFromSuperview]; // }效果:
移动视图的前后顺序
绘图的顺序,取决于添加的顺序,你可以把程序想象成画家,你的addSubview则是命令。但是由于一个画家只有一张纸,所以每次画画都会在之前画过的地方再画,所以先添加先画,后添加后画
bringSubviewToFront
将某一视图到最前方 顺序同样,先调先前
sendSubviewTobook
将某一视图调到最后
subview
管理所有子视图的数组,本质上是一个NSArry,所以可以直接使用数组的方法查阅子视图
示例:
// 视图的层级关系 UIView* view1 = [[UIView alloc] init]; UIView* view2 = [[UIView alloc] init]; UIView* view3 = [[UIView alloc] init]; view1.frame = CGRectMake(100, 100, 240, 120); view1.center = CGPointMake(self.view.frame.size.width / 2, 100); view2.frame = CGRectMake(100, 100, 200, 100); view2.center = CGPointMake(self.view.frame.size.width / 2, 125); view3.frame = CGRectMake(100, 100, 180, 80); view3.center = CGPointMake(self.view.frame.size.width / 2, 150); view1.backgroundColor = [UIColor colorWithRed:(35/255.0) green:(35/255.0) blue:(35/255.0) alpha:1.0]; view2.backgroundColor = [UIColor redColor]; view3.backgroundColor = [UIColor blueColor]; // 绘图的顺序取决于添加的顺序 先加先画,后加后画 [self.view addSubview:view1]; [self.view addSubview:view2]; [self.view addSubview:view3];// [self.view addSubview:view1]; // 将某一视图到最前方 顺序同样,先调先前 [self.view bringSubviewToFront:view2]; [self.view bringSubviewToFront:view1]; // 将某一视图调到最后 [self.view sendSubviewToBack:view2]; // 还原顺序 [self.view sendSubviewToBack:view1]; [self.view bringSubviewToFront:view3]; // 管理所有self.view的子视图的数组 // subview本质是一个NSArry UIView* newFront = self.view.subviews[2]; UIView* viewBack = self.view.subviews[0];4. UIWindow
UIWindow继承来自UIView,但却是UIView的最顶层容器,通过UIController与UIView建立联系
新的UIWindow的函数需要写在SceneDelegate.m文件中,并且不需要手动创建,整个程序中只有一个
虽然UIWindow不需要创建,但是需要创建根视图管理器
当你移动父视图的时候,子视图也会随之移动,是因为子视图是参照父视图的坐标系的
对于每一个view都有一个window属性
直接上代码
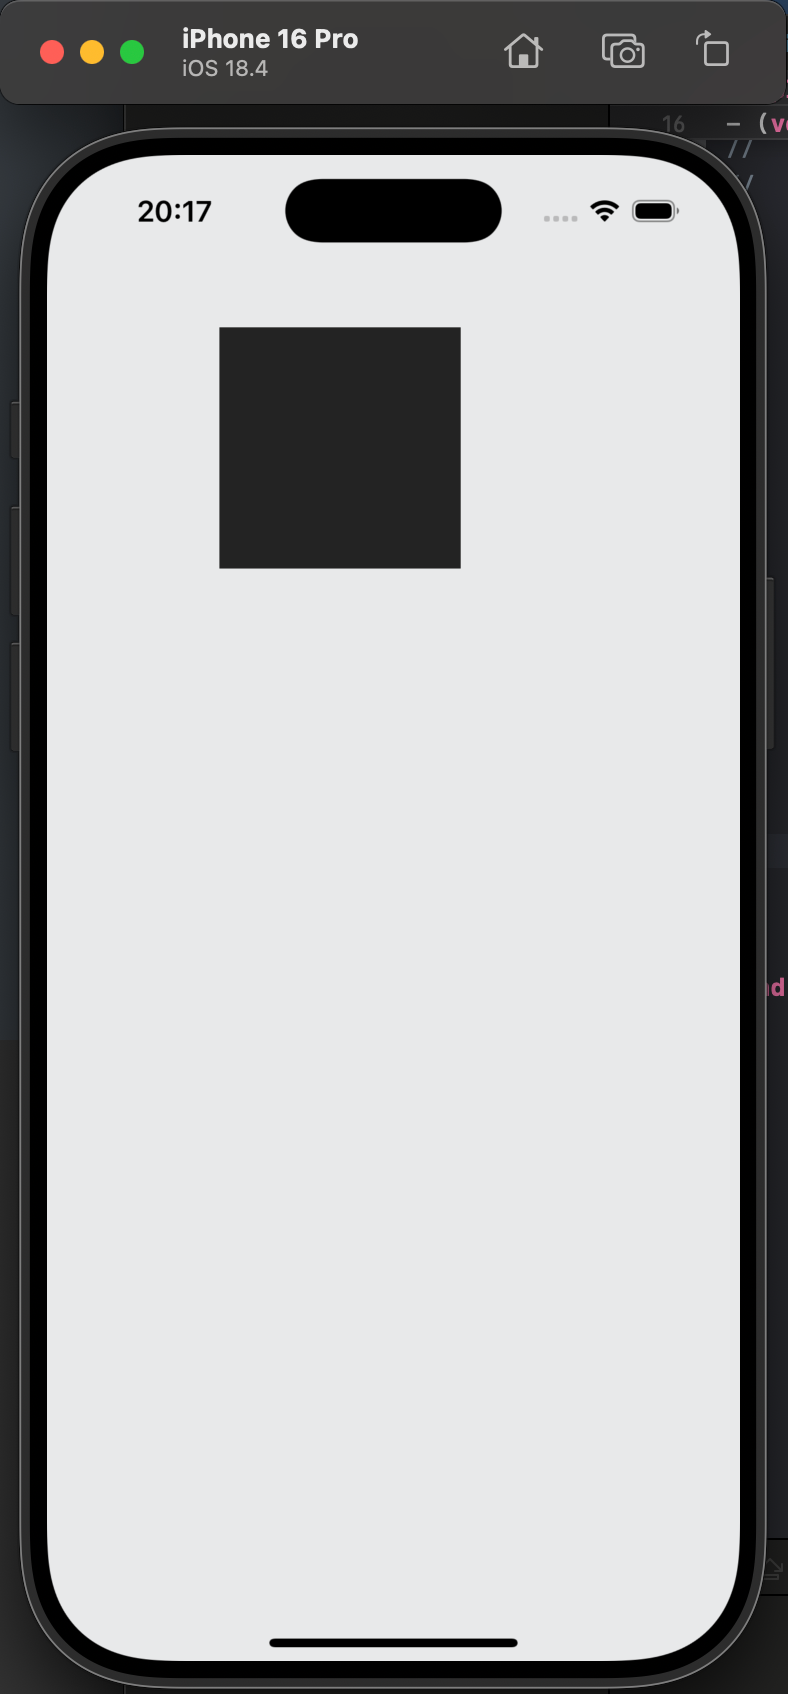
- (void)scene:(UIScene *)scene willConnectToSession:(UISceneSession *)session options:(UISceneConnectionOptions *)connectionOptions { // 新版的UIWindow对象不需要创建哩,这里放的是创建函数以及其说明 /* // 创建一个UI window对象 // 整个程序中只有一个 // 表示屏幕窗口 // 本质也是继承于UIView // UIScreen: 表示屏幕硬件表示类 mainScreen表示获得主屏幕设备信息 // bounds 表示屏幕的宽和高 self.window = [[UIWindow alloc] initWithFrame:[UIScreen mainScreen].bounds]; */ // 创建一个视图控制器作为UIWindow的视图控制器// self.window.rootViewController = [[UIViewController alloc] init]; // 设置背景颜色 self.window.backgroundColor = [UIColor colorWithRed:35.0 / 255 green:35.0 / 255 blue:35.0 / 255 alpha:1.0]; // 使window有效并显示到屏幕上 [self.window makeKeyAndVisible]; // 可以在window中直接添加window UIView* view = [[UIView alloc] init]; UIView* backview = [[UIView alloc] init]; view.frame = CGRectMake(100, 100, 140, 140); backview.frame = CGRectMake(100, 100, 400, 400); view.backgroundColor = [UIColor colorWithRed:226 / 255.0 green:228 / 255.0 blue:229 / 255.0 alpha:1.0]; backview.backgroundColor = [UIColor blackColor]; view.center = CGPointMake(self.window.bounds.size.width / 2, self.window.bounds.size.height / 2); [backview addSubview:view]; // 当父视图移动的时候,子视图必然移动 [self.window addSubview:backview]; // 每一个view必然有一个window对象// view.window;// backview.window;// self.window; // 整个程序中,只有一个window if (view.window == backview.window && view.window == self.window && backview.window == self.window) { NSLog(@\"三个window相同\"); }}.frame,.backgroundColor
同之前一样,不再赘述
[- makeKeyAndVisible]
使window有效,并且可以显示到屏幕上
5. UIViewController
UIViewController 是iOS 开发中的一个核心组件,它负责管理和协调应用中的视图和视图之间的交互。每一个屏幕页面通常都对应于一个 UIViewController 对象
它负责加载和卸载视图,在视图显示或隐藏时接收相关的通知,在设备方向改变时调整视图的布局,在内存不足时释放不需要的资源,协调视图和其他对象之间的交互
- (void)viewDidLoad
视图控制器第一次被加载的时候使用,初始化资源使用
在我们创建的时候,会出现[super viewDidLoad];
是调用父类加载视图函数
- (void) viewWillAppear:(BOOL)animated ,- (void) viewDidAppear:(BOOL)animated ,- (void) viewWillDisappear:(BOOL)animated ,- (void) viewDidDisappear:(BOOL)animated
在使用UIViewController,经常需要重写这几个函数,分别作用于:
- (void) viewWillAppear:(BOOL)animated
在视图即将出现的时候
- (void) viewDidAppear:(BOOL)animated
在视图已经出现的时候
- (void) viewWillDisappear:(BOOL)animated
在视图即将消失的时候
- (void) viewDidDisappear:(BOOL)animated
在视图已经消失的时候
通过UIViewController来实现视图控制器的界面切换
首先要先新建一个UIViewController类,命名为ViewController02
- (void) touchesBegan:(NSSet *)touches withEvent:(UIEvent *)event
这个函数是当屏幕被点击的时候,调用此函数,在函数中,我们 以模态(modal)方式展示另一个视图控制器
self.con02:这是你代码中定义的另一个控制器实例,是 UIViewController02
animated:YES:表示在跳转时使用动画;
completion:nil:跳转完成后不执行任何额外操作(可以传一个 block)
- (void)viewDidLoad { // 调用父类加载视图函数 [super viewDidLoad]; self.con02 = [[ViewController02 alloc] init]; self.con02.view.backgroundColor = [UIColor whiteColor]; NSLog(@\"第一次加载视图\"); UIView* view = [[UIView alloc] init]; view.frame = CGRectMake(100, 100, 140, 106); view.backgroundColor = [UIColor colorWithRed:226 / 255.0 green:228 / 255.0 blue:229 / 255.0 alpha:1.0]; self.view.backgroundColor = [UIColor colorWithRed:35 / 255.0 green:35 / 255.0 blue:35 / 255.0 alpha:1.0]; [self.view addSubview:view];}- (void) viewWillAppear:(BOOL)animated { NSLog(@\"视图即将出现\");}- (void) viewDidAppear:(BOOL)animated { NSLog(@\"视图已经出现\");}- (void) viewWillDisappear:(BOOL)animated { NSLog(@\"视图即将消失\");}- (void) viewDidDisappear:(BOOL)animated { NSLog(@\"视图已经消失\");}- (void) touchesBegan:(NSSet *)touches withEvent:(UIEvent *)event { [self presentViewController:self.con02 animated:YES completion:nil]; }这样我们就可以做到:

6. 计时器 Timer
计时器继承自NSObject,用以提供延迟(周期性)触发的动作。通常,定时器会在指定间隔后自动触发,如果是重复计时器,会在制定间隔后重复触发
同时,由于其特性,注意一定要做定时器的检测,不然就会…
(越来越快根本刹不住车的按钮…)
创建定时器
_timeView = [NSTimer scheduledTimerWithTimeInterval:0.04 target:self selector:@selector(updateTimer) userInfo:nil repeats:YES];scheduledTimerWithTimeInterval: target: selector userInfo: repeats:
每隔多少时间触发,单位为s,触发函数 selector:
repeats:则为设置是否为重复操作,NO为只完成一次函数调用,返回值为一个新建好的定时器对象
停止定时器
[_timeView invalidate];
停止定时器
给一个示例:
- (void)viewDidLoad { [super viewDidLoad]; // Do any additional setup after loading the view. self.view.backgroundColor = [UIColor colorWithRed:35 / 255.0 green:35 / 255.0 blue:35 / 255.0 alpha:1.0]; UIButton* btn = [UIButton buttonWithType:UIButtonTypeRoundedRect]; btn.frame = CGRectMake(100, 100, 200, 40); btn.center = CGPointMake(self.view.frame.size.width / 2, 100); [btn setTitle:@\"定时器,启动!\" forState:UIControlStateNormal]; [btn addTarget:self action:@selector(pressStart) forControlEvents:UIControlEventTouchUpInside]; [self.view addSubview:btn]; UIButton* btnstop = [UIButton buttonWithType:UIButtonTypeRoundedRect]; btnstop.frame = CGRectMake(100, 300, 200, 40); btnstop.center = CGPointMake(self.view.frame.size.width / 2, 300); [btnstop setTitle:@\"定时器,取消!\" forState:UIControlStateNormal]; [btnstop addTarget:self action:@selector(pressStop) forControlEvents:UIControlEventTouchUpInside]; [self.view addSubview:btnstop]; UIView* view1 = [[UIView alloc] init]; view1.frame = CGRectMake(0, 0, 80, 80); view1.backgroundColor = [UIColor colorWithRed:226 / 255.0 green:228 / 255.0 blue:229 / 255.0 alpha:1.0]; view1.tag = 101; [self.view addSubview:view1];}- (void) pressStart { // 启动定时器 // 每隔多长时间,以s为单位 每个几秒,使用第二个对象调用第三个参数(函数) 传入一个参数到定时器中,无参数使用nil // 定时器是否重复操作 NO为只完成一次函数调用 // 返回值为一个新建好的定时器对象 _timeView = [NSTimer scheduledTimerWithTimeInterval:0.04 target:self selector:@selector(updateTimer) userInfo:nil repeats:YES];}- (void) updateTimer { UIView* view = [self.view viewWithTag:101]; view.frame = CGRectMake(view.frame.origin.x + 1, view.frame.origin.y + 1, view.frame.size.width, view.frame.size.height); NSLog(@\"你好!\");}- (void) pressStop { if (_timeView) { // 停止定时器 [_timeView invalidate]; }}效果:

7. UISwitch
UISwitch是一个开关控件,只有两个状态可以切换
.frame
跟之前相同,但是UISwitch的宽高不支持修改,所以你只能修改位置
.backgroundColor
同样也是设置背景颜色,但是由于设置之后很丑,所以不建议使用
[名字 setOn: YES]
设置开关的状态
使用点语法 名.on = YES
也是同样的效果
[名字 setThumbTintColor:]
设置圆钮的颜色
[名字 setTintColor:]
设置整体的颜色
[名字 addTarget:self action: forControlEvents:]
设置触发事件
示例
@implementation ViewController- (void)viewDidLoad { [super viewDidLoad]; // Do any additional setup after loading the view. self.mySwitch.on = YES; // [self.mySwitch setOn:YES] // 一样的效果 // 宽高不可变的孩子,变了也没用// self.mySwitch.frame = CGRectMake(100, 100, 140, 100);// self.mySwitch.backgroundColor = [UIColor redColor]; // 是否开启动画效果 [self.mySwitch setOn:YES animated:YES]; [self.mySwitch setOnTintColor:[UIColor colorWithRed:226 / 255.0 green:228 / 255.0 blue:229 / 255.0 alpha:1.0]]; // 设置圆钮的颜色// [self.mySwitch setThumbTintColor:[UIColor redColor]]; // 设置整体颜色// [self.mySwitch setTintColor:[UIColor blueColor]]; // 向开关控件添加事件函数 [self.mySwitch addTarget:self action:@selector(print) forControlEvents:UIControlEventValueChanged]; }- (void) print { NSLog(@\"开关变化了\");}效果:
8. 进度条和滑动条 UIProgressView和UISlider
进度条和滑动条相似,但是滑动条可以被操作
进度条 UIProgressView
.frame
位置,但是进度条高度不可变
.progressTintColor
风格默认值,默认为蓝色
.progress
进度值,即你的滑动条或者进度条的进度
.progressViewStyle
设置风格特征
滑动条 UISlider
.frame
同之前的相同
.maximumValue和.minimumValue
分别为设置最大值和最小值
.minimumTrackTintColor和.maximumTrackTintColor和.thumbTintColor
分别设置左右侧和按钮的颜色
[addTarget:self action: forControlEvents: ];
设置滑动条的事件函数
我这里写了一个同步滑动条和进度条的
示例
- (void)viewDidLoad { [super viewDidLoad]; // Do any additional setup after loading the view. self.myprogress = [[UIProgressView alloc] init]; // 进度条高度不可变 self.myprogress.frame = CGRectMake(50, 100, 200, 40); // 风格颜色值 默认是蓝色 self.myprogress.progressTintColor = [UIColor colorWithRed:226 / 255.0 green:228 / 255.0 blue:229 / 255.0 alpha:1.0]; self.myprogress.center = CGPointMake(self.view.frame.size.width / 2, self.view.frame.size.height / 2); // 设置进度值,0 - 1 self.myprogress.progress = 0.5; // 设置风格特征 self.myprogress.progressViewStyle = UIProgressViewStyleDefault; self.mySlider = [[UISlider alloc] init]; self.mySlider.frame = CGRectMake(10, 200, 200, 80); self.mySlider.center = CGPointMake(self.view.frame.size.width / 2, 600); self.mySlider.maximumValue = 100; // 最小值可以为负值 self.mySlider.minimumValue = 0; // 取决于最大最小,和value的值 float self.mySlider.value = 50; // 左右侧函数和按钮函数 self.mySlider.minimumTrackTintColor = [UIColor blueColor]; self.mySlider.maximumTrackTintColor = [UIColor redColor]; self.mySlider.thumbTintColor = [UIColor blackColor]; // 对滑动条增加事件函数 [self.mySlider addTarget:self action:@selector(pressSlider) forControlEvents:UIControlEventValueChanged]; [self.view addSubview:self.mySlider]; [self.view addSubview:self.myprogress];}- (void) pressSlider { self.myprogress.progress = self.mySlider.value / self.mySlider.maximumValue; NSLog(@\"滑动哩!\");}效果:


