开发笔记 | 优化对话管理器脚本与对话语音的实现
上回书说到,我们的对话系统目前只是实现了基础的功能,而且这些脚本是想到什么写什么,结构没什么规律,在未来想要扩展可就麻烦了,所以这篇文章就来记录一下代码的优化吧!

优化对话标志分支
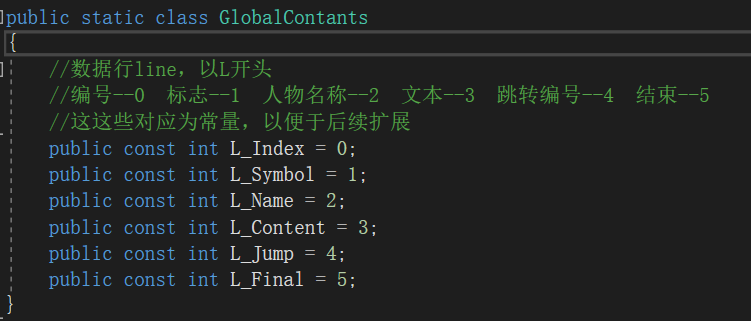
从首先我们先从Advance方法入手,此前我们的cells的索引直接用数字表示,我们可以将其更改为常量。由于 C# 中并没有头文件的概念,所以我们将他们写入一个静态类中。
Advance方法的主要问题是对话行的创建和不同标志的运行方法杂糅在了一起,并不符合开闭原则。Advance方法总体来说的作用是这样的:找出对应对话行、执行各自对应的方法。所以很适合使用行为型模式策略模式来优化。
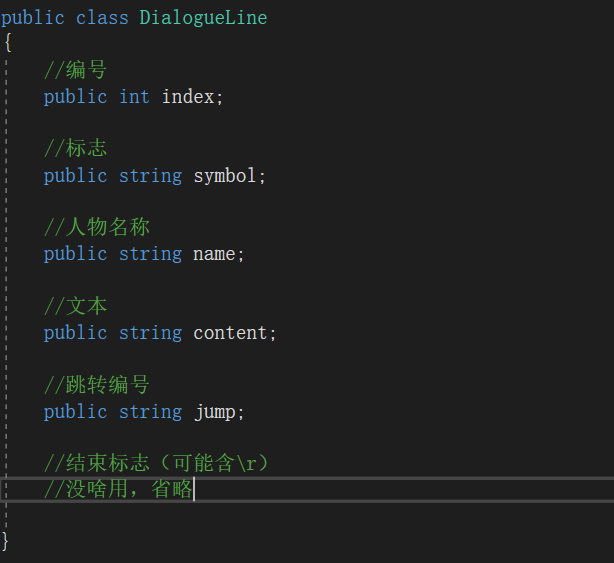
之前我们的对话行就是单纯的包含逗号的字符串,这样每次还得通过逗号进行分隔,所以我们可以新建一个对话行类用来存储这些数据,同时方便扩展。
此时我们的对话行列表可以替换为字典了,这样一来就不必每次调用Advance方法都遍历了。
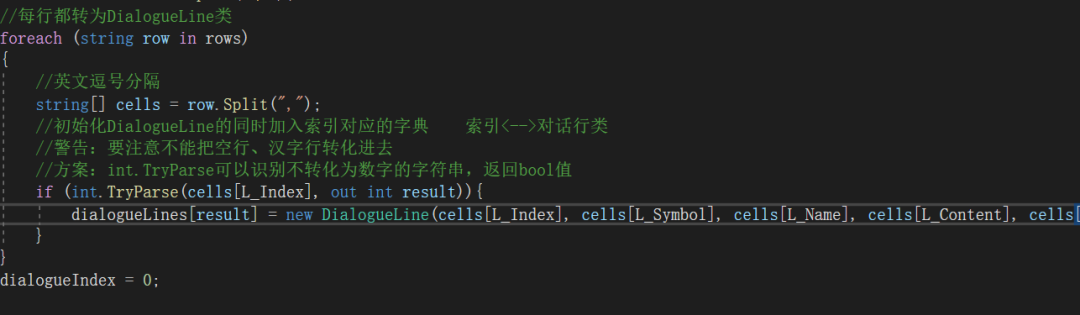
在Awake中初始化字典时,要防止汉语行或者空行进入字典,我们可以使用int.TryParse转化,其返回bool值。注意在编写构造函数时,要区别一下“END”的对话行,其无法转化“跳转”编号。
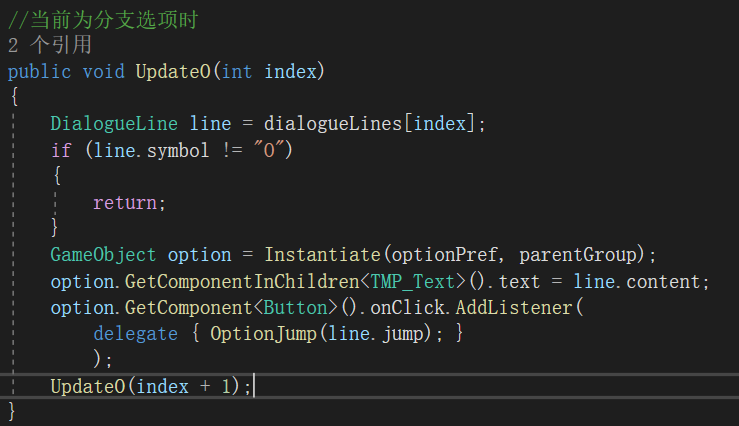
之前更新选项的方法就可以写成这样。然后接下来我们就可以在另一个脚本中试着编写策略模式了。
这是我优化后的脚本。
//策略接口using System;using System.Collections.Generic;using TMPro;using UnityEngine;using UnityEngine.UI;interface DialogueUpdate{ public void LineUpdate(DialogueLine line, DialogueManager manager);}//上下文类public class DifferentSymbols{ DialogueManager manager = null; //C#声明接口时,get和set表示外部可读可写该属性 DialogueUpdate DialogueUpdate { get; set; } //字典类,symbol对应一个DifferentSymbol脚本中的DialogueUpdate类 Dictionary differentSymbolAnalysis = new Dictionary { {\"W\", new UpdateW()}, {\"T\", new UpdateT()}, {\"O\", new UpdateO()}, {\"END\", new UpdateEND()} }; //用于执行的方法 public void DialogueLineAnalysis(DialogueLine line) { DialogueUpdate = differentSymbolAnalysis[line.symbol]; DialogueUpdate.LineUpdate(line, manager); } /*构造函数*/ //一个DifferentSymbols绑定一个manager类 public DifferentSymbols(DialogueManager _manager) { //让我们的manager指向一个DialogueManager类 manager = _manager; }}/*具体策略*/public class UpdateW : DialogueUpdate{ public void LineUpdate(DialogueLine line, DialogueManager manager) { Upd(manager.FindCha(line.name), line.content, manager); manager.dialogueIndex = line.jump; } void Upd(Character character, string newContent, DialogueManager manager) { if (character.portrait == null) { manager.portrait.enabled = false; manager.avatar.enabled = false; } else { manager.portrait.enabled = true; manager.avatar.enabled = true; } manager.portrait.sprite = character.portrait; manager.avatar.sprite = character.portrait; manager.characterName.text = \"【\" + character.name + \"】\"; manager.content.text = \" \" + newContent; }}public class UpdateT : DialogueUpdate{ public void LineUpdate(DialogueLine line, DialogueManager manager) { Upd(line.content, manager); manager.dialogueIndex = line.jump; } void Upd(string newContent, DialogueManager manager) { manager.portrait.enabled = false; manager.avatar.enabled = false; manager.characterName.text = \"\"; manager.content.text = \" \" + newContent; }}public class UpdateO : DialogueUpdate{ public void LineUpdate(DialogueLine line, DialogueManager manager) { manager.parentGroup.gameObject.SetActive(true); Upd(manager.dialogueIndex, manager); } void Upd(int index, DialogueManager manager) { DialogueLine line = manager.dialogueLines[index]; if (line.symbol != \"O\") { return; } //如果类不继承于MonoBehavior,则使用UnityEngine.Object.Instantiate GameObject option = UnityEngine.Object.Instantiate(manager.optionPref, manager.parentGroup); option.GetComponentInChildren().text = line.content; option.GetComponent这样一来,我们的代码就拥有了更好的扩展性,符合单一职责原则。
对话音频的加入
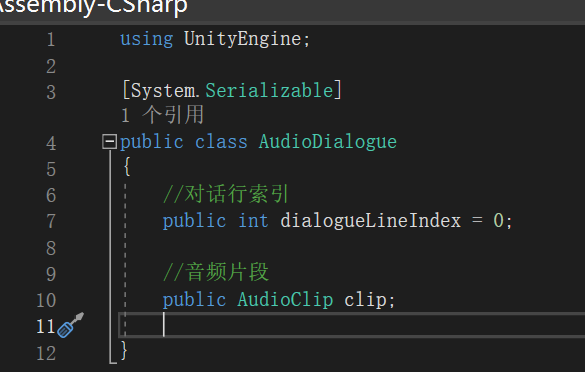
这里可以新建一个AudioDialogue类,用来存储对话行索引与音频片段的对应关系。
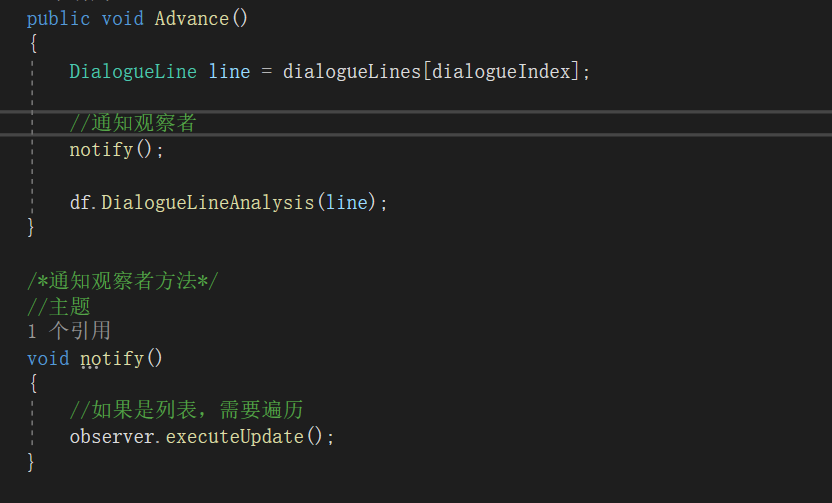
至于什么时候、播放什么音频片段,我们可以试着使用观察者模式,当我们对话发生变化时,向作为观察者的“音频管理器”发送消息播放音频,从而达到播放音频的效果。
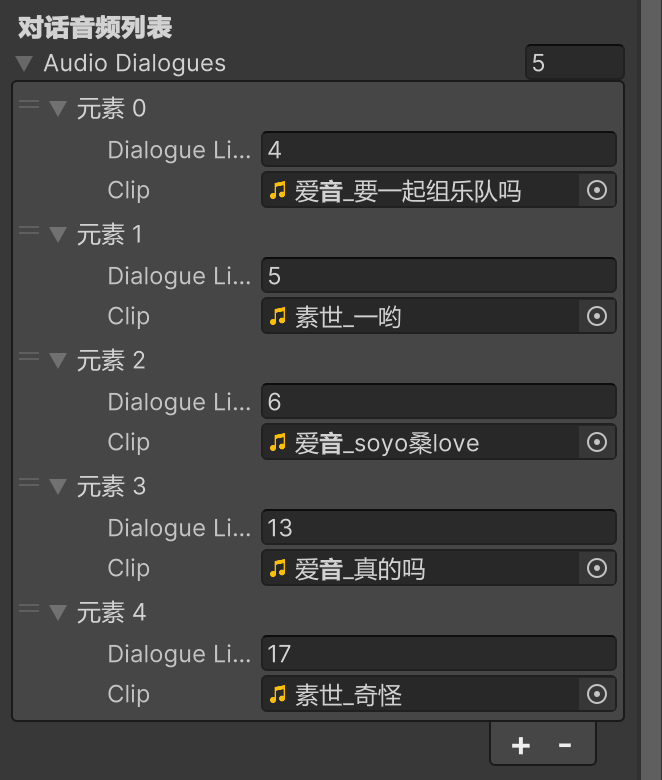
using System.Collections;using System.Collections.Generic;using UnityEngine;using UnityEngine.TextCore.Text;//采用观察者模式,在日后加入多个观察者时再加入观察者的接口public class AudioManager : MonoBehaviour{ AudioSource audioSource; //要执行的功能与dialogueManager的某些参数有关呢 DialogueManager dialogueManager; [Header(\"对话音频列表\")] public List audioDialogues; void Awake() { audioSource = GetComponent(); dialogueManager = GetComponent(); } public void executeUpdate() { if(FindAud(dialogueManager.dialogueIndex) != null) { audioSource.clip = FindAud(dialogueManager.dialogueIndex).clip; audioSource.Play(); } } //通过对话索引寻找列表中对应音频剪辑 public AudioDialogue FindAud(int index) { foreach (AudioDialogue audioDialogue in audioDialogues) { if (audioDialogue.dialogueLineIndex == index) { return audioDialogue; } } return null; }}在这里,我们就将AudioManager这个类作为一个具体的观察者。如果后续需要更多的观察者,可以为executeUpdate方法提供一个接口,方便后续扩展。
之前的DialogueManager类就充当主题角色,包含通知观察者的方法。这样一来角色语音的功能就大功告成了,在挂载好脚本之后,我们只需要将对话行的索引以及mp4文件对应好就行了。
打字机效果
众所周知,我们的视觉小说只有加上打字机效果才不会显得僵硬。
在Unity的UI组件中,网格结构是实现UI可视化的核心结构,是字型渲染的基础。所以我们可以通过一定间隔时间,改变字符显示的最大数量并进行网格的刷新(ForceMeshUpdate)来实现打字机效果。
具体代码可以通过协程来实现。
//执行打字机效果 void ExecuteTypeText() { if (typeTextCoroutine != null) { StopCoroutine(typeTextCoroutine); typeTextCoroutine = null; } typeTextCoroutine = StartCoroutine(TypeText()); } //打字机效果 IEnumerator TypeText() { //刷新网格 content.ForceMeshUpdate(); int total = content.textInfo.characterCount; int current = 0; while (current <= total) { content.maxVisibleCharacters = current; current++; yield return new WaitForSeconds(intervalTime); } }之后就在Advance方法里更新文本框后直接调用执行打字效果的方法就好了。
最后我们的打字机效果也是成功实现了。
小结
总的来说,这次的优化紧随着上次的对话系统,添加了打字机效果和对话语音,新的unity包也在github上更新了。
如有补充交流欢迎留言。
参考列表:
使用Text Mesh Pro 实现打字机效果(bilibili):BV1Wr4y147nD


