使用 Python 调用 Ollama 部署到本地的 DeepSeek 模型 Windows 全流程记录笔记_ollama deepseek 可以用python 接入吗
Python 调用 Ollama 部署到本地的 DeepSeek 模型🚀
前两天写了 DeepSeek API 的调用方法,这两天老师找到我让我给师弟师妹们讲一下在日常科研工作中如何使用 DeepSeek ,然后今天有有个硕士的好同学,找到我让我出一个本地部署 DeepSeek 的教程,我想着赶早不如赶巧,那既然都赶到一起了就研究下,我首先是去了 DeepSeek 开源的官方文档,研究一下是否有官方的教程,然后发现其教程要求部署模型必须得在 Linux 系统,然后就搜了搜其他资料,发现可以用 Ollama 进行部署,之后我又看了一下各个公众号和博客部署实现的效果,基本都是到命令行输出结果之后结束,我就想到这的话似乎好像还是不能进行二次应用,然后我就搜到了 Ollama 有专门的 Python 工具包,正好这篇文章就着重写一个如何使用 Ollama 的 Python 工具包这部分。
相关文章:Windows DeepSeek API调用基础教程-Python
文章目录
- Python 调用 Ollama 部署到本地的 DeepSeek 模型🚀
- 1. Ollama 安装
- 2. 在Powershell 内安装 DeepSeek 并进行推理
- 3.使用 Python 调用 Ollama 安装的 DeepSeek
-
- 3.1 Ollama Python 工具包官网
- 3.2 使用 Anaconda 新建虚拟环境 并安装 Ollama Python 工具包
- 3.3 使用 Python 代码调用 DeepSeek 模型进行推理
- 3.4 使用代码进行流式输出推理
- 4.总结
- 2025.2.11 入选全站综合热榜感谢认可
1. Ollama 安装
Ollama是一个开源框架,专为在本地机器上便捷部署和运行大型语言模型(LLM)而设计
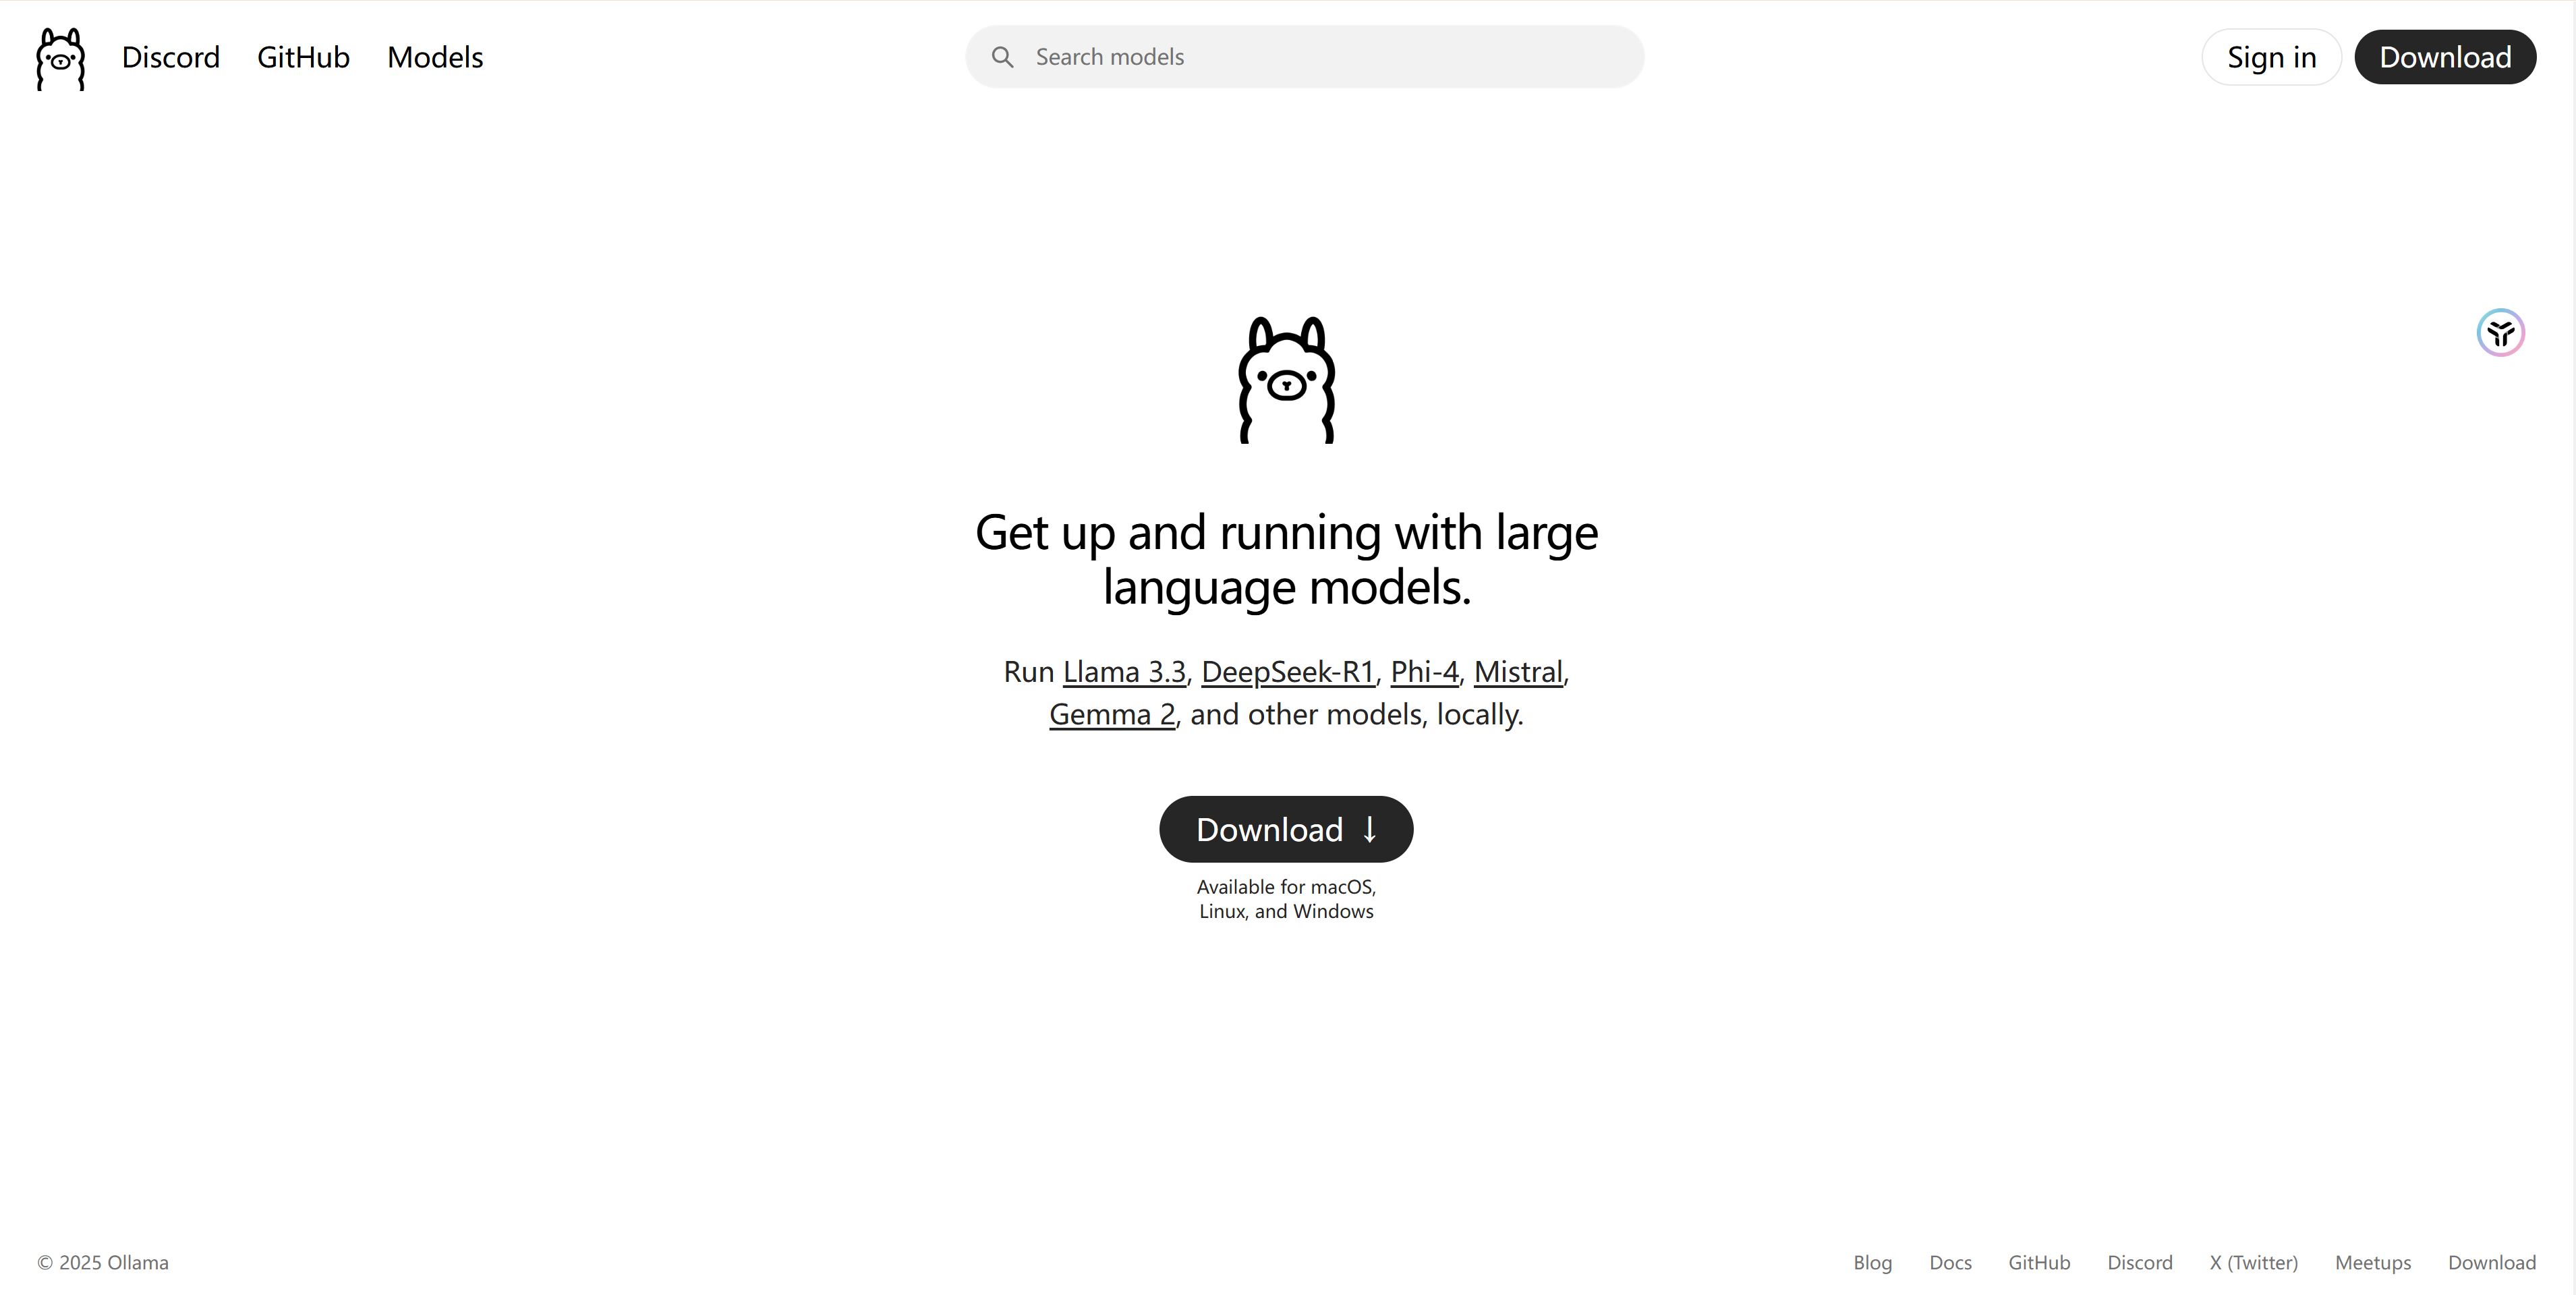
Ollama 官方网站:https://ollama.com/
首先进入官网,然后点击 Download
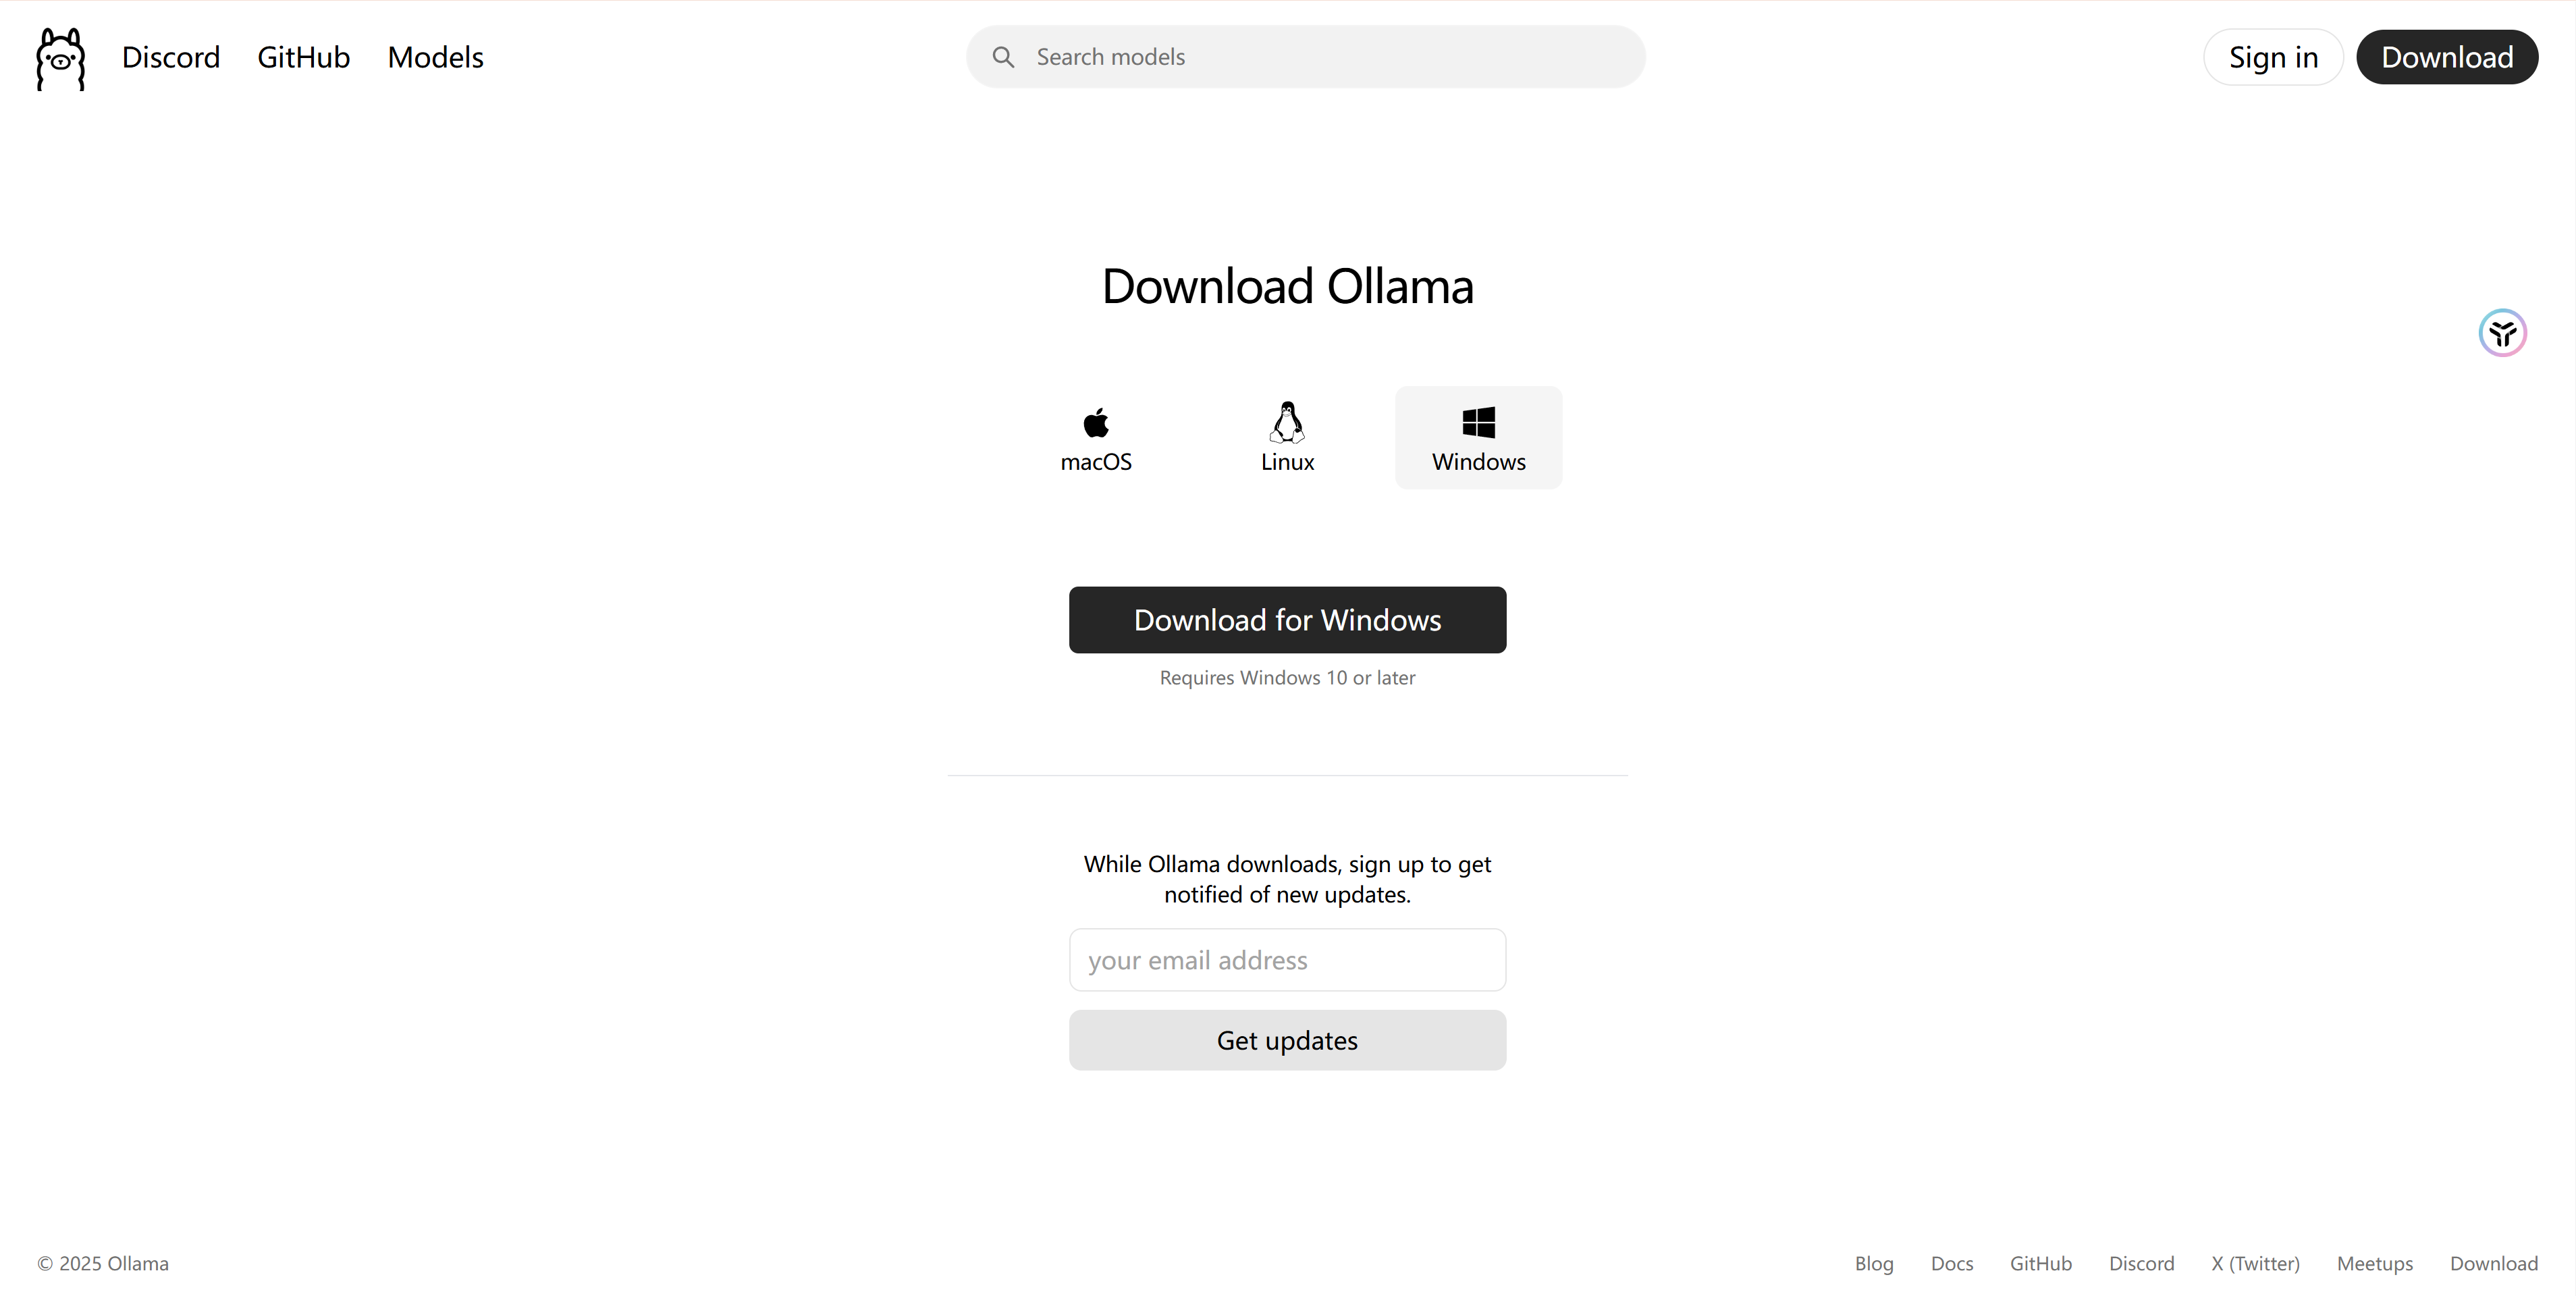
点击进去之后下载 Windows 系统的安装包,这里需要稍微提一嘴,如果不用TZ的话下载会非常慢。
之后点击可执行文件进行安装。


安装成果之后电脑桌面右夏角弹出了一个开始提出窗,尝试截图但是没截到,点击之后以管理员身份进入到的 Powershell 命令窗界面。

安装之后在桌面的搜索框里搜索能看见已经安装好的应用,我是 Window 10 系统。

2. 在Powershell 内安装 DeepSeek 并进行推理
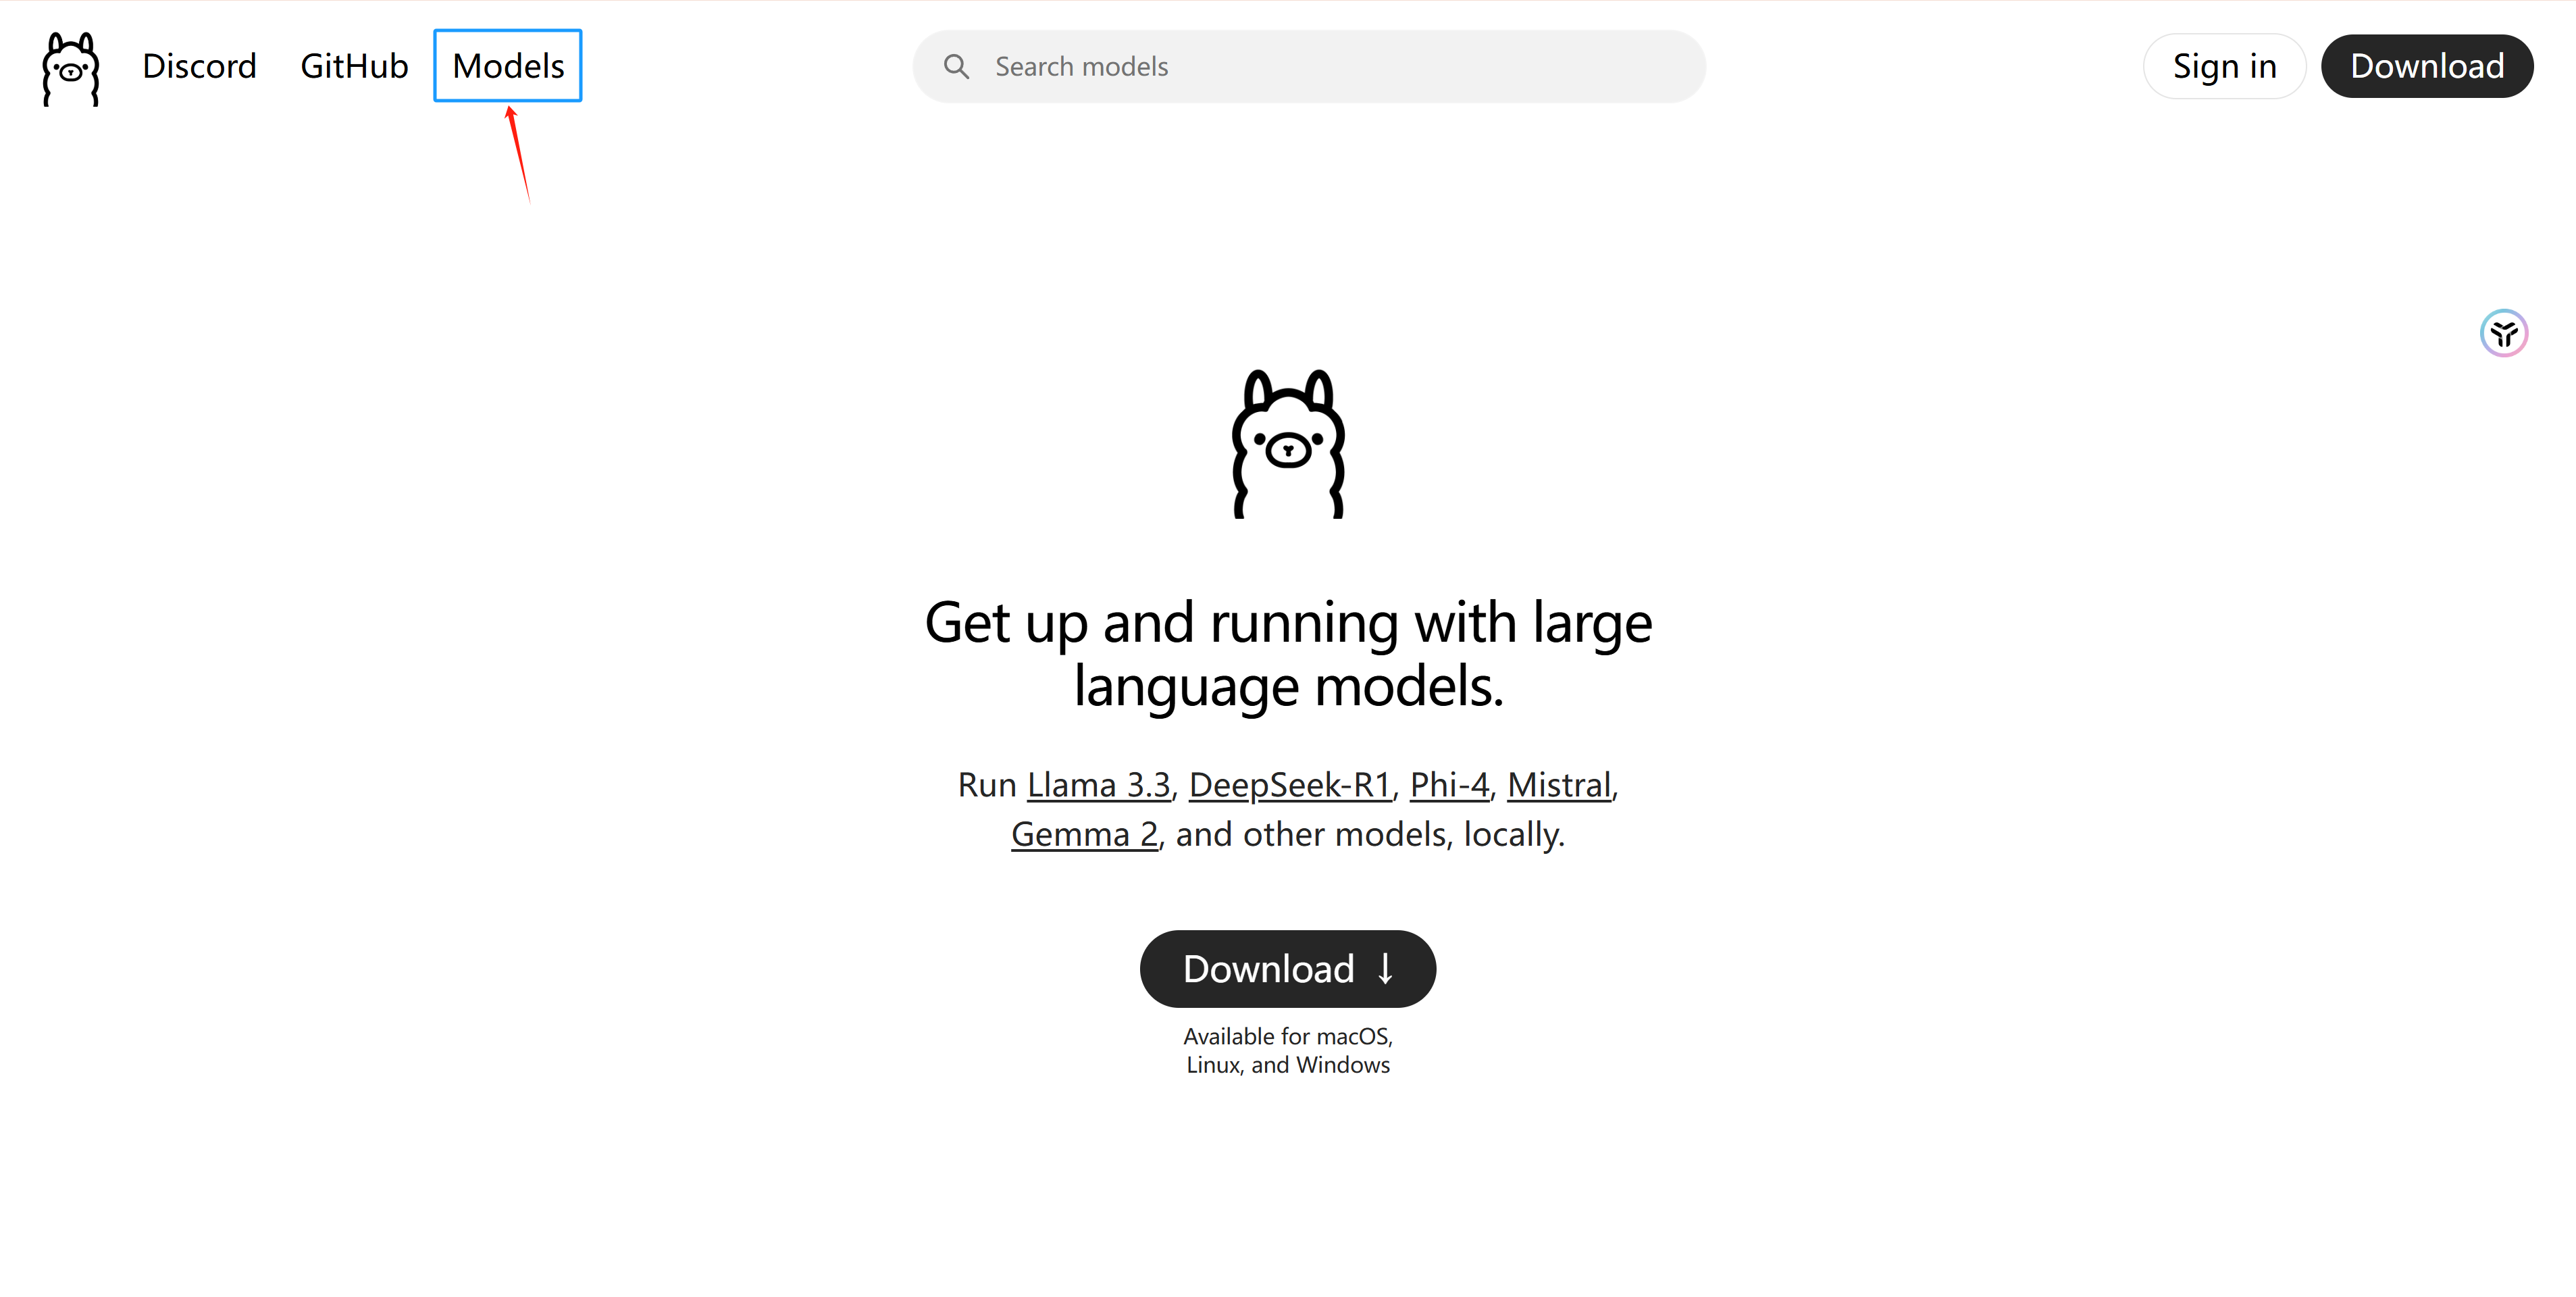
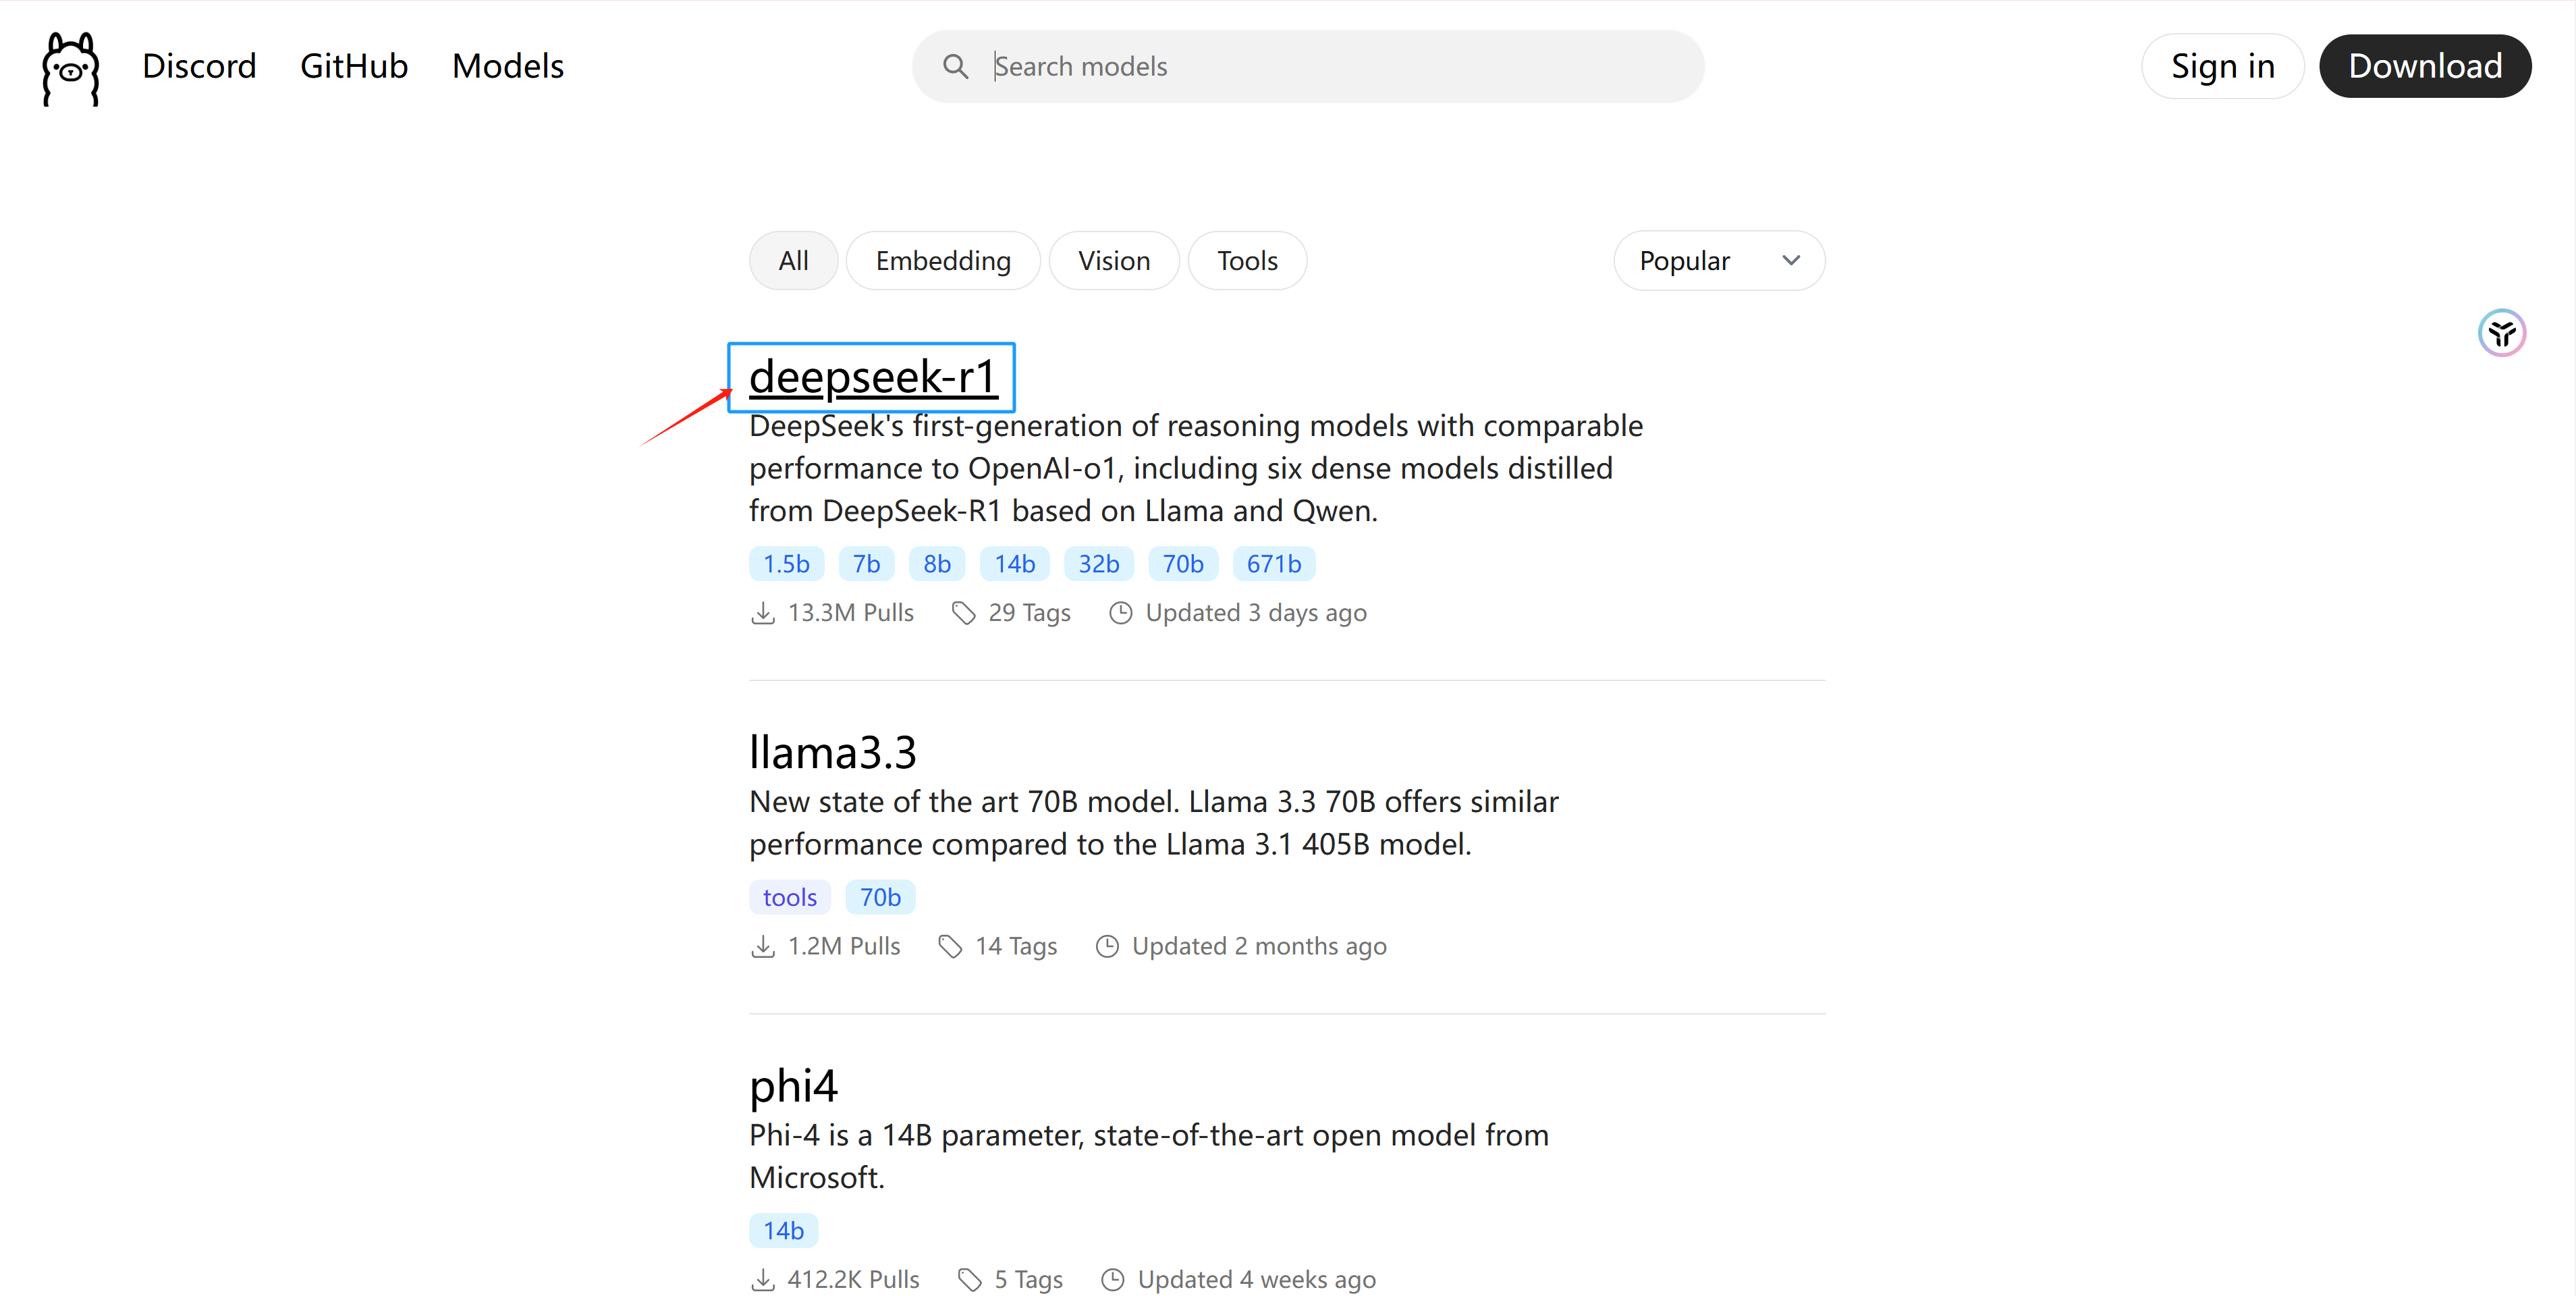
首先是去获得安装 DeepSeek 模型的命令,回到官网页面,点击上方的 Models。
进入如下页面,点击 deepseek-r1
然后在左侧下拉框内选择一个模型,这里为了方便演示,就选个1.5b的下载推理快些,然后点击右侧的命令复制,将安装命令复制。
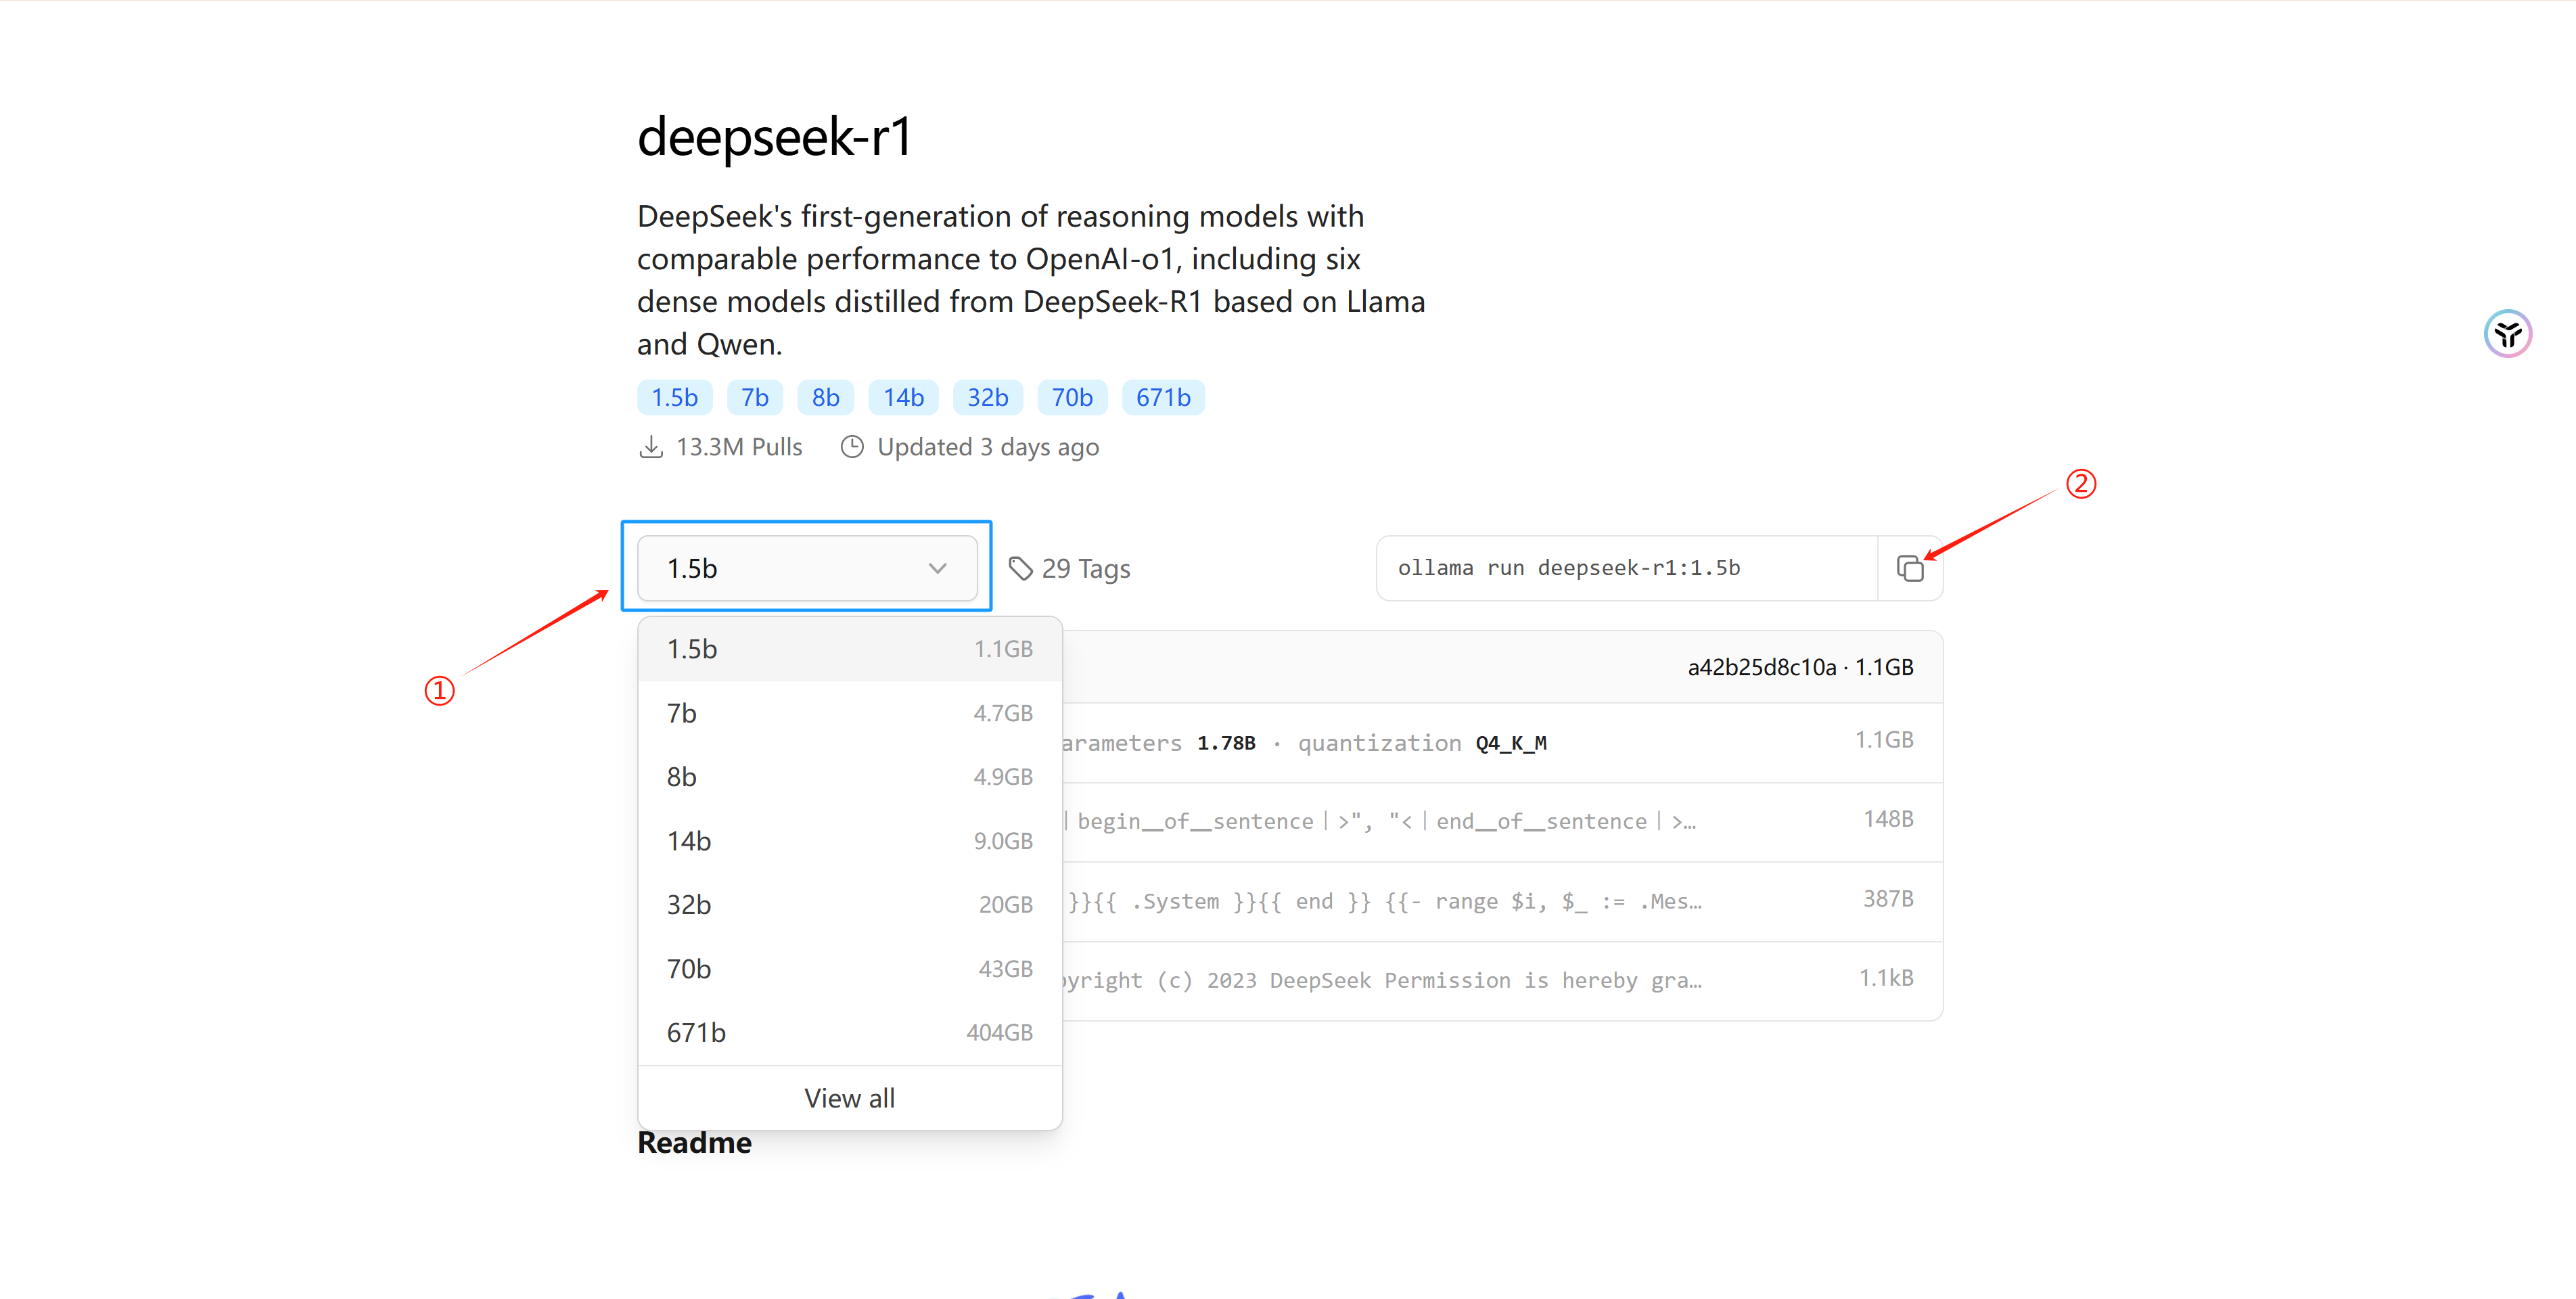
打开 PowerShell 把命令粘贴进去。
ollama run deepseek-r1:1.5b
然后按回车运行等待安装完成。

安装完成后自动进入到对话页面。


到这就完成了基础的部署使用确实非常简单,然后这里我搜了一下推理的时候默认是用GPU进行推理的,还有个问题,就是如果关掉 PowerShell 之后再打开,需要再重新运行一遍 上述的 ollama run deepseek-r1:1.5 命令才能进入对话,然后就是使用 PowerShell 和 cmd 都可以使用,包括前面的安装也可以在cmd里。

3.使用 Python 调用 Ollama 安装的 DeepSeek
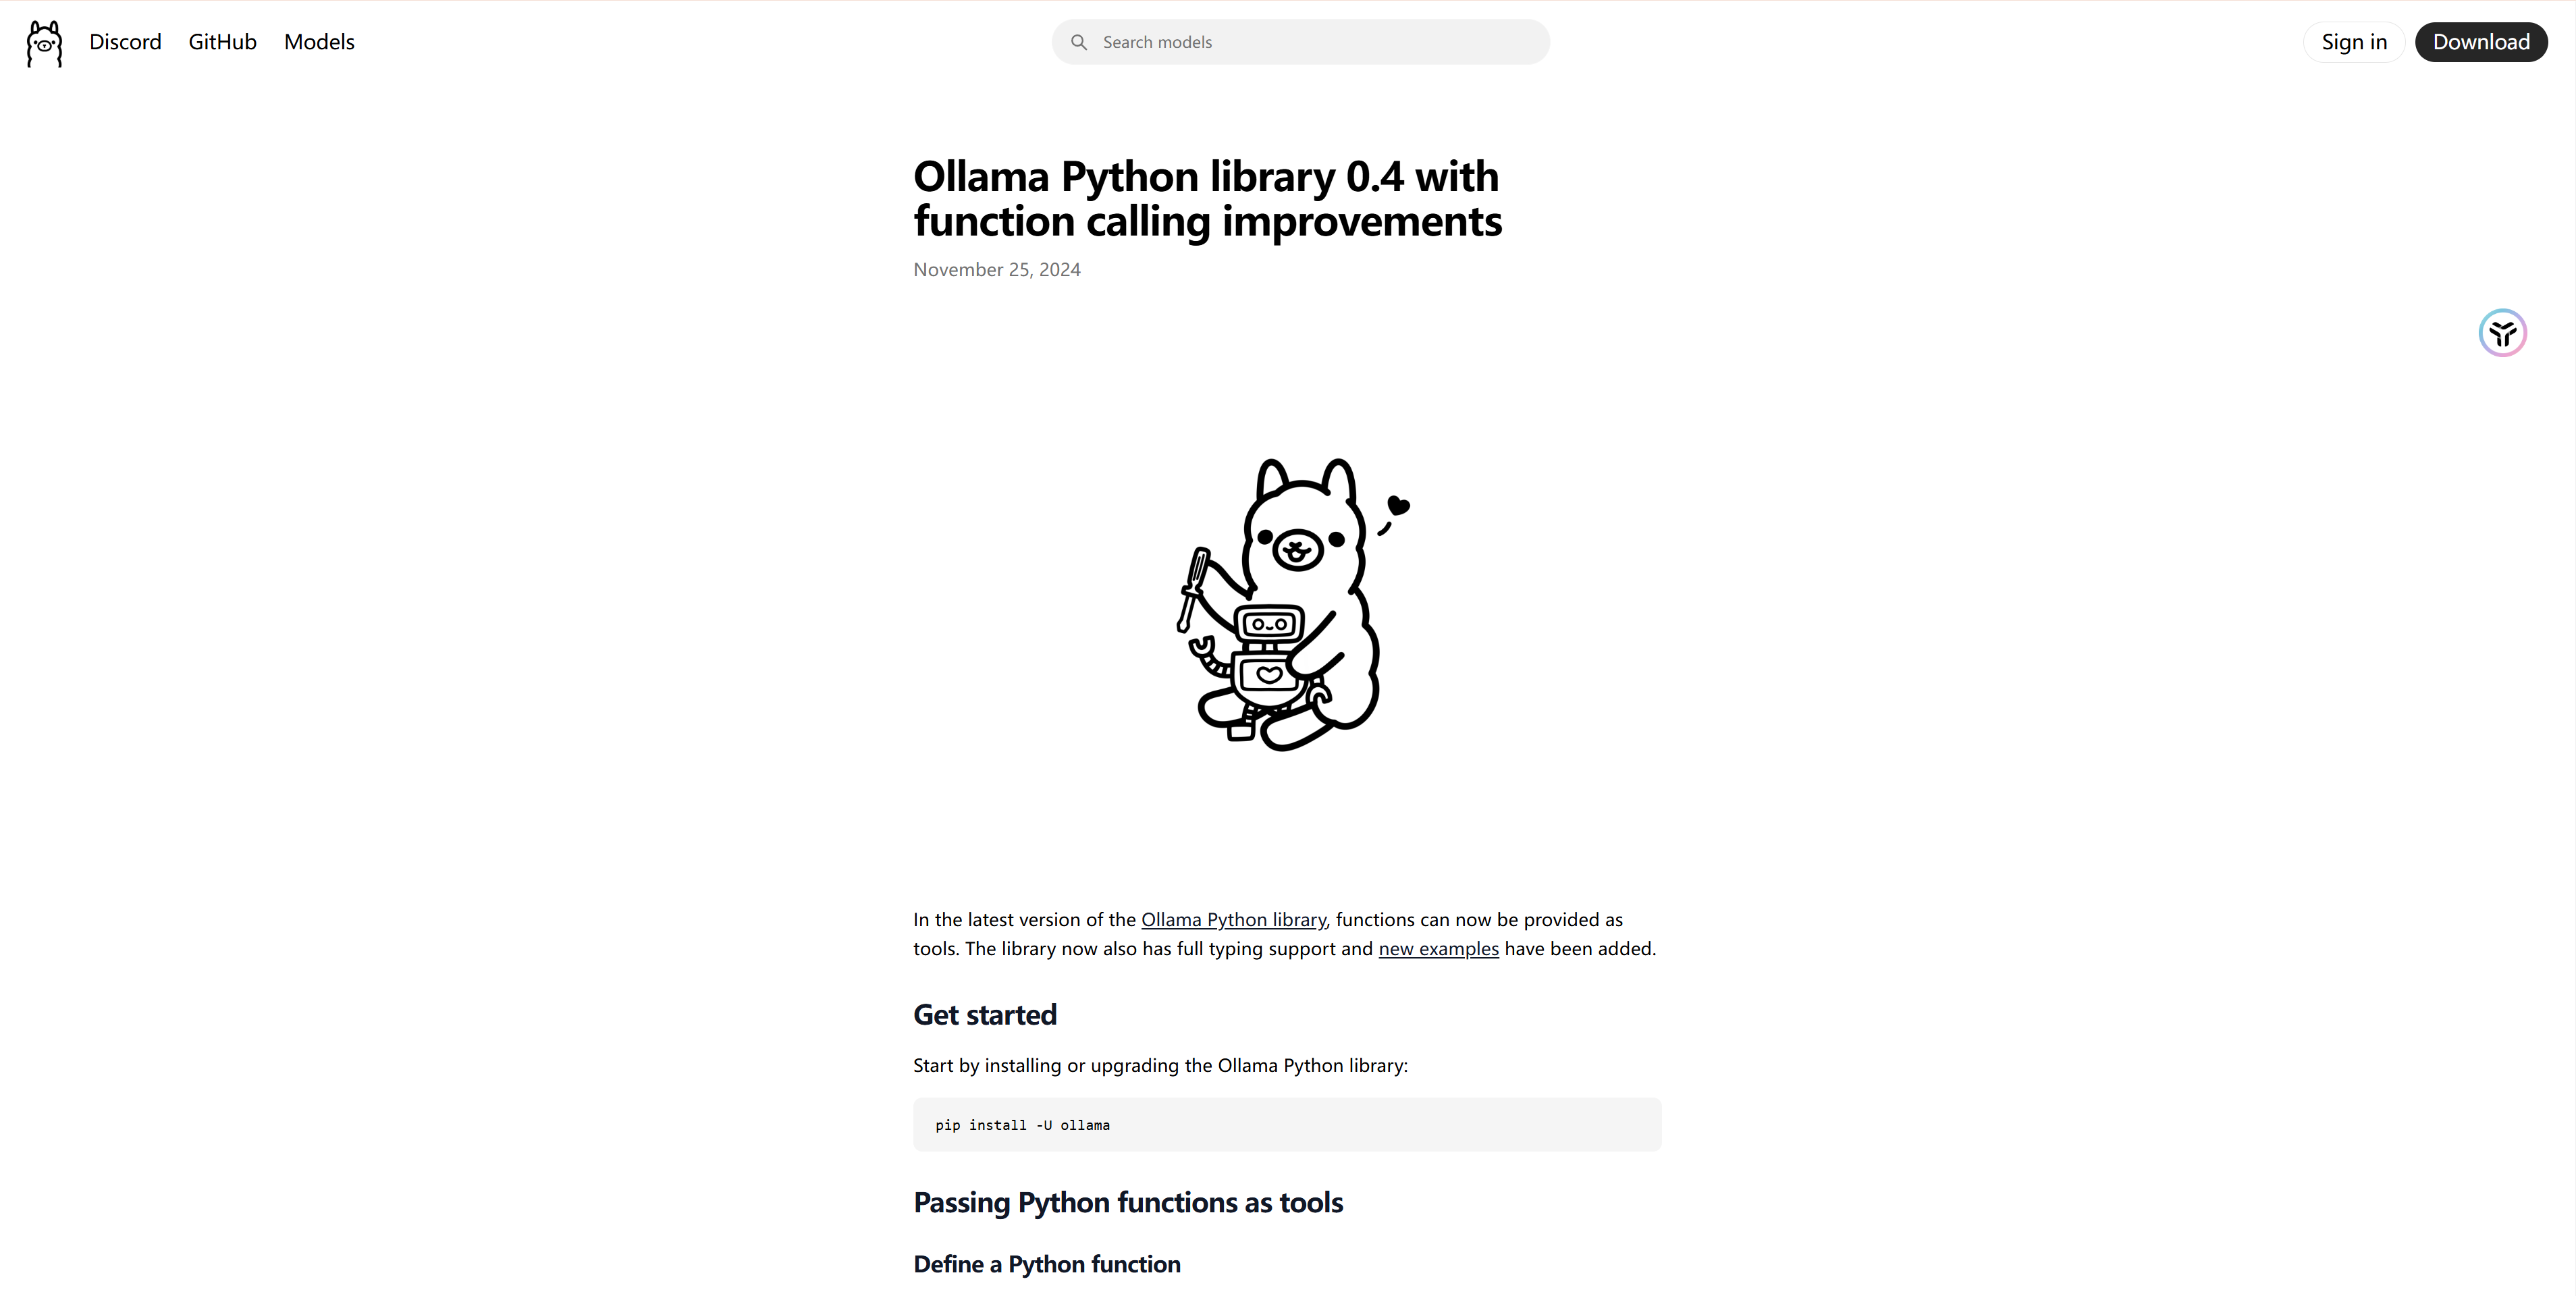
3.1 Ollama Python 工具包官网
首先是先安装 Ollama 的 python工具包
Python 工具包文档网址如下:https://ollama.com/blog/functions-as-tools
3.2 使用 Anaconda 新建虚拟环境 并安装 Ollama Python 工具包
然后同理我先用 Anaconda 新建一个虚拟环境,然后有基础的可以直接跳过。
conda create --name ollama python=3.11
输入以下安装命令,等待安装完成。
pip install -U ollama
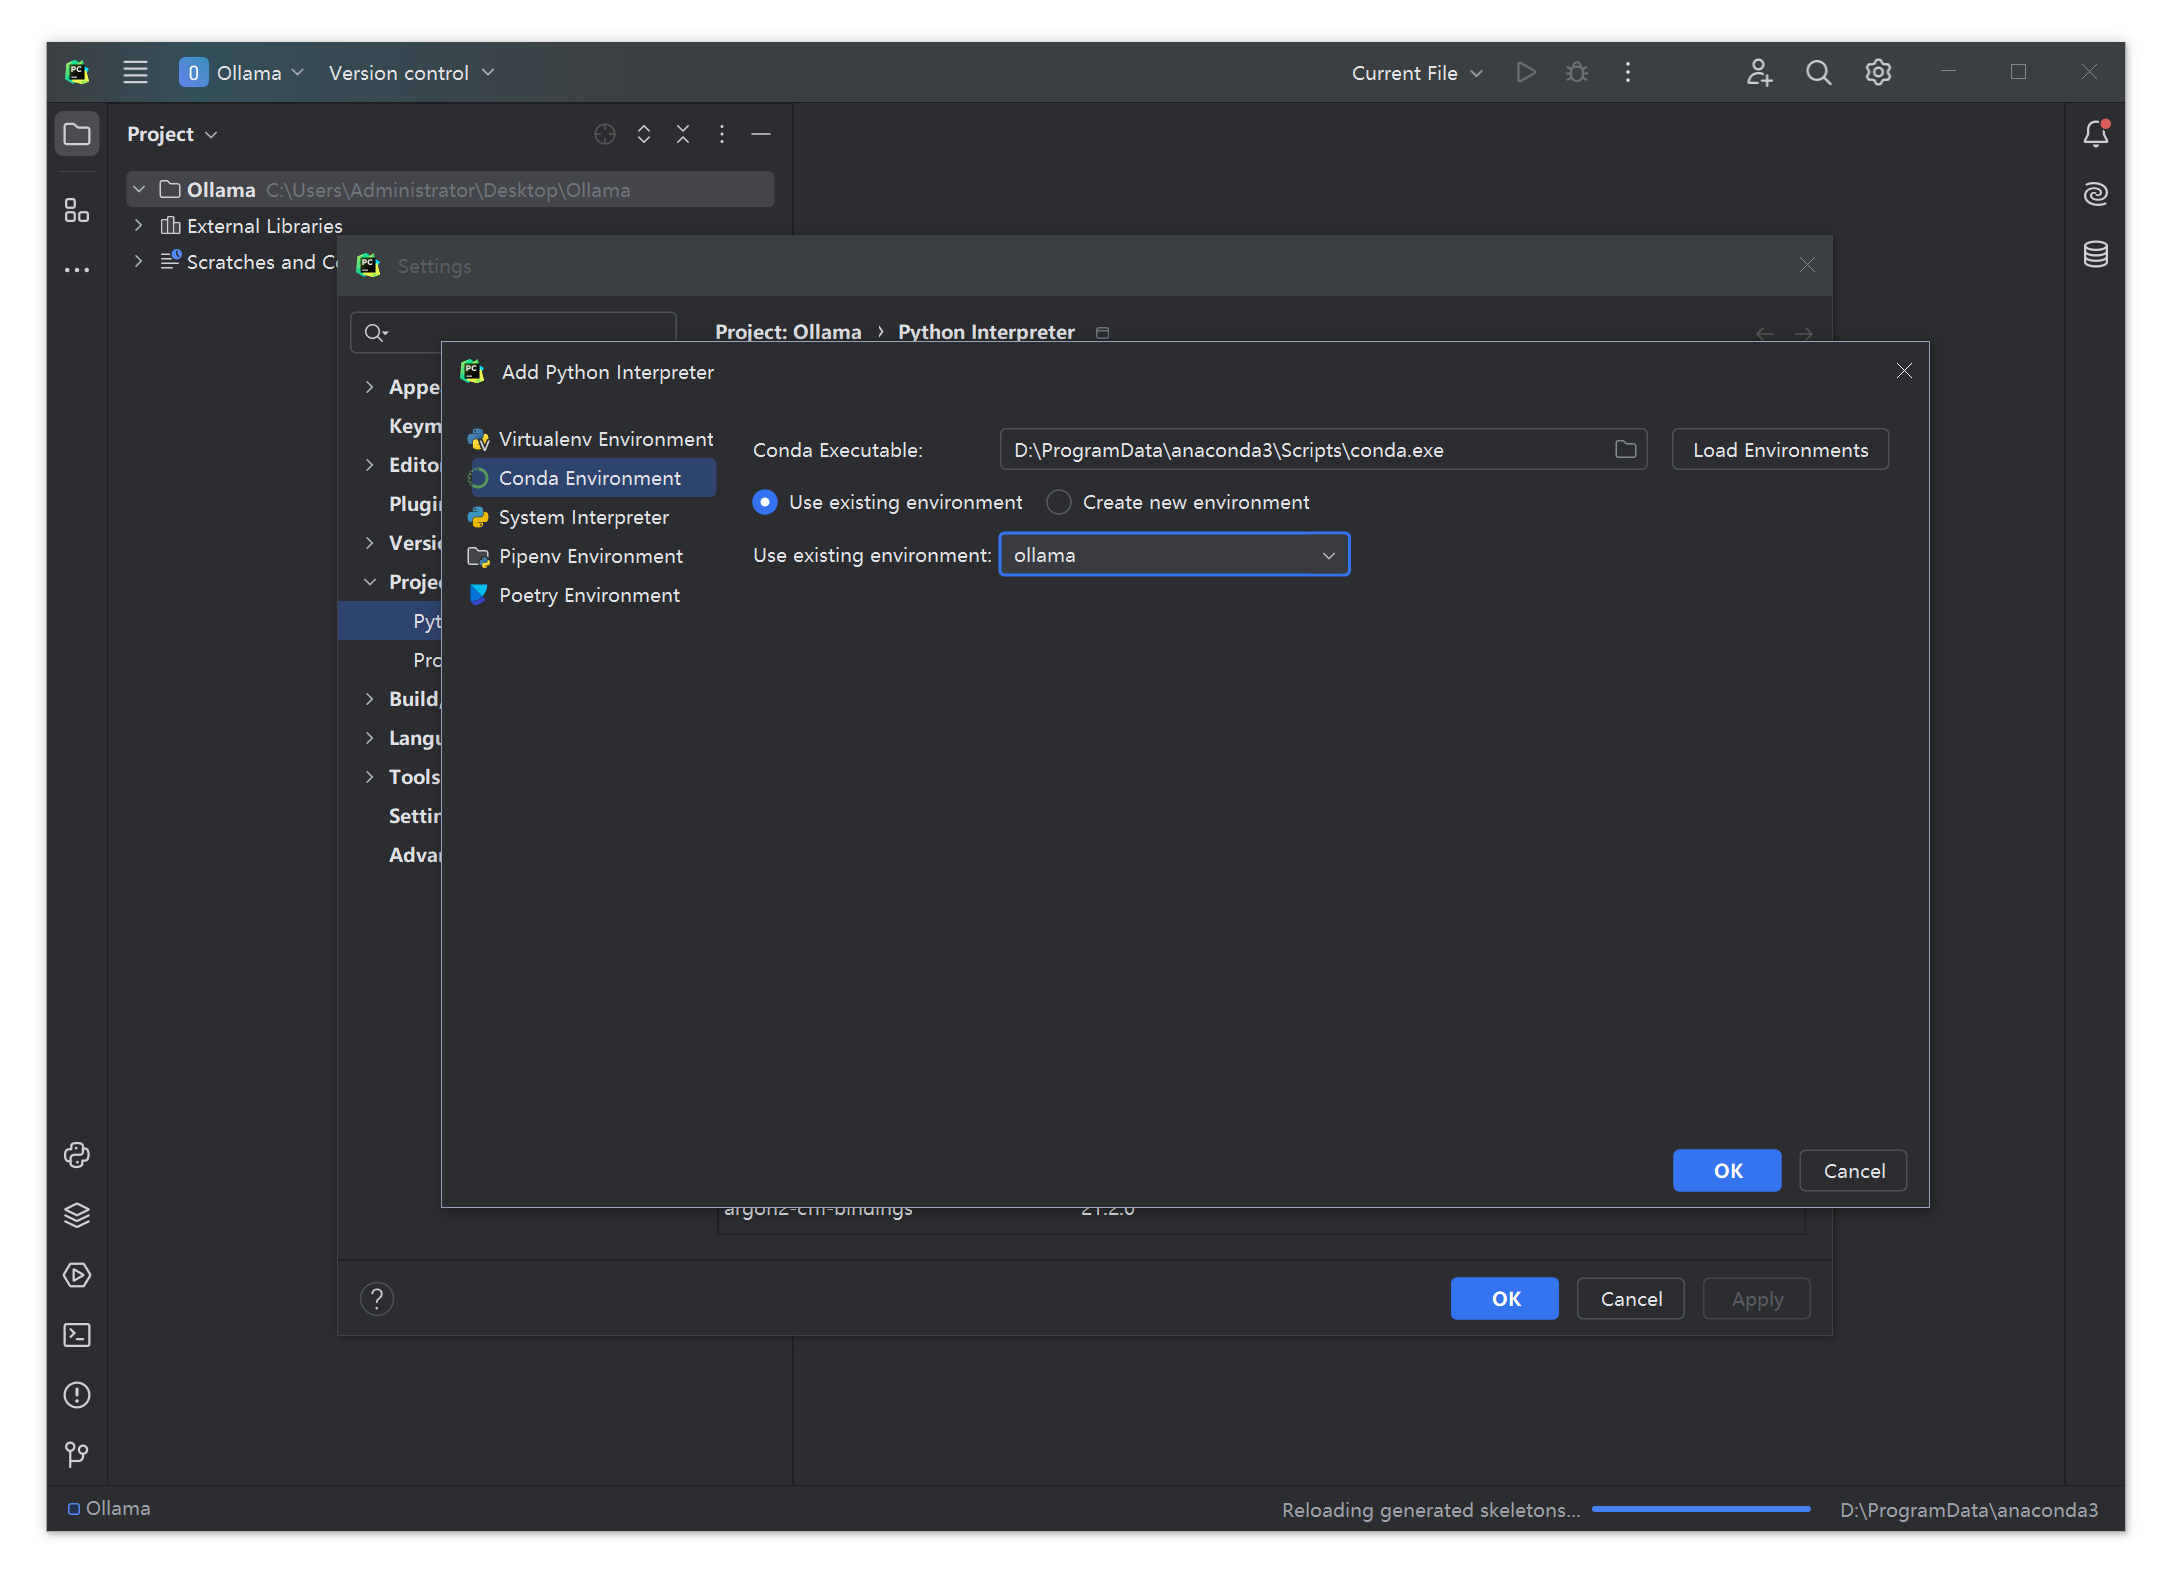
然后用 Pycharm 新建一个项目,然后选一下解释器,这个如果不会的话找会的同学帮忙操作一下。
3.3 使用 Python 代码调用 DeepSeek 模型进行推理
import ollamaresponse = ollama.chat( \'deepseek-r1:1.5b\', messages=[{\'role\': \'user\', \'content\': \'What is 10 + 10?\'}],)print(response.message.content)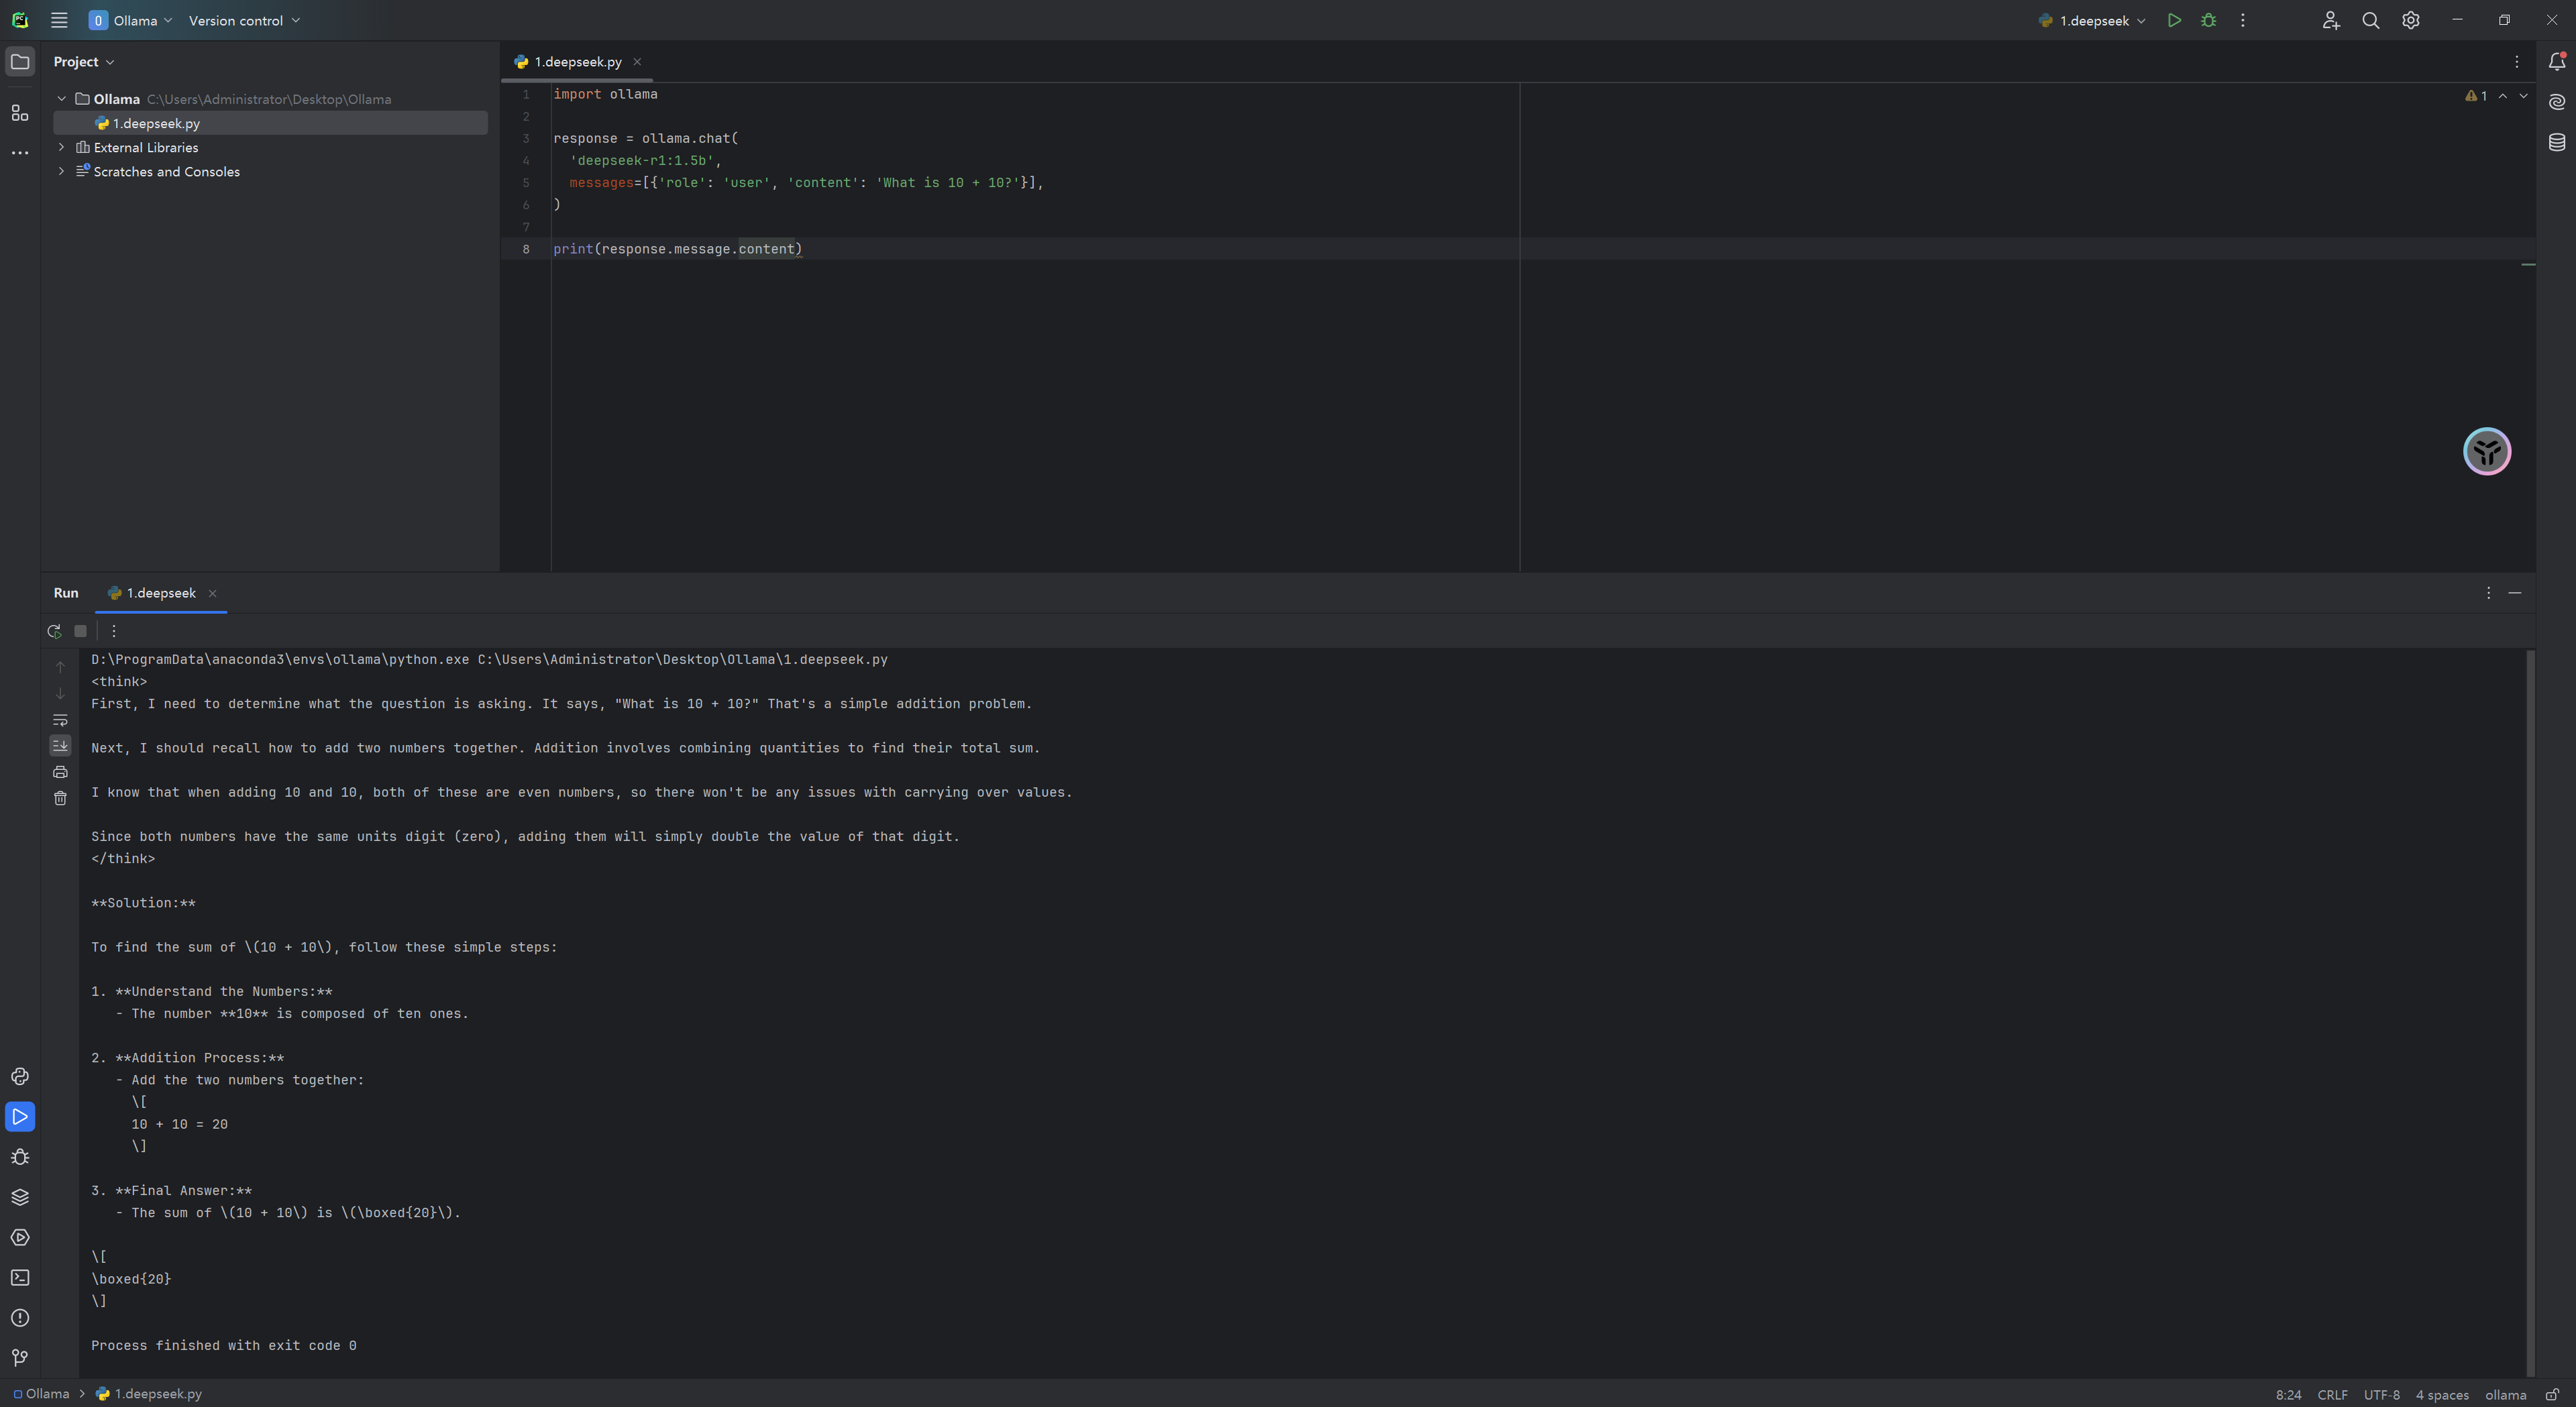
结果如下虽然是 1.5B 但是也包含了思考过程和解决过程。
<think>First, I need to determine what the question is asking. It says, \"What is 10 + 10?\" That\'s a simple addition problem.Next, I should recall how to add two numbers together. Addition involves combining quantities to find their total sum.I know that when adding 10 and 10, both of these are even numbers, so there won\'t be any issues with carrying over values.Since both numbers have the same units digit (zero), adding them will simply double the value of that digit.</think>**Solution:**To find the sum of \\(10 + 10\\), follow these simple steps:1. **Understand the Numbers:** - The number **10** is composed of ten ones. 2. **Addition Process:** - Add the two numbers together: \\[ 10 + 10 = 20 \\] 3. **Final Answer:** - The sum of \\(10 + 10\\) is \\(\\boxed{20}\\).\\[\\boxed{20}\\]3.4 使用代码进行流式输出推理
from ollama import chatmessages = [ { \'role\': \'user\', \'content\': \'Why is the sky blue?\', },]for part in chat(\'deepseek-r1:1.5b\', messages=messages, stream=True): print(part[\'message\'][\'content\'], end=\'\', flush=True)print()
4.总结
比写使用API博客的时候顺利多了没有崩掉的服务器,ollama 全程体验下来非常舒适,之后看看文档如果有好玩的东西我更新更新。
2025.2.11 入选全站综合热榜感谢认可