Vue3 单声道接收麦克风输入内容,并通过websocket实现交互_vue 获取麦克风输入的内容
文章目录
前言
具体的需求是在网页上将麦克风输入的内容提交到后端,后端再通过第三方的API将语音流转为文字返回到前端。
前端框架
Vue3 + element-plus + Axios
具体实现
页面
首先粗略的画出页面
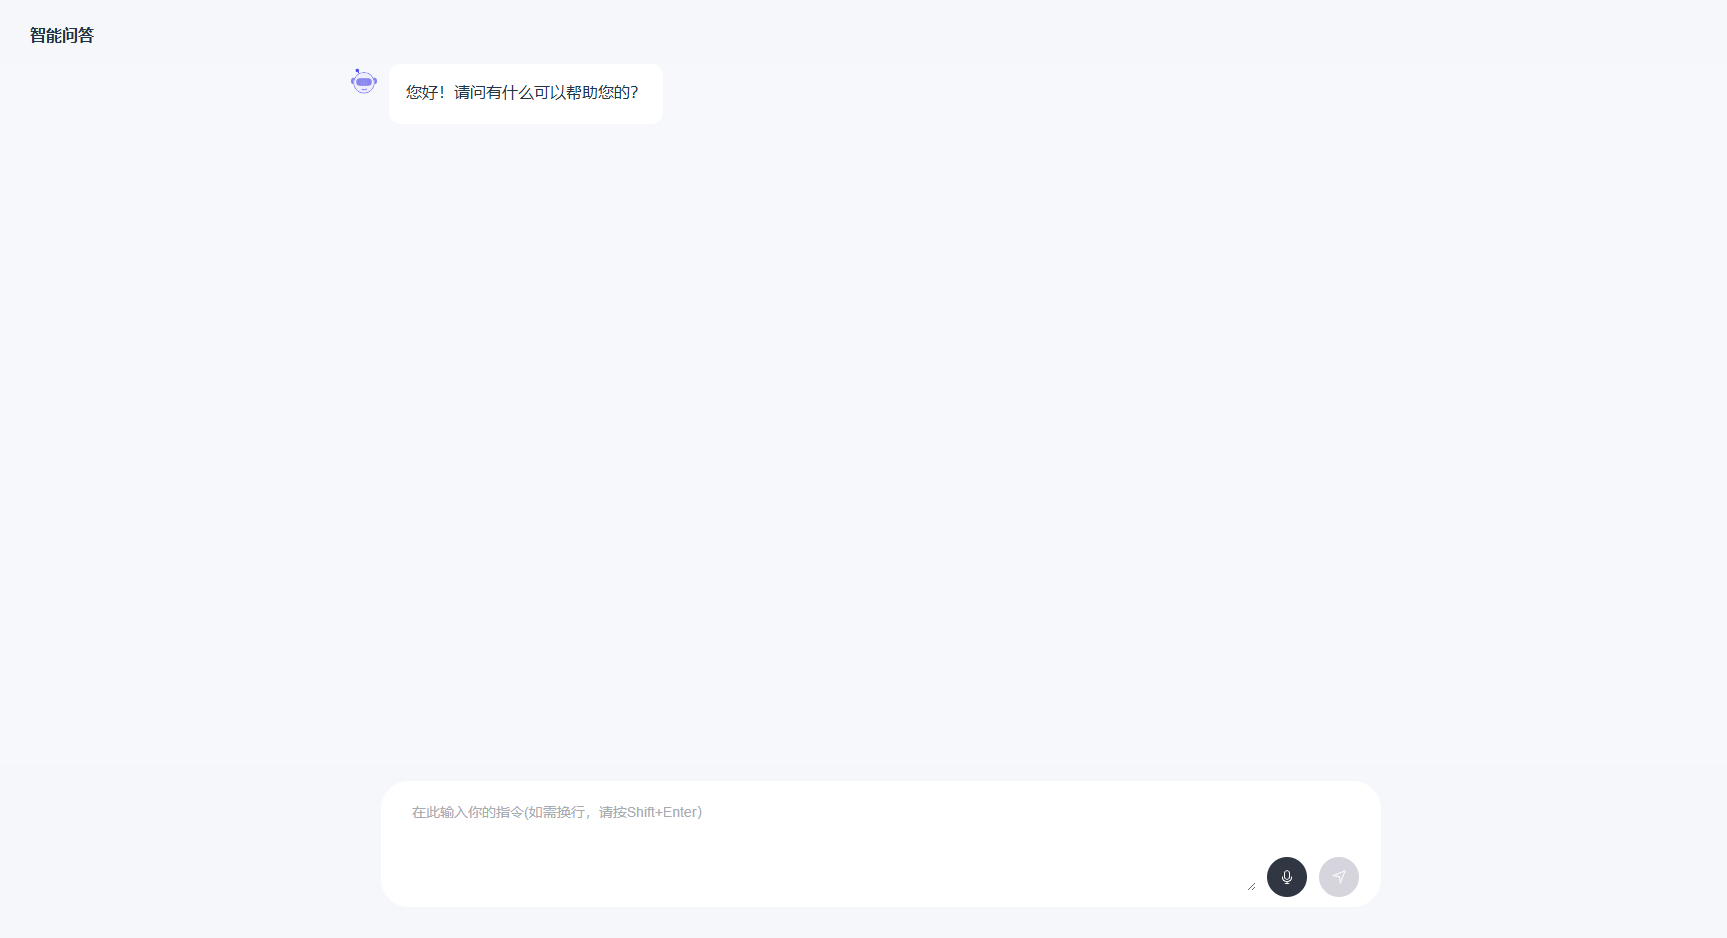
<div class=\"main-content\"> <div class=\"main-content-header\"> <div class=\"header-left\">智能问答</div> </div> <div ref=\"container\" class=\"main-content-wrapper h-[calc(100% - 70px - 128px)]\"> <ChatList ref=\"childRef\" /> </div> <div class=\"input-field\"> <div class=\"input-container\"> <div class=\"chart-input\"> <el-scrollbar class=\"w-22/25\" style=\"max-height: 96px\"> <el-input ref=\"textAreaRef\" type=\"textarea\" placeholder=\"在此输入你的指令(如需换行,请按Shift+Enter)\" v-model=\"questionInput\" @keyup.enter=\"onSubmit\" :rows=\"3\" style=\"min-height: 24px; max-height: 96px\" class=\"w-full\" /> </el-scrollbar> <div class=\"action-btns w-3/25\"> <el-icon class=\"mic\" :class=\"{ \'recording\': isRecording }\" @click=\"toggleRecording\"><Microphone /></el-icon> <el-icon class=\"operIcon\" :class=\"{ \'active-icon\': !!questionInput }\" @click=\"onSubmit\" > <Position /> </el-icon> </div> </div> </div> </div>根据页面代码实现出一下页面
实现麦克风的开始停止录制
因为只有一个按钮,需要同时控制开始和停止,需要加入变量判断一下
const isRecording = ref(false);const toggleRecording = async () => { if (!isRecording.value) { await startMicrophone(); } else { stopRecording(); }};接下来实现开始录制。因为不同浏览器会有兼容性问题,所以需要使用try catch来判断浏览器是否支持获取麦克风。
const startMicrophone = async () => { try { const stream = await navigator.mediaDevices.getUserMedia(); // ... } catch (error) { console.error(\'获取麦克风失败:\', error); alert(\'无法访问麦克风,请检查浏览器权限设置。\'); }}此时,从后端同学处得知,我们使用的第三方API,在将语音实时转为文字时,要求采集的语音是单声道,PCM格式。那只能继续研究下方案。
通过查看getUserMedia方法,看到了一丝曙光,得到了以下的代码
const startMicrophone = async () => { try { // 设置音频约束条件 const audioConstraints = { audio: { channelCount: 1, // 单声道 sampleRate: 16000, // 16kHz采样率 sampleSize: 16, // 16位采样 } }; const stream = await navigator.mediaDevices.getUserMedia(audioConstraints); // 创建AudioContext用于音频处理 const audioContext = new AudioContext({ sampleRate: 16000, // 确保16kHz采样率 latencyHint: \'interactive\' }); try { // 加载 AudioWorklet const processorCode = ` class AudioProcessor extends AudioWorkletProcessor { process(inputs, outputs) { const input = inputs[0]; const channel = input[0]; if (channel && channel.length > 0) { // 将 Float32Array 转换为 Int16Array const pcmData = new Int16Array(channel.length); for (let i = 0; i < channel.length; i++) { pcmData[i] = Math.max(-32768, Math.min(32767, Math.round(channel[i] * 32767))); } // 发送处理后的数据和音量到主线程 this.port.postMessage({ buffer: pcmData.buffer }, [pcmData.buffer]); } return true; } } registerProcessor(\'audio-processor\', AudioProcessor); `; const blob = new Blob([processorCode], { type: \'application/javascript\' }); const processorUrl = URL.createObjectURL(blob); await audioContext.audioWorklet.addModule(processorUrl); URL.revokeObjectURL(processorUrl); // 创建MediaStreamSource const source = audioContext.createMediaStreamSource(stream); // 创建 AudioWorkletNode const workletNode = new AudioWorkletNode(audioContext, \'audio-processor\', { numberOfInputs: 1, numberOfOutputs: 1, processorOptions: { sampleRate: audioContext.sampleRate } }); // 连接节点 source.connect(workletNode); workletNode.connect(audioContext.destination); // TODO: 初始化WebSocket连接 workletNode.port.onmessage = (event) => { // 打印PCM数据 console.log(event.data.buffer) } mediaRecord.value = { stop: () => { workletNode.disconnect(); source.disconnect(); stream.getTracks().forEach(track => track.stop()); }, stream: stream }; } catch (error) { console.error(\'AudioWorklet 初始化失败:\', error); // 停止录制 stopRecording(); ElMessage.error(\'音频处理初始化失败,请刷新页面重试\'); } } catch (error) { console.error(\'获取麦克风失败:\', error); alert(\'无法访问麦克风,请检查浏览器权限设置。\'); } }至此我们基本实现了音频的处理。接下来就是将数据发送出去了
WebSocket
WebSocket的建立就相对来说简单一点了。这里我单独使用了一个文件写。
import { ref } from \"vue\";interface IUseWebsocket { url: string | URL debug: boolean onMessage: ((event: MessageEvent<any>) => any) onOpen?: () => any onError?: ((ev: Event) => any) onClose?: ((ev: CloseEvent) => any)}export function useWebsocket(config: IUseWebsocket) { const ws = ref<WebSocket | null>(null) ws.value = new WebSocket(config.url) ws.value.onopen = () => { if (config.debug) { console.log(\'WebSocket连接已建立\'); } config.onOpen && config.onOpen() } ws.value.onmessage = (event) => { if (config.debug) { console.log(\'WebSocket正在接收消息:\', event); } config.onMessage(event) } ws.value.onerror = (error) => { if (config.debug) { console.error(\'WebSocket错误:\', error); } config.onError && config.onError(error) } ws.value.onclose = (event) => { if (config.debug) { console.log(\'WebSocket连接已关闭\', event); } config.onClose && config.onClose(event) } return ws.value}此时我们改写一下startMicrophone方法,将WebSocket的交互加入进去
const questionInput = ref(\'\')const startMicrophone = async () => { try { // 设置音频约束条件 const audioConstraints = { audio: { channelCount: 1, // 单声道 sampleRate: 16000, // 16kHz采样率 sampleSize: 16, // 16位采样 } }; const stream = await navigator.mediaDevices.getUserMedia(audioConstraints); // 创建AudioContext用于音频处理 const audioContext = new AudioContext({ sampleRate: 16000, // 确保16kHz采样率 latencyHint: \'interactive\' }); try { // 加载 AudioWorklet const processorCode = ` class AudioProcessor extends AudioWorkletProcessor { process(inputs, outputs) { const input = inputs[0]; const channel = input[0]; if (channel && channel.length > 0) { // 将 Float32Array 转换为 Int16Array const pcmData = new Int16Array(channel.length); for (let i = 0; i < channel.length; i++) { pcmData[i] = Math.max(-32768, Math.min(32767, Math.round(channel[i] * 32767))); } // 发送处理后的数据和音量到主线程 this.port.postMessage({ buffer: pcmData.buffer }, [pcmData.buffer]); } return true; } } registerProcessor(\'audio-processor\', AudioProcessor); `; const blob = new Blob([processorCode], { type: \'application/javascript\' }); const processorUrl = URL.createObjectURL(blob); await audioContext.audioWorklet.addModule(processorUrl); URL.revokeObjectURL(processorUrl); // 创建MediaStreamSource const source = audioContext.createMediaStreamSource(stream); // 创建 AudioWorkletNode const workletNode = new AudioWorkletNode(audioContext, \'audio-processor\', { numberOfInputs: 1, numberOfOutputs: 1, processorOptions: { sampleRate: audioContext.sampleRate } }); // 连接节点 source.connect(workletNode); workletNode.connect(audioContext.destination); // 初始化WebSocket连接 ws.value = useWebsocket({ url: getAuthUrl(), debug: true, onMessage: (event) => { const response = JSON.parse(event.data); if (response.type === \'0\') { const result = response.content; questionInput.value += result; } }, onOpen: () => { isRecording.value = true; showRecordingDialog.value = true; }, onError: () => { stopRecording(); } }); workletNode.port.onmessage = (event) => { if (ws.value?.readyState === WebSocket.OPEN) { // 发送PCM数据 ws.value.send(event.data.buffer) } } mediaRecord.value = { stop: () => { workletNode.disconnect(); source.disconnect(); stream.getTracks().forEach(track => track.stop()); }, stream: stream }; } catch (error) { console.error(\'AudioWorklet 初始化失败:\', error); stopRecording(); ElMessage.error(\'音频处理初始化失败,请刷新页面重试\'); } } catch (error) { console.error(\'获取麦克风失败:\', error); alert(\'无法访问麦克风,请检查浏览器权限设置。\'); }};接下来是停止录音方法的实现。
const stopRecording = () => { if (mediaRecord.value) { mediaRecord.value.stop(); // 发送结束标记 if (ws.value?.readyState === WebSocket.OPEN) { ws.value.send(JSON.stringify({ status: 2 })); ws.value.close(); } isRecording.value = false; }};后记
以上就实现了实时语音转文字。
此时产品经理又提出了新的需求(o_o):根据输入的音量大小显示音浪效果(再次O_O),同时还需要在没有语音输入时,实现自动发送问题。这个就下次再写吧-


