微信小程序二维码扫码功能实现指南_微信小程序扫描二维码
文章目录
1. 官方文档指南
在微信小程序中实现二维码扫码功能,可以通过微信提供的API轻松完成
https://developers.weixin.qq.com/miniprogram/dev/api/device/scan/wx.scanCode.html
2. 功能描述
调起客户端扫码界面进行扫码
2.1 参数说明
Object object
2.1 回调函数
object.success
3. 基础扫码功能实现
index.wxml中添加按钮触发扫码
<view class=\"container\"> <button bindtap=\"scanQRCode\" type=\"primary\">扫描二维码</button> <view wx:if=\"{{result}}\" class=\"result\"> 扫描结果:{{result}} </view></view>index.js中 实现扫码逻辑
// pages/index/index.jsPage({ data: { result: \'\' }, scanQRCode: function() { const that = this; // 调用微信扫码接口 wx.scanCode({ onlyFromCamera: true, // 只允许从相机扫码 scanType: [\'qrCode\'], // 只识别二维码 success(res) { console.log(\'扫码结果:\', res); that.setData({ result: res.result }); // 可以根据结果进行不同处理 that.handleScanResult(res.result); }, fail(err) { console.error(\'扫码失败:\', err); wx.showToast({ title: \'扫码失败\', icon: \'none\' }); } }); }, handleScanResult: function(result) { // 这里处理扫码结果 // 例如:如果是URL则跳转,如果是特定格式则解析等 if (result.startsWith(\'http\')) { wx.showModal({ title: \'扫码成功\', content: \'检测到网址,是否在浏览器中打开?\', success(res) { if (res.confirm) { wx.setClipboardData({ data: result, success() { wx.showToast({ title: \'网址已复制\', }); } }); } } }); } else { wx.showToast({ title: \'扫码成功\', icon: \'success\' }); } }});index.wxss添加样式
/* pages/index/index.wxss */.container { padding: 20px; text-align: center;}button { margin-bottom: 20px;}.result { margin-top: 20px; padding: 10px; background-color: #f5f5f5; border-radius: 4px; word-break: break-all;}4. 注意事项
- 权限配置:确保在app.json中声明了scope.userLocation权限(如果需要)
- 真机测试:扫码功能需要在真机上测试,开发者工具可能无法完全模拟
- 维码内容处理:根据业务需求处理不同类型的二维码内容
- 性能优化:频繁扫码可能会影响性能,注意适当控制
- 安全考虑:对扫码结果进行验证,防止恶意代码注入
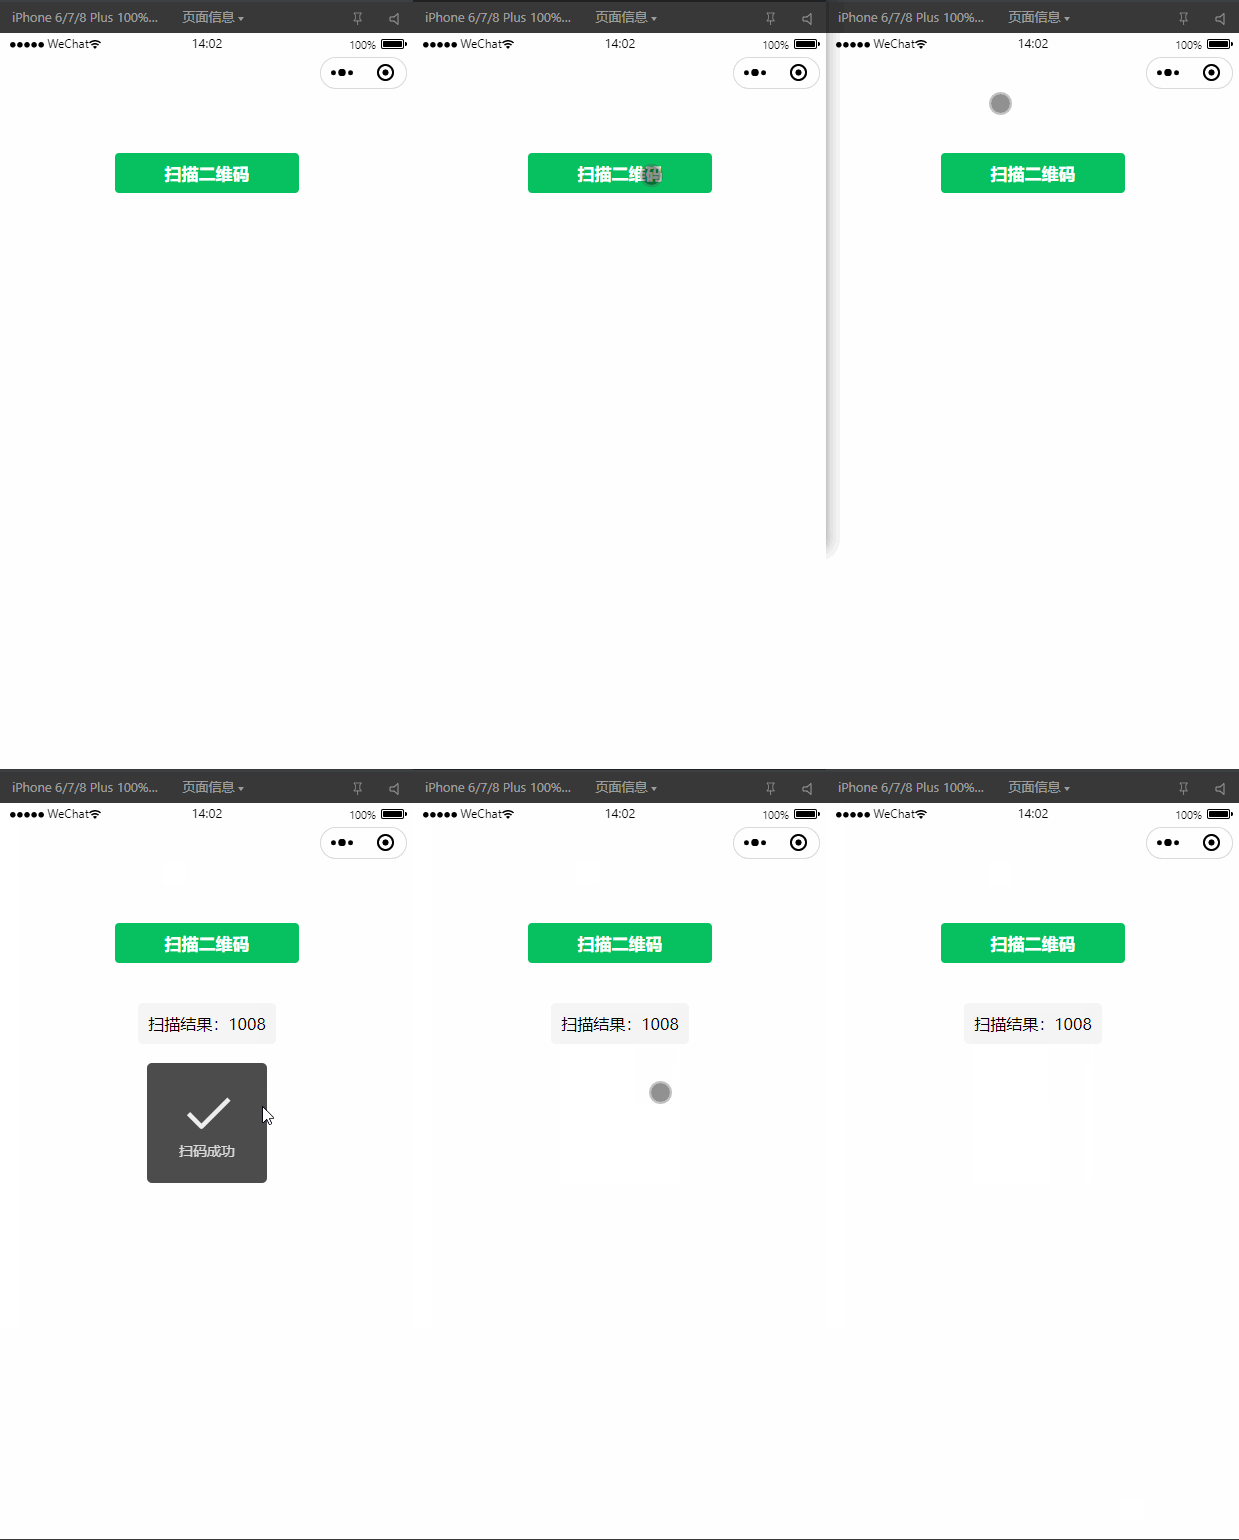
5. 实现效果


