使用目标检测yolo11去训练盲道损坏检测数据集VOC+YOLO格式4426张3类别步骤和流程
【数据集介绍】
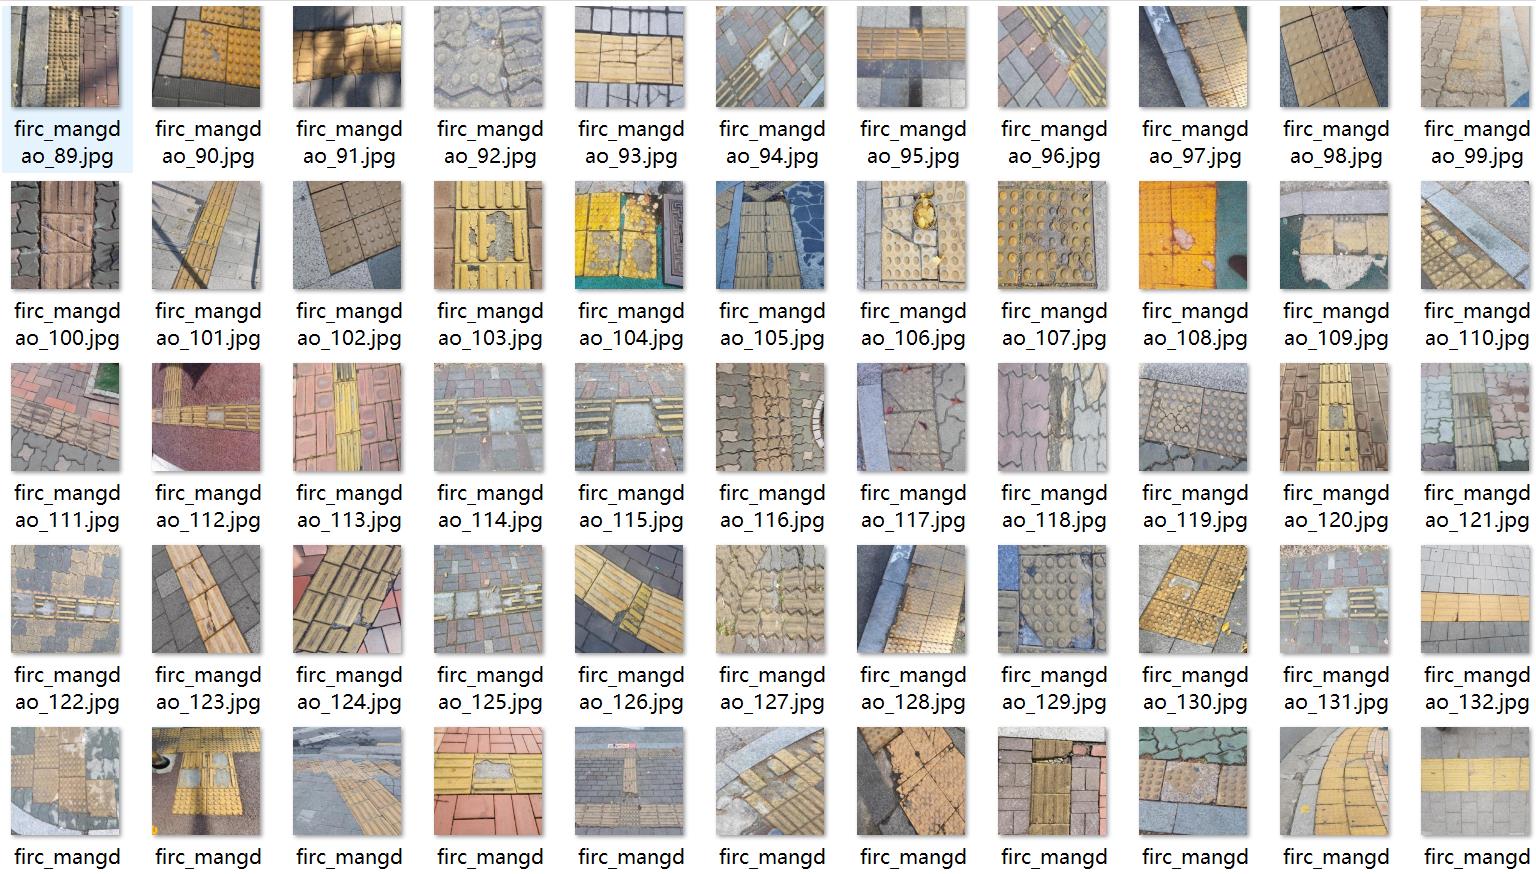
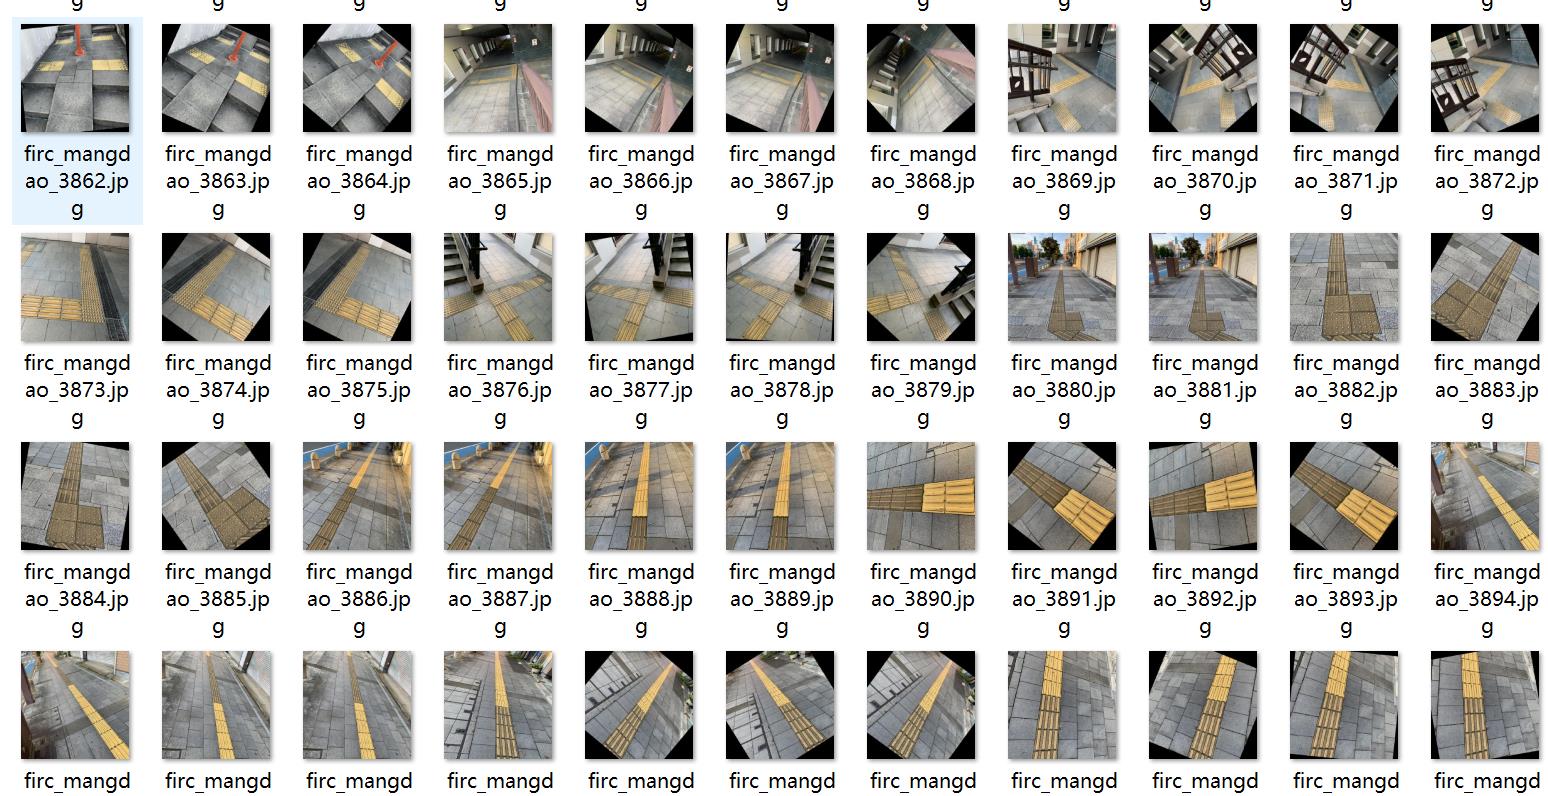
数据集中有部分旋转增强图片,请查看图片预览
数据集格式:Pascal VOC格式+YOLO格式(不包含分割路径的txt文件,仅仅包含jpg图片以及对应的VOC格式xml文件和yolo格式txt文件)
图片数量(jpg文件个数):4426
标注数量(xml文件个数):4426
标注数量(txt文件个数):4426
标注类别数:3
所在仓库:firc-dataset
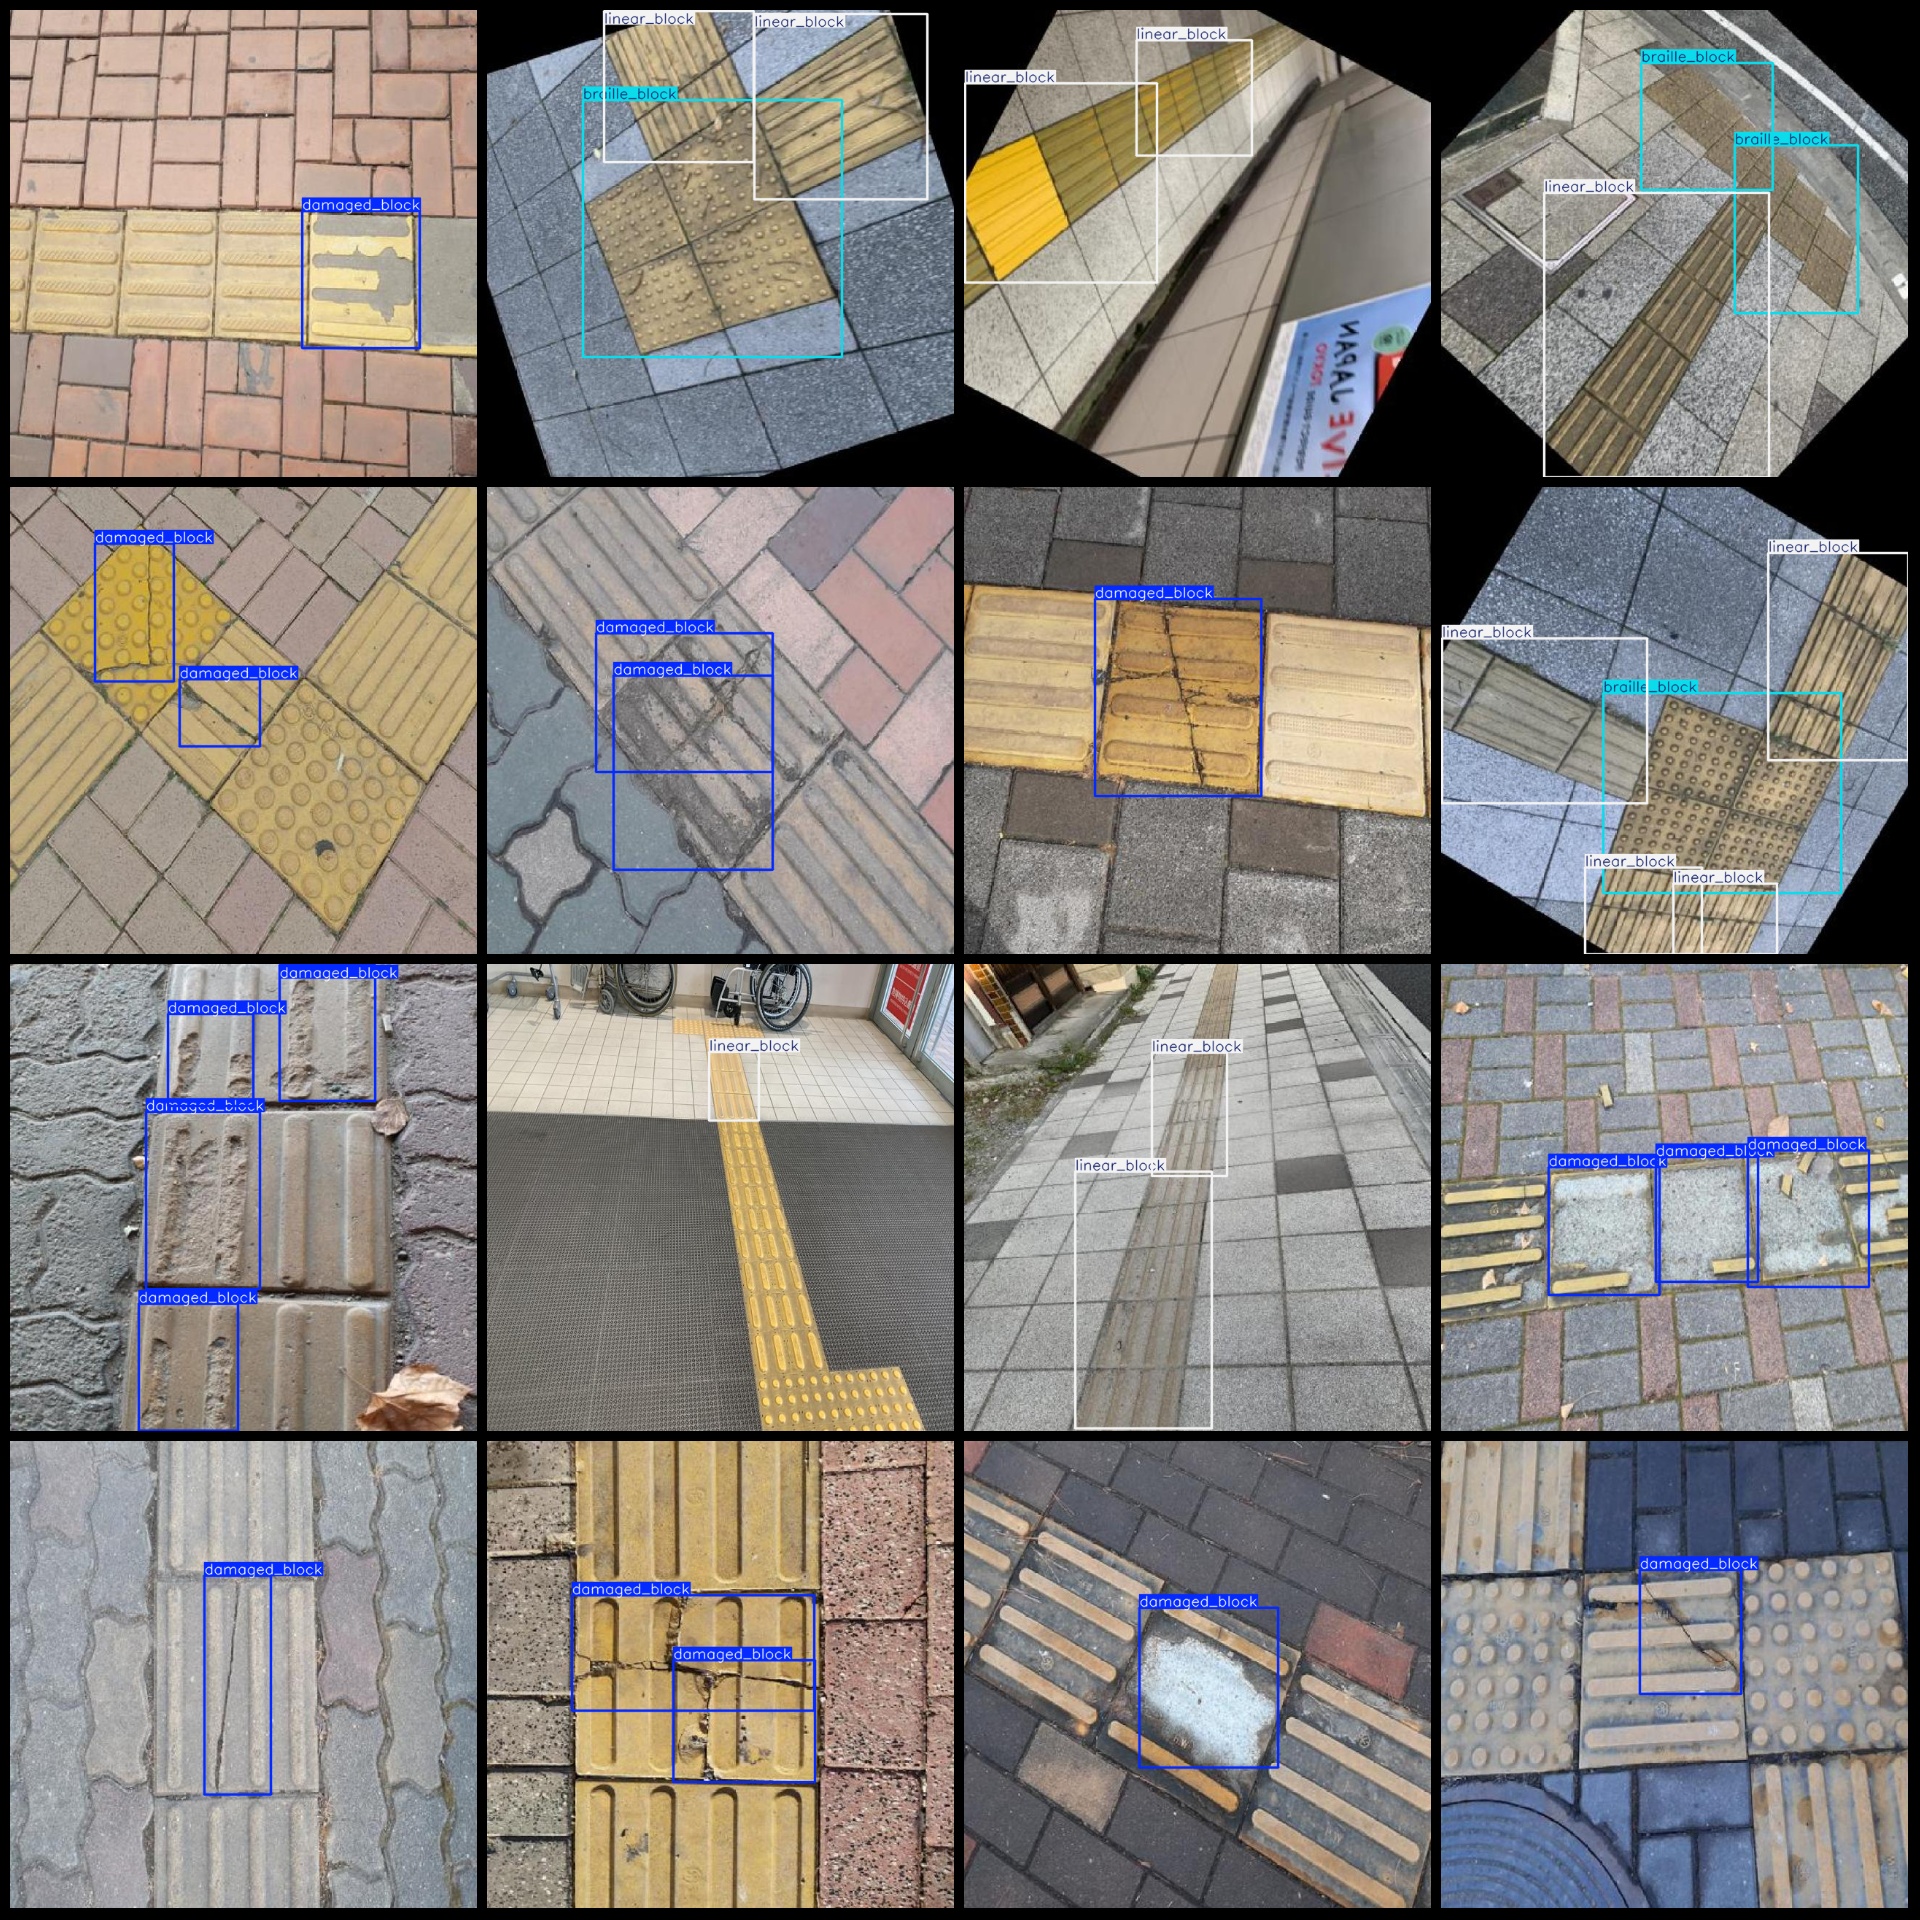
标注类别名称(注意yolo格式类别顺序不和这个对应,而以labels文件夹classes.txt为准):[\"braille_block\",\"damaged_block\",\"linear_block\"]
每个类别标注的框数:
braille_block 框数 = 3534
damaged_block 框数 = 3770
linear_block 框数 = 4885
总框数:12189
使用标注工具:labelImg
标注规则:对类别进行画矩形框
重要说明:暂无
特别声明:本数据集不对训练的模型或者权重文件精度作任何保证,数据集只提供准确且合理标注
图片预览:
标注例子:
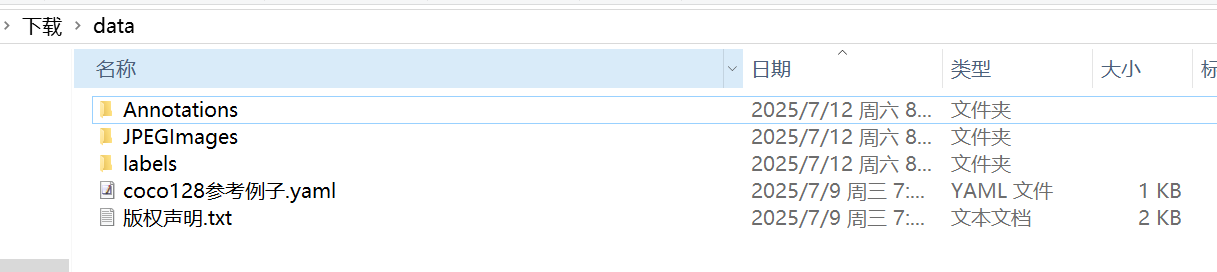
首先我们获取数据集压缩包7z格式或者zip格式后解压到一个非中文或者有空格路径下面。比如解压到C:\\Users\\Administrator\\Downloads目录,下面都是以这个目录演示训练流程。
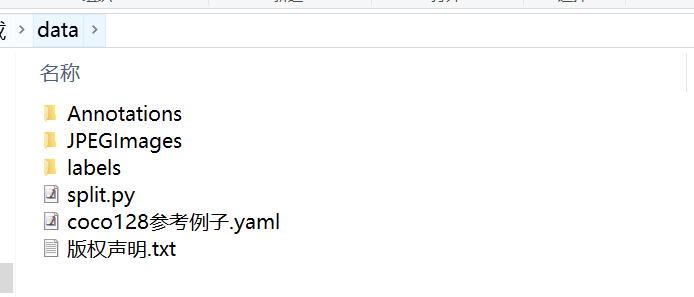
然后我们在数据集data文件夹下面新建一个脚本split.py写入下面代码:
import osimport shutilimport randomclass VOCDataSplit(object): def __init__(self): pass def split(self, image_dir, label_dir, save_dir, trainval_radio=0.9, train_radio=0.9, copy_it=True, need_test_dataset=False, shuffle_file=True): train_images_dir = os.path.join(save_dir, \'train\', \'images\') train_labels_dir = os.path.join(save_dir, \'train\', \'labels\') val_images_dir = os.path.join(save_dir, \'val\', \'images\') val_labels_dir = os.path.join(save_dir, \'val\', \'labels\') test_images_dir = os.path.join(save_dir, \'test\', \'images\') test_labels_dir = os.path.join(save_dir, \'test\', \'labels\') os.makedirs(train_images_dir, exist_ok=True) os.makedirs(train_labels_dir, exist_ok=True) os.makedirs(val_images_dir, exist_ok=True) os.makedirs(val_labels_dir, exist_ok=True) if need_test_dataset: os.makedirs(test_images_dir, exist_ok=True) os.makedirs(test_labels_dir, exist_ok=True) files = [] for file in os.listdir(image_dir): if file.endswith(\'.jpg\'): files.append(file) total_count = len(files) print(\'find {} images\'.format(total_count)) if shuffle_file: random.shuffle(files) if need_test_dataset: test_count = int(total_count * (1 - trainval_radio)) train_count = int((total_count - test_count) * train_radio) val_count = total_count - test_count - train_count else: train_count = int(total_count * train_radio) val_count = total_count - train_count test_count = 0 print(\'train={},val={},test={}\'.format(train_count, val_count, test_count)) train_files = files[:train_count] val_files = files[train_count:train_count + val_count] test_files = files[train_count + val_count:] print(\'start copy or move train files...\') for file in train_files: if copy_it: shutil.copy(os.path.join(image_dir, file), os.path.join(train_images_dir, file)) label_file = os.path.join(label_dir, file[:-3] + \'txt\') if os.path.exists(label_file): shutil.copy(label_file, os.path.join(train_labels_dir, file[:-3] + \'txt\')) else: shutil.move(os.path.join(image_dir, file), os.path.join(train_images_dir, file)) label_file = os.path.join(label_dir, file[:-3] + \'txt\') if os.path.exists(label_file): shutil.move(label_file, os.path.join(train_labels_dir, file[:-3] + \'txt\')) print(\'start copy or move val files...\') for file in val_files: if copy_it: shutil.copy(os.path.join(image_dir, file), os.path.join(val_images_dir, file)) label_file = os.path.join(label_dir, file[:-3] + \'txt\') if os.path.exists(label_file): shutil.copy(label_file, os.path.join(val_labels_dir, file[:-3] + \'txt\')) else: shutil.move(os.path.join(image_dir, file), os.path.join(val_images_dir, file)) label_file = os.path.join(label_dir, file[:-3] + \'txt\') if os.path.exists(label_file): shutil.move(label_file, os.path.join(val_labels_dir, file[:-3] + \'txt\')) if need_test_dataset and test_count > 0: print(\'start copy or move test files...\') for file in test_files: if copy_it: shutil.copy(os.path.join(image_dir, file), os.path.join(test_images_dir, file)) label_file = os.path.join(label_dir, file[:-3] + \'txt\') if os.path.exists(label_file): shutil.copy(label_file, os.path.join(test_labels_dir, file[:-3] + \'txt\')) else: shutil.move(os.path.join(image_dir, file), os.path.join(test_images_dir, file)) label_file = os.path.join(label_dir, file[:-3] + \'txt\') if os.path.exists(label_file): shutil.move(label_file, os.path.join(test_labels_dir, file[:-3] + \'txt\')) class_file=os.path.join(label_dir, \'classes.txt\') if os.path.exists(class_file): class_names=[] with open(class_file, \'r\') as f: class_names=f.read().rstrip(\'\\n\').split(\'\\n\') nc = len(class_names) content=\'train: \'+train_images_dir+\'\\n\' content += \'val: \'+val_images_dir+\'\\n\' if need_test_dataset: content += \'test: \'+test_images_dir+\'\\n\' content += \'nc: \'+str(nc)+\'\\n\' content += \'names:\\n\' content += \"\\n\".join([f\" {i}: {name}\" for i, name in enumerate(class_names)]) with open(os.path.join(save_dir,\'coco128.yaml\'), \'w\') as f: f.write(content) print(\'all done!\')if __name__ == \'__main__\': images_dir=r\'C:\\Users\\Administrator\\Downloads\\data\\JPEGImages\' labels_dir=r\'C:\\Users\\Administrator\\Downloads\\data\\labels\' save_dir=r\'C:\\Users\\Administrator\\Downloads\\dataset\' vs = VOCDataSplit() vs.split(images_dir,labels_dir,save_dir,trainval_radio=0.9, train_radio=0.9, copy_it=True,shuffle_file=True,need_test_dataset=False)注意 images_dir,labels_dir,save_dir根据自己实际情况进行调整。这个split.py脚本功能就是将JPEGImages和labels文件进行自动随机分割成标准yolo训练目录格式。脚本放在data文件夹下面即可:
然后运行脚本:
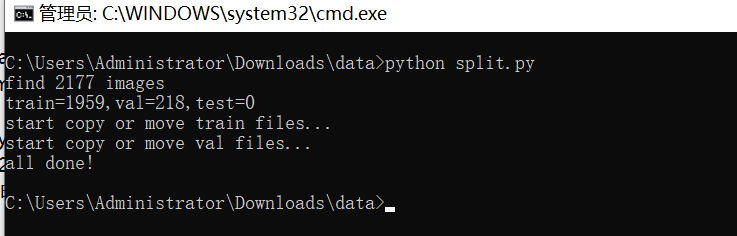
然后在C:\\Users\\Administrator\\Downloads看到有个dataset文件夹生成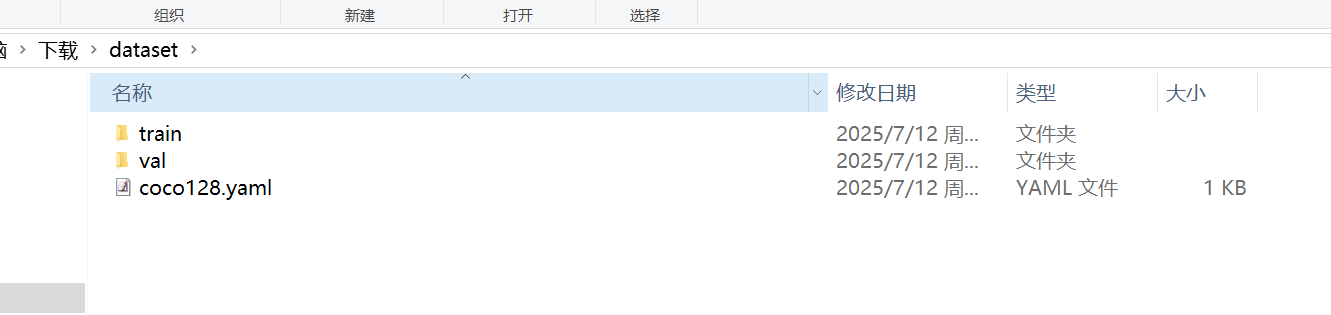
至此标准训练格式完成了。打开coco128.yaml看到下面内容:
train: C:\\Users\\Administrator\\Downloads\\dataset\\train\\imagesval: C:\\Users\\Administrator\\Downloads\\dataset\\val\\imagesnc: 3names: 0: braille_block 1: damaged_block 2: linear_block这些都不用修改,我们只需要检查一下是不是对的就行。
之后就是开始训练了,注意训练yolov11模型需要自己提前安装好环境。
使用预训练模型开始训练
yolo task=detect mode=train model=yolo11n.pt data=coco128.yaml epochs=100 imgsz=640 batch=8 workers=2
参数说明:
model: 使用的模型类型,如 yolo11s.pt(小模型)、yolo11m.pt(中)、yolo11l.pt(大)
data: 指定数据配置文件
epochs: 训练轮数
imgsz: 输入图像尺寸
batch: 批量大小(根据显存调整)
workers:指定进程数(windows最好设置0或者1或2,linux可以设置8)
训练完成后,最佳权重保存路径为:runs/detect/train/weights/best.pt,如果多次运行命令runs/detect/train2,runs/detect/train3文件夹生成只需要到数字最大文件夹查看就可以找到模型
图片预测:
from ultralytics import YOLO# 加载训练好的模型model = YOLO(\'runs/detect/train/weights/best.pt\')# 图像预测results = model(\'path_to_your_image.jpg\')视频或摄像头预测
results = model(\'path_to_video.mp4\') # 视频#results = model(0) # 摄像头验证集评估
yolo task=detect mode=val model=runs/detect/train/weights/best.pt data=data.yaml输出指标图像,一般在模型训练后生成,文件位置在runs/detect/train/results.png:
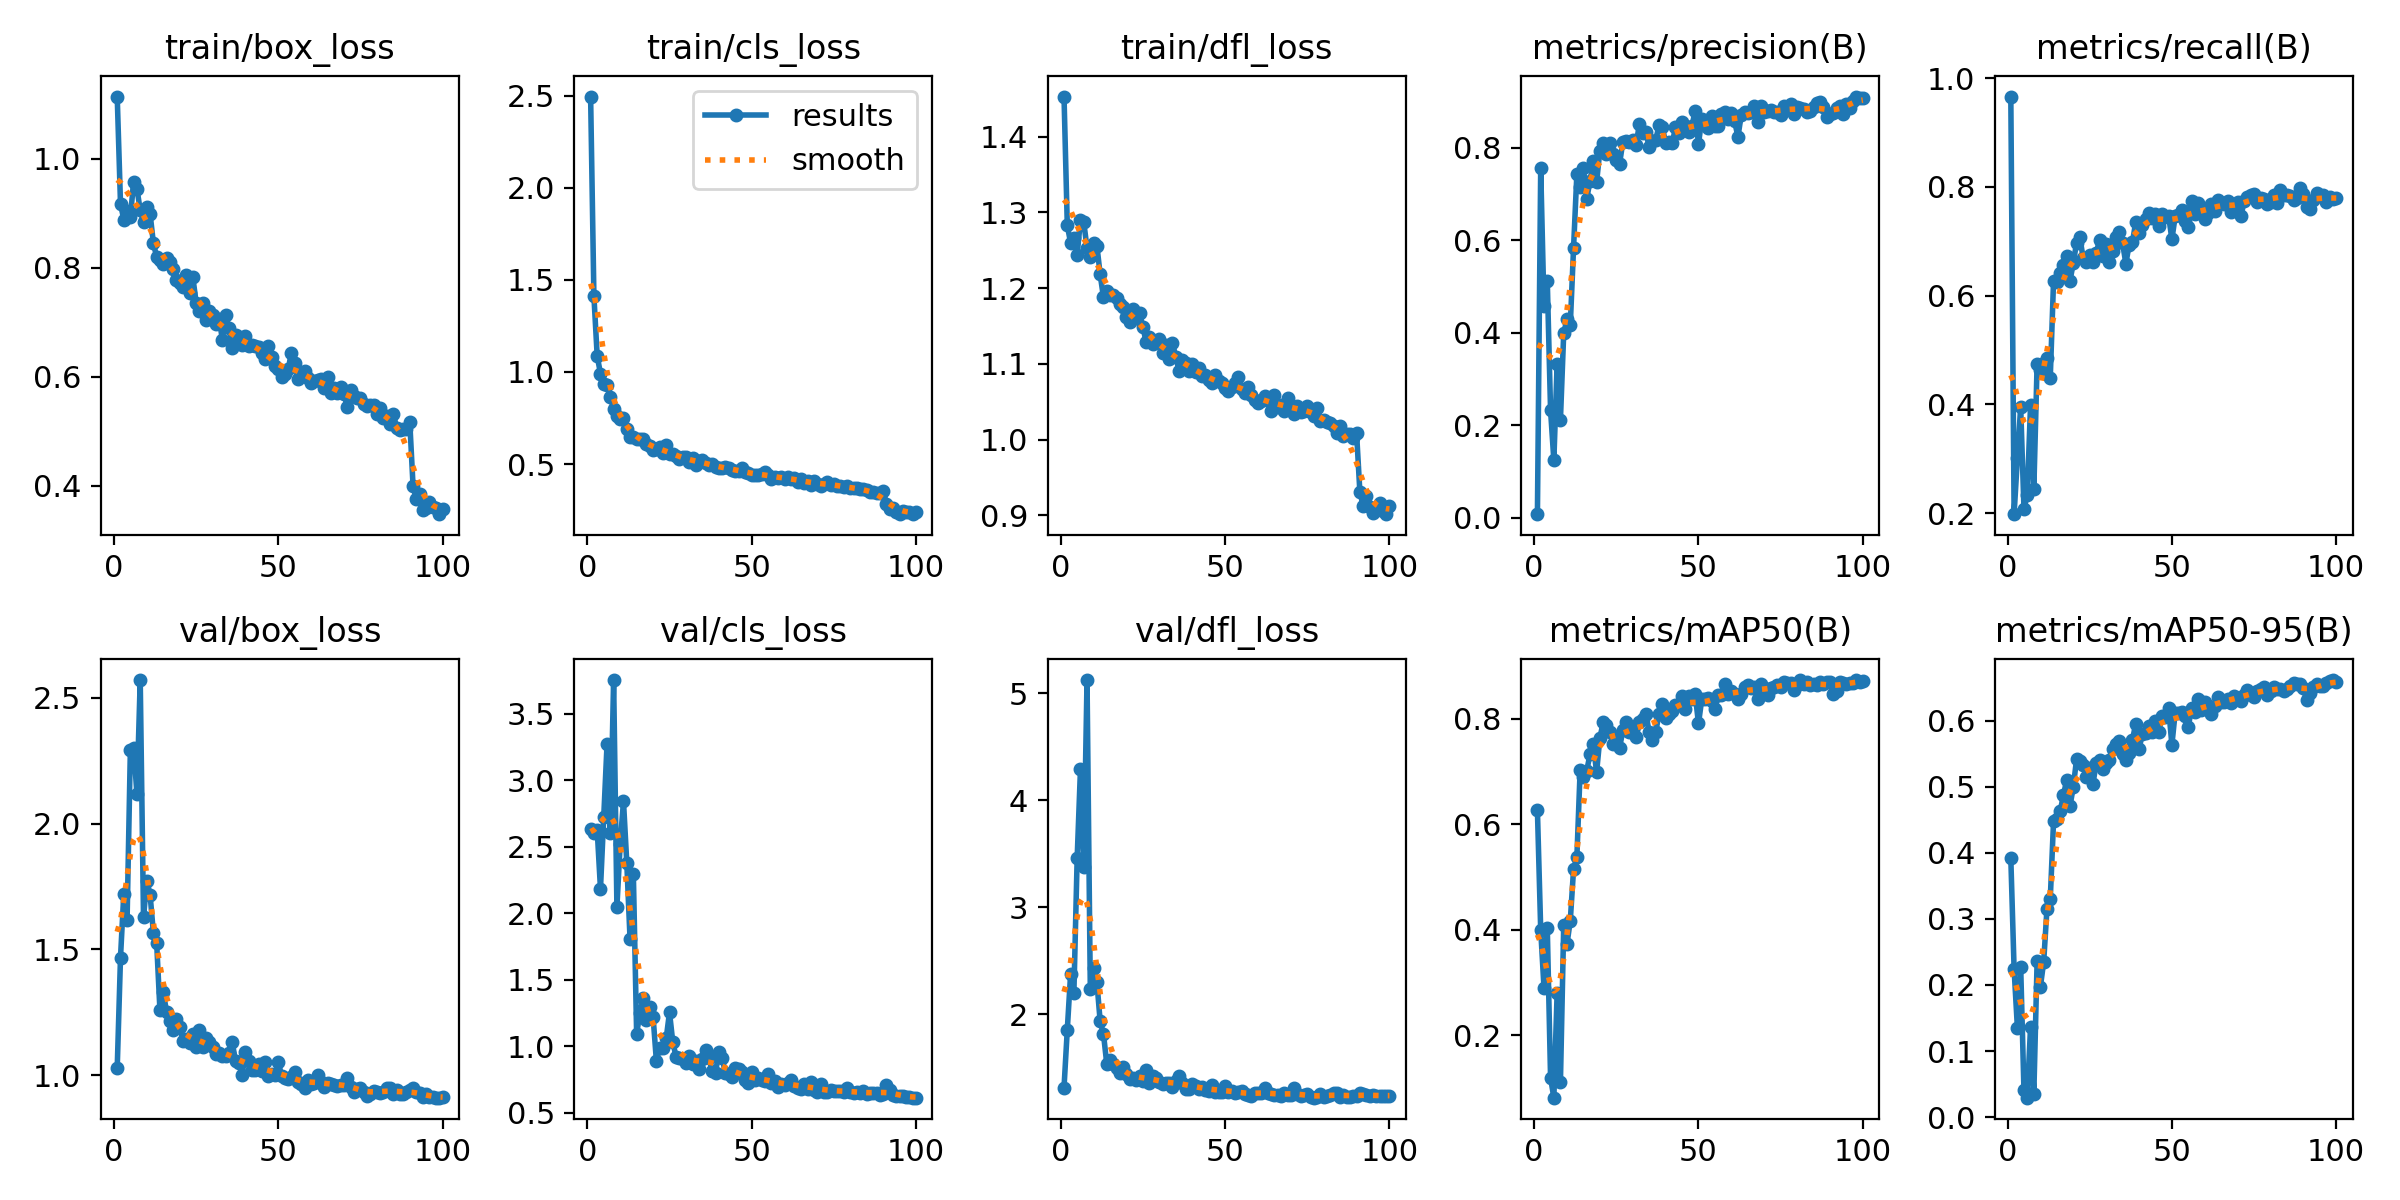
上面训练结果图片常用评估参数介绍
【常用评估参数介绍】
在目标检测任务中,评估模型的性能是至关重要的。你提到的几个术语是评估模型性能的常用指标。下面是对这些术语的详细解释:
- Class:
- 这通常指的是模型被设计用来检测的目标类别。例如,一个模型可能被训练来检测车辆、行人或动物等不同类别的对象。
- Images:
- 表示验证集中的图片数量。验证集是用来评估模型性能的数据集,与训练集分开,以确保评估结果的公正性。
- Instances:
- 在所有图片中目标对象的总数。这包括了所有类别对象的总和,例如,如果验证集包含100张图片,每张图片平均有5个目标对象,则Instances为500。
- P(精确度Precision):
- 精确度是模型预测为正样本的实例中,真正为正样本的比例。计算公式为:Precision = TP / (TP + FP),其中TP表示真正例(True Positives),FP表示假正例(False Positives)。
- R(召回率Recall):
- 召回率是所有真正的正样本中被模型正确预测为正样本的比例。计算公式为:Recall = TP / (TP + FN),其中FN表示假负例(False Negatives)。
- mAP50:
- 表示在IoU(交并比)阈值为0.5时的平均精度(mean Average Precision)。IoU是衡量预测框和真实框重叠程度的指标。mAP是一个综合指标,考虑了精确度和召回率,用于评估模型在不同召回率水平上的性能。在IoU=0.5时,如果预测框与真实框的重叠程度达到或超过50%,则认为该预测是正确的。
- mAP50-95:
- 表示在IoU从0.5到0.95(间隔0.05)的范围内,模型的平均精度。这是一个更严格的评估标准,要求预测框与真实框的重叠程度更高。在目标检测任务中,更高的IoU阈值意味着模型需要更准确地定位目标对象。mAP50-95的计算考虑了从宽松到严格的多个IoU阈值,因此能够更全面地评估模型的性能。
这些指标共同构成了评估目标检测模型性能的重要框架。通过比较不同模型在这些指标上的表现,可以判断哪个模型在实际应用中可能更有效。
将模型导出为ONNX、TensorRT等格式以用于部署:
yolo export model=runs/detect/train/weights/best.pt format=onnx
支持格式包括:onnx, engine, tflite, pb, torchscript 等。
经过上面训练可以使用模型做一步部署,比如使用onnx模型在嵌入式部署,使用engine模型在jetson上deepstream部署,使用torchscript模型可以在C++上部署等等。

