linux部署overleaf服务器
一、基本介绍
如果你们团队有超过4g内存和15g以上硬盘空间的linux服务器,可以在linux服务器上部署overleaf环境,从而可以拥有更加稳定的overleaf环境,可供整个团队使用。
官方文档:
https://github.com/overleaf/toolkit/blob/master/doc/quick-start-guide.md
二、环境要求
内存:至少4g
硬盘:至少15g
提前安装docker
最好拥有sudo权限(如果输入命令时出现permission denied,可以使用sudo命令)
三、部署
3.1 下载overleaf-toolkit
overleaf-toolkit 是官方提供的服务器搭建项目,下载:
git clone --depth=1 https://github.com/overleaf/toolkit.git ./overleaf-toolkit && cd ./overleaf-toolkit下载后生成的文件夹:
- doc 文件夹中是更详细的说明文档
- config 文件夹中是配置文件
- bin 文件夹包含一些命令,包括后续的up(启动)和stop(停止)
3.2 生成配置文件
# 生成配置文件bin/init# 检查bin/doctor之后会生成三个文件:
overleaf.rc variables.env version修改overleaf.rc
# 存放数据的主文件夹OVERLEAF_DATA_PATH=/data/overleaf/data# 0.0.0.0 表示接受来自任意 ip 的访问OVERLEAF_LISTEN_IP=0.0.0.0# 此处为linux监听的端口,一般设为80即可OVERLEAF_PORT=80# 此处为linux的ip和设置的端口,便于后续在内网其他电脑上直接访问OVERLEAF_SITE_URL=http://a.b.c.d:portoverleaf.rc其余内容无需改动
启动
bin/up 是对 docker-compose 命令的封装,它俩的用法是一样的。下面三个命令选其中一个即可:
bin/up -d # 后台运行bin/docker-compose -dbin/up # 临时启动它会创建三个容器,一个 docker 网络
docker ps -aCONTAINER ID IMAGE COMMAND CREATED STATUS PORTS NAMES13a5d9a62ffd sharelatex/sharelatex:5.2.1 \"/sbin/my_init\" 32 minutes ago Up 7 minutes 0.0.0.0:5207->80/tcp sharelatex56b2f2e95ad1 redis:6.2 \"docker-entrypoint.s…\" 32 minutes ago Up 8 minutes 6379/tcp redis93fe60ddccee mongo:6.0 \"docker-entrypoint.s…\" 33 minutes ago Up 8 minutes (healthy) 27017/tcp mongodocker network lsNETWORK ID NAME DRIVER SCOPE4f1fdade7e94 bridge bridge locald147463e297d host host local343b1468a006 none null local4a117aceb573 overleaf_default bridge local3.3 安装texlive
首先找一个你认为最快的CTAN镜像源:CTAN镜像源
# 进入容器bin/shell# 查看版本tlmgr --version# 更换镜像源,我用腾讯云的镜像tlmgr option repository http://mirrors.cloud.tencent.com/CTAN/systems/texlive/tlnet# 查看tlmgr option show repository# 先更新tlmgr update --self --all # 安装完整的包,要花挺长一段时间,尽量选速度快的源tlmgr install scheme-full# 重启容器bin/stop bin/start四、登录和使用overleaf
现在可以在内网其他电脑上通过上述设置的ip和端口访问overleaf
4.1 创建管理员
在内网其他电脑上的浏览器输入网址创建管理员:
http://a.b.c.d:port/launchpad再登录:
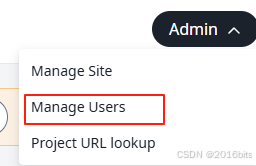
http://a.b.c.d:port/login其他团队成员第一次登录时需要管理员帮助注册,界面如下:点击右上角“admin”-“manage users”
出现注册界面:
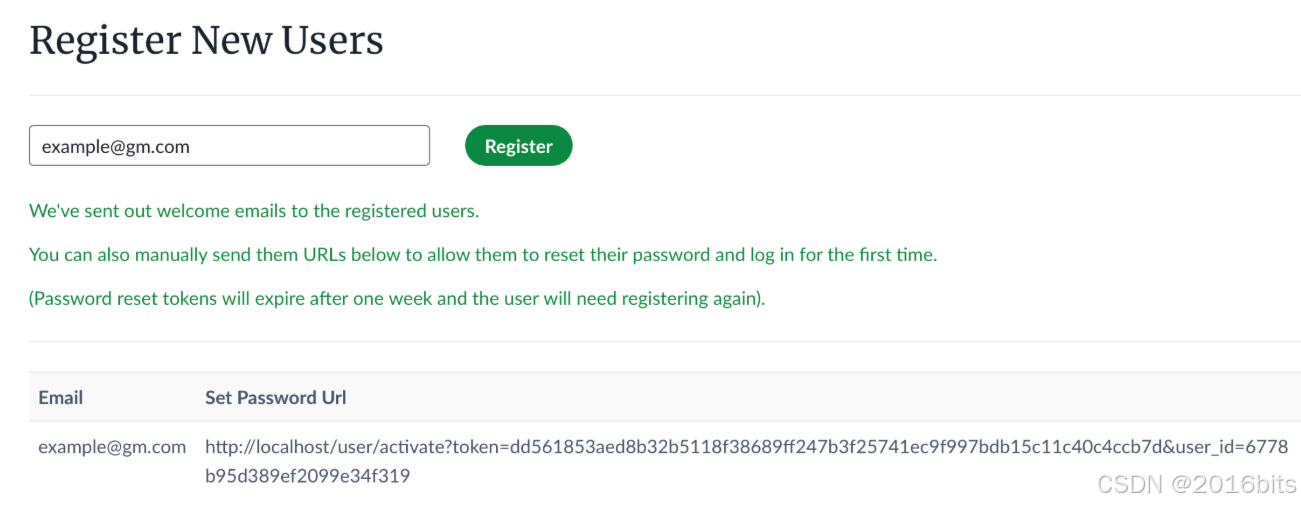
将其中localhost改成上述ip和port即可
如果想自动将localhost转成ip和port,请参考章节五
五、overleaf注册链接问题
5.1 修改docker-compose.yml文件
如果此时处于容器内,即,状态如下:

输入命令“exit”退出容器
在overleaf-toolkit文件下如果没有docker-compose.yml,自己新建一个,可以参照如下写docker-compose.yml文件:
services: sharelatex: image: sharelatex/sharelatex:5.5.4 restart: unless-stopped depends_on: - mongo - redis ports: - \"0.0.0.0:port:80\" volumes: # - ./config:/etc/overleaf #- sharelatex_data:/var/lib/sharelatex - sharelatex_data:/var/lib/overleaf environment: #- OVERLEAF_MONGO_URL=mongodb://mongo/sharelatex - OVERLEAF_MONGO_URL=mongodb://mongo:27017/sharelatex?replicaSet=rs0 - OVERLEAF_REDIS_HOST=redis - OVERLEAF_SITE_URL=http://a.b.c.d:port mongo: image: mongo:6.0 restart: unless-stopped command: [\"--replSet\", \"rs0\", \"--bind_ip_all\"] volumes: - mongo_data:/data/db redis: image: redis:6 restart: unless-stopped volumes: - redis_data:/datavolumes: sharelatex_data: mongo_data: redis_data:在config文件夹新建setting.js文件,其中内容:
module.exports = { siteUrl: \"http://a.b.c.d:port\", overleaf: { siteUrl: \"http://a.b.c.d:port\" }, sharelatex: { siteUrl: \"http://a.b.c.d:port\" }};六、测试
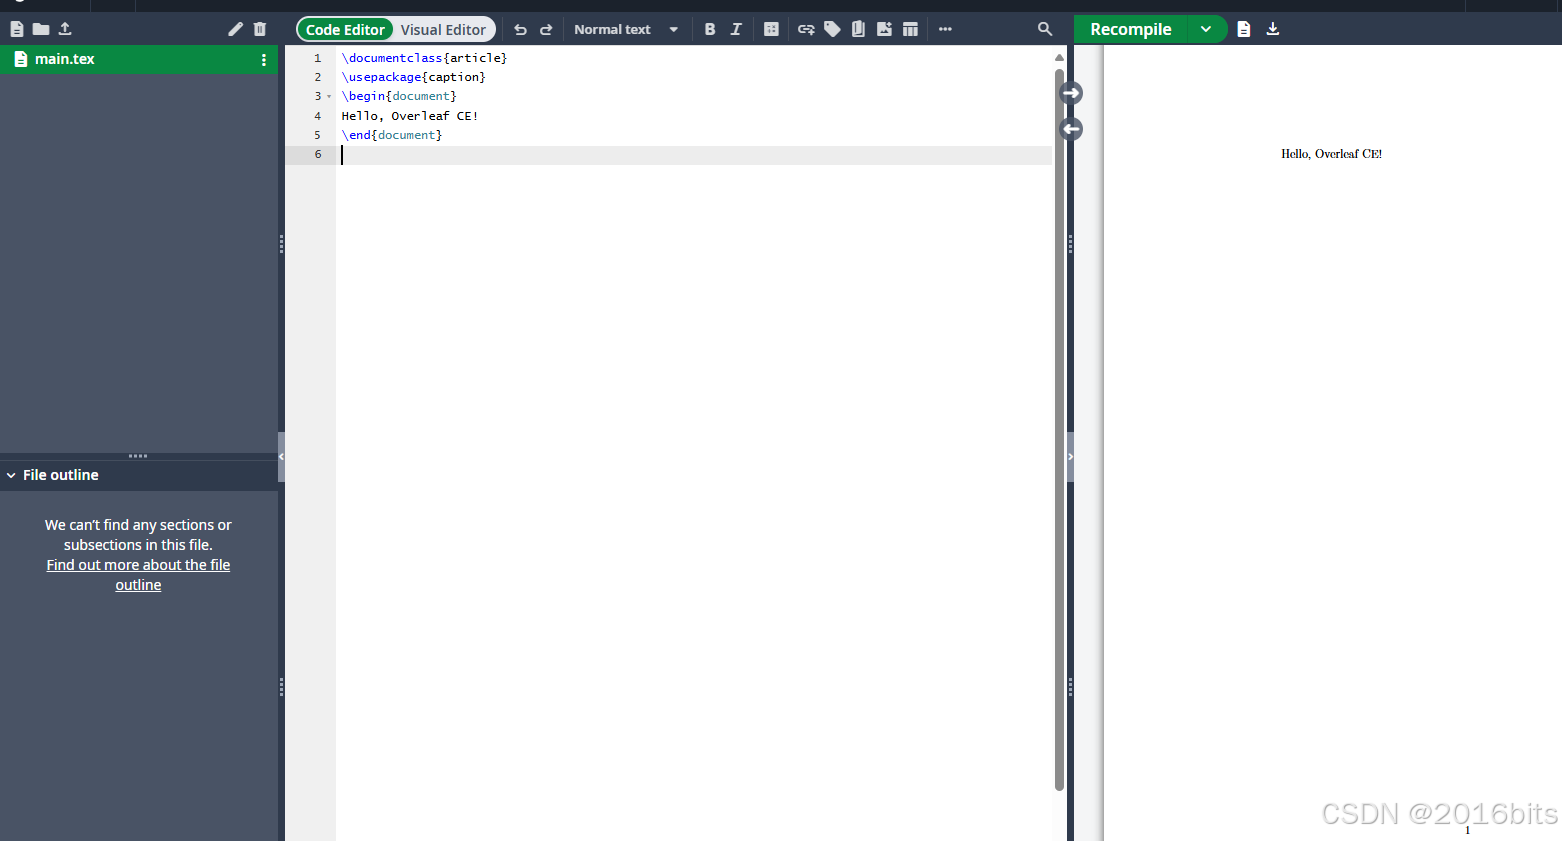
在内网其他电脑上测试latex编译情况,使用最小测试代码:
\\documentclass{article}\\usepackage{caption}\\begin{document}Hello, Overleaf CE!\\end{document}测试成功界面:
七、编译时缺少宏包
overleaf搭建成功之后,无法编译在其他环境上能够成功编译的tex文件,报错:
This compile didn’t produce a PDF. This can happen if: There is an unrecoverable LaTeX error. If there are LaTeX errors shown below or in the raw logs, please try to fix them and compile again. The document environment contains no content. If it’s empty, please add some content and compile again. This project contains a file called output.pdf. If that file exists, please rename it and compile again. LaTeX Error: File caption.sty\' not found. The compiler cannot find the file you want to include. Make sure that you have uploaded the file and specified the file location correctly.7.1 安装单个包
# 进入容器docker ps # 找到 overleaf/sharelatex 或 overleaf/overleaf 容器名/IDdocker exec -it <container_name> bash# 用tlmgr安装缺包tlmgr update --selftlmgr install caption# 如果你的项目还缺别的包,一次性多装:# tlmgr install caption titlesec enumitem float wrapfig fancyhdr siunitx etoolbox ...7.2 升级texlive从而安装多个包
tlmgr option repository http://mirror.ctan.org/systems/texlive/tlnettlmgr update --selftlmgr update --all7.3 安装中文包
# 更新 tlmgr & 宏包索引tlmgr option repository http://mirror.ctan.org/systems/texlive/tlnettlmgr update --selftlmgr update --all# 安装中文相关宏包(含 ctex/xeCJK/CJK 等)tlmgr install collection-langchinese# 安装 Fandol 字体(TeX Live 自带的开源中文字体,ctex 默认可用)tlmgr install fandol# 拉丁字体(Latin Modern + TeX Gyre)tlmgr install lm tex-gyre# (推荐)中文宏包集合 + Fandol 字体tlmgr install collection-langchinese fandol# (可选)安装其它常用包tlmgr install xecjk ctex zhnumber cjkutf8 unicode-math测试中文内容:
\\documentclass{ctexart}\\begin{document}中文测试:你好,Overleaf!\\end{document}测试成功界面:


