Spring Boot 实战详解:从静态资源到 Thymeleaf 模板引擎_springboot 静态模板
Spring Boot 凭借其 \"约定大于配置\" 的理念,极大简化了 Java 应用开发流程。本文将从 Spring Boot 核心特性出发,详细解析静态资源映射规则、Thymeleaf 模板引擎的使用,并结合完整实战案例,帮助开发者快速上手 Spring Boot web 开发。
一、Spring Boot 简介:简化开发的核心优势
Spring Boot 是 Spring 生态的 \"开箱即用\" 框架,其核心优势在于自动配置—— 通过预设场景化配置,让开发者无需手动整合各种框架,专注于业务逻辑实现。
1.1 Spring Boot 开发流程
使用 Spring Boot 开发应用的典型步骤:
- 创建应用:通过 Spring Initializr(或 IDE 插件)选择所需模块(如 web、thymeleaf 等);
- 极简配置:仅需在
application.properties/yml中指定少量个性化配置(如端口、缓存时间等); - 编写业务:直接开发控制器、服务层等业务代码,无需关心框架整合细节。
1.2 自动配置的核心疑问
使用 Spring Boot 时,我们常关心:
- 框架默认配置了哪些组件?
- 如何修改默认配置?
- 能否扩展默认功能?
这些问题的答案,藏在 Spring Boot 的自动配置原理中 —— 通过@Conditional系列注解,根据类路径下的依赖、配置参数动态激活配置类,开发者可通过自定义配置类或配置文件覆盖默认行为。
二、静态资源映射规则:Spring Boot 如何处理静态资源?
Web 应用中,静态资源(JS、CSS、图片等)的访问是基础需求。Spring Boot 通过WebMvcAutoConfiguration自动配置了静态资源映射规则,无需手动配置即可访问。
2.1 核心配置类解析
静态资源映射的核心逻辑在WebMvcAutoConfiguration的addResourceHandlers方法中,主要处理以下场景:
@Overridepublic void addResourceHandlers(ResourceHandlerRegistry registry) { // 若关闭默认映射(spring.resources.add-mappings=false),则不生效 if (!this.resourceProperties.isAddMappings()) { logger.debug(\"Default resource handling disabled\"); return; } // 处理webjars资源 if (!registry.hasMappingForPattern(\"/webjars/**\")) { customizeResourceHandlerRegistration( registry.addResourceHandler(\"/webjars/**\") .addResourceLocations(\"classpath:/META-INF/resources/webjars/\") .setCachePeriod(cachePeriod) ); } // 处理静态资源文件夹 String staticPathPattern = this.mvcProperties.getStaticPathPattern(); if (!registry.hasMappingForPattern(staticPathPattern)) { customizeResourceHandlerRegistration( registry.addResourceHandler(staticPathPattern) .addResourceLocations(this.resourceProperties.getStaticLocations()) .setCachePeriod(cachePeriod) ); }}2.2 四大静态资源访问规则
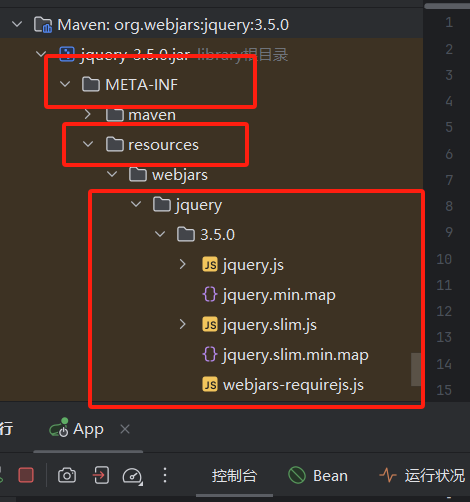
(1)WebJars:以 Jar 包形式管理静态资源
WebJars 将常用前端库(如 jQuery、Bootstrap)打包成 Jar 包,方便 Maven/Gradle 管理。Spring Boot 默认映射规则:
访问路径:/webjars/**
资源位置:classpath:/META-INF/resources/webjars/
使用示例:
- 引入 jQuery 的 WebJar 依赖(pom.xml):
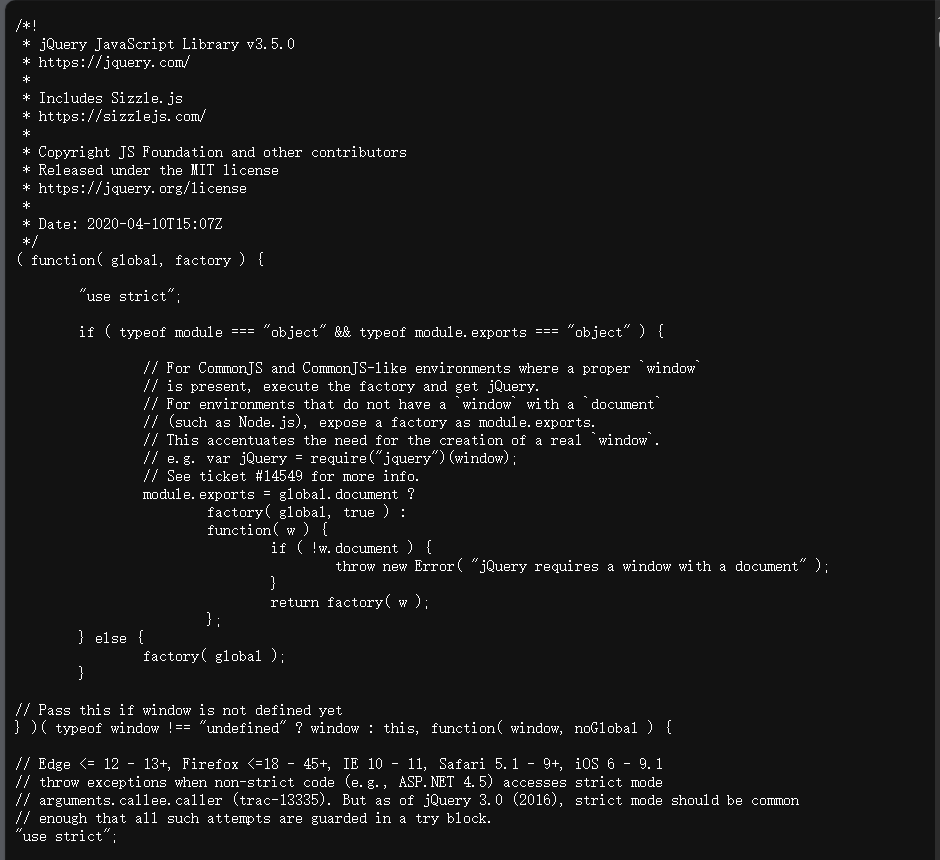
org.webjars jquery 3.5.0- 访问 jQuery:通过
http://localhost:8080/webjars/jquery/3.5.0/jquery.js即可访问。
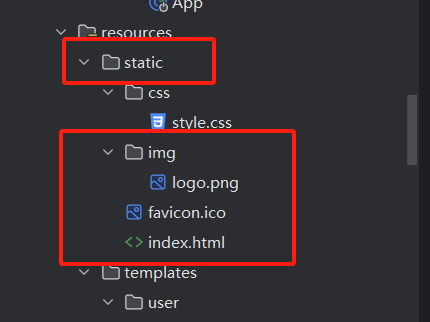
(2)静态资源文件夹:直接访问本地资源
Spring Boot 默认将以下路径作为静态资源文件夹,通过/**路径直接访问:
classpath:/META-INF/resources/classpath:/resources/classpath:/static/(推荐)classpath:/public/- 项目根路径
/(不推荐,易与控制器路径冲突)
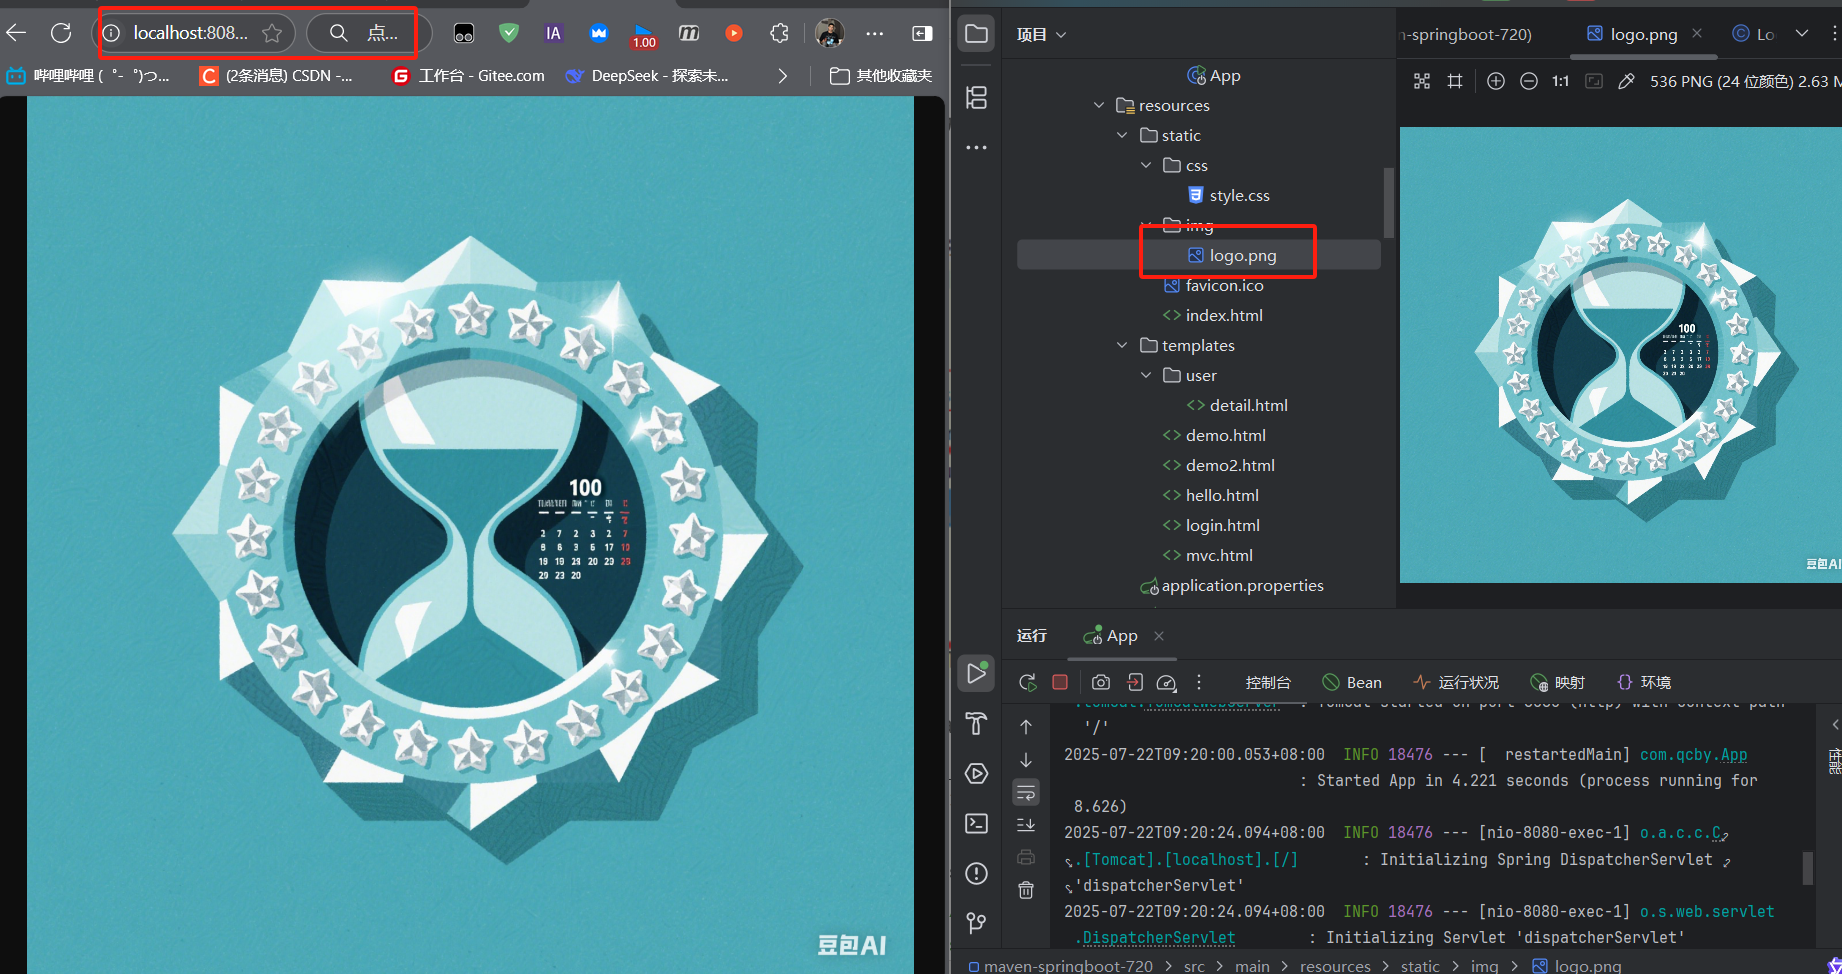
示例:在src/main/resources/static/下放置img/logo.png,可通过http://localhost:8080/img/logo.png访问。
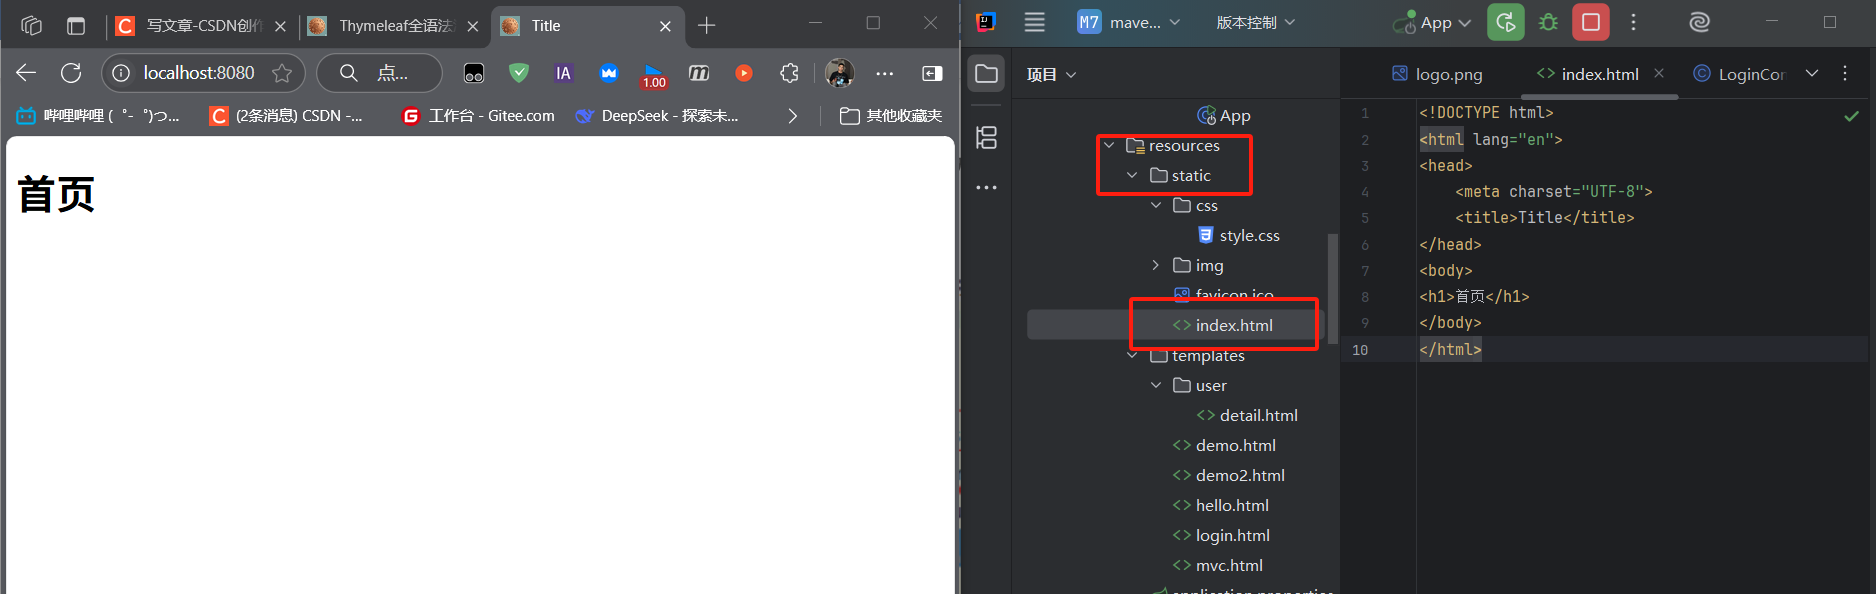
(3)欢迎页:默认首页自动映射
静态资源文件夹下的index.html会被自动识别为欢迎页,访问http://localhost:8080/时直接返回该页面。
实现逻辑:WebMvcAutoConfiguration中的WelcomePageHandlerMapping会映射/**到静态资源文件夹下的index.html。
(4)Favicon:网站图标自动配置
浏览器会自动请求**/favicon.ico作为网站图标,Spring Boot 默认从静态资源文件夹中查找该文件。
关闭方式:在配置文件中设置spring.mvc.favicon.enabled=false即可禁用默认图标。
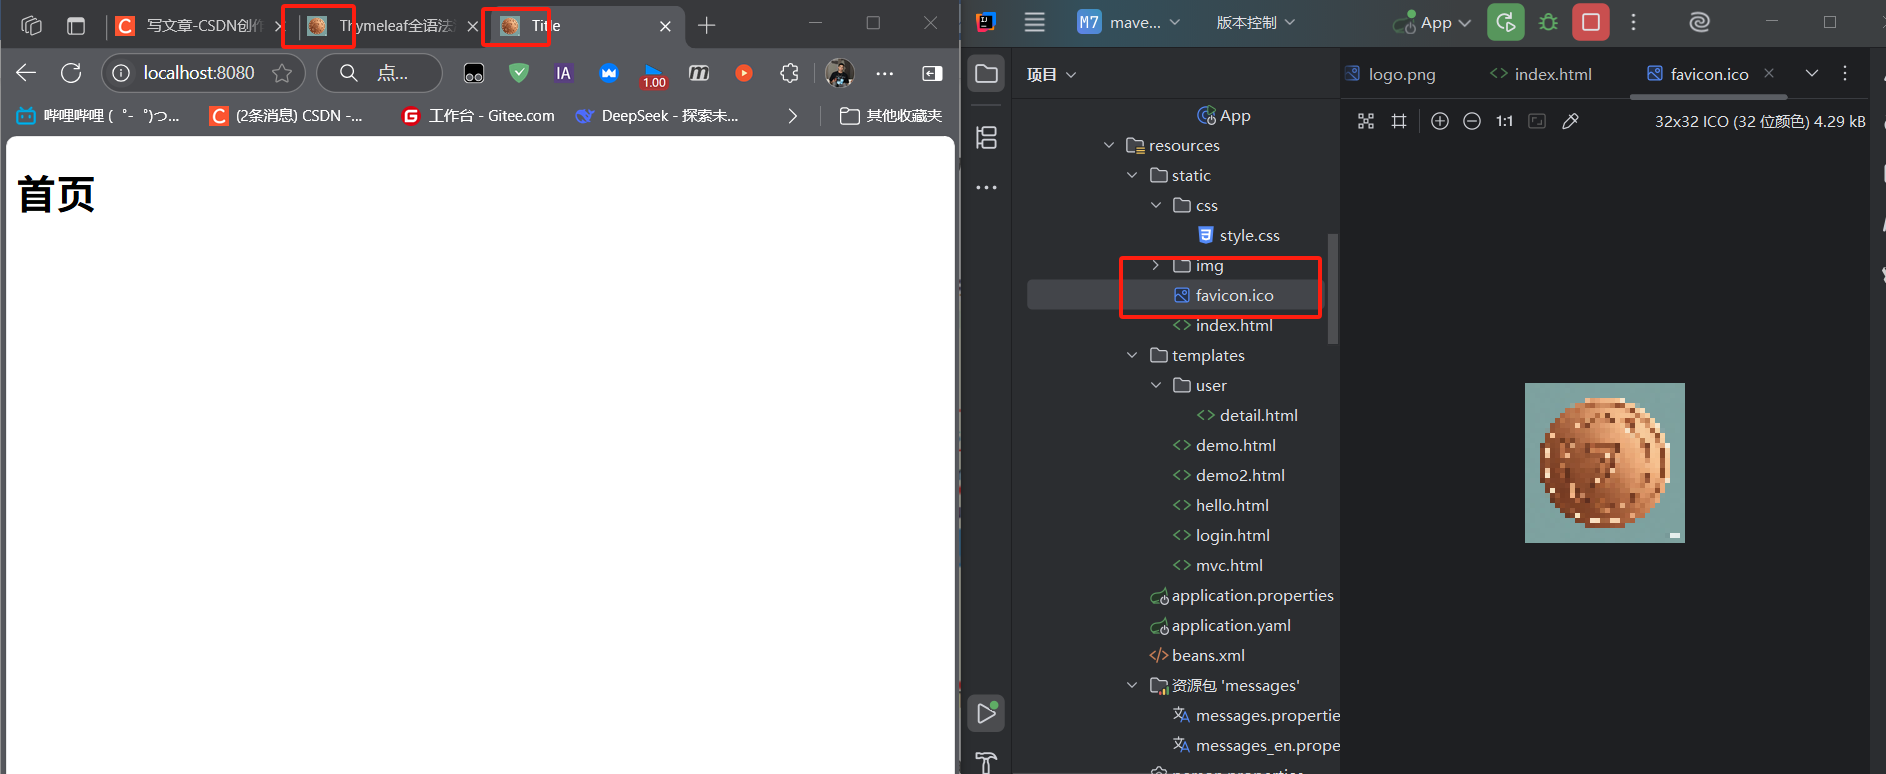
配置后重启后没有显示可能是浏览器缓存问题。可以通过 Ctrl+Shift+R清理缓存
2.3 静态资源配置扩展
可通过application.properties修改静态资源行为:
# 关闭默认静态资源映射(谨慎使用)spring.resources.add-mappings=false# 设置静态资源缓存时间(单位:秒)spring.resources.cache.period=3600# 自定义静态资源文件夹路径(默认值不变,追加新路径)spring.resources.static-locations=classpath:/static/,classpath:/my-resources/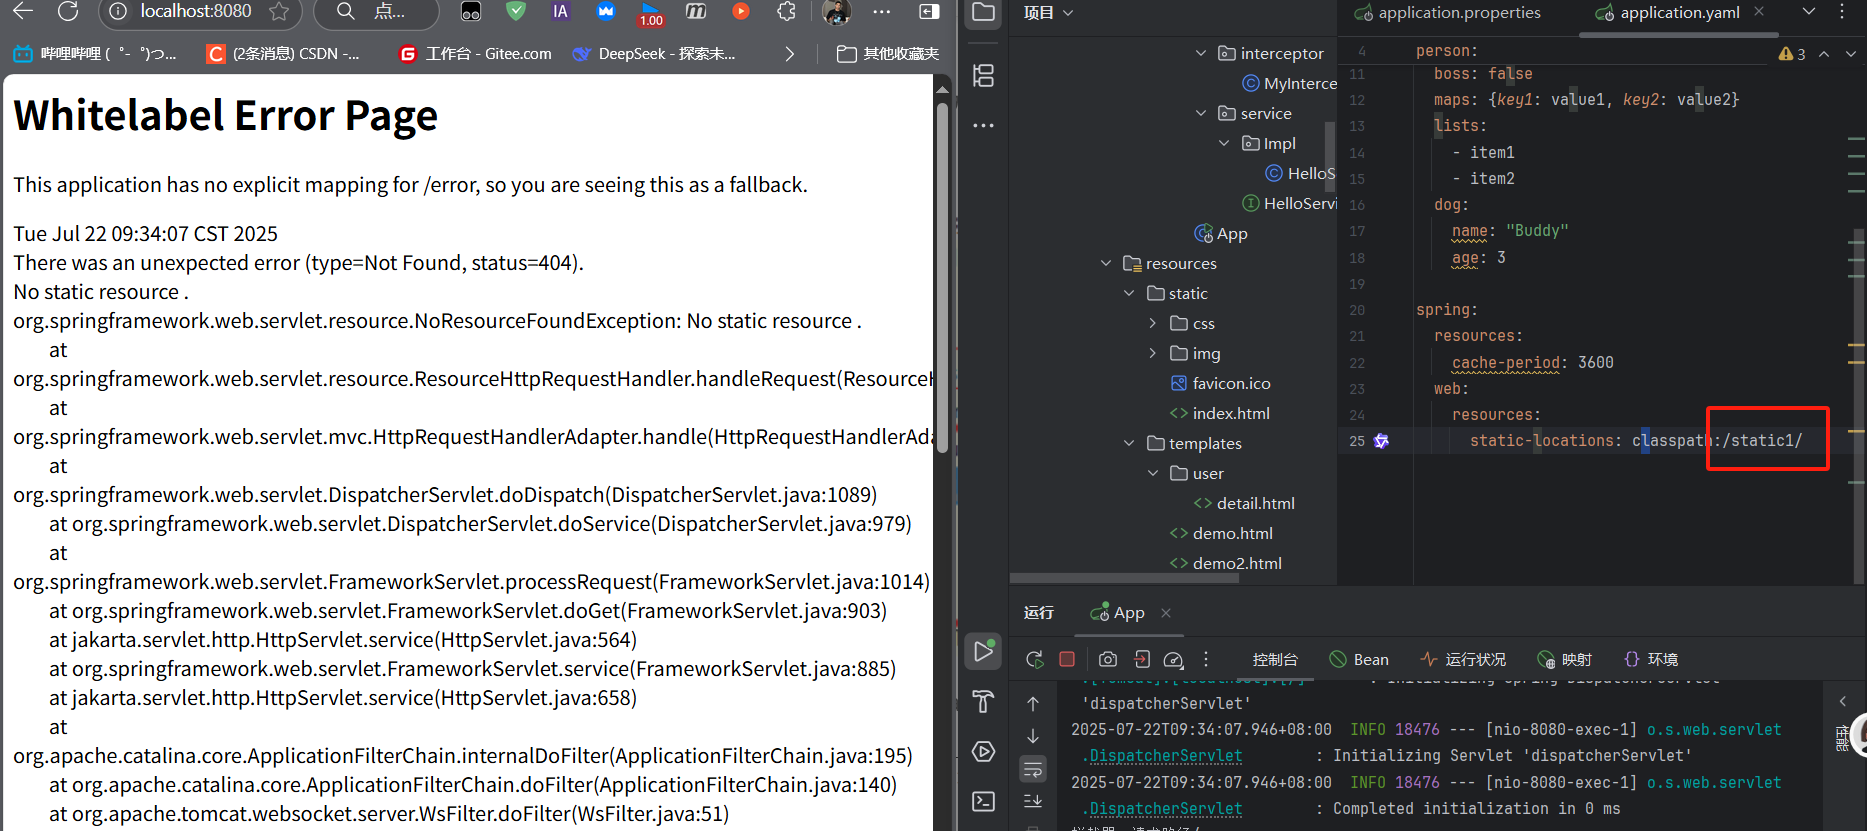
三、Thymeleaf 模板引擎:Spring Boot 推荐的视图层方案
JSP 因依赖 Servlet 容器、无法嵌入 Jar 包等问题,逐渐被现代模板引擎替代。Spring Boot 推荐使用Thymeleaf—— 一款基于 HTML 的服务器端模板引擎,支持自然模板(模板即静态原型)、强大的表达式语法和 Spring 生态深度整合。
3.1 引入与基础配置
(1)引入依赖
在pom.xml中添加 Thymeleaf Starter:
org.springframework.boot spring-boot-starter-thymeleaf(2)核心配置属性
Thymeleaf 的默认配置由ThymeleafProperties类定义,可通过application.properties修改:
public class ThymeleafProperties { // 默认模板前缀:classpath:/templates/(模板文件存放位置) private String prefix = \"classpath:/templates/\"; // 默认模板后缀:.html(模板文件扩展名) private String suffix = \".html\"; // 编码:UTF-8 private Charset encoding = StandardCharsets.UTF_8; // 开发环境建议关闭缓存(默认true) private boolean cache = true; // 模板模式:HTML(支持HTML5、XML等) private String mode = \"HTML\";}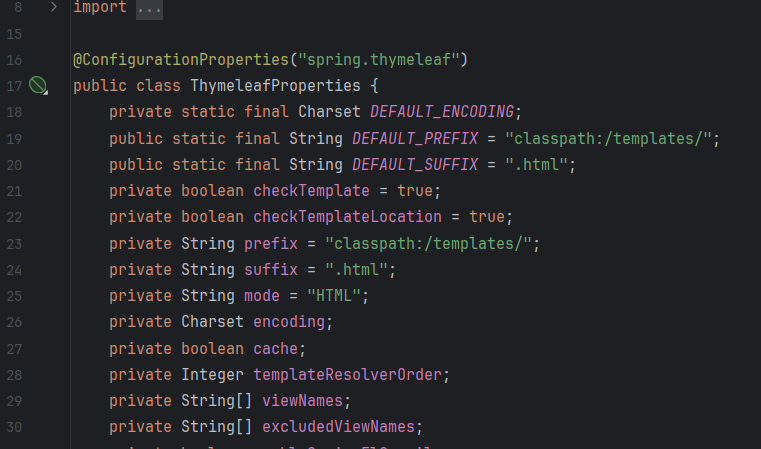
开发环境配置(推荐):
# 关闭模板缓存(修改后无需重启)spring.thymeleaf.cache=false# 自定义模板前缀(默认不变)spring.thymeleaf.prefix=classpath:/templates/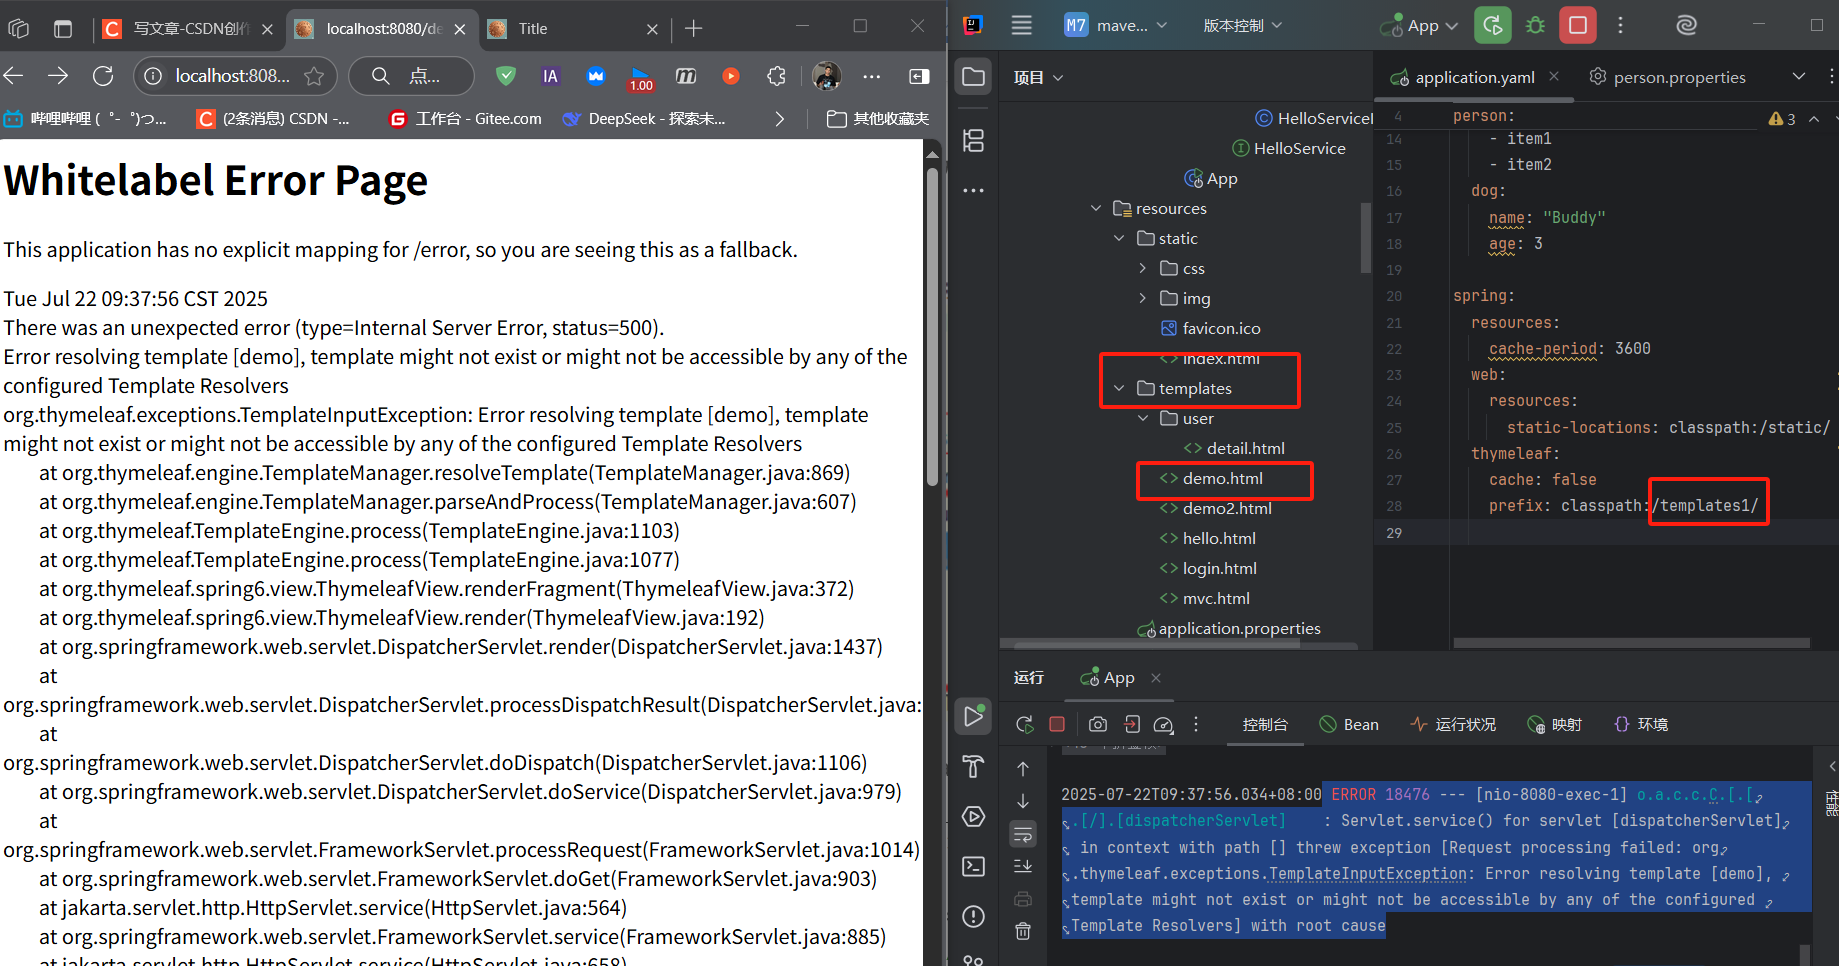 出现
出现 Error resolving template [demo] 错误的核心原因是:Thymeleaf 无法找到名为 demo 的模板文件,通常是由于模板路径、文件名错误或配置问题导致的。
3.2 Thymeleaf 语法全解析
Thymeleaf 通过自定义属性(th:*)实现动态内容替换,核心语法包括四大表达式、丰富的操作符和常用标签。
(1)四大标准表达式
${...}*{...}th:object的子属性访问#{...}@{...}变量表达式示例:
控制器传递数据:
@RequestMapping(\"/success\")public String hello(Model model) { model.addAttribute(\"user\", new User(\"张三\", \"123456\", 20, 88.5, 1)); return \"success\"; // 对应templates/success.html}模板中使用:
默认用户名
默认年龄
选择表达式示例:
通过th:object指定对象后,用*{...}简化属性访问:
用户名:
年龄:
国际化表达式示例:
- 创建国际化资源文件(
src/main/resources/i18n/messages.properties):
welcome.cn=欢迎访问系统welcome.en=Welcome to the system- 模板中使用:
中文:
英文:
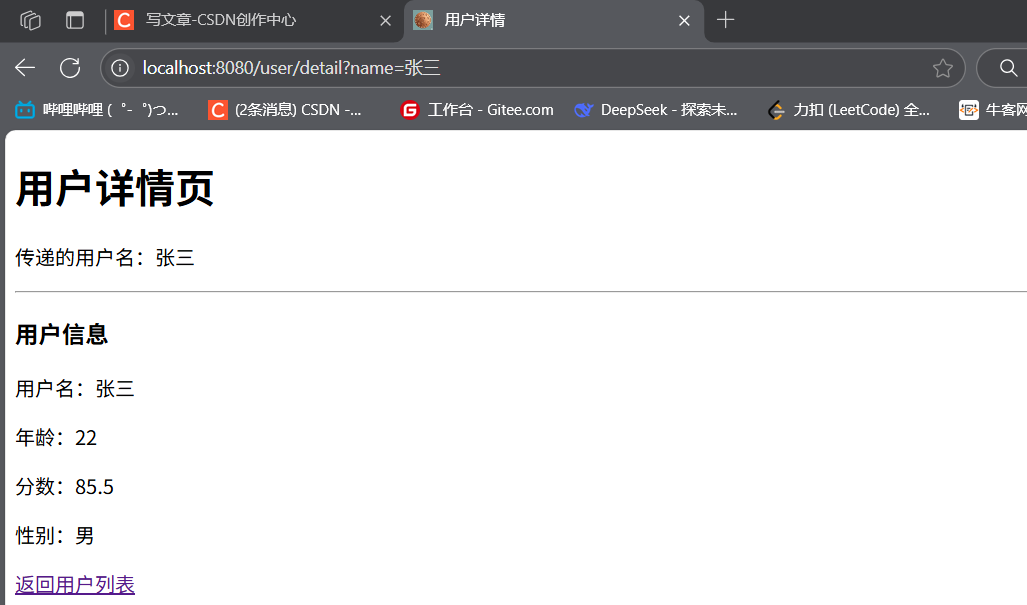
URL 表达式示例:
生成路径时自动拼接上下文路径,无需硬编码项目名:
登录页用户详情 (2)表达式支持的语法操作
Thymeleaf 表达式支持丰富的操作,满足复杂业务场景:
-
文本操作:字符串拼接(
+)、文本替换(|...|) -
算术运算:
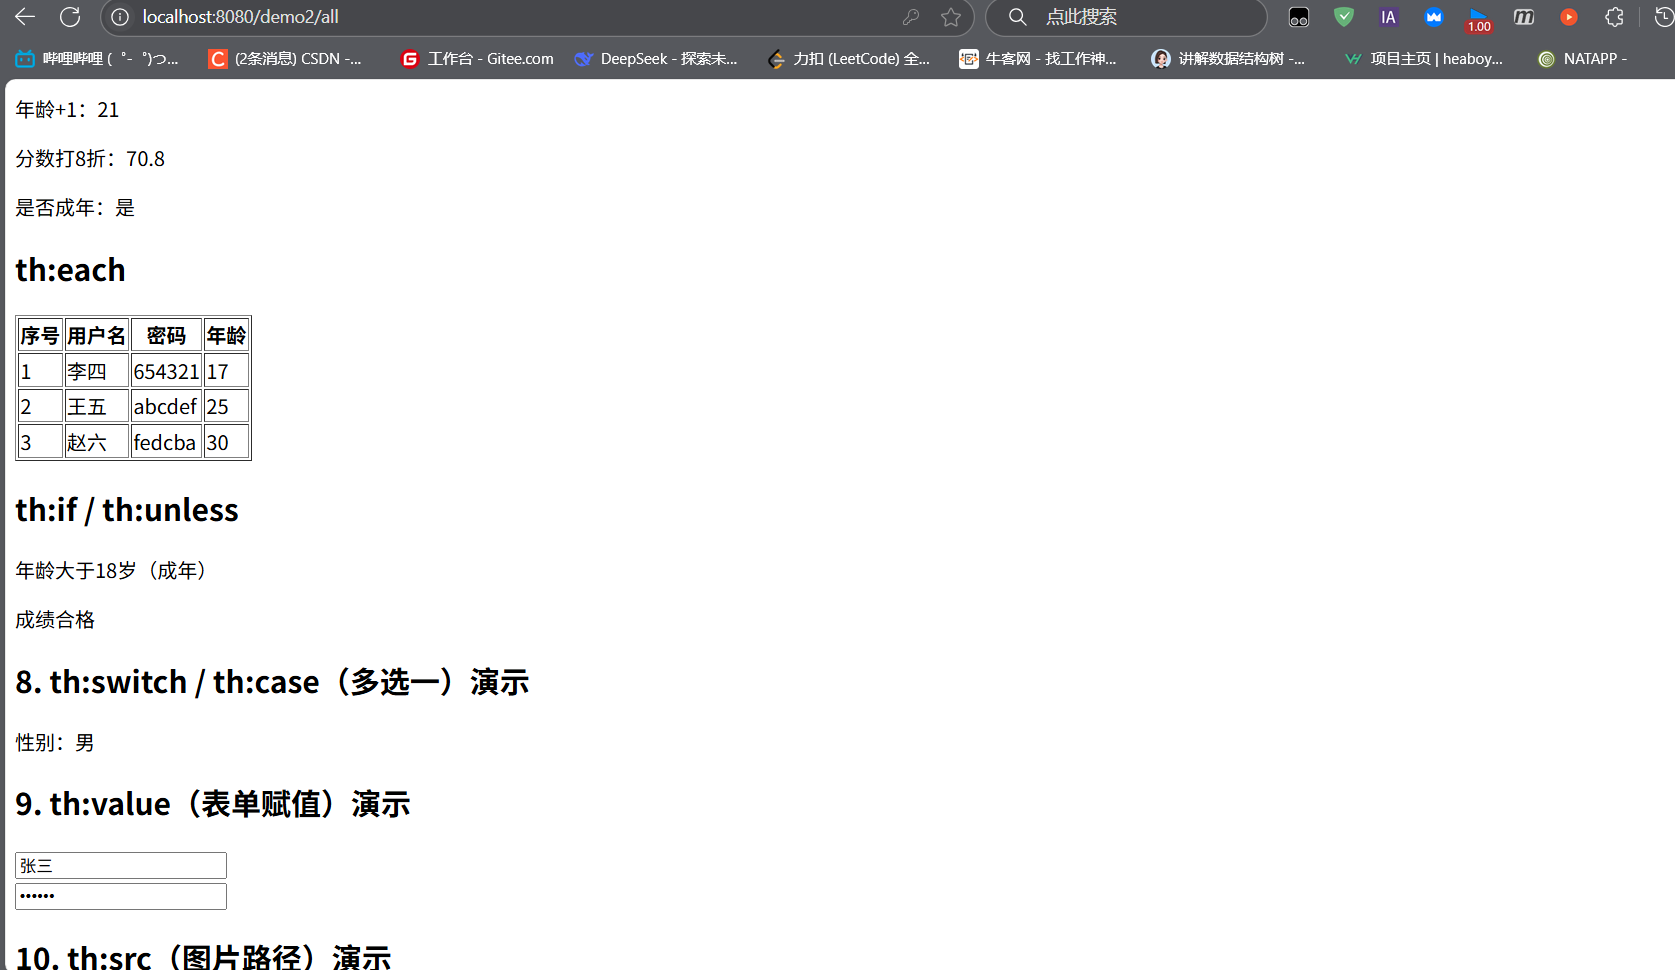
+、-、*、/、%年龄+1:
分数8折:
-
布尔与比较运算:
and、or、!;>(gt)、<(lt)、==(eq)等18 and user.score >= 60}\">成年且及格
-
条件运算:三目运算符、默认值(
?:)是否成年: 18 ? \'是\' : \'否\'}\">
昵称:
(3)常用标签实战
Thymeleaf 提供了大量标签简化页面开发,核心标签及示例如下:
th:text
默认值
th:utext
默认HTML
th:each
...
th:if/th:unless
18}\">成年
th:switch/th:case
...
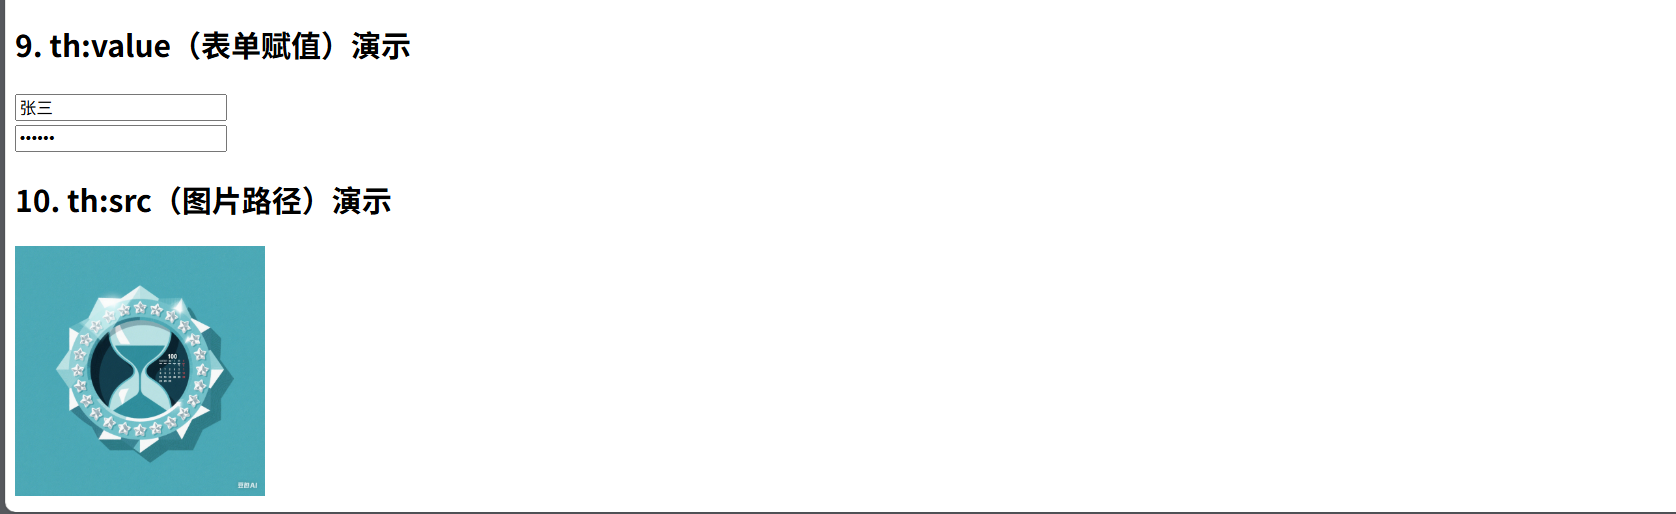
th:href/th:src登录th:valueth:each循环示例:
控制器传递用户列表:
@RequestMapping(\"/all\")public String showAll(Model model) { List userList = Arrays.asList( new User(\"李四\", \"654321\", 17, 59.0, 2), new User(\"王五\", \"abcdef\", 25, 92.5, 1) ); model.addAttribute(\"userList\", userList); return \"demo2\";}模板中循环展示:
序号 用户名 年龄
th:switch多分支示例:
性别:男
性别:女
性别:未知
四、实战案例:完整代码与运行效果
结合以上知识点,我们通过一个完整案例展示 Spring Boot+Thymeleaf 开发流程。
4.1 项目结构
src/├── main/│ ├── java/│ │ └── com/qcby/mavenspringboot/│ │ ├── controller/│ │ │ ├── ThymeleafDemo2Controller.java // 数据展示控制器│ │ │ ├── LoginController.java // 登录控制器│ │ │ └── UserController.java // 用户详情控制器│ │ ├── entity/│ │ │ └── User.java// 用户实体类│ │ └── MavenSpringbootApplication.java // 启动类│ └── resources/│ ├── application.properties // 配置文件│ ├── static/ // 静态资源│ │ └── img/│ │ └── logo.png│ └── templates/ // Thymeleaf模板│ ├── demo2.html // 演示页│ ├── login.html // 登录页│ ├── hello.html // 登录成功页│ └── user/│ └── detail.html // 用户详情页└── pom.xml // 依赖配置4.2 核心代码实现
(1)User 实体类
public class User { private String username; private String password; private int age; private double score; private int gender; // 1-男,2-女 // 构造器、getter、setter public User(String username, String password, int age, double score, int gender) { this.username = username; this.password = password; this.age = age; this.score = score; this.gender = gender; } // getter和setter省略}(2)Thymeleaf 演示控制器
@Controller@RequestMapping(\"/demo2\")public class ThymeleafDemo2Controller { @RequestMapping(\"/all\") public String showAll(Model model) { // 传递基本数据 model.addAttribute(\"hello\", \"欢迎使用Thymeleaf!\"); // 传递用户对象 User user = new User(\"张三\", \"123456\", 20, 88.5, 1); model.addAttribute(\"user\", user); // 传递用户列表 List userList = Arrays.asList( new User(\"李四\", \"654321\", 17, 59.0, 2), new User(\"王五\", \"abcdef\", 25, 92.5, 1), new User(\"赵六\", \"fedcba\", 30, 76.0, 2) ); model.addAttribute(\"userList\", userList); return \"demo2\"; // 跳转至demo2.html }}(3)demo2.html 模板(核心语法演示)
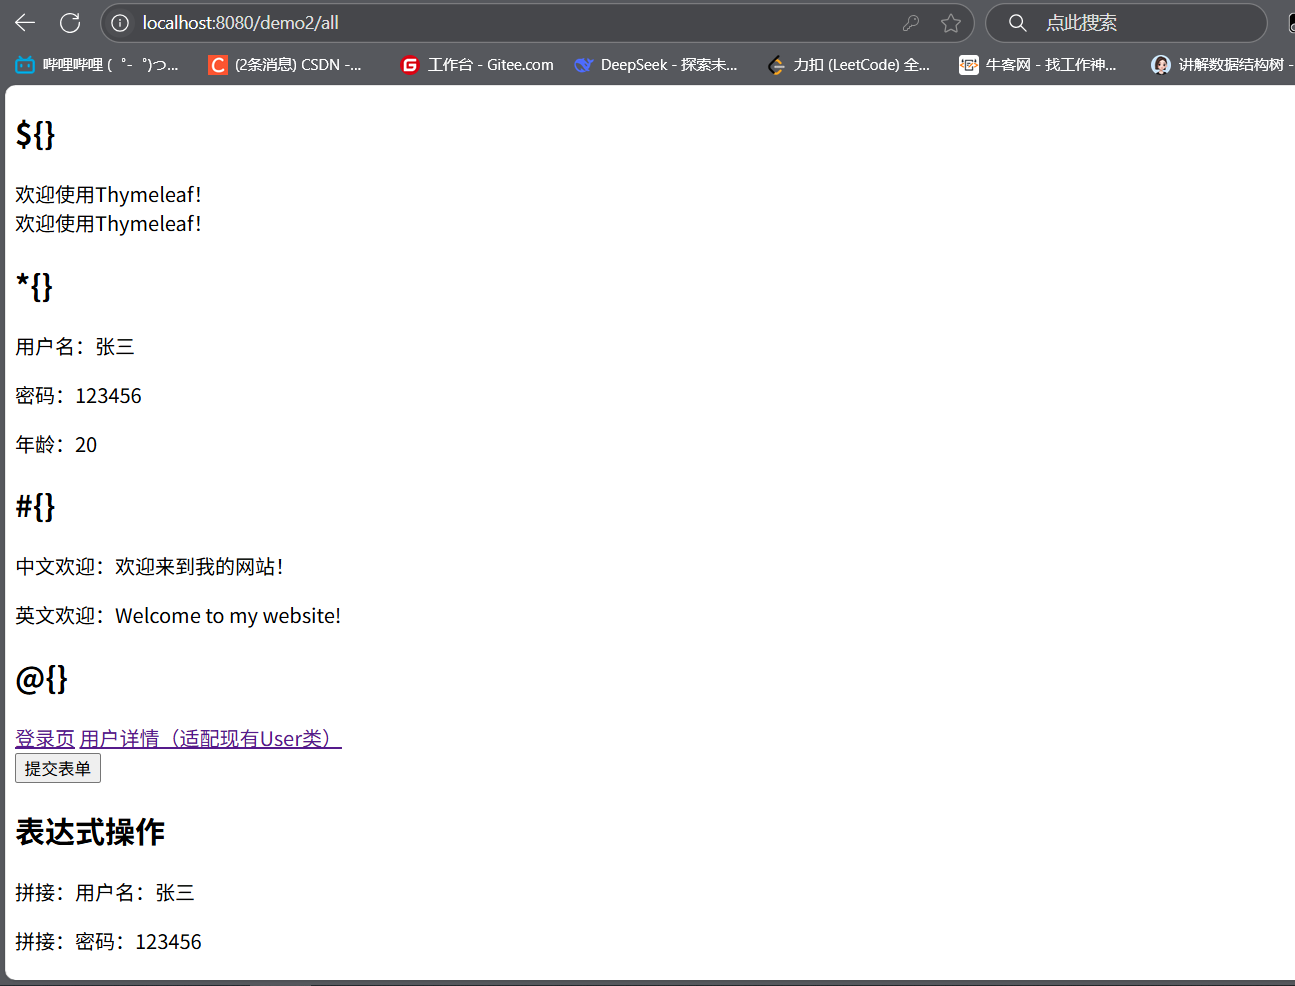
Thymeleaf全语法演示 1. 变量表达式 ${}
默认文本 2. 选择表达式 *{}
用户名:
年龄:
3. 国际化表达式 #{}
中文欢迎:
4. URL表达式 @{}
登录页 用户详情 5. 表达式操作
年龄+1:
是否成年: 18 ? \'是\' : \'否\'}\">
6. th:each循环
(3)登录功能实现
LoginController:
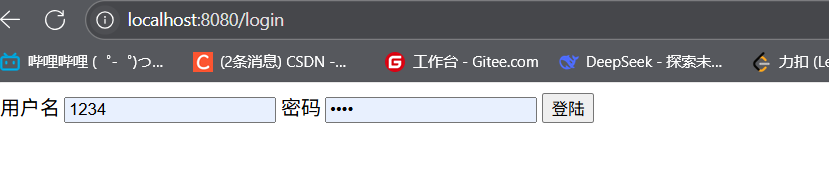
@Controllerpublic class LoginController { // 跳转登录页 @GetMapping(\"/login\") public String toLogin() { return \"login\"; } // 处理登录提交 @PostMapping(\"/login\") public String doLogin( @RequestParam(\"username\") String username, @RequestParam(\"password\") String password, Model model) { // 简单验证(实际项目需查数据库) if (\"admin\".equals(username) && \"123456\".equals(password)) { model.addAttribute(\"msg\", username); return \"hello\"; // 登录成功页 } else { return \"redirect:/login?error\"; // 登录失败重定向 } }}login.html:
用户名或密码错误
4.3 依赖配置(pom.xml)
org.springframework.boot spring-boot-starter-parent 3.5.3 org.springframework.boot spring-boot-starter-web org.springframework.boot spring-boot-starter-thymeleaf org.webjars jquery 3.5.0 org.springframework.boot spring-boot-devtools true 4.4 配置文件(application.properties)
# 端口配置server.port=8082# Thymeleaf配置spring.thymeleaf.cache=false# 静态资源缓存时间spring.resources.cache.period=36004.5 运行效果
- 启动应用:运行
MavenSpringbootApplication; - 访问演示页:
http://localhost:8082/demo2/all,可看到 Thymeleaf 各种语法的展示效果; - 测试登录:
http://localhost:8082/login,输入admin/123456可跳转至成功页。