鸿蒙中Navigation跳转最简便用法,详细实现步骤,附上源码_鸿蒙navigation跳转
概述
在鸿蒙开发中路由跳转官方推荐使用Navigation替代router进行路由跳转,本文将从Navigation的使用步骤入手,一步步带着各位玩转Navigation路由跳转,以及注意事项
这里是官方文档入口:
Navigation-导航与切换-ArkTS组件-ArkUI(方舟UI框架)-应用框架 - 华为HarmonyOS开发者![]() https://developer.huawei.com/consumer/cn/doc/harmonyos-references-V5/ts-basic-components-navigation-V5
https://developer.huawei.com/consumer/cn/doc/harmonyos-references-V5/ts-basic-components-navigation-V5
1、第一步在项目根组件套上Navigation
在项目的根组件上套上,Navigation,这里有几个点需要注意,当设置了tab栏时页面出现布局不正常时可用设置下面两个属性,这两个属性可以将导航栏和内容区独立显示,避免出现布局问题
.mode(NavigationMode.Stack) // 导航栏与内容区独立显示,相当于两个页面。.titleMode(NavigationTitleMode.Mini) // 标题栏模式设置之前:如图所示,很明显,这里页面被挤上来了

设置之后:如图,这里布局正常了,并且出现了一个返回按钮,这里可以使用以下属性禁用这个原生标题。
.hideTitleBar(true) 
2、创建并传递NavPathStack
在使用Navigation时被跳转的组件必须被navDestination包裹,要实现跳转,Navigation必须绑定一个NavPathStack实例对象用于控制页面跳转,NavPathStack配合navDestination属性进行页面路由。本文案例使用的是@Provide和@Consume去进行NavPathStack,这两个装饰器可以进行跨代传递,要注意一点,@Consume接收的变量名必须和@Provide传出的变量名保持一致,否则会导致程序崩溃
NavPathStack绑定:
// 绑定导航栈 Navigation(this.stackPath)创建以及传递:
// 导航栈创建以及传递 @Provide stackPath: NavPathStack = new NavPathStack();子组件接收:
// 接收stackPath @Consume stackPath: NavPathStack3、子组件被NavDestination包裹,并导出一个全局@Builder
子组件如下:
import { IParams } from \'../Index\'@Componentexport struct SubPage1 { // 接收stackPath @Consume stackPath: NavPathStack @State params: IParams = { message: \'点击我获取参数\', param: \'\' } build() { NavDestination() { Column({ space: 30 }) { Text(\"我是SubPage1\") .fontSize(30) .fontWeight(FontWeight.Bold) Text(this.params.param ? this.params.param : this.params.message) .fontSize(50) .fontWeight(FontWeight.Bold) .onClick(() => { const paramsFromIndex = this.stackPath.getParamByName(\'SubPage1\') as IParams[] if (paramsFromIndex.length) { this.params = paramsFromIndex[0] } }) Button(\'返回\') .onClick(() => { this.stackPath.pop() }) } .width(\'100%\') .height(\'100%\') .justifyContent(FlexAlign.Center) } .width(\'100%\') .height(\'100%\') }}// 导出的全局 Builder@Builderfunction SubPage1Builder() { SubPage1()}4、配置路由
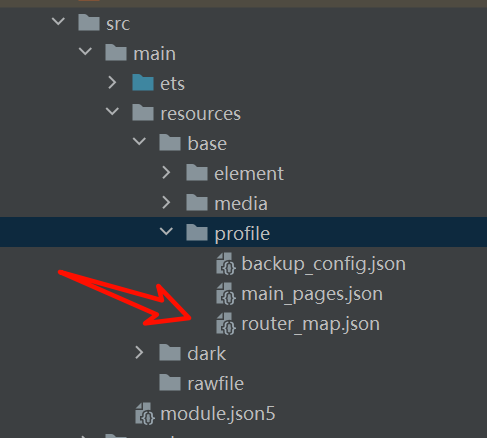
要让咱们的跳转能准确找到去跳转的页面,需要在src/main/resources/base/profile路径下添加router_map文件并配置routerMap
配置的routerMap如下:
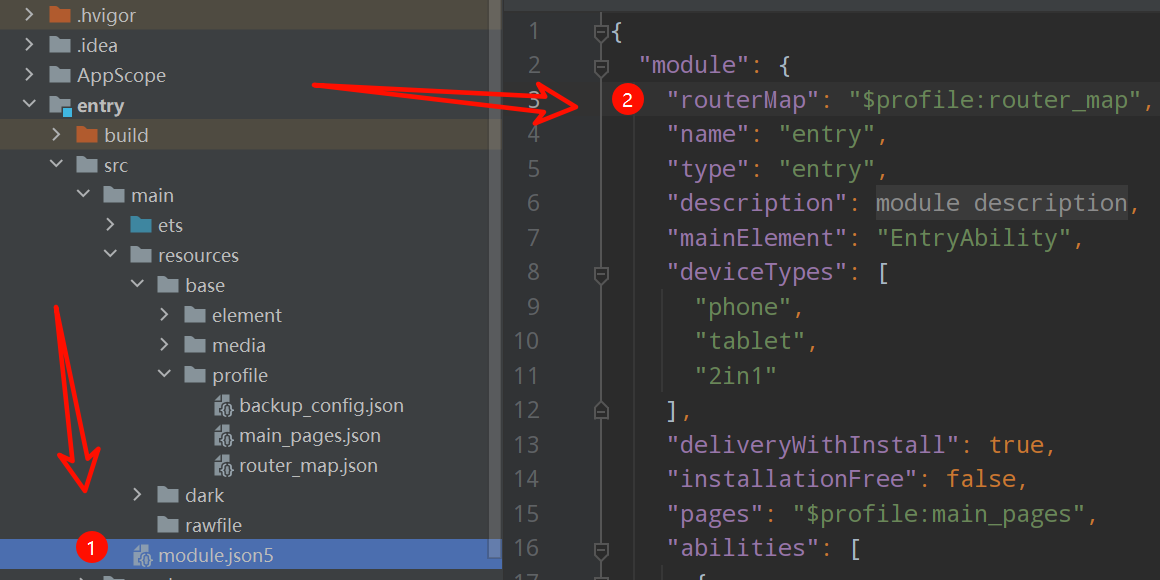
{ \"routerMap\": [ { \"name\": \"SubPage1\", // 路由名称 \"buildFunction\": \"SubPage1Builder\", // 构建函数 \"pageSourceFile\": \"src/main/ets/pages/subPages/SubPage1.ets\" // 页面源文件 } ]}在module.json5文件里配置刚创建的routerMap
5、使用navPathStack控制跳转,以及传参
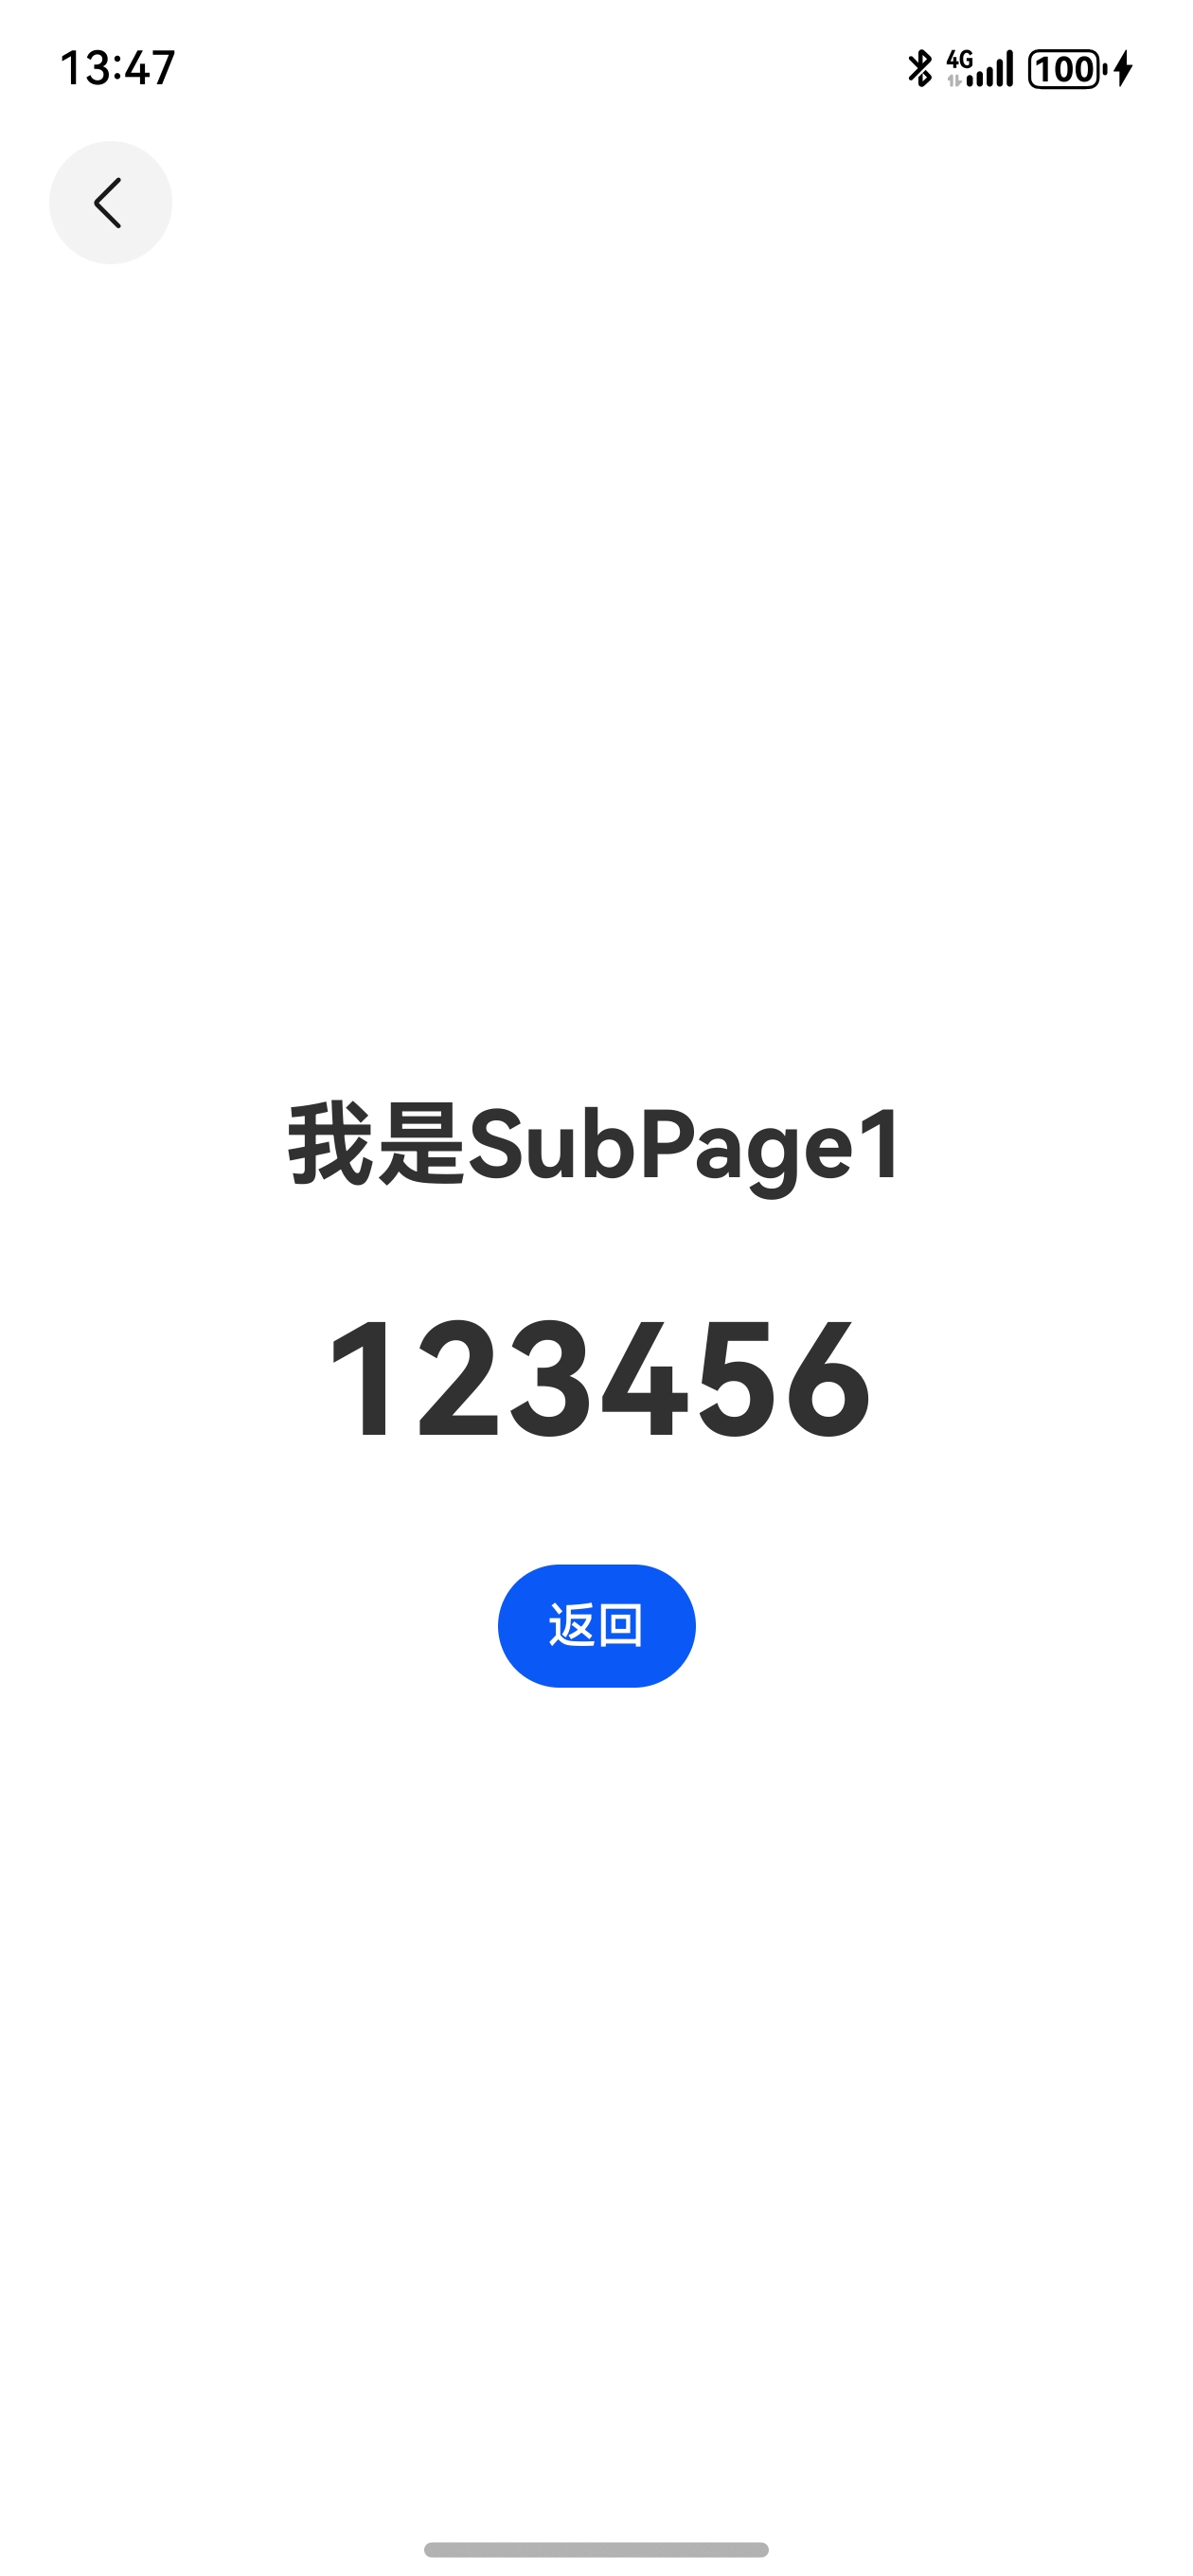
当做好以上操作之后,即可去进行路由的跳转了,这里name要和routerMap里边的name字段对应上,跳转方式有多种,这里以pushParh为例:
// 跳转 this.stackPath.pushPath({ // 路由名称 name: \'SubPage1\', // 参数 param: { message: \'index过来的参数\', param: \'123456\' } as IParams })返回,这里在子组件中使用@Consume接收到的navPathStack控制返回
Button(\'返回\') .onClick(() => { this.stackPath.pop() })至此Navigation的一个配置流程以及跳转操作就完成了。
最后附上完整代码以及效果图
src/main/resources/base/profile下新建的router_map.json文件
{ \"routerMap\": [ { \"name\": \"SubPage1\", \"buildFunction\": \"SubPage1Builder\", \"pageSourceFile\": \"src/main/ets/pages/subPages/SubPage1.ets\" } ]}在module.json5中配置routerMap:
{ \"module\": { \"routerMap\": \"$profile:router_map\", // 配置引用路由表 \"name\": \"entry\", \"type\": \"entry\", \"description\": \"$string:module_desc\", \"mainElement\": \"EntryAbility\", \"deviceTypes\": [ \"phone\", \"tablet\", \"2in1\" ], \"deliveryWithInstall\": true, \"installationFree\": false, \"pages\": \"$profile:main_pages\", \"abilities\": [ { \"name\": \"EntryAbility\", \"srcEntry\": \"./ets/entryability/EntryAbility.ets\", \"description\": \"$string:EntryAbility_desc\", \"icon\": \"$media:layered_image\", \"label\": \"$string:EntryAbility_label\", \"startWindowIcon\": \"$media:startIcon\", \"startWindowBackground\": \"$color:start_window_background\", \"exported\": true, \"skills\": [ { \"entities\": [ \"entity.system.home\" ], \"actions\": [ \"action.system.home\" ] } ] } ], \"extensionAbilities\": [ { \"name\": \"EntryBackupAbility\", \"srcEntry\": \"./ets/entrybackupability/EntryBackupAbility.ets\", \"type\": \"backup\", \"exported\": false, \"metadata\": [ { \"name\": \"ohos.extension.backup\", \"resource\": \"$profile:backup_config\" } ], } ] }}根组件Index.ets
export interface IParams { message: string; param: string;}@Entry@Componentstruct Index { @State message: string = \'跳转去下一个页面\'; // 导航栈创建以及传递 @Provide stackPath: NavPathStack = new NavPathStack(); build() { // 绑定导航栈 Navigation(this.stackPath) { Tabs() { TabContent() { Column() { Text(\'Navigation跳转\') .fontSize(40) .fontWeight(FontWeight.Bold) Button(this.message) .fontWeight(FontWeight.Bold) .onClick(() => { // 跳转 this.stackPath.pushPath({ // 路由名称 name: \'SubPage1\', // 参数 param: { message: \'index过来的参数\', param: \'123456\' } as IParams }) }) }.height(\'100%\') .width(\'100%\') .backgroundColor(\'#88E1DA\') .justifyContent(FlexAlign.Center) }.tabBar(\'一栏\') TabContent() { Column() { Text(\'我是第二栏\') .fontSize(30) .fontWeight(FontWeight.Bold) } }.tabBar(\'二栏\') }.barPosition(BarPosition.End) } .mode(NavigationMode.Stack) // 导航栏与内容区独立显示,相当于两个页面。 .titleMode(NavigationTitleMode.Mini) // 标题栏模式 .hideTitleBar(true) .height(\'100%\') .width(\'100%\') }}子组件SubPage1.ets:
import { IParams } from \'../Index\'@Componentexport struct SubPage1 { // 接收stackPath @Consume stackPath: NavPathStack @State params: IParams = { message: \'点击我获取参数\', param: \'\' } build() { NavDestination() { Column({ space: 30 }) { Text(\"我是SubPage1\") .fontSize(30) .fontWeight(FontWeight.Bold) Text(this.params.param ? this.params.param : this.params.message) .fontSize(50) .fontWeight(FontWeight.Bold) .onClick(() => { const paramsFromIndex = this.stackPath.getParamByName(\'SubPage1\') as IParams[] if (paramsFromIndex.length) { this.params = paramsFromIndex[0] } }) Button(\'返回\') .onClick(() => { this.stackPath.pop() }) } .width(\'100%\') .height(\'100%\') .justifyContent(FlexAlign.Center) } .width(\'100%\') .height(\'100%\') }}// 导出的全局 Builder@Builderfunction SubPage1Builder() { SubPage1()}主页面

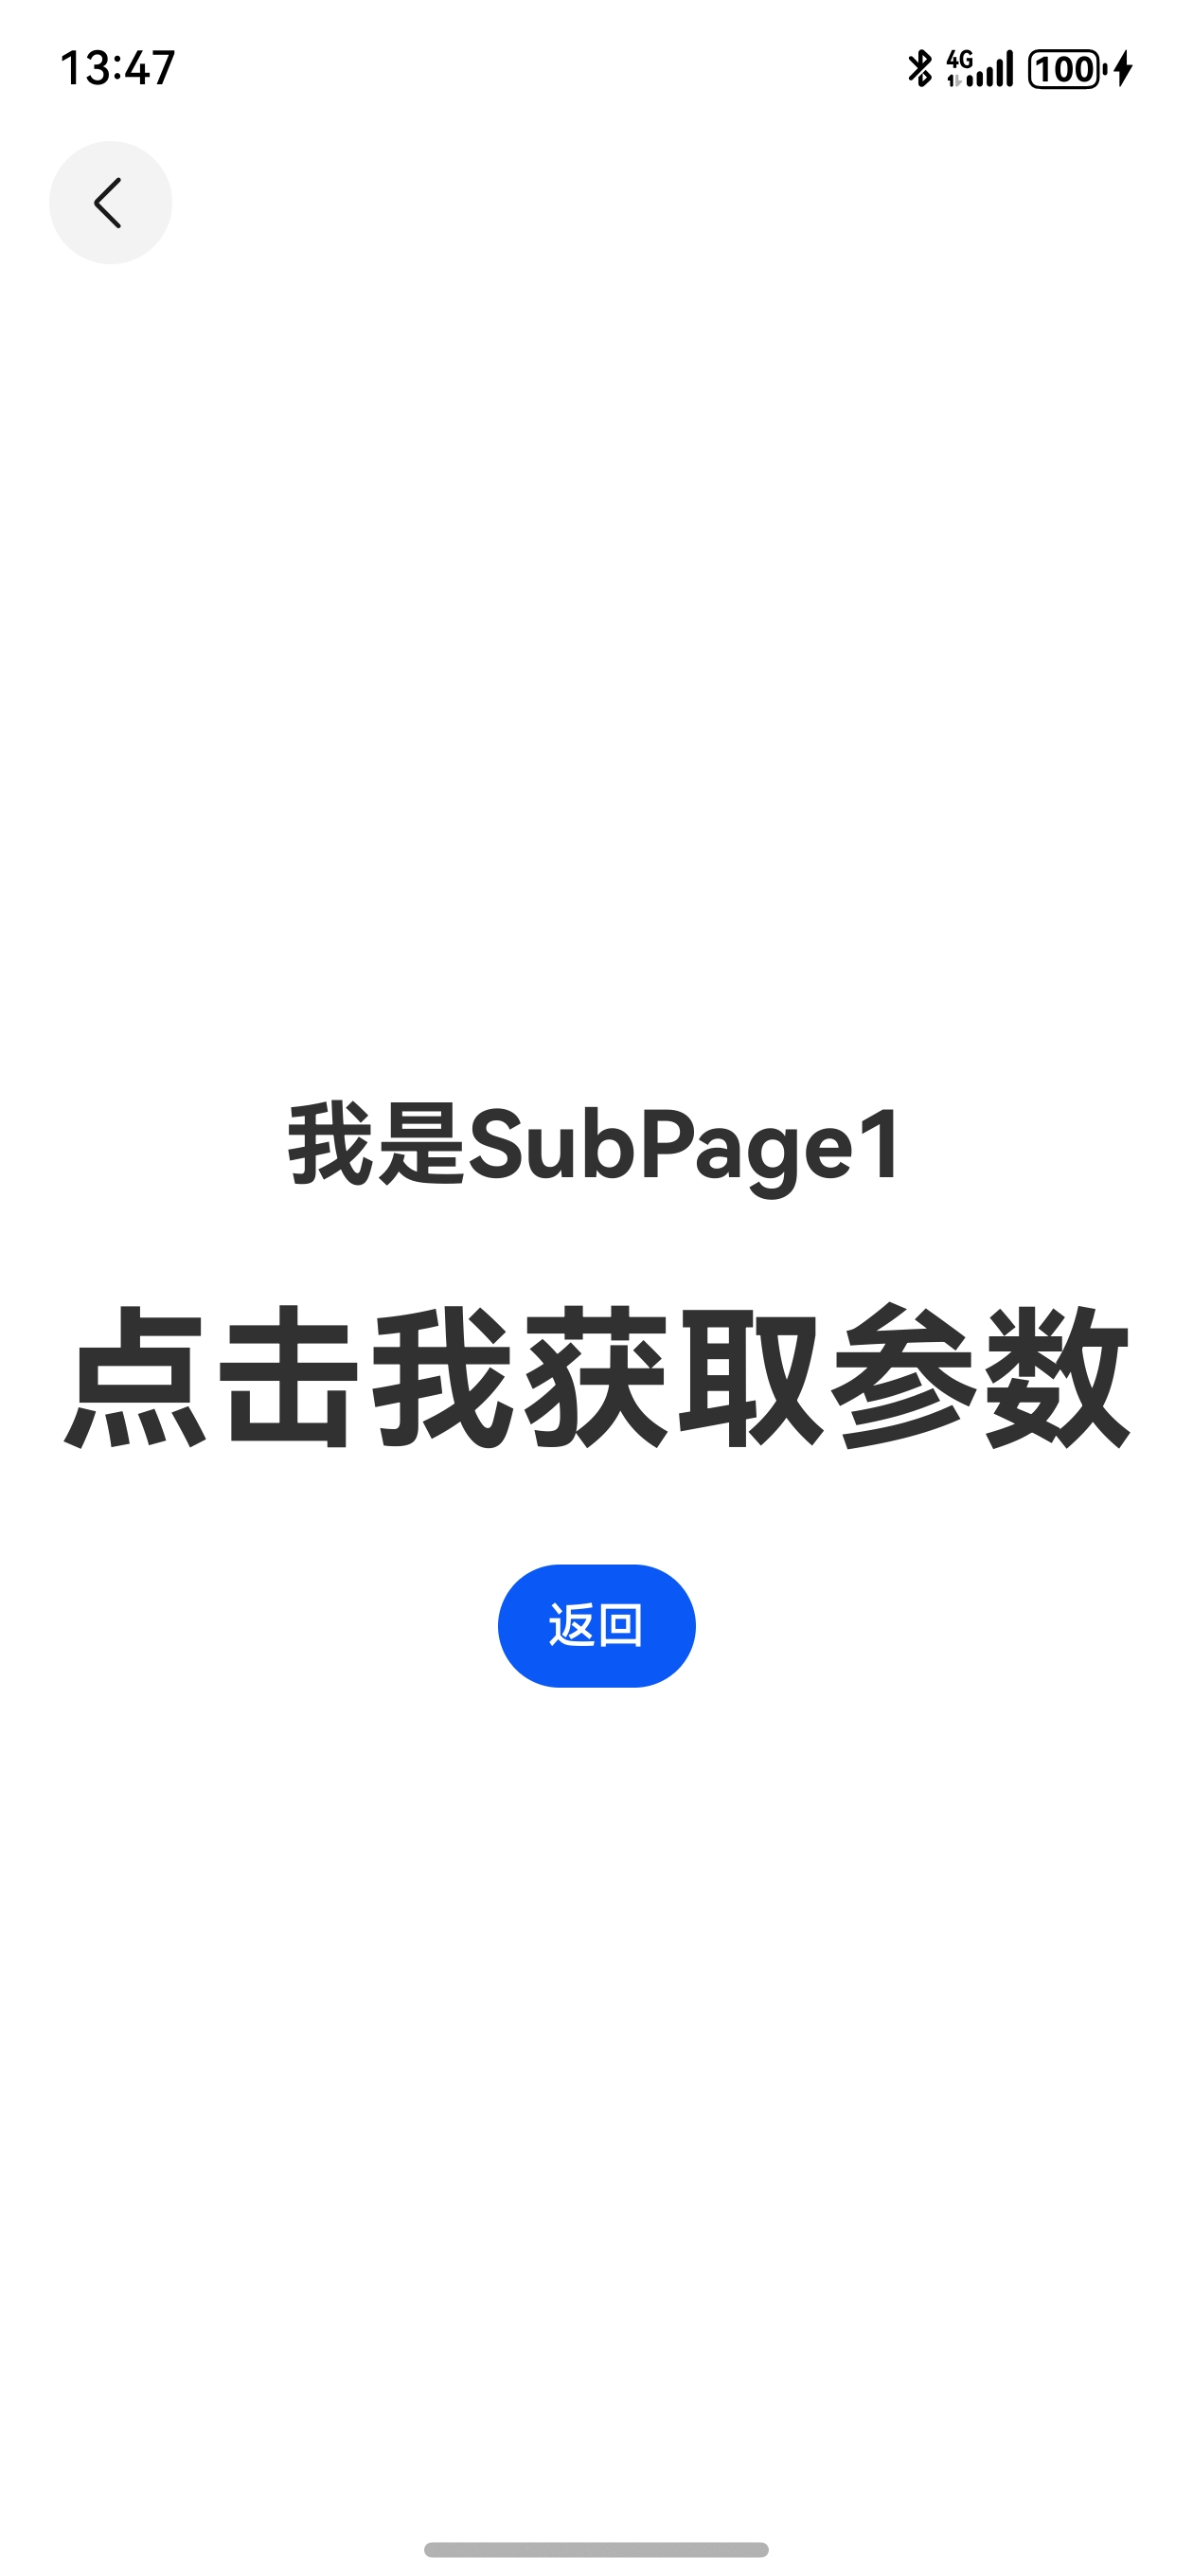
子页面,点击获取参数前:
子页面,点击获取参数后