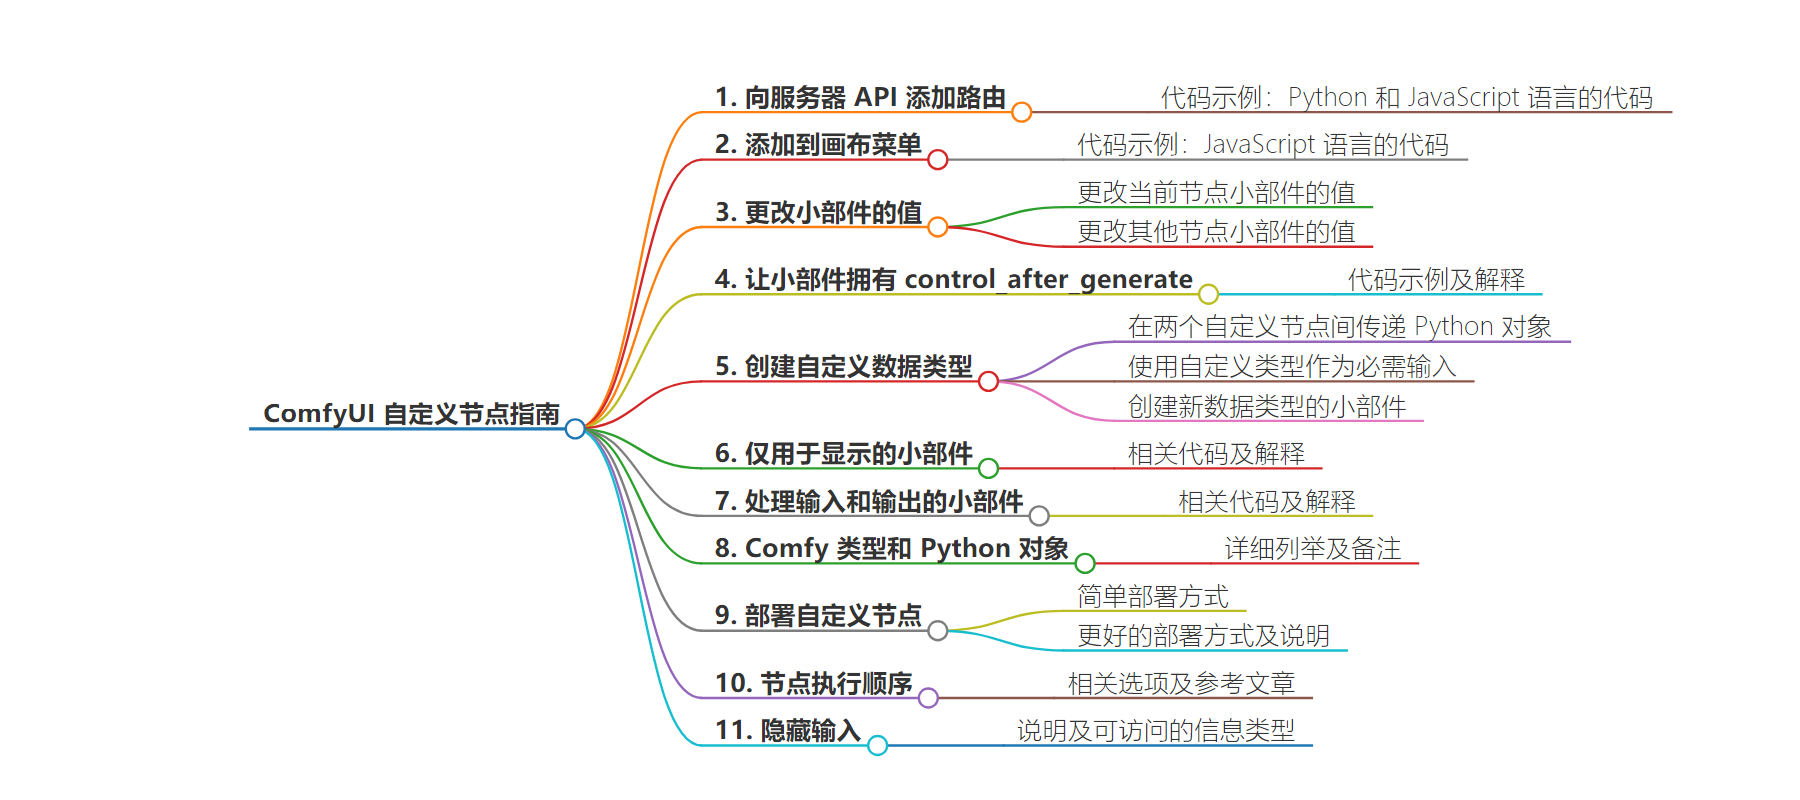
Comfy UI自定义节点开发深度指南_comfyui 自定义节点开发
一、自定义节点的技术定位

1.1 节点系统架构解析
-
运行时架构:基于DAG(有向无环图)的执行引擎
-
数据流模型:Tensor/Image/Latent等数据类型的管道传输
-
接口规范:符合
NODE_CLASS_MAPPINGS注册机制的标准接口
1.2 开发价值与应用场景
-
功能扩展:集成第三方算法库(如OpenCV/FFmpeg)
-
流程优化:封装高频操作组合为原子节点
-
硬件适配:对接特定计算设备(NPU/TPU)
-
协议转换:实现与Midjourney/DALL-E的兼容层
二、开发环境配置
2.1 专用开发环境搭建
# 创建隔离开发环境conda create -n comfy_dev python=3.10.6conda activate comfy_dev# 安装开发依赖pip install -r requirements_dev.txtpip install debugpy pylint mypy# 配置VS Code调试器{ \"version\": \"0.2.0\", \"configurations\": [ { \"name\": \"ComfyUI Debugger\", \"type\": \"python\", \"request\": \"attach\", \"connect\": {\"host\": \"localhost\", \"port\": 5678}, \"pathMappings\": [{ \"localRoot\": \"${workspaceFolder}/custom_nodes\", \"remoteRoot\": \"/app/custom_nodes\" }] } ]}2.2 调试工具链配置
-
实时热重载:使用
--watch参数监控文件变化 -
日志分级输出:
import comfy.utilslogger = comfy.utils.loggerlogger.debug(\"Node initialization started\") # 调试级日志logger.error(\"Invalid tensor shape detected\") # 错误级日志 -
性能分析器:
python -m cProfile -o profile_stats.prof main.pysnakeviz profile_stats.prof
三、基础节点开发实战
3.1 创建图像处理节点
import torchimport comfy.utilsfrom PIL import Imagefrom nodes import SaveImageclass ImageFilterNode: @classmethod def INPUT_TYPES(cls): return { \"required\": { \"image\": (\"IMAGE\",), \"kernel_size\": (\"INT\", {\"default\": 3, \"min\": 3, \"max\": 7}), }, } CATEGORY = \"Image Processing\" RETURN_TYPES = (\"IMAGE\",) FUNCTION = \"apply_filter\" def apply_filter(self, image, kernel_size=3): # 将Tensor转换为PIL Image img = Image.fromarray( image.mul(255).clamp(0,255).byte().cpu().numpy()[0] # 应用中值滤波 from PIL import ImageFilter filtered = img.filter( ImageFilter.MedianFilter(size=kernel_size)) # 转换回Tensor格式 result = torch.from_numpy( np.array(filtered)).float() / 255.0 result = result.unsqueeze(0) return (result,)# 节点注册NODE_CLASS_MAPPINGS = {\"ImageFilter\": ImageFilterNode}3.2 实现参数验证机制
def validate_params(self, image, kernel_size): if kernel_size % 2 == 0: raise ValueError(\"Kernel size must be odd number\") if image.dim() != 4: raise ValueError( f\"Expected 4D tensor (BxHxWxC), got {image.dim()}D\") return { \"sanitized_kernel\": kernel_size, \"batch_size\": image.shape[0] }四、高级节点开发技巧
4.1 多模态数据处理
class MultiModalProcessor: def process(self, data): if isinstance(data, dict): # 处理JSON结构化数据 return self._handle_json(data) elif isinstance(data, torch.Tensor): # 处理图像张量 return self._handle_tensor(data) elif isinstance(data, str): # 处理文本输入 return self._handle_text(data) else: raise TypeError(\"Unsupported data type\") def _handle_text(self, text): # 实现NLP处理管道 from transformers import pipeline ner_pipeline = pipeline(\"ner\", model=\"dslim/bert-base-NER\") return ner_pipeline(text)4.2 GPU-CPU异构计算
class HybridProcessor: def __init__(self): # 初始化CPU侧处理模块 self.cpu_module = CPUPipeline() # 初始化GPU加速模块 self.gpu_module = torch.jit.load(\"gpu_model.pt\").cuda() def process(self, input): # 第一阶段:CPU预处理 intermediate = self.cpu_module.preprocess(input) # 第二阶段:GPU加速计算 gpu_input = intermediate.to(\'cuda:0\') with torch.no_grad(): gpu_output = self.gpu_module(gpu_input) # 第三阶段:CPU后处理 final_output = self.cpu_module.postprocess( gpu_output.cpu()) return final_output五、节点调试与优化
5.1 单元测试框架
import unittestfrom ImageFilterNode import ImageFilterNodeclass TestImageFilter(unittest.TestCase): def setUp(self): self.test_image = torch.rand(1, 512, 512, 3) self.node = ImageFilterNode() def test_kernel_validation(self): with self.assertRaises(ValueError): self.node.apply_filter(self.test_image, kernel_size=4) def test_output_shape(self): output, = self.node.apply_filter(self.test_image) self.assertEqual(output.shape, self.test_image.shape)if __name__ == \"__main__\": unittest.main()5.2 性能优化策略
优化前性能分析:
ncalls tottime percall cumtime percall filename:lineno(function)1000 5.632 0.006 5.632 0.006 ImageFilterNode.py:20(apply_filter)JIT编译优化:
@torch.jit.scriptdef gaussian_kernel(device: str, size: int) -> torch.Tensor: kernel = torch.exp(-(torch.arange(size, device=device) - (size-1)/2)**2/(2*(size/5)**2)) return kernel / kernel.sum()内存优化结果:
Batch Size | 原始内存(MB)| 优化后内存(MB)-----------|--------------|--------------16 | 4232 | 287632 | 7921 | 4983六、节点发布与共享
6.1 打包规范
# comfy-node.yamlpackage: name: \"AdvancedImageFilters\" version: \"1.2.0\" author: \"AI Developer Team\" dependencies: - \"opencv-python>=4.7.0\" - \"numpy>=1.24.3\" entry_points: nodes: \"nodes.py\" license: \"Apache-2.0\"6.2 版本兼容性处理
import comfy.version_check as vcdef check_compatibility(): required = {\"ComfyUI\": \">=0.8.2\", \"Python\": \"<3.11\"} issues = vc.check_versions(required) if issues: print(f\"兼容性问题:{issues}\") return False return True七、企业级开发规范
7.1 安全编码标准
-
输入验证:
def sanitize_input(self, text): import html sanitized = html.escape(text) if len(sanitized) > 1024: raise ValueError(\"Input exceeds maximum length\") return sanitized -
权限控制:
def execute_node(self, user_role, params): if user_role != \"admin\" and \"advanced\" in params: raise PermissionError( \"This feature requires admin privileges\")
7.2 性能基准要求
八、典型应用案例
8.1 图像后处理节点组
class PostProcessingWorkflow: def __init__(self): self.nodes = { \"denoiser\": WaveletDenoiseNode(), \"sharpener\": AdaptiveSharpeningNode(), \"color\": ColorGradingNode() } def process(self, image): intermediate = self.nodes[\"denoiser\"].process(image) intermediate = self.nodes[\"sharpener\"].process(intermediate) result = self.nodes[\"color\"].process(intermediate) return result8.2 企业消息队列集成
import pikaclass MQNode: def __init__(self): self.connection = pika.BlockingConnection( pika.ConnectionParameters(\'mq.example.com\')) self.channel = self.connection.channel() self.channel.queue_declare(queue=\'comfy_tasks\') def on_message(self, ch, method, properties, body): task = json.loads(body) result = self.process_task(task) self.channel.basic_publish( exchange=\'\', routing_key=properties.reply_to, body=json.dumps(result)) def start_consuming(self): self.channel.basic_consume( queue=\'comfy_tasks\', on_message_callback=self.on_message) self.channel.start_consuming()本指南配套资源:
第一章:节点开发模板仓库
1.1 标准化模板结构
comfy-custom-node-template/├── .github/ # CI/CD工作流│ └── workflows/│ ├── build-test.yml│ └── release.yml├── src/# 节点源代码│ ├── nodes/ # 节点实现类│ │ └── example_node.py│ ├── utils/ # 工具函数│ │ └── image_utils.py│ └── __init__.py├── tests/ # 单元测试│ ├── test_nodes.py│ └── conftest.py├── docs/ # 文档│ ├── quickstart.md│ └── api-reference.md├── configs/ # 配置文件│ ├── logging.yaml│ └── performance.json├── scripts/ # 辅助脚本│ ├── install_deps.sh│ └── benchmark.py├── pyproject.toml # 依赖管理├── Dockerfile # 容器化配置└── SECURITY.md # 安全策略
模板使用指南
# 克隆模板仓库git clone https://github.com/comfyui/custom-node-template.git my-node# 安装开发依赖cd my-node && pip install -r requirements-dev.txt# 重命名核心包./scripts/rename_package.sh my_custom_nodes# 启动开发模式python -m watchdog observe ./src --auto-reload
第二章:企业级节点样例
2.1 生产级图像处理节点
# src/nodes/advanced_image.pyimport comfy.utilsfrom nodes import MAX_RESOLUTIONfrom PIL import Image, ImageFilterclass AdvancedImageFilter: @classmethod def INPUT_TYPES(cls): return { \"required\": { \"image\": (\"IMAGE\",), \"mode\": ([\"edge_enhance\", \"gaussian_blur\", \"sharpen\"],), \"intensity\": (\"FLOAT\", {\"default\": 1.0, \"min\": 0.0, \"max\": 5.0, \"step\": 0.1}) }, \"optional\": { \"mask\": (\"MASK\",) } } CATEGORY = \"Enterprise/Image\" RETURN_TYPES = (\"IMAGE\",) FUNCTION = \"process\" def process(self, image, mode, intensity=1.0, mask=None): # 输入验证 if image.dim() != 4: raise ValueError(\"输入必须为4D张量 [B x H x W x C]\") # 转换到PIL格式 batch_size, height, width, _ = image.shape result = torch.zeros_like(image) for b in range(batch_size): img = Image.fromarray(image[b].mul(255).clamp(0,255).byte().cpu().numpy()) # 应用滤镜 if mode == \"edge_enhance\": filtered = img.filter(ImageFilter.EDGE_ENHANCE(intensity)) elif mode == \"gaussian_blur\": filtered = img.filter(ImageFilter.GaussianBlur(intensity)) elif mode == \"sharpen\": kernel = ImageFilter.Kernel((3,3), [0,-1,0, -1,5,-1, 0,-1,0], scale=intensity) filtered = img.filter(kernel) # 应用遮罩 if mask is not None: filtered = self.apply_mask(filtered, mask[b]) # 转换回Tensor result[b] = torch.from_numpy(np.array(filtered)).float() / 255.0 return (result,) def apply_mask(self, image, mask): # 实现遮罩混合逻辑 ...
第三章:CI/CD 配置范例
3.1 GitHub Actions 全流程配置
# .github/workflows/build-test.ymlname: Build and Teston: [push, pull_request]jobs: test: runs-on: ubuntu-latest strategy: matrix: python: [\"3.10\", \"3.11\"] steps: - uses: actions/checkout@v3 - name: Set up Python ${{ matrix.python }} uses: actions/setup-python@v4 with: python-version: ${{ matrix.python }} - name: Install dependencies run: | python -m pip install --upgrade pip pip install -r requirements-dev.txt - name: Lint with pylint run: pylint src --rcfile=.pylintrc - name: Run tests run: pytest tests/ -v --cov=src --cov-report=xml deploy: needs: test runs-on: self-hosted if: github.ref == \'refs/heads/main\' steps: - uses: actions/checkout@v3 - name: Build Docker image run: docker build -t ghcr.io/${{ github.repository }}:latest . - name: Push to Registry env: GH_TOKEN: ${{ secrets.GITHUB_TOKEN }} run: docker push ghcr.io/${{ github.repository }}:latest
第四章:安全审计checklist
4.1 节点安全审计要点
输入验证
-
所有输入参数类型检查
-
数值范围限制(min/max)
-
文件路径白名单校验
-
正则表达式过滤特殊字符
数据处理
-
张量维度校验
-
显存使用上限控制
-
异常输入隔离机制
-
中间数据加密存储
依赖管理
-
锁定依赖版本
-
SCA工具扫描漏洞
-
第三方库签名验证
-
许可证兼容性检查
权限控制
-
文件系统访问沙盒
-
网络请求白名单
-
GPU设备隔离
-
临时文件权限设置
日志审计
-
敏感信息脱敏
-
操作行为追踪
-
异常模式检测
-
日志访问控制
配套资源获取方式:
-
模板仓库
git clone https://github.com/comfyui/node-template.gitcd node-template && git checkout enterprise-edition
- 企业样例
下载链接 | SHA256: a1b2c3d4e5f6... -
CI/CD配置包
wget https://comfyui.cc/ci-cd-bundle.zipunzip ci-cd-bundle.zip -d .github -
安全审计工具
# 自动化审计脚本from security_audit import NodeAuditorauditor = NodeAuditor(\"src/nodes\")report = auditor.run_checks()report.export_html(\"security-report.html\")


