Java 使用onlyoffice实现PDF和word预览以及word多人协同在线编辑_onlyoffice集成java实现编辑预览
所需资源连接 onlyoffice资源(提取码 f5yh)、docker资源(提取码 98m3)
第一步:下载onlyoffice 和下载docker (这里我使用的是docke安装方法,直接安装方法比较麻烦,建议使用安装),onlyoffice的镜像文件为 ,docker文件为docker-18.06.3-ce.tgz
社区版 官网下载地址 https://www.onlyoffice.com/zh/download-community.aspx
官方安装与使用文档 https://helpcenter.onlyoffice.com/installation/docs-community-install-docker-kylinos.aspx
第二步: 安装docker(已有docker跳过)
解压docker
tar -zxvf docker-18.06.3-ce.tgz将docker中的全部文件,使用下边命令,复制到/usr/bi
cp docker/* /usr/bin创建docker.service文件
vim /etc/systemd/system/docker.service注意,将其中的ip地址,改成您的服务器地址,其它参数不用改。
insecure-registry=192.168.205.230
[Unit][Service]Type=notify# the default is not to use systemd for cgroups because the delegate issues still# exists and systemd currently does not support the cgroup feature set required# for containers run by dockerExecStart=/usr/bin/dockerd --selinux-enabled=false --insecure-registry=192.168.205.230ExecReload=/bin/kill -s HUP $MAINPID# Having non-zero Limit*s causes performance problems due to accounting overhead# in the kernel. We recommend using cgroups to do container-local accounting.LimitNOFILE=infinityLimitNPROC=infinityLimitCORE=infinity# Uncomment TasksMax if your systemd version supports it.# Only systemd 226 and above support this version.#TasksMax=infinityTimeoutStartSec=0# set delegate yes so that systemd does not reset the cgroups of docker containersDelegate=yes# kill only the docker process, not all processes in the cgroupKillMode=process# restart the docker process if it exits prematurelyRestart=on-failureStartLimitBurst=3StartLimitInterval=60s[Install]WantedBy=multi-user.target加载docker.service
systemctl daemon-reload启动docker
systemctl start docker查看版本
docker -v 出现这个页面表示启动成功
![]()
设置开机自启动
systemctl enable docker.service
第三步:安装与下载onlyoffice
拉取本地的onlyoffice镜像
docker load -i /usr/local/onlyoffice.tar //(镜像路径)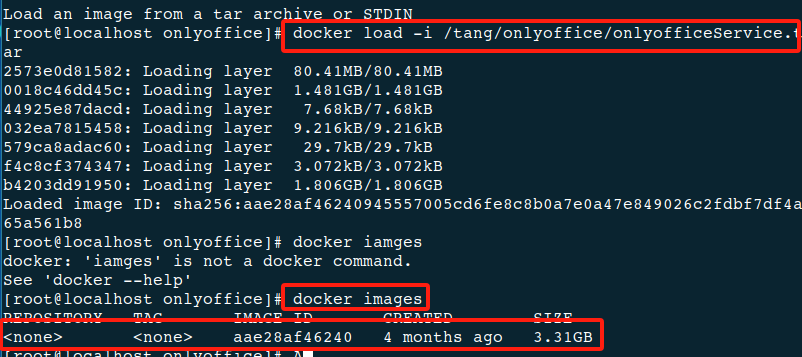
有这个表示拉取成功
第四步:运行镜像
docker run -i -t -d -p 80:80 --restart=always -v (本地文件路径):/etc/onlyoffice/documentserver -e JWT_ENABLED=false aae28af46240(上面那个镜像id) 本地路径就是网盘里面的documentserver文件夹里边的路径需要给改的文件已经改好了,直接挂在就好了,想要修改的话就在这个文件夹下该,不用进入容器里边该配置文件了

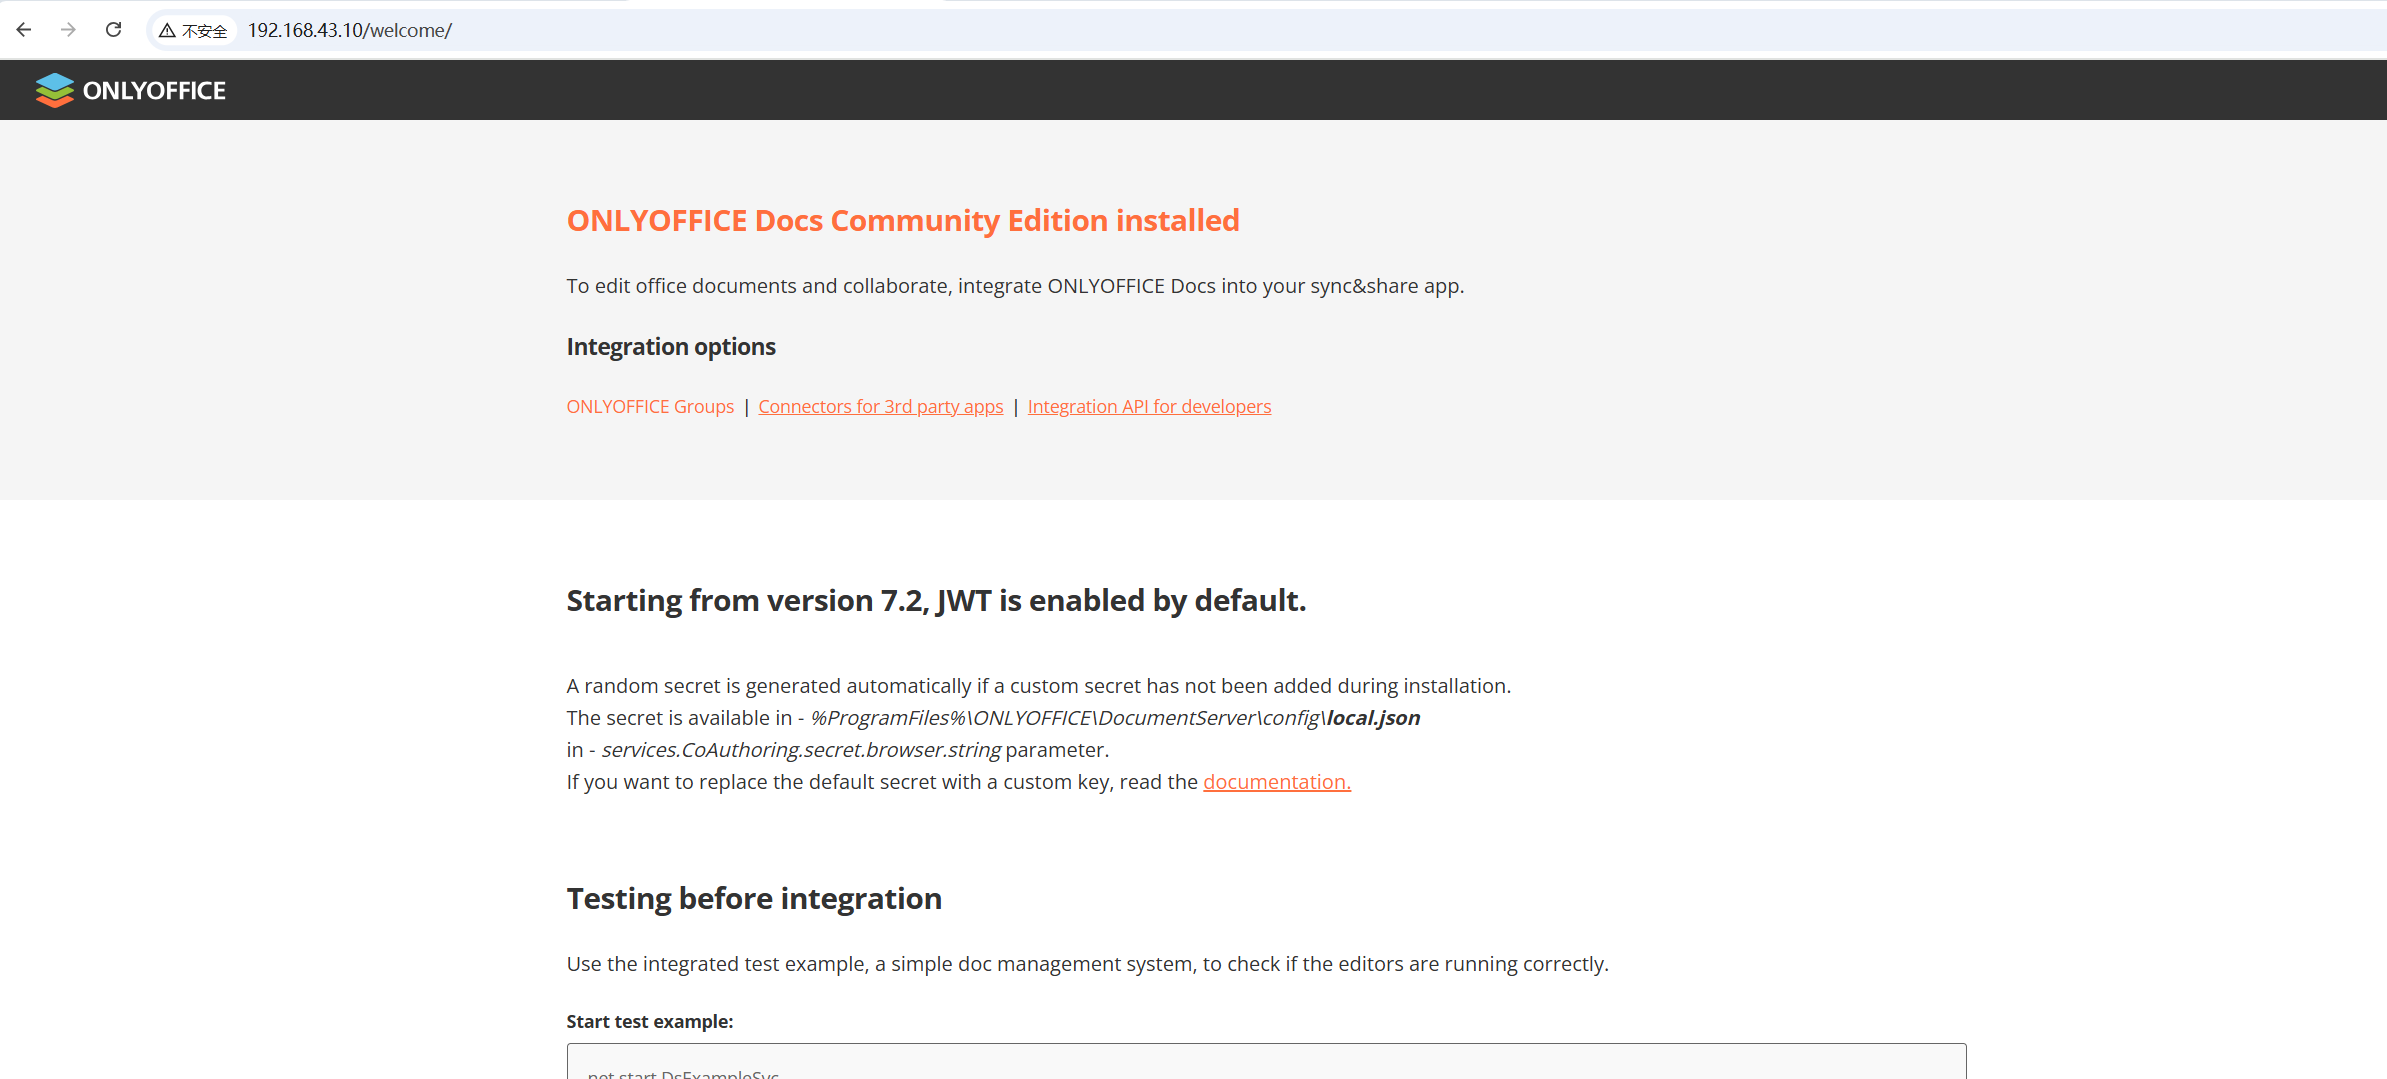
访问自己的ip出现一下页面安装成功
第五步:前端引入
http://IP:80/web-apps/apps/api/documents/api.jsDPF和word文件预览直接放入文件地址就好了
前端的事情前端解决,这里主要解决后端问题
第六步:多人在线协同编辑保存接口(回调接口)
public String fileSave(HttpServletRequest request, HttpServletResponse response) throws Exception { String body = \"\"; try { Scanner scanner = new Scanner(request.getInputStream()); scanner.useDelimiter(\"\\\\A\"); body = scanner.hasNext() ? scanner.next() : \"\"; scanner.close(); } catch (Exception ex) { return \"{\\\"error\\\":\\\"1\\\"}\"; } if (body.isEmpty()) { return \"{\\\"error\\\":\\\"1\\\"}\"; } JSONObject jsonObj = JSONObject.parseObject(body); //拿到保存数据 int status = (Integer) jsonObj.get(\"status\"); JSONArray actions = (JSONArray) jsonObj.get(\"actions\"); JSONObject stringStringHashMap = (JSONObject) actions.get(0); String key = jsonObj.get(\"key\").toString(); if (status == 2 || status == 3 || status == 6) { //只有在三个状态下才出发保存 String downloadUri = (String) jsonObj.get(\"url\"); URL urls = new URL(downloadUri); URLConnection connection = urls.openConnection(); //拿到要保存的文件流 connection.setConnectTimeout(5000); connection.setReadTimeout(5000); BufferedInputStream in = new BufferedInputStream(connection.getInputStream()); File file = new File(\"c:/1.doc\"); try (InputStream is = connection.getInputStream()) { XWPFDocument document = new XWPFDocument(is);//直接保存的话可能存在文件打不开,或者格式有问题,重新解析一下保存就好了 FileOutputStream out = new FileOutputStream(file); document.write(out); out.close(); } catch (IOException e) { e.printStackTrace(); } //下面是历史版本 历史版本表需要自己设计,就是自己设计一个表,然后以前的文件存过来就好了 } return \"{\\\"error\\\":\\\"0\\\"}\"; }以上就是全部过程了
要是还有啥问题,可以官方文档上去看,也可在评论区留言


