C#与C++交互开发系列(二十四):WinForms 应用中嵌入C++ 原生窗体_winform与c++交互
引言
欢迎关注dotnet研习社,今天我继续延续 “C#与C++交互开发系列(二十四):WinForms 应用中嵌入C++ 原生窗体”。
在 .NET 开发中,我们经常会遇到这样的场景:需要在 C# WinForms 应用程序中集成一些 C++ 编写的原生窗口。这种需求通常出现在以下情况:
- 集成遗留系统:需要将旧的 C++ 应用程序界面嵌入到新开发的 C# 应用中
- 利用 C++ 库的特殊功能:某些图形渲染、硬件交互等功能在 C++ 中实现更高效
- 性能关键部分:对性能要求极高的界面部分使用 C++ 实现
- 特殊 UI 控件:使用只有 C++ 版本的第三方控件库
你是否曾经面临过这样的问题处理?本文将一步步实现将 C++ 原生窗体嵌入到 C# WinForms 窗口中的完整解决方案。
技术背景
Windows 窗口系统基础
在深入实现之前,我们需要了解 Windows 窗口系统的几个关键概念:
- 窗口句柄 (HWND):Windows 中每个窗口都有一个唯一的句柄,它是一个指向窗口对象的指针
- 父子窗口关系:Windows 允许窗口之间建立父子关系,子窗口显示在父窗口的客户区内
- 窗口消息:Windows 使用消息机制进行窗口间通信,如大小调整、焦点变化等
- 窗口样式:控制窗口外观和行为的标志,如
WS_CHILD(子窗口样式)
实现原理
将 C++ 窗口嵌入 C# WinForms 应用的核心原理是:
- 在 C# 中通过 P/Invoke 调用 Win32 API 的
SetParent函数,将 C++ 窗口设置为 C# 控件的子窗口 - 在 C++ 中创建一个窗口,并提供设置其窗口句柄的方法
- 处理窗口消息同步,确保两个窗口协同工作
接下来,我们将详细介绍具体的实现步骤。
实现步骤
1. C++ 端实现
首先,我们需要创建一个 C++ DLL 项目,实现窗口创建和导出必要的函数。
1.1 创建 C++ DLL 项目
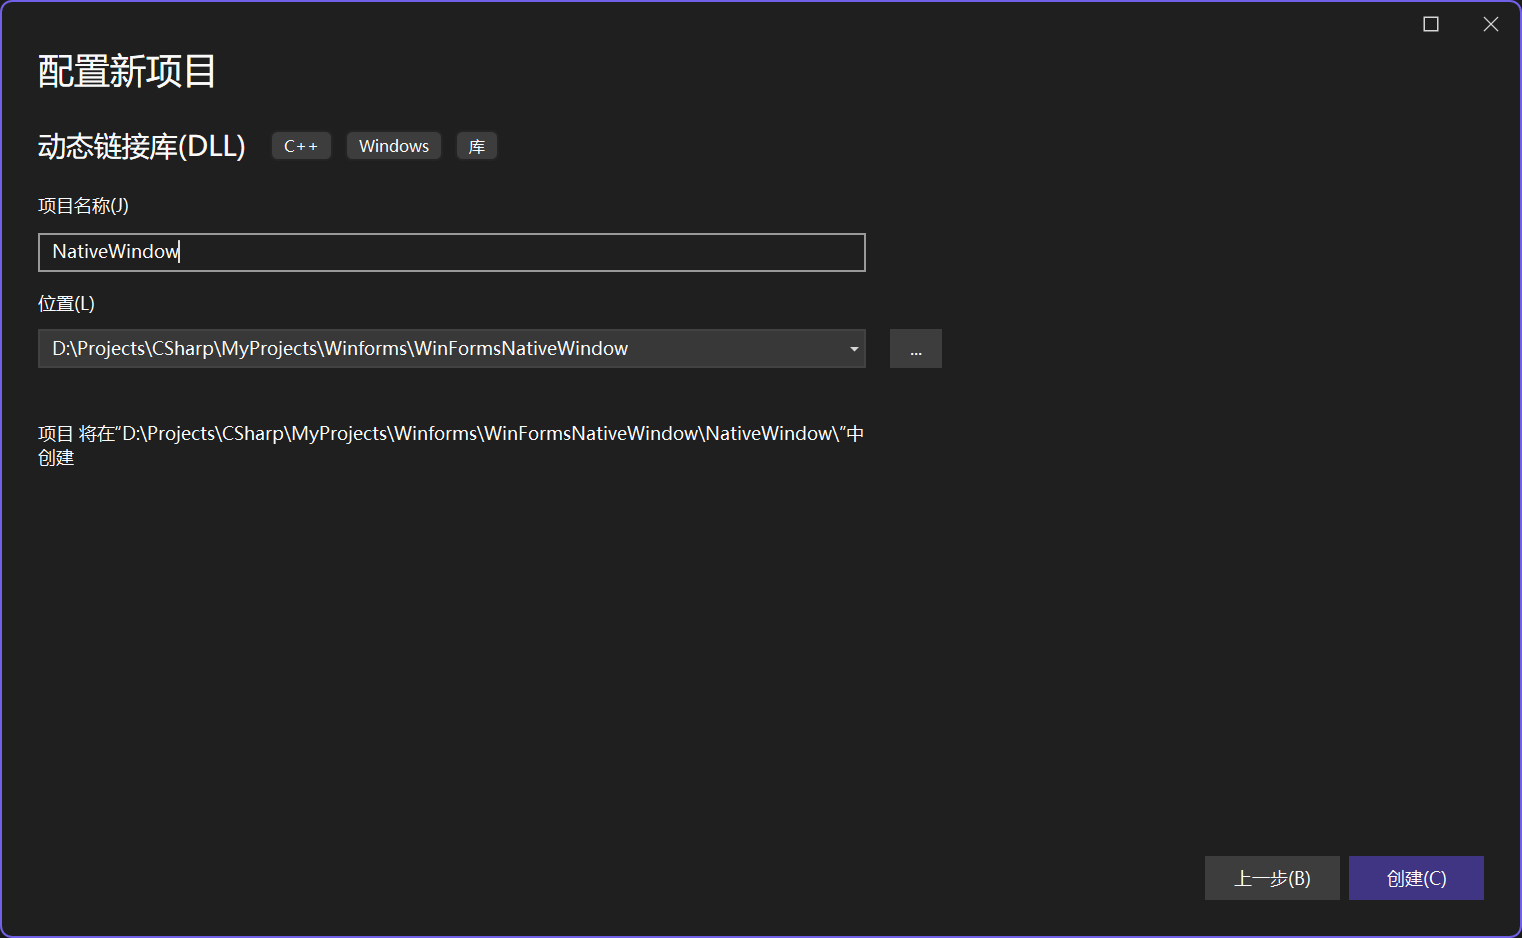
在 Visual Studio 中创建一个新的 DLL 项目,并添加以下头文件:
#pragma once#include #ifdef NATIVEWINDOW_EXPORTS#define NATIVEWINDOW_API __declspec(dllexport)#else#define NATIVEWINDOW_API __declspec(dllimport)#endif// 导出函数声明extern \"C\" { // 创建窗口并返回窗口句柄 NATIVEWINDOW_API HWND CreateNativeWindow(HWND parentHwnd, int x, int y, int width, int height); // 设置窗口内容(示例:设置文本) NATIVEWINDOW_API void SetNativeWindowText(HWND hwnd, const char* text); // 销毁窗口 NATIVEWINDOW_API void DestroyNativeWindow(HWND hwnd);}1.2 实现窗口创建和消息处理
接下来,我们实现源文件:
#include \"NativeWindow.h\"#include // 窗口类名const char* WINDOW_CLASS_NAME = \"NativeWindowClass\";// 窗口过程函数LRESULT CALLBACK WindowProc(HWND hwnd, UINT uMsg, WPARAM wParam, LPARAM lParam){ switch (uMsg) { case WM_PAINT: { PAINTSTRUCT ps; HDC hdc = BeginPaint(hwnd, &ps); // 获取窗口客户区大小 RECT rect; GetClientRect(hwnd, &rect); // 设置文本颜色和背景模式 SetTextColor(hdc, RGB(0, 0, 0)); SetBkMode(hdc, TRANSPARENT); // 获取窗口文本 char buffer[256]; GetWindowTextA(hwnd, buffer, 256); // 绘制文本 DrawTextA(hdc, buffer, -1, &rect, DT_CENTER | DT_VCENTER | DT_SINGLELINE); EndPaint(hwnd, &ps); return 0; } case WM_SIZE: // 处理大小调整消息 InvalidateRect(hwnd, NULL, TRUE); return 0; case WM_DESTROY: // 清理资源 return 0; } return DefWindowProc(hwnd, uMsg, wParam, lParam);}// 注册窗口类bool RegisterWindowClass(){ static bool registered = false; if (!registered) { WNDCLASSEXA wc = { 0 }; wc.cbSize = sizeof(WNDCLASSEXA); wc.style = CS_HREDRAW | CS_VREDRAW; wc.lpfnWndProc = WindowProc; wc.hInstance = GetModuleHandleA(NULL); wc.hCursor = LoadCursor(NULL, IDC_ARROW); wc.hbrBackground = (HBRUSH)(COLOR_WINDOW + 1); wc.lpszClassName = WINDOW_CLASS_NAME; registered = (RegisterClassExA(&wc) != 0); } return registered;}// 导出函数实现extern \"C\" { NATIVEWINDOW_API HWND CreateNativeWindow(HWND parentHwnd, int x, int y, int width, int height) { // 注册窗口类 if (!RegisterWindowClass()) { return NULL; } // 创建窗口 HWND hwnd = CreateWindowExA( 0,// 扩展样式 WINDOW_CLASS_NAME, // 窗口类名 \"Native Window\", // 窗口标题 WS_CHILD | WS_VISIBLE, // 窗口样式:子窗口且可见 x, y, width, height, // 位置和大小 parentHwnd, // 父窗口句柄 NULL, // 菜单句柄 GetModuleHandleA(NULL), // 实例句柄 NULL // 额外参数 ); if (!hwnd) { DWORD err = GetLastError(); char msg[256]; sprintf_s(msg, \"CreateWindowExA failed with error: %lu\", err); MessageBoxA(NULL, msg, \"Error\", MB_OK | MB_ICONERROR); } if (hwnd) { // 显示窗口 ShowWindow(hwnd, SW_SHOW); UpdateWindow(hwnd); } return hwnd; } NATIVEWINDOW_API void SetNativeWindowText(HWND hwnd, const char* text) { SetWindowTextA(hwnd, text); InvalidateRect(hwnd, NULL, TRUE); } NATIVEWINDOW_API void DestroyNativeWindow(HWND hwnd) { if (hwnd && IsWindow(hwnd)) { DestroyWindow(hwnd); } }}1.3 编译设置
确保 DLL 项目的编译设置与 C# 项目兼容:
- 平台设置:如果 C# 应用是 64 位的,C++ DLL 也必须是 64 位的
- 运行时库:建议使用多线程 DLL (/MD) 设置
- 字符集:使用 Unicode 字符集
2. C# 端实现
现在,我们需要在 C# WinForms 应用中集成这个 C++ 窗口。
2.1 P/Invoke 声明
首先,我们需要声明必要的 P/Invoke 函数:
using System;using System.Collections.Generic;using System.Linq;using System.Runtime.InteropServices;using System.Text;using System.Threading.Tasks;namespace WinFormsNativeWindow{ public class NativeWindowWrapper { // 导入 C++ DLL 函数 [DllImport(\"NativeWindow.dll\")] private static extern IntPtr CreateNativeWindow(IntPtr parentHwnd, int x, int y, int width, int height); [DllImport(\"NativeWindow.dll\")] private static extern void SetNativeWindowText(IntPtr hwnd, string text); [DllImport(\"NativeWindow.dll\")] private static extern void DestroyNativeWindow(IntPtr hwnd); // 窗口句柄 public IntPtr NativeWindowHandle = IntPtr.Zero; // 创建并嵌入原生窗口 public void CreateAndEmbedNativeWindow(Control parent, int x, int y, int width, int height) { // 创建原生窗口,直接使用 C# 窗体的句柄作为父窗口 NativeWindowHandle = CreateNativeWindow(parent.Handle, x, y, width, height); if (NativeWindowHandle != IntPtr.Zero) { // 调整位置和大小 SetWindowPos(NativeWindowHandle, x, y, width, height); } } // 设置窗口位置和大小 [DllImport(\"user32.dll\")] private static extern bool MoveWindow(IntPtr hWnd, int X, int Y, int nWidth, int nHeight, bool bRepaint); public void SetWindowPos(IntPtr hwnd, int x, int y, int width, int height) { MoveWindow(hwnd, x, y, width, height, true); } // 设置窗口文本 public void SetText(string text) { if (NativeWindowHandle != IntPtr.Zero) { SetNativeWindowText(NativeWindowHandle, text); } } // 销毁窗口 public void DestroyWindow() { if (NativeWindowHandle != IntPtr.Zero) { DestroyNativeWindow(NativeWindowHandle); NativeWindowHandle = IntPtr.Zero; } } }}2.2 窗体实现
接下来,我们创建一个 WinForms 窗体,并在其中嵌入 C++ 窗口:
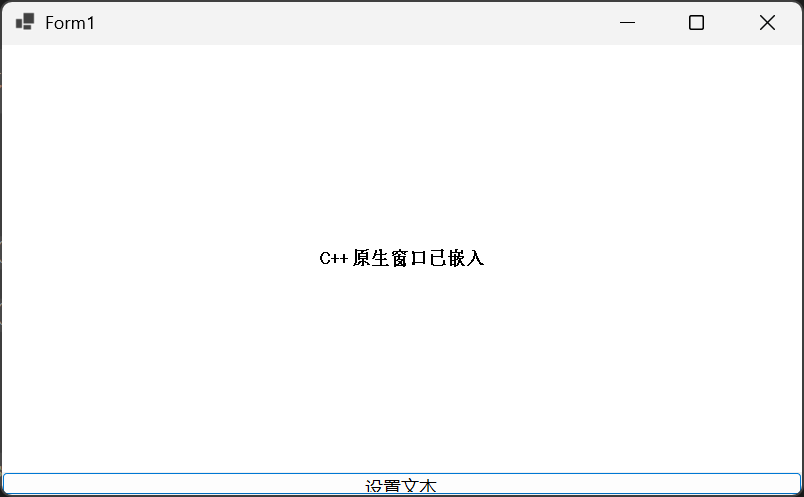
using System;using System.Windows.Forms;namespace WinFormsNativeWindow{ public partial class MainForm : Form { private NativeWindowWrapper _nativeWindow; public MainForm() { InitializeComponent(); // 创建面板作为容器 Panel panel = new Panel(); panel.Dock = DockStyle.Fill; panel.Resize += Panel_Resize; this.Controls.Add(panel); // 创建按钮 Button btnSetText = new Button(); btnSetText.Text = \"设置文本\"; btnSetText.Dock = DockStyle.Bottom; btnSetText.Click += BtnSetText_Click; this.Controls.Add(btnSetText); // 初始化原生窗口包装器 _nativeWindow = new NativeWindowWrapper(); // 窗体加载时创建并嵌入原生窗口 this.Load += MainForm_Load; // 窗体关闭时销毁原生窗口 this.FormClosing += MainForm_FormClosing; } private void MainForm_Load(object sender, EventArgs e) { Panel panel = this.Controls.OfType<Panel>().First(); // 创建并嵌入原生窗口 _nativeWindow.CreateAndEmbedNativeWindow( panel, 0, 0, panel.ClientSize.Width, panel.ClientSize.Height ); // 设置初始文本 _nativeWindow.SetText(\"C++ 原生窗口已嵌入\"); } private void Panel_Resize(object sender, EventArgs e) { // 调整原生窗口大小以适应面板 Panel panel = sender as Panel; if (panel != null && _nativeWindow != null) { _nativeWindow.SetWindowPos( _nativeWindow._nativeWindowHandle, 0, 0, panel.ClientSize.Width, panel.ClientSize.Height ); } } private void BtnSetText_Click(object sender, EventArgs e) { // 弹出输入对话框 string text = Microsoft.VisualBasic.Interaction.InputBox( \"请输入要显示的文本:\", \"设置文本\", \"Hello from C#!\" ); if (!string.IsNullOrEmpty(text)) { _nativeWindow.SetText(text); } } private void MainForm_FormClosing(object sender, FormClosingEventArgs e) { // 销毁原生窗口 _nativeWindow.DestroyWindow(); } }}执行结果
可以看到C++原生窗口已经嵌入了。
点击设置文本:
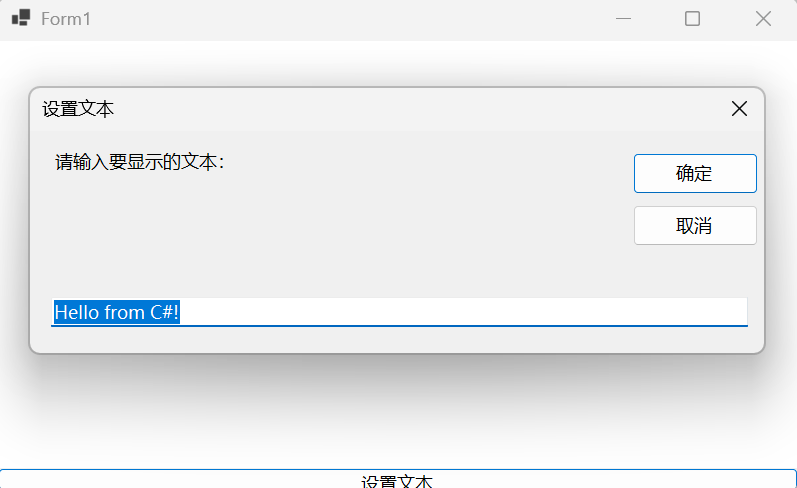
确定后:
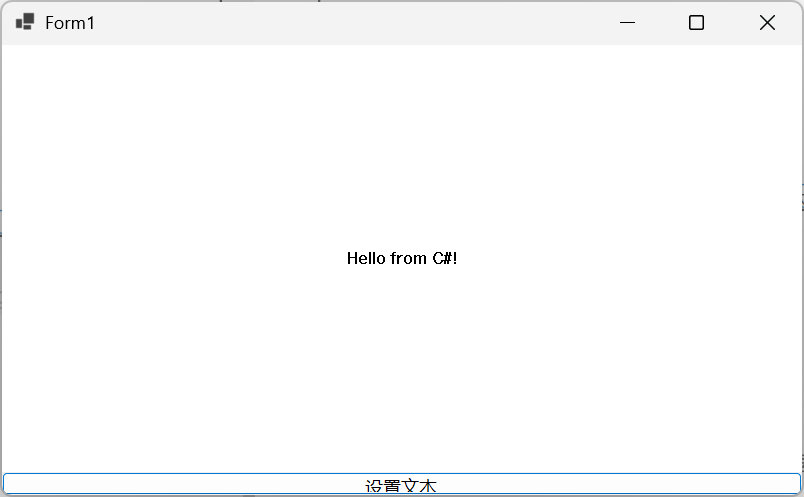
交互也Ok。
常见问题与解决方案
在实现过程中,可能会遇到以下常见问题:
1. DLL 加载失败
问题:System.DllNotFoundException: 无法加载 DLL ‘NativeWindow.dll’
解决方案:
- 确保 DLL 文件位于应用程序目录或系统路径中
- 检查 DLL 和应用程序的平台是否匹配(x86/x64)
- 使用 Dependency Walker 工具检查 DLL 依赖项
<Project Sdk=\"Microsoft.NET.Sdk\"><PropertyGroup><OutputType>WinExe</OutputType><Nullable>enable</Nullable><UseWindowsForms>true</UseWindowsForms><ImplicitUsings>enable</ImplicitUsings></PropertyGroup><PropertyGroup><TargetFramework>net8.0-windows</TargetFramework><PlatformTarget>x64</PlatformTarget><RuntimeIdentifiers></RuntimeIdentifiers><OutputPath>$(SolutionDir)x64\\Debug\\</OutputPath><AppendTargetFrameworkToOutputPath>false</AppendTargetFrameworkToOutputPath></PropertyGroup></Project>其中【net8.0-windows】目录一直存在,需要调整AppendTargetFrameworkToOutputPath为false才能不生成目录。
2. 资源释放问题
问题:应用程序关闭时未释放原生窗口资源
解决方案:
- 在窗体的 FormClosing 事件中调用 DestroyWindow 方法
- 实现 IDisposable 接口,确保资源正确释放
性能优化与最佳实践
性能优化
-
最小化跨进程通信:
- 减少 C# 和 C++ 之间的频繁调用
- 批量处理数据交换
-
使用双缓冲绘图:
- 在 C++ 窗口中实现双缓冲绘图,避免闪烁
- 使用 GDI+ 或 Direct2D 进行高效绘图
-
优化窗口消息处理:
- 只处理必要的窗口消息
- 避免消息循环中的复杂计算
-
共享内存通信:
- 对于大量数据交换,考虑使用共享内存
- 使用内存映射文件实现高效数据共享
最佳实践
-
明确资源所有权:
- 清晰定义 C++ 和 C# 端各自负责的资源
- 确保资源在正确的时机释放
-
异常处理:
- 在 P/Invoke 调用周围添加异常处理
- 确保即使发生异常,资源也能正确释放
-
线程安全:
- 注意 UI 线程和工作线程之间的交互
- 使用 Invoke/BeginInvoke 在正确的线程上执行 UI 操作
-
接口抽象:
- 使用接口抽象隔离平台相关代码
- 便于将来替换或扩展实现
扩展应用场景
这种技术不仅限于简单的窗口嵌入,还可以应用于更多高级场景:
-
嵌入 DirectX/OpenGL 渲染窗口:
- 在 C# 应用中嵌入高性能 3D 渲染窗口
- 实现复杂的图形应用
-
集成第三方 C++ 库的 UI 组件:
- 嵌入只有 C++ 版本的专业控件
- 集成特定行业的专用界面组件
-
嵌入特殊硬件驱动的视图窗口:
- 集成工业相机、医疗设备等专用显示窗口
- 实现硬件加速的图像处理界面
-
混合使用现代 UI 框架和传统控件:
- 在现代 UI 应用中嵌入传统控件
- 逐步迁移遗留系统
总结
在本文中,我们详细介绍了如何将 C++ 原生窗体嵌入到 C# WinForms 窗口中的完整解决方案。我们从技术背景入手,详细讲解了实现步骤,包括 C++ DLL 的创建、C# 端的集成以及窗口消息同步处理。同时,我们还提供了常见问题的解决方案、性能优化建议和最佳实践。
通过这种技术,可以充分利用 C++ 和 C# 各自的优势,实现更加灵活和高效的应用程序。无论是集成遗留系统,还是实现特殊功能,这种混合编程方式都能为你提供强大的技术支持。
参考资源
- Windows API 文档 - SetParent 函数
- P/Invoke - Windows API 在 .NET 中的使用
- Windows 窗口消息参考
- C# 与非托管代码交互最佳实践


